Typing text on the screen
In this part, we're going to learn how to draw text using various fonts and how to get text input from the user.
In order to draw any text, a font is required. You might have already noticed, that Pixel tries to be very compatible with standard Go packages, such as "image", "image/color", "time", and so on. Unfortunately, there's no font package in the Go standard library.
However, there's a semi-standard package called "golang.org/x/image/font". I must say, this package deserves to be considered standard, it's remarkably well designed and easy to use. It defines one important interface: font.Face. Anything implementing this interface is a font object. There are many implementations of this interface found, for example, in "golang.org/x/image/font/basicfont", "golang.org/x/image/font/inconsolata" and "github.com/golang/freetype/truetype".
As you can see, Go community has already done a great deal of work regarding fonts. Pixel makes use of this work, thus supporting large variety of fonts out of the box. Let's see how we do it!
Pixel has a text package, which we can use to draw text to any Target. Let's take a look and use it! As usual, we'll start off with the basic Pixel boilerplate:
package main

import (
	"github.com/faiface/pixel"
	"github.com/faiface/pixel/pixelgl"
)

func run() {
	cfg := pixelgl.WindowConfig{
		Title:  "Pixel Rocks!",
		Bounds: pixel.R(0, 0, 1024, 768),
		VSync:  true,
	}
	win, err := pixelgl.NewWindow(cfg)
	if err != nil {
		panic(err)
	}

	for !win.Closed() {
		win.Update()
	}
}

func main() {
	pixelgl.Run(run)
}
Now, we need to import the "github.com/faiface/pixel/text" package:
import (
	"github.com/faiface/pixel"
	"github.com/faiface/pixel/pixelgl"
	"github.com/faiface/pixel/text"
)
Before we can draw any text, we need to create a font atlas. What is that? To achieve the maximum performance, it's best to pre-draw the characters we want to use to an off-screen picture and then draw the characters straight from that picture. Drawing directly from the font.Face object would be too slow. This is exactly what Atlas is. It's a collection of pre-drawn characters, ready to use for drawing.
An Atlas is created by the text.NewAtlas constructor. The constructor takes a font.Face, that's obvious. Then is takes an arbitrary number of, so called, "rune sets". A rune set is just a slice of runes. The Atlas will contain all of the runes provided in all of the sets. This might be a bit confusing, so let's see an example:
atlas := text.NewAtlas(
	basicfont.Face7x13,
	[]rune{'0', '1', '2', '3', '4', '5', '6', '7', '8', '9'},
)
Here we create an Atlas from the basicfont.Face7x13 font face, which contains all digits. So, with this atlas, we're able to draw digits. Simple? Let's take a look at another example:
atlas := text.NewAtlas(
	basicfont.Face7x13,
	[]rune{'a', 'b', 'c'},
	[]rune{'A', 'B', 'C'},
)
Here we supply two rune sets instead of one. The atlas will contain both lower-case a, b, c letters, as well as upper-case ones. Here's another example:
atlas := text.NewAtlas(basicfont.Face7x13, text.ASCII)This time, we use text.ASCII, which is the set of all ASCII runes defined in the text package. One more example:
atlas := text.NewAtlas(face, text.ASCII, text.RangeTable(unicode.Latin))This time, we don't use the basicfont.Face7x13 face, instead we use a font contained in some face variable, which could be an arbitrary truetype font for example (we'll see how to load truetype fonts in a minute). Now, our atlas contains not only ASCII characters, but also all Latin characters. Function text.RangeTable converts an arbitrary unicode.RangeTable to a set of runes. The standard unicode package contains a large variety of useful Unicode range tables.
Now that we understand all of this, let's go ahead and create an atlas!
	cfg := pixelgl.WindowConfig{
		Title:  "Pixel Rocks!",
		Bounds: pixel.R(0, 0, 1024, 768),
		VSync:  true,
	}
	win, err := pixelgl.NewWindow(cfg)
	if err != nil {
		panic(err)
	}

	basicAtlas := text.NewAtlas(basicfont.Face7x13, text.ASCII)
For now, we'll use the font defined in the basicfont package, because it's the most accessible one, as we can see.
Now, how do we actually draw a text? For that we have the Text type. You can think of the Text type as a sprite containing text. Contrary to a sprite, we can dynamically write new text to a Text object as we'll see. So, without further ado, let's create a `Text object using the text.New constructor.
	basicAtlas := text.NewAtlas(basicfont.Face7x13, text.ASCII)
	basicTxt := text.New(pixel.V(100, 500), basicAtlas)
The text.New constructor takes two arguments: the orig position and an atlas. The atlas is obvious. What is the "orig" position? It's the position where we want to start drawing our text. We chose pixel.V(100, 500), so the text will start at that position. Let's write some text:
basicAtlas := text.NewAtlas(basicfont.Face7x13, text.ASCII)
basicTxt := text.New(pixel.V(100, 500), basicAtlas)
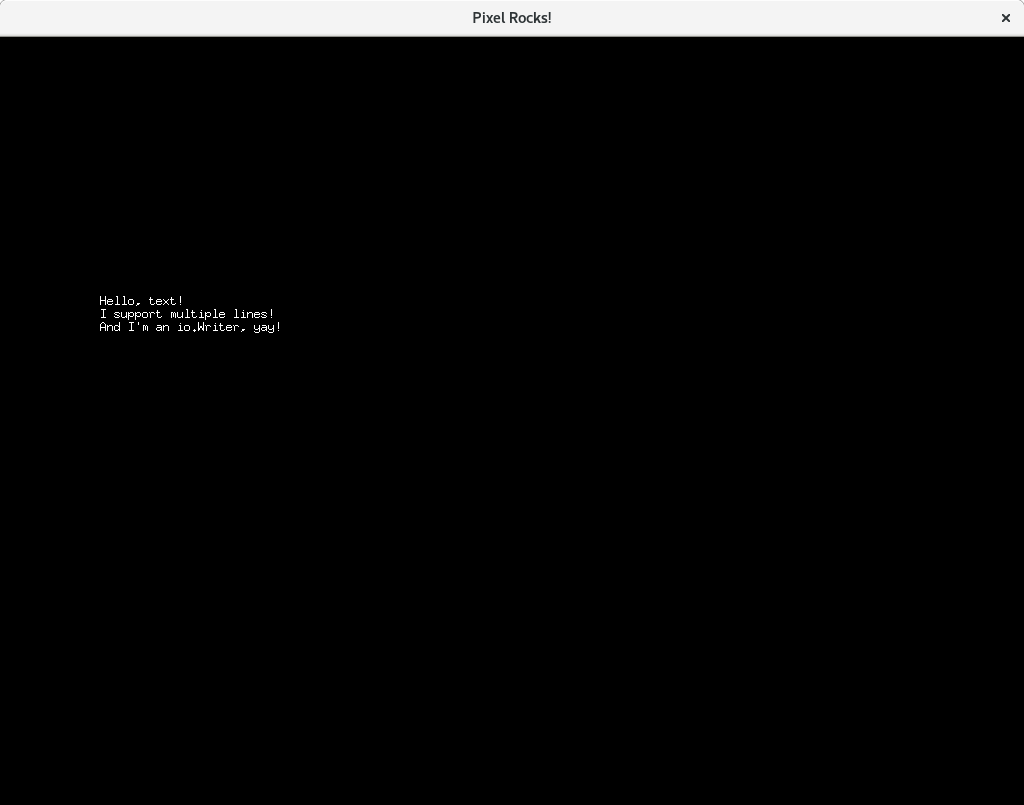
fmt.Fprintln(basicTxt, "Hello, text!")
fmt.Fprintln(basicTxt, "I support multiple lines!")
fmt.Fprintf(basicTxt, "And I'm an %s, yay!", "io.Writer")And draw the result to the screen:
	for !win.Closed() {
		win.Clear(colornames.Black)
		basicTxt.Draw(win, pixel.IM)
		win.Update()
	}
And heya, here we go!
That text is a bit small, let's scale it up!
	for !win.Closed() {
		win.Clear(colornames.Black)
		basicTxt.Draw(win, pixel.IM.Scaled(basicTxt.Orig, 4))
		win.Update()
	}
Much better!
We've got something running, we see text on the screen, but we don't fully understand how it works. In the constructor, we were setting a mysterious orig argument:
basicTxt := text.New(pixel.V(100, 500), basicAtlas)If we a look at the documentation of the Text struct, we see that it actually has an Orig field. If we check the value of this field, we find that it's equal to the value we passed in the constructor.
Before we fully explain what this field does, we need to take a look at another important field: Dot. Dot is simple: it's the position of the next character. When we write some string to the Text object, Dot is be automatically moved accordingly. Initially, Dot is set to the same value as Orig. As we write text, Dot moves. We can also adjust it manually, if we so desire.
To understand Dot better, try writing small chunks of text to the Text object and print the value of Dot after each chunk.
What happens when we write a newline? Easy, Dot moves one line down and aligns with Orig. This is the most important use of Orig. Notice, that only Orig's X coordinate is used to align after newline. In fact, Text never really uses it's Y coordinate.
Try changing the value of Orig after each newline.
Another important use of Orig is this:
txt.Clear()Aside from erasing the content of the Text object, Clear resets the Dot to Orig (you start writing from the beginning). In case you don't want to reset the Dot, but still want to erase the Text, here's how you do it:
dot := txt.Dot
txt.Clear()
txt.Dot = dotAside from Orig and Dot, there are several other things we can adjust when writing text. Let's take a look at those!
The first one is Color. It's a simple field, we can assign it and whatever we write after will have that color. Let's see! Replace this:
	fmt.Fprintln(basicTxt, "Hello, text!")
	fmt.Fprintln(basicTxt, "I support multiple lines!")
	fmt.Fprintf(basicTxt, "And I'm an %s, yay!", "io.Writer")
With this:
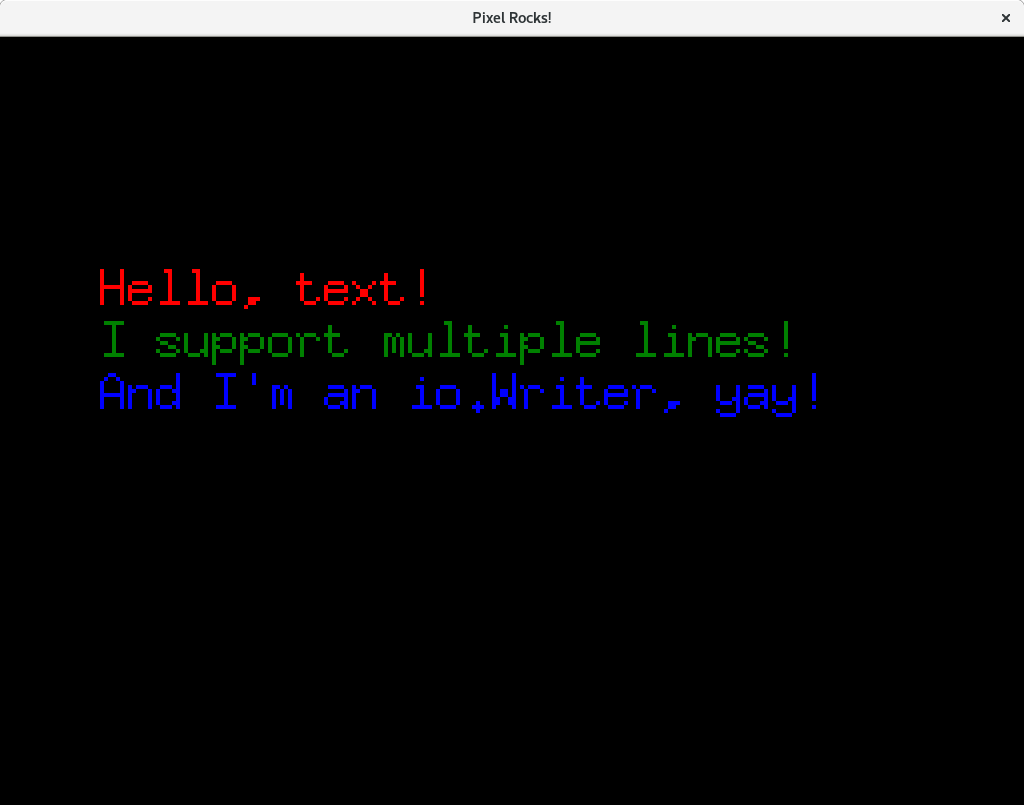
	basicTxt.Color = colornames.Red
	fmt.Fprintln(basicTxt, "Hello, text!")

	basicTxt.Color = colornames.Green
	fmt.Fprintln(basicTxt, "I support multiple lines!")

	basicTxt.Color = colornames.Blue
	fmt.Fprintf(basicTxt, "And I'm an %s, yay!", "io.Writer")
And here we go!
Another property that we can set it LineHeight. This property is simply the number of pixels Dot travels downwards when it encounters a newline. We could set it to a fixed number of pixels, or we could set it to a multiple of the standard line height of the atlas, like this:
	basicAtlas := text.NewAtlas(basicfont.Face7x13, text.ASCII)
	basicTxt := text.New(pixel.V(100, 500), basicAtlas)

	basicTxt.LineHeight = basicAtlas.LineHeight() * 1.5

	basicTxt.Color = colornames.Red
	fmt.Fprintln(basicTxt, "Hello, text!")
And take a look, wider line spacing!

The last property is TabWidth, you can tell what it does. Experiment with it yourself!
Now that we know how Text works, we obviously need better fonts to get better results! I've got a beautiful font up in my sleeves that I downloaded from fontlibrary.org, download it here:
Now, the main question is, how do we load such a font? We know that the text.NewAtlas constructor wants font.Face, so we need to create one. If we take a look at the documentation of the "github.com/golang/freetype/truetype" package, we see this function:
func NewFace(f *Font, opts *Options) font.FaceGood, that's where we get the font.Face from. But, this function wants a truetype.Font, how do we get that? The answer is the truetype.Parse, which just takes a slice of bytes (the file) and returns a truetype.Font. Great, with this knowledge, let's create ourselves a TTF font loading function:
func loadTTF(path string, size float64) (font.Face, error) {
	file, err := os.Open(path)
	if err != nil {
		return nil, err
	}
	defer file.Close()

	bytes, err := ioutil.ReadAll(file)
	if err != nil {
		return nil, err
	}

	font, err := truetype.Parse(bytes)
	if err != nil {
		return nil, err
	}

	return truetype.NewFace(font, &truetype.Options{
		Size:              size,
		GlyphCacheEntries: 1,
	}), nil
}
Let's break it down! First, we simply open the TTF file. Next, we read all of the bytes from it to a single slice of bytes. Then, we use the truetype.Parse function to parse the byte slice and create a truetype.Font object. Finally, we convert this truetype.Font object to a font.Face object, which is what we need.
One thing, that deserves attention is the truetype.Options struct. Here we say the size of the font we want to use. The GlyphCacheEntries field says, how many characters (glyphs) should the font.Face object remember in it's cache to speed up the text drawing. Since we don't use the font.Face object directly when drawing text (we create an Atlas instead), we don't really need this cache. So, we just set it to 1. This avoids a lot of memory consumption. I advice you always set this value to 1 when using Pixel.
So, let's replace our basicfont.Face7x13 with the beautiful Truetype font! First, we need to load it.
	win, err := pixelgl.NewWindow(cfg)
	if err != nil {
		panic(err)
	}

	face, err := loadTTF("intuitive.ttf", 52)
	if err != nil {
		panic(err)
	}
Now, we rename basicAtlas and basicTxt to atlas and txt, since they're not basic anymore. Then, we pass the new font to the atlas.
	atlas := text.NewAtlas(face, text.ASCII)
	txt := text.New(pixel.V(100, 500), atlas)
Finally, we get rid of the scaling, this text needs to be crisp! Replace this:
	for !win.Closed() {
		win.Clear(colornames.Black)
		txt.Draw(win, pixel.IM.Scaled(txt.Orig, 4))
		win.Update()
	}
with this:
	for !win.Closed() {
		win.Clear(colornames.Black)
		txt.Draw(win, pixel.IM)
		win.Update()
	}
Just look at it! Isn't it beautiful?
We can do an even bigger font, just to fully admire it!
face, err := loadTTF("intuitive.ttf", 80)And change the background color.
win.Clear(colornames.White)In case you notice little artifacts on the letters, just set the smooth drawing.
	win, err := pixelgl.NewWindow(cfg)
	if err != nil {
		panic(err)
	}
	win.SetSmooth(true)
Now, this is it!

Writing newlines allows for easy alignment to the left. But how about other alignments? To the right? To the center? Text has no property for that, but we can use the ability to get the bounding rectangle of any string to implement arbitrary alignment. Let's take a look at that!
First, let's get rid of all our previous text writing code.
// delete all of this
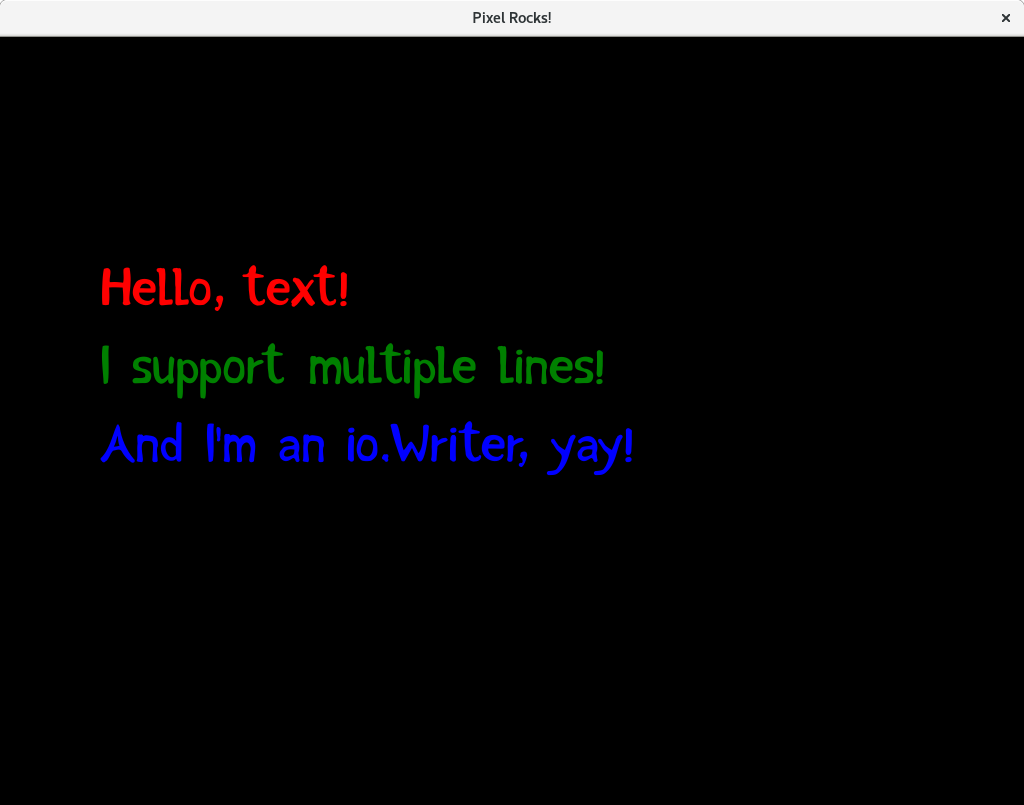
txt.LineHeight = atlas.LineHeight() * 1.5
txt.Color = colornames.Red
fmt.Fprintln(txt, "Hello, text!")
txt.Color = colornames.Green
fmt.Fprintln(txt, "I support multiple lines!")
txt.Color = colornames.Blue
fmt.Fprintf(txt, "And I'm an %s, yay!", "io.Writer")Aligning to the right will not be as simple as writing newlines, we will need to write each line separately and take some extra steps. That's why we first create a slice of lines we will write.
	atlas := text.NewAtlas(face, text.ASCII)
	txt := text.New(pixel.V(100, 500), atlas)

	lines := []string{
		"This is a very very very long line",
		"Short line",
		"--=!@#$^&*()_+=--",
	}
Now, we'll range over this slice and write each line properly.
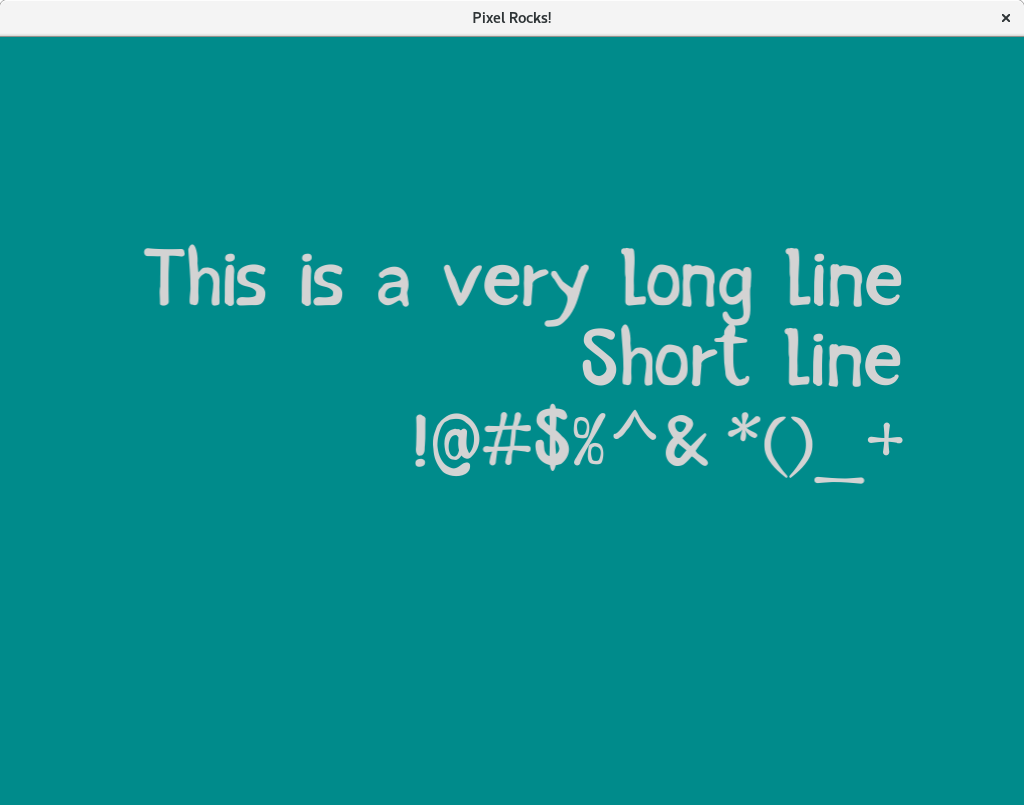
	lines := []string{
		"This is a very long line",
		"Short line",
		"!@#$^&*()_+",
	}

	txt.Color = colornames.Black

	for _, line := range lines {
		txt.Dot.X -= txt.BoundsOf(line).W()
		fmt.Fprintln(txt, line)
	}
Now, let's study this closely. First, we set the text color. If forgot to do that, the text would be white and since the background is white too, we'd end up very confused. Then we range over the slice of lines. We fmt.Fprintln each line, but before that, we move the Dot to the left by the width of the line's bounding rectangle.
To obtain this bounding rectangle, we used txt.BoundsOf method. The txt.BoundsOf method is easy, takes a string and returns the bounding rectangle of that string if it was to be written to the txt right now.
Remember, Text aligns Dot to Orig after each newline. Thus, at the beginning of the for loop's body, Dot is aligned with Orig. When we move the Dot just the right distance to the left, the text we write after will end up just aligned to the Orig by it's right edge.
Also, we need to move the Orig somewhere to the right, otherwise most of the text will end up outside the window.
	atlas := text.NewAtlas(face, text.ASCII)
	txt := text.New(pixel.V(900, 500), atlas)
Finally, let's change the text of the color and the background, it's getting old.
txt.Color = colornames.Lightgreyand
win.Clear(colornames.Darkcyan)Now, let's run this!
Great! How about aligning to the center? Well, instead of moving the Dot back by the whole line width, we need to move it by the half of it instead.
	for _, line := range lines {
		txt.Dot.X -= txt.BoundsOf(line).W() / 2
		fmt.Fprintln(txt, line)
	}
And we need to move the Orig again.
	atlas := text.NewAtlas(face, text.ASCII)
	txt := text.New(pixel.V(500, 500), atlas)
Works great!

Ok, now we know all about putting the text on the screen. But how about getting it from the user? Of course, we could go and check each possible key, using the win.Pressed or win.JustPressed methods. We'd also need to handle SHIFT, and all of the other keys and it'd still be wrong, because we wouldn't support localized keyboards. As you might have guessed, Pixel has a special solution for this problem.
The solution is called win.Typed and it's a simple method which takes no arguments and returns a string. The returned string is what the user typed on the keyboard since the last call to win.Update (actually, what the user typed between the previous call to win.Update and the one before that, but simpler thinking doesn't hurt).
Because of the limitations of GLFW, which PixelGL uses, the returned string does not contain newlines or tabs. This limitation might get overcome someday in Pixel, but so far, we'll have to handle newlines and tabs manually, which is not too hard.
So, let's type text on the screen! First, let's get rid of those centered lines.
	// delete this
	lines := []string{
		"This is a very long line",
		"Short line",
		"!@#$^&*()_+",
	}
// and delete this
for _, line := range lines {
txt.Dot.X -= txt.BoundsOf(line).W() / 2
fmt.Fprintln(txt, line)
}And now, let's just type into the txt!
	for !win.Closed() {
		txt.WriteString(win.Typed())

		win.Clear(colornames.Darkcyan)
		txt.Draw(win, pixel.IM)
		win.Update()
	}
This time, we use the txt.WriteString method instead of the "fmt" package, but the "fmt" package would serve just as good (although "fmt" would be a little slower).
As we've said, this does not support newlines, so let's add support for them.
	for !win.Closed() {
		txt.WriteString(win.Typed())
		if win.JustPressed(pixelgl.KeyEnter) {
			txt.WriteRune('\n')
		}
Finally, let's put our text to the center of the screen. Note, that the text will still be left-aligned, but it's bounding box will be centered on the screen. To do that, we'll use the txt.Bounds, which returns the bounding rectangle of the text that's already written to the Text object.
		win.Clear(colornames.Darkcyan)
		txt.Draw(win, pixel.IM.Moved(win.Bounds().Center().Sub(txt.Bounds().Center())))
		win.Update()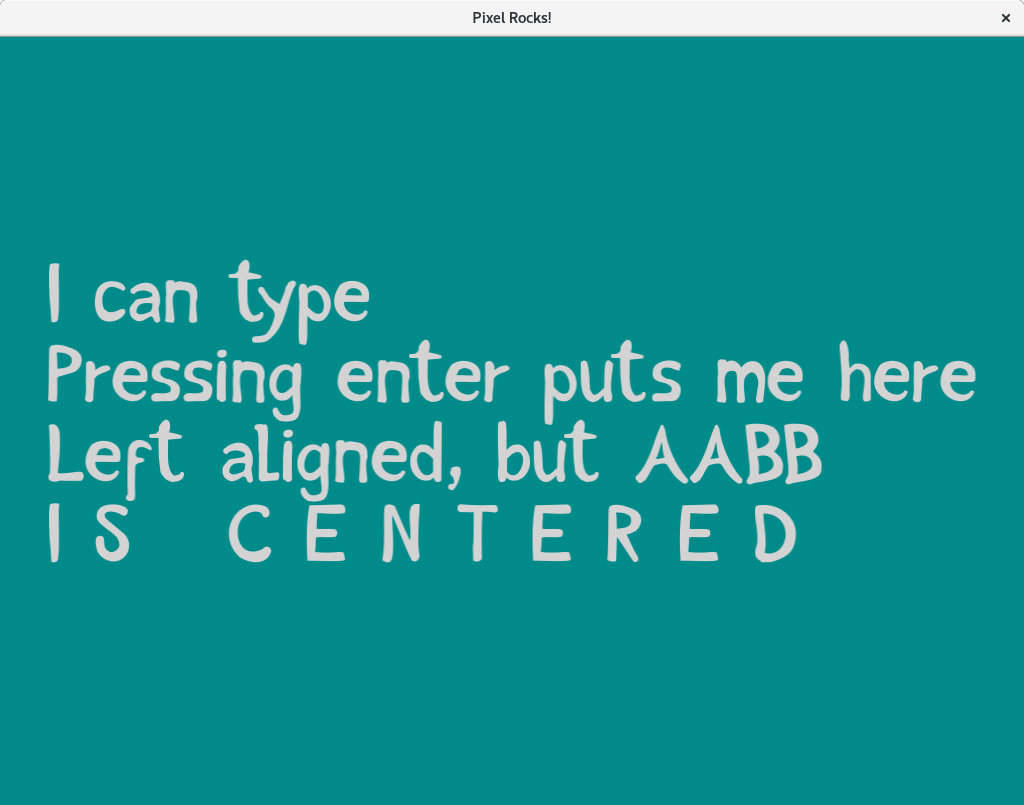
Works like charm! You might notice though, that the typing is a bit lagging. That's because of VSync. VSync always makes input a little behind, that's the compromise you're making when using it. However, we don't like it here, so let's turn VSync off and manage the framerate at 120 FPS manually. This will allow for a very smooth typing experience.
	cfg := pixelgl.WindowConfig{
		Title:  "Pixel Rocks!",
		Bounds: pixel.R(0, 0, 1024, 768),
		VSync:  true, // delete
	}
To manually manage the FPS, we'll create a ticker using the standard "time" library and simply synchronize with it's ticking.
	fps := time.Tick(time.Second / 120)

	for !win.Closed() {
		txt.WriteString(win.Typed())
		if win.JustPressed(pixelgl.KeyEnter) {
			txt.WriteRune('\n')
		}

		win.Clear(colornames.Darkcyan)
		txt.Draw(win, pixel.IM.Moved(win.Bounds().Center().Sub(txt.Bounds().Center())))
		win.Update()

		<-fps
	}
Much smoother now!
One more thing. When you hold down a regular key, such as an 'A', after a bit of time it starts repeating. However, this does not happen with the ENTER key. To fix it, we need to check whether the ENTER key got repeated, aside from being just pressed.
		txt.WriteString(win.Typed())
		if win.JustPressed(pixelgl.KeyEnter) || win.Repeated(pixelgl.KeyEnter) {
			txt.WriteRune('\n')
		}
This was a long tutorial. We're at the end! Hooray! Here's the final code.
package main

import (
	"io/ioutil"
	"os"
	"time"

	"github.com/faiface/pixel"
	"github.com/faiface/pixel/pixelgl"
	"github.com/faiface/pixel/text"
	"github.com/golang/freetype/truetype"
	"golang.org/x/image/colornames"
	"golang.org/x/image/font"
)

func loadTTF(path string, size float64) (font.Face, error) {
	file, err := os.Open(path)
	if err != nil {
		return nil, err
	}
	defer file.Close()

	bytes, err := ioutil.ReadAll(file)
	if err != nil {
		return nil, err
	}

	font, err := truetype.Parse(bytes)
	if err != nil {
		return nil, err
	}

	return truetype.NewFace(font, &truetype.Options{
		Size:              size,
		GlyphCacheEntries: 1,
	}), nil
}

func run() {
	cfg := pixelgl.WindowConfig{
		Title:  "Pixel Rocks!",
		Bounds: pixel.R(0, 0, 1024, 768),
	}
	win, err := pixelgl.NewWindow(cfg)
	if err != nil {
		panic(err)
	}
	win.SetSmooth(true)

	face, err := loadTTF("intuitive.ttf", 80)
	if err != nil {
		panic(err)
	}

	atlas := text.NewAtlas(face, text.ASCII)
	txt := text.New(pixel.V(50, 500), atlas)

	txt.Color = colornames.Lightgrey

	fps := time.Tick(time.Second / 120)

	for !win.Closed() {
		txt.WriteString(win.Typed())
		if win.JustPressed(pixelgl.KeyEnter) || win.Repeated(pixelgl.KeyEnter) {
			txt.WriteRune('\n')
		}

		win.Clear(colornames.Darkcyan)
		txt.Draw(win, pixel.IM.Moved(win.Bounds().Center().Sub(txt.Bounds().Center())))
		win.Update()

		<-fps
	}
}

func main() {
	pixelgl.Run(run)
}