Creating a Window
In this part, we're going to take a look at creating a window with Pixel. This part assumes that you've successfully installed Go, set up your $GOPATH and installed Pixel. If so, let's dive in!
First things first, we need to import Pixel.
package main

import "github.com/faiface/pixel"
If you scroll through the types and functions of the Pixel package, you'll see that windows, OpenGL, or anything related, isn't mentioned there at all. That's because Pixel itself is a platform and back-end independent library. To create a window and utilize OpenGL to draw our graphics, we also need to import PixelGL library.
package main

import (
	"github.com/faiface/pixel"
	"github.com/faiface/pixel/pixelgl"
)
PixelGL package provides all of the functionality necessary to create a window and draw using OpenGL. But don't worry, we won't have to write a single line of OpenGL.
If you don't care about the technical explanation, you can skip this text in italic and go straight to the code.
There's one ugly thing about graphics and operating systems. That one thing is that most operating systems require all graphics and windowing code to be executed from the main thread of our program. This is really cumbersome with Go. Go is a highly concurrent language with goroutines. Goroutines can freely jump from thread to thread, which makes the previous requirement seemingly impossible. Not all is lost, however. Go's runtime provides a convenient function runtime.LockOSThread, which locks current goroutine on it's current thread. PixelGL uses this functionality and provides you with a simpler interface to it.
You don't have to deal with the main thread stuff at all with Pixel. You can run your game concurrently, however you want. You only need to allow Pixel to use the main thread.
In order to allow PixelGL to use the main thread for all the windowing and graphics code, we need to make this call from our main function:
func main() {
	pixelgl.Run(run)
}
What's run? Calling pixelgl.Run puts PixelGL in control of the main function. There's no way for us to run any code in the main function anymore. That's why we need to pass another function, run in this case to pixelgl.Run. PixelGL will run our run function. We use our run function as, basically, a new main.
func run() {
	// all of our code will be fired up from here
}

func main() {
	pixelgl.Run(run)
}Now that've got everything set up, we can proceed to create a window. There are many possible parameters for a window, it's size, title, whether it should be focused, maximized, fullscreen, etc. Typing all of these parameters as function arguments would be cumbersome and unreadable. That's why we have a pixelgl.WindowConfig struct, that let's us set up all of the parameters in a convenient fashion.
func run() {
	cfg := pixelgl.WindowConfig{
		Title:  "Pixel Rocks!",
		Bounds: pixel.R(0, 0, 1024, 768),
	}
}
Let's break this down. We create a pixelgl.WindowConfig struct value and assign it to the cfg variable for later use. We only need to change two fields in the pixelgl.WindowConfig struct, the rest uses sensible defaults. The first field we set is the window title. The second field is the bounds of the window. This is a little unusual, if you've used other game libraries. Other game libraries usually only let you set the size of the window. PixelGL allows us to set a rectangle. All things drawn within this rectangle will be visible inside the window. Note, that this has nothing to do with the window's position on the screen.
The function pixel.R creates a new rectangle. First two arguments are the coordinates of the lower-left corner of the rectangle. Last two arguments are the coordinates of the upper-right corner of the rectangle. This way, we create a window of size 1024x768 pixels.
Now, we use the cfg variable to create an actual window.
func run() {
	cfg := pixelgl.WindowConfig{
		Title:  "Pixel Rocks!",
		Bounds: pixel.R(0, 0, 1024, 768),
	}
	win, err := pixelgl.NewWindow(cfg)
	if err != nil {
		panic(err)
	}
}
The function pixelgl.NewWindow takes a pixelgl.WindowConfig and creates a new window with the supplied parameters. It also returns a potential error. An error can occur when, for example, no graphics device is available.
Next, we need to create a main loop, to keep the window up and running until a user clicks the close button.
func run() {
	cfg := pixelgl.WindowConfig{
		Title:  "Pixel Rocks!",
		Bounds: pixel.R(0, 0, 1024, 768),
	}
	win, err := pixelgl.NewWindow(cfg)
	if err != nil {
		panic(err)
	}

	for !win.Closed() {
		win.Update()
	}
}
When our run function finishes, the whole program exists, so we need to make sure, that run is running until we want to actually exit our program.
Here we run a loop that finishes when a user closes our window. We need to call win.Update periodically. The function win.Update fetches new events (key presses, mouse moves and clicks, etc.) and redraws the window.
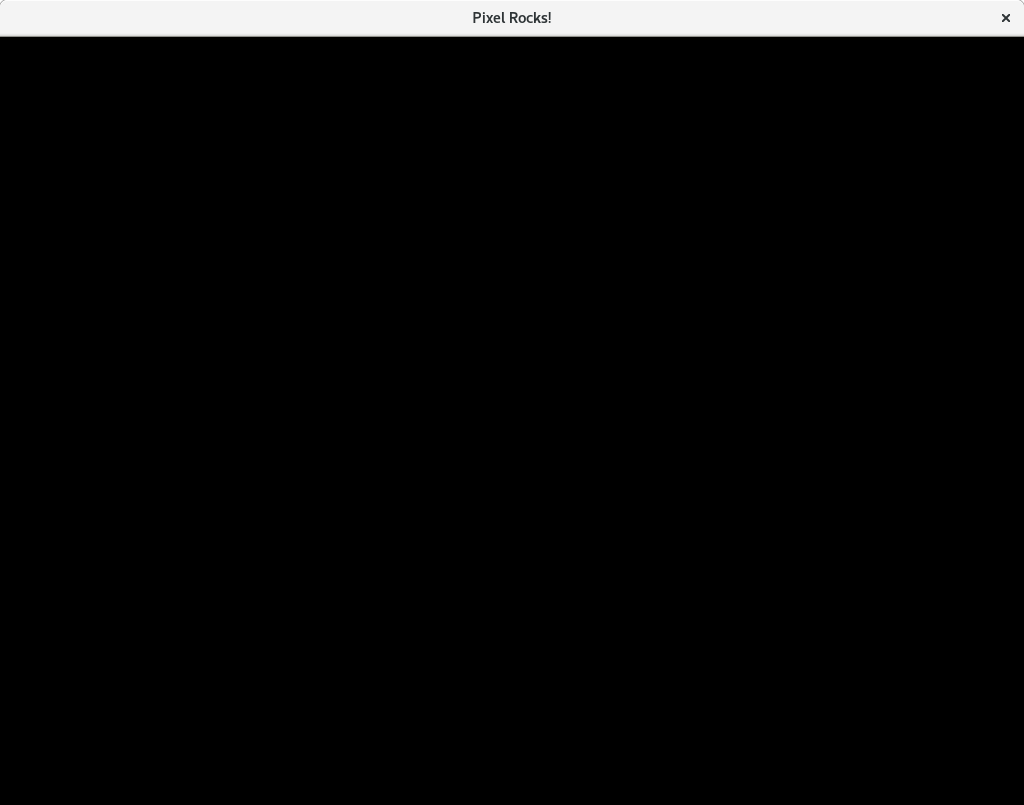
Now it's time to run the program. What you'll see is a black 1024x768 window. When we click on the close button, the window closes and the program exists. Congratulations, that's your first, fully working window with Pixel!
You'll notice, that the window does not move very smoothly and also, our program consumes a lot of CPU. That's because we're calling the win.Update method as fast as we can, we're pretty much calling it all the time. That's not necessary at all, most games refresh the screen (call win.Update) 60 times per second and some even do it only 30 times per second. The most reasonable thing is to update the window at the same rate as is the refresh rate of your monitor, which is usually 60hz (60 times per second). To enable this, we have to set the VSync field in the cfg.
cfg := pixelgl.WindowConfig{
	Title:  "Pixel Rocks!",
	Bounds: pixel.R(0, 0, 1024, 768),
	VSync:  true,
}
Now our window updates only as often as the monitor refreshes, which is enough.
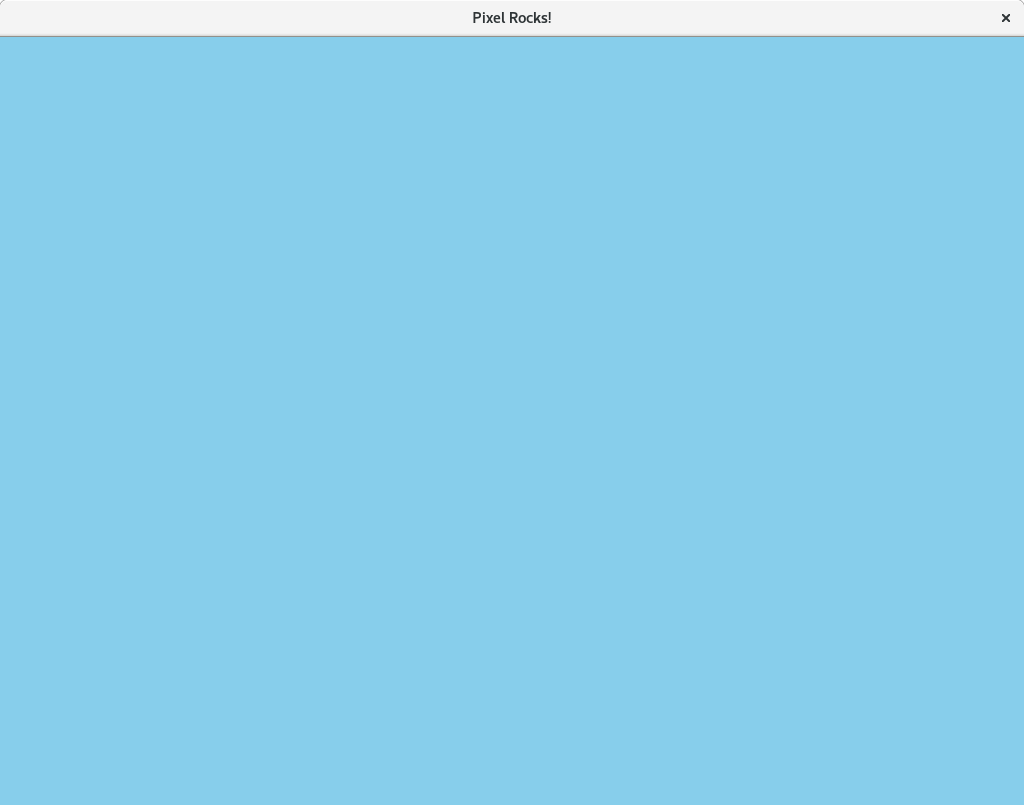
We'll do one more improvement. Black window is boring. How about a firebrick one? Or skyblue? There's a package "golang.org/x/image/colornames", which provides all of these colors and many more. Just go get it!
$ go get golang.org/x/image/colornames
Now, we need to import it.
package main

import (
	"github.com/faiface/pixel"
	"github.com/faiface/pixel/pixelgl"
	"golang.org/x/image/colornames"
)
And finally, use it!
win.Clear(colornames.Skyblue)

for !win.Closed() {
	win.Update()
}
Here's the whole code of this program.
package main

import (
	"github.com/faiface/pixel"
	"github.com/faiface/pixel/pixelgl"
	"golang.org/x/image/colornames"
)

func run() {
	cfg := pixelgl.WindowConfig{
		Title:  "Pixel Rocks!",
		Bounds: pixel.R(0, 0, 1024, 768),
		VSync:  true,
	}
	win, err := pixelgl.NewWindow(cfg)
	if err != nil {
		panic(err)
	}

	win.Clear(colornames.Skyblue)

	for !win.Closed() {
		win.Update()
	}
}

func main() {
	pixelgl.Run(run)
}
Some of you might wonder, why we call win.Clear outside of the main loop. Well, in Pixel, you don't need to clear the window on each frame. Calling win.Update redraws the window every time (but doesn't erase it's content).