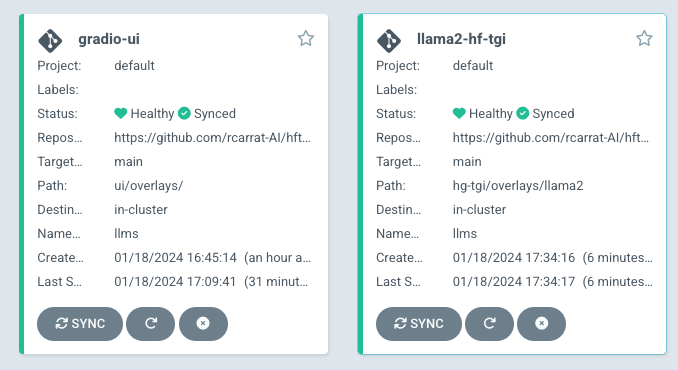
The aim of this repository is to easily deploy our OpenSource LLMs in OpenShift or Kubernetes clusters using GitOps:
Text Generation Inference (TGI) is a toolkit for deploying and serving Large Language Models (LLMs). TGI enables high-performance text generation for the most popular open-source LLMs, including Llama, Falcon, StarCoder, BLOOM, GPT-NeoX, and T5.
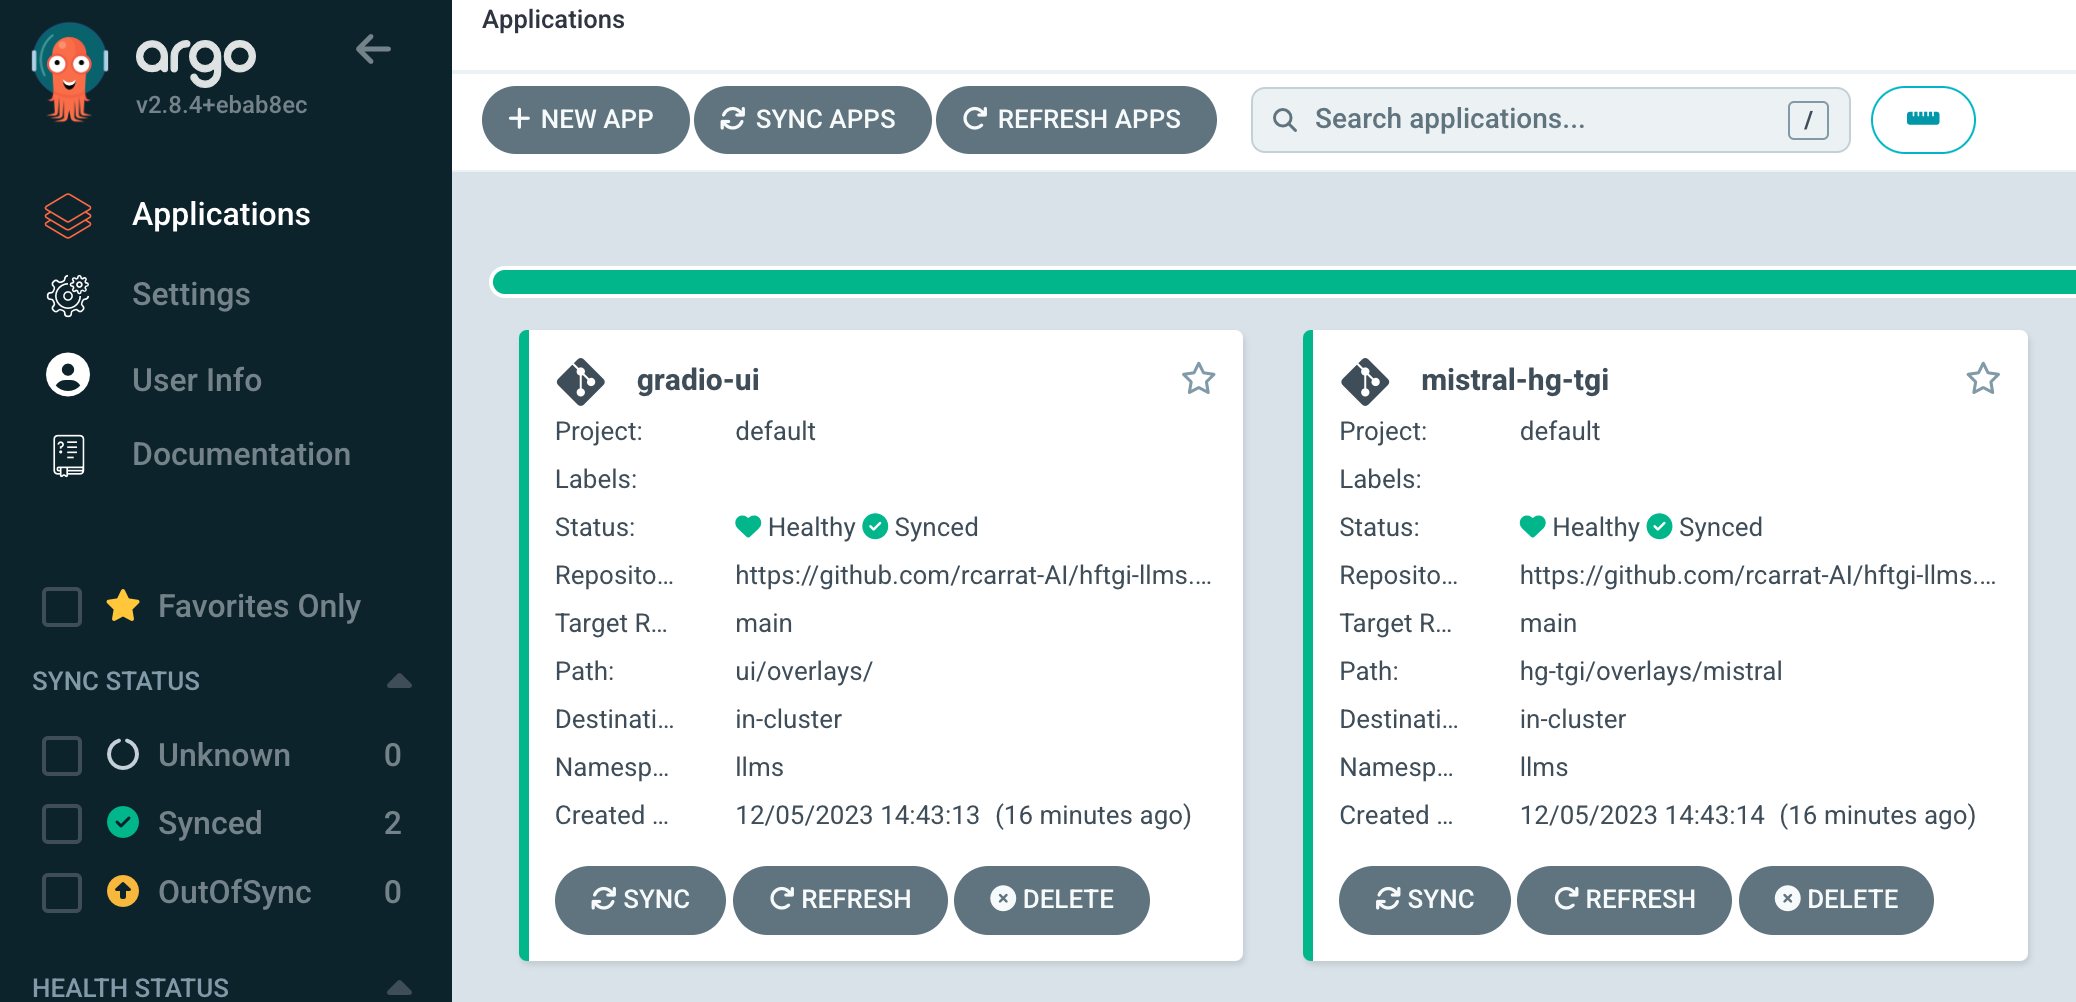
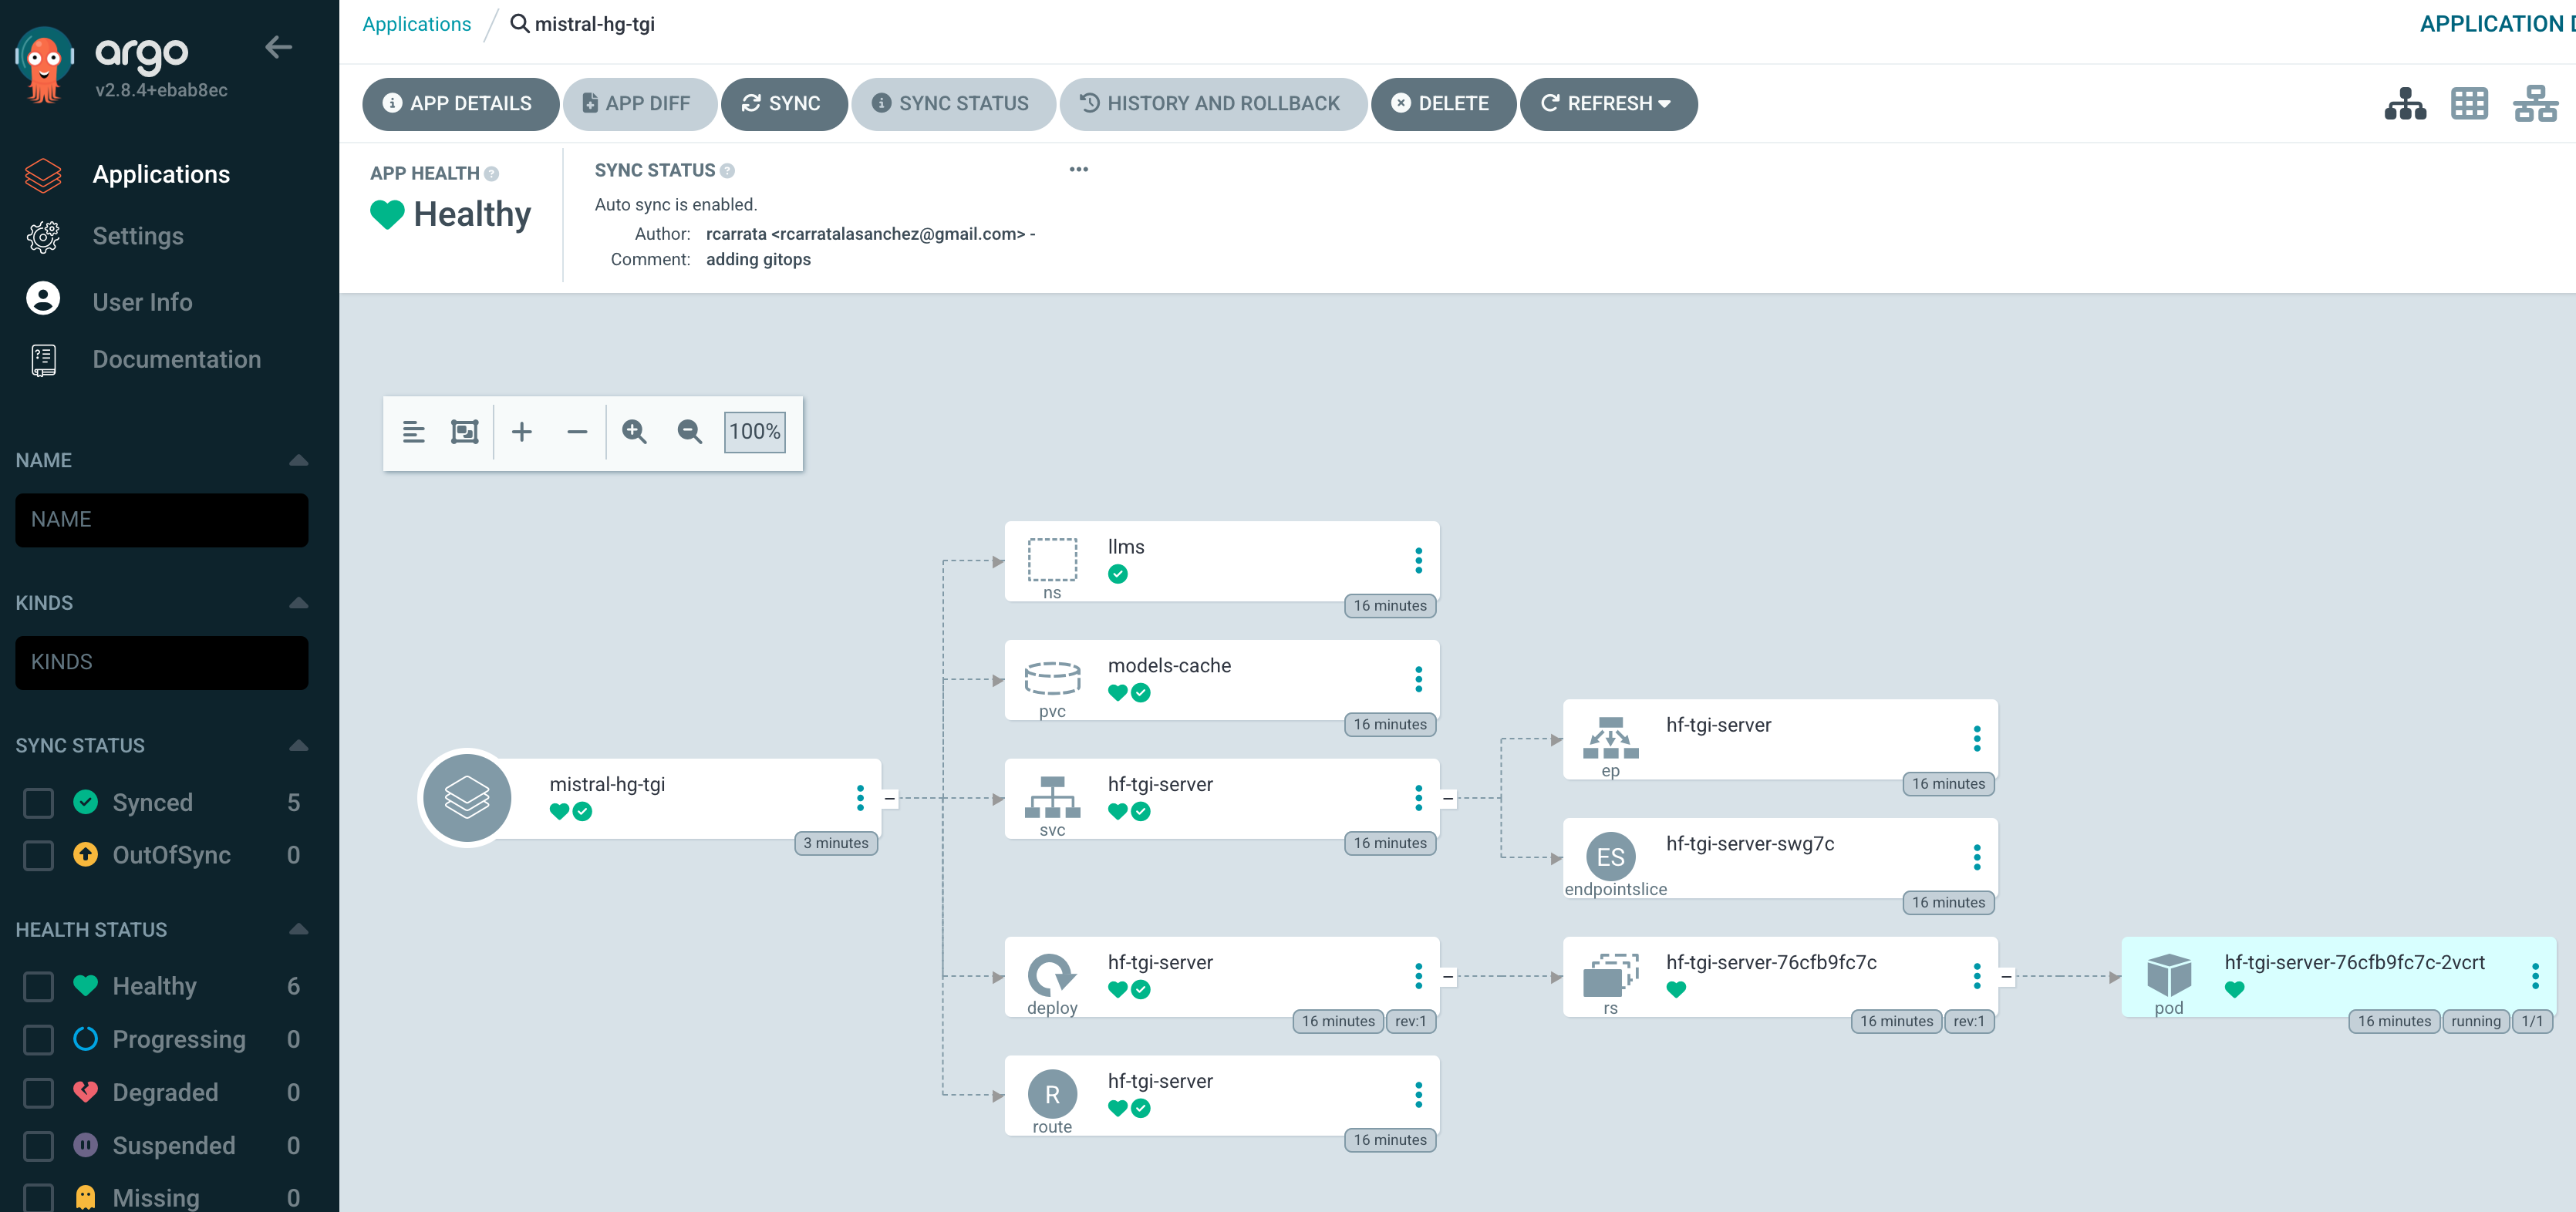
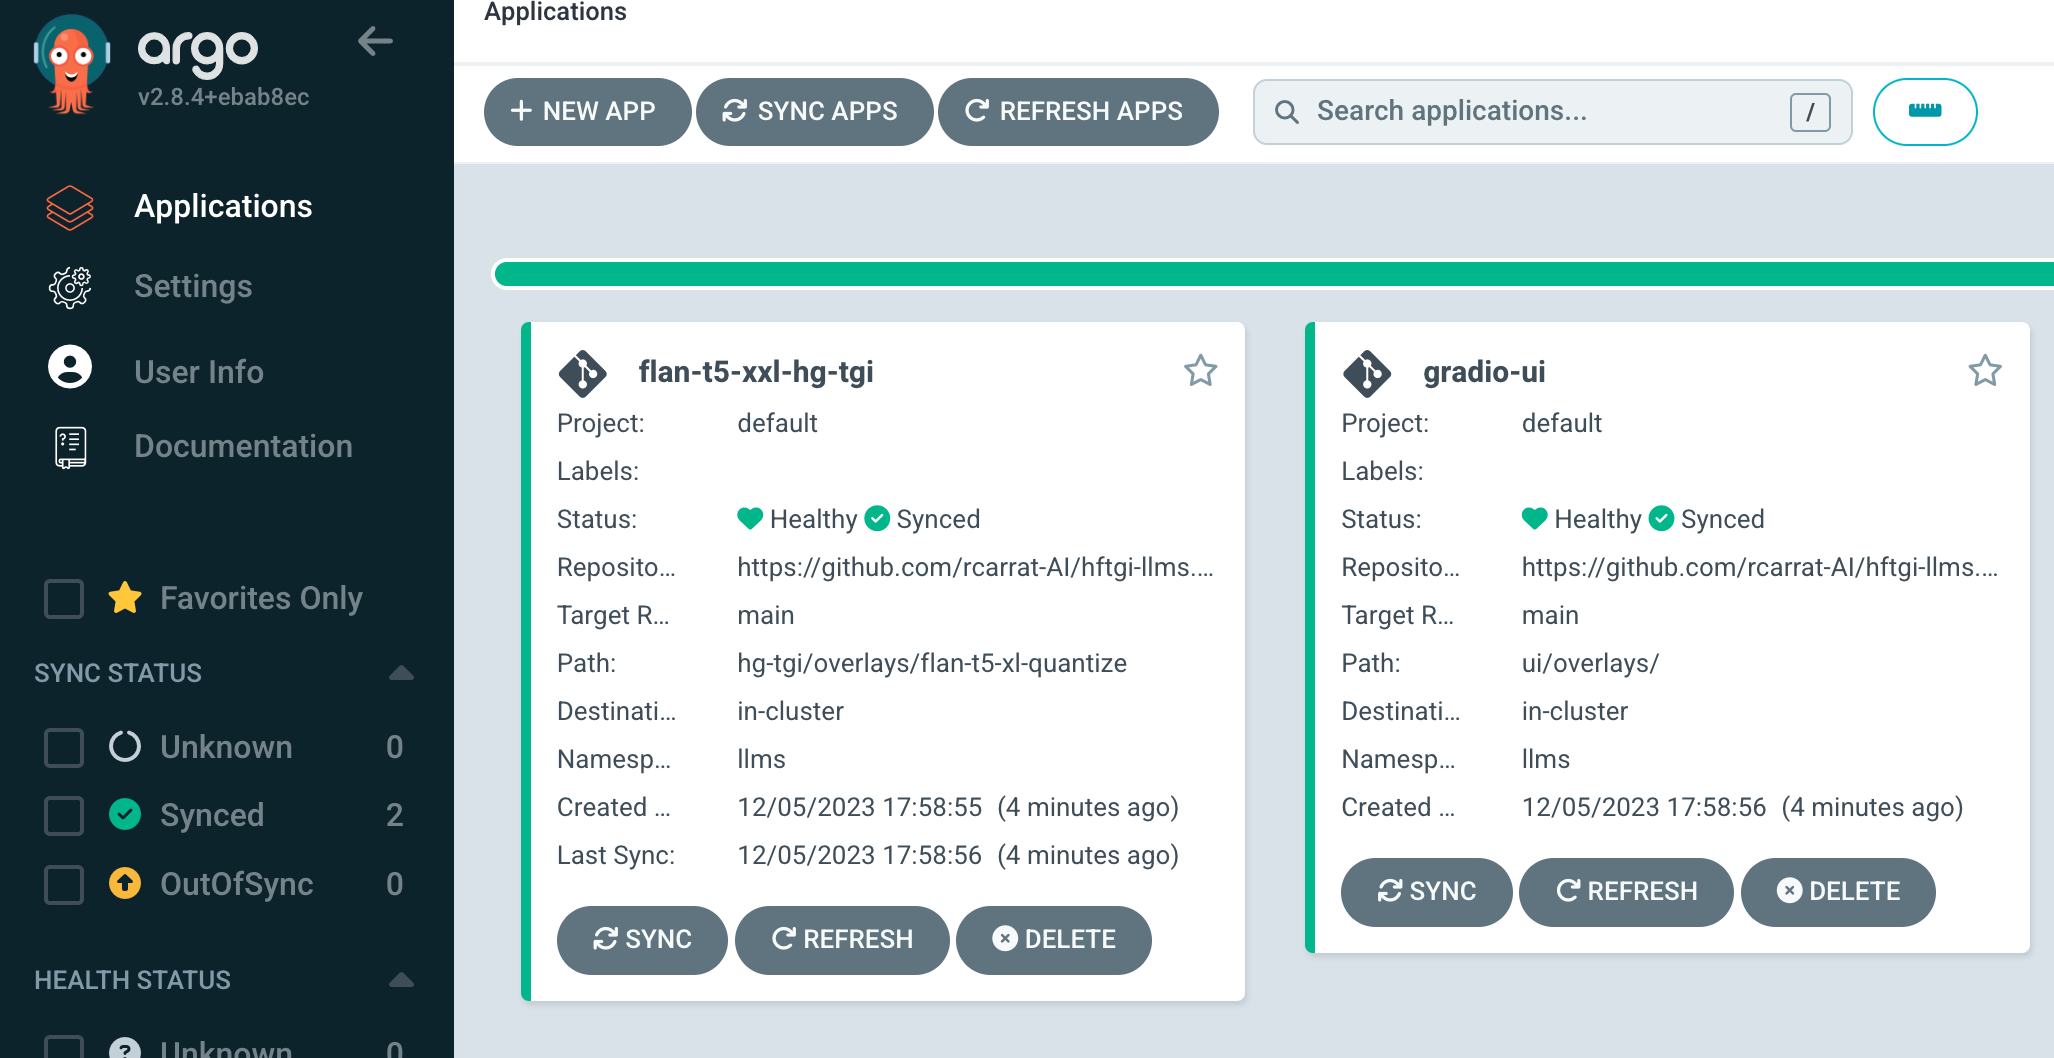
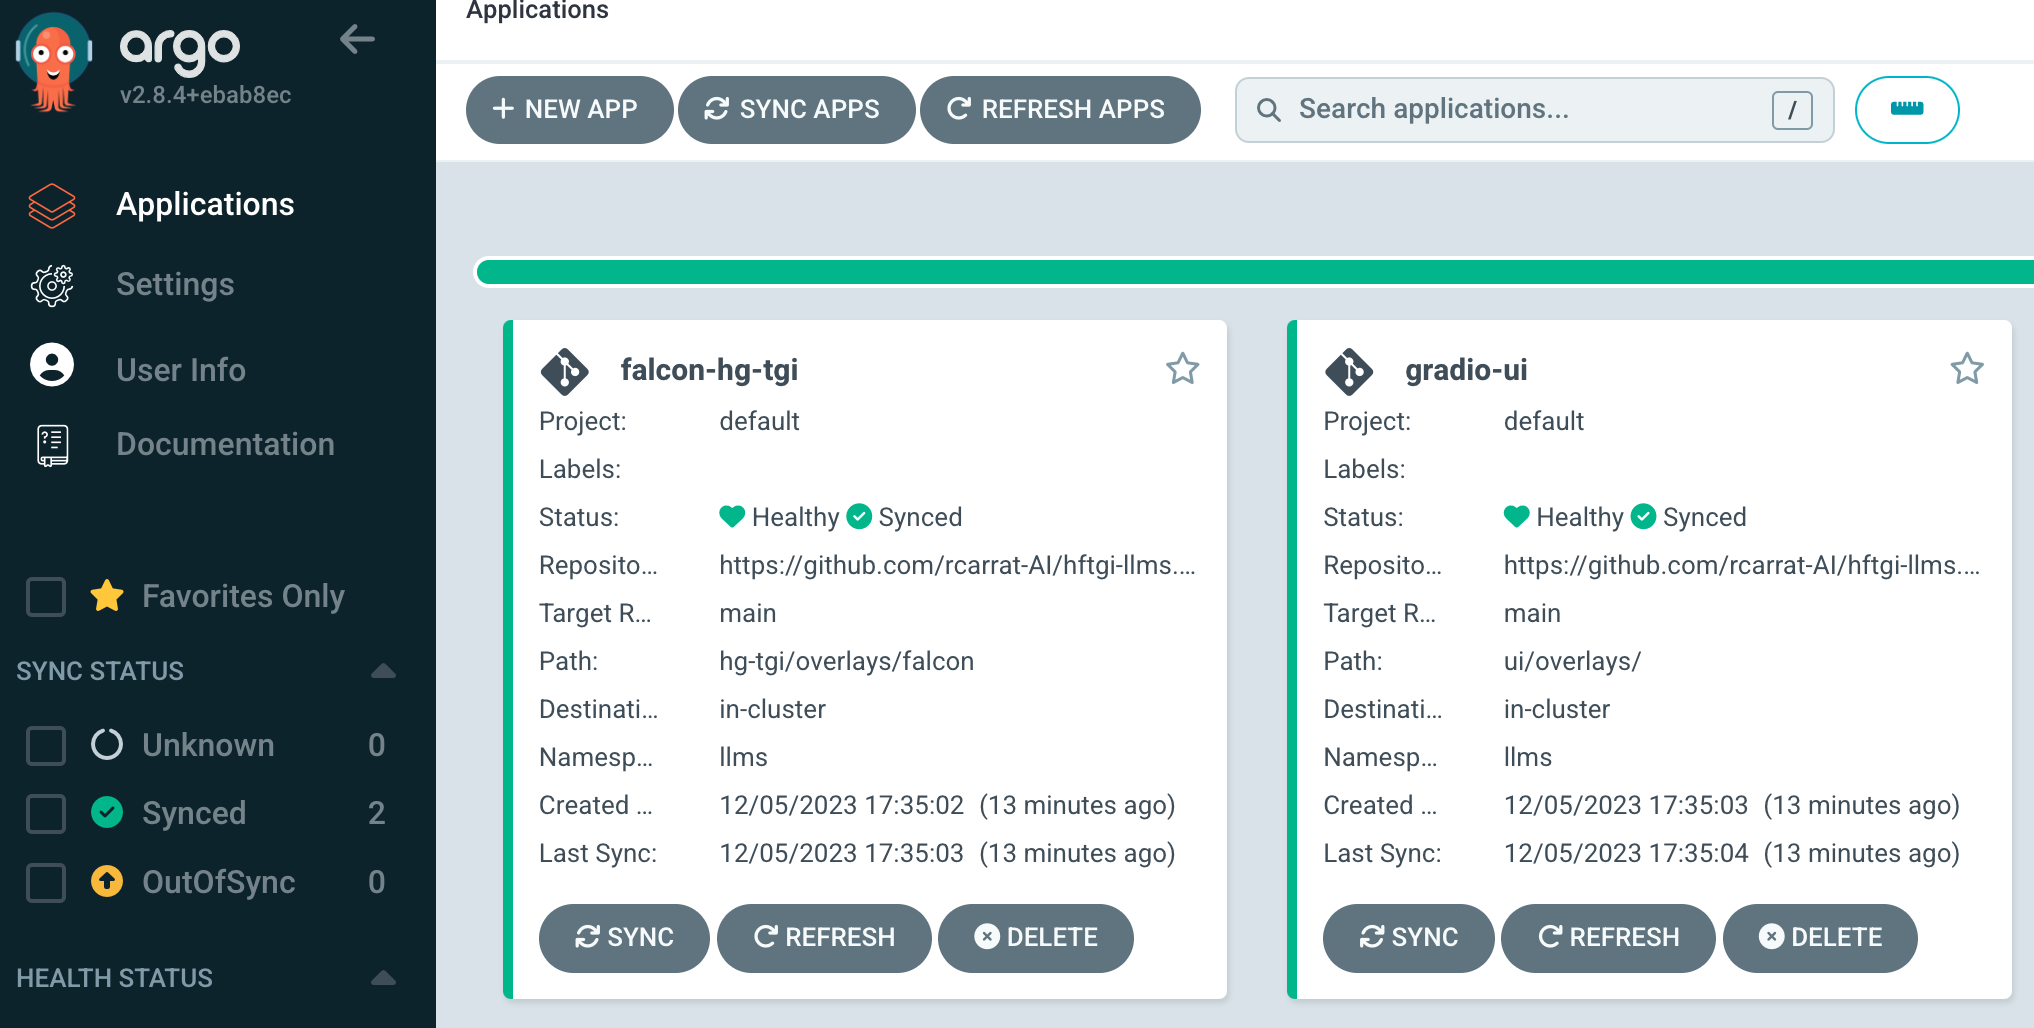
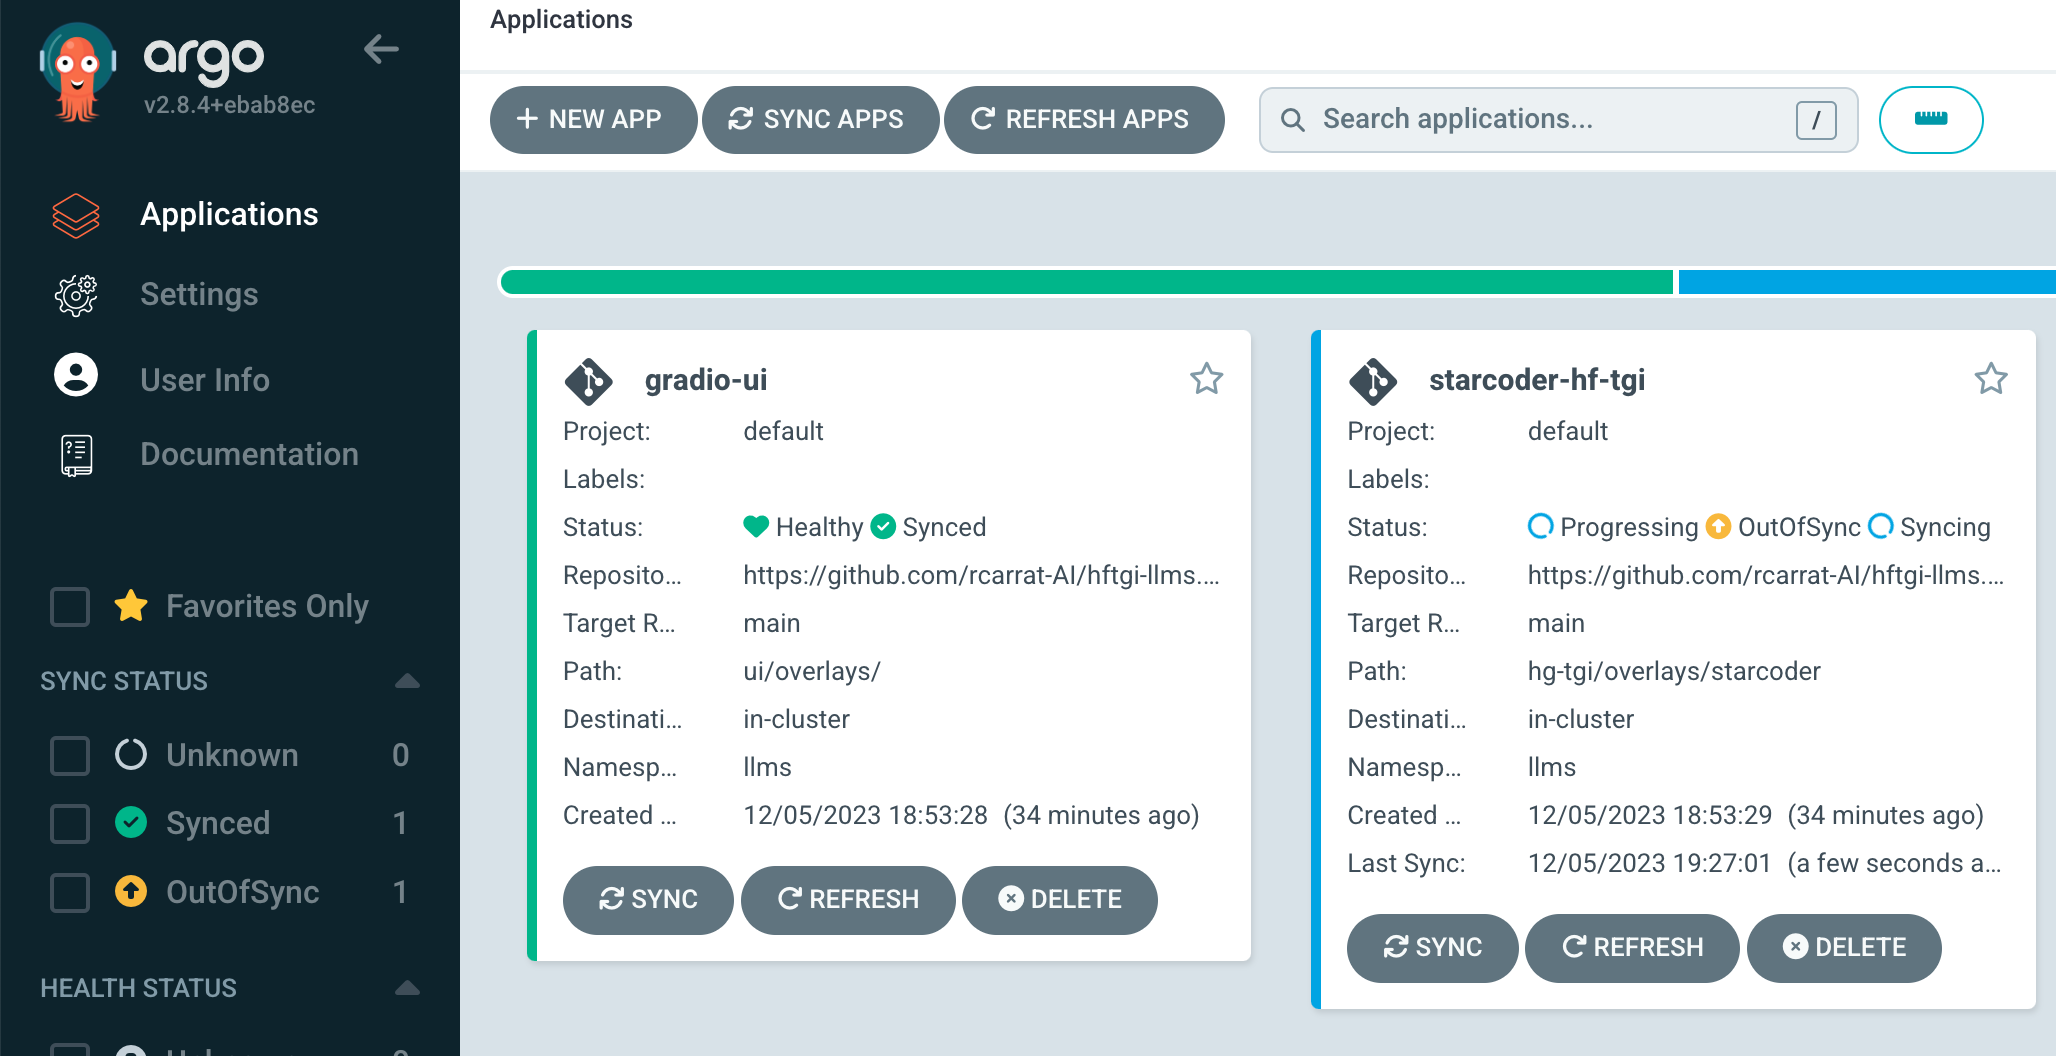
This repo will deploy HuggingFace Text Generation Inference server deployments in K8s/OpenShift with GitOps:
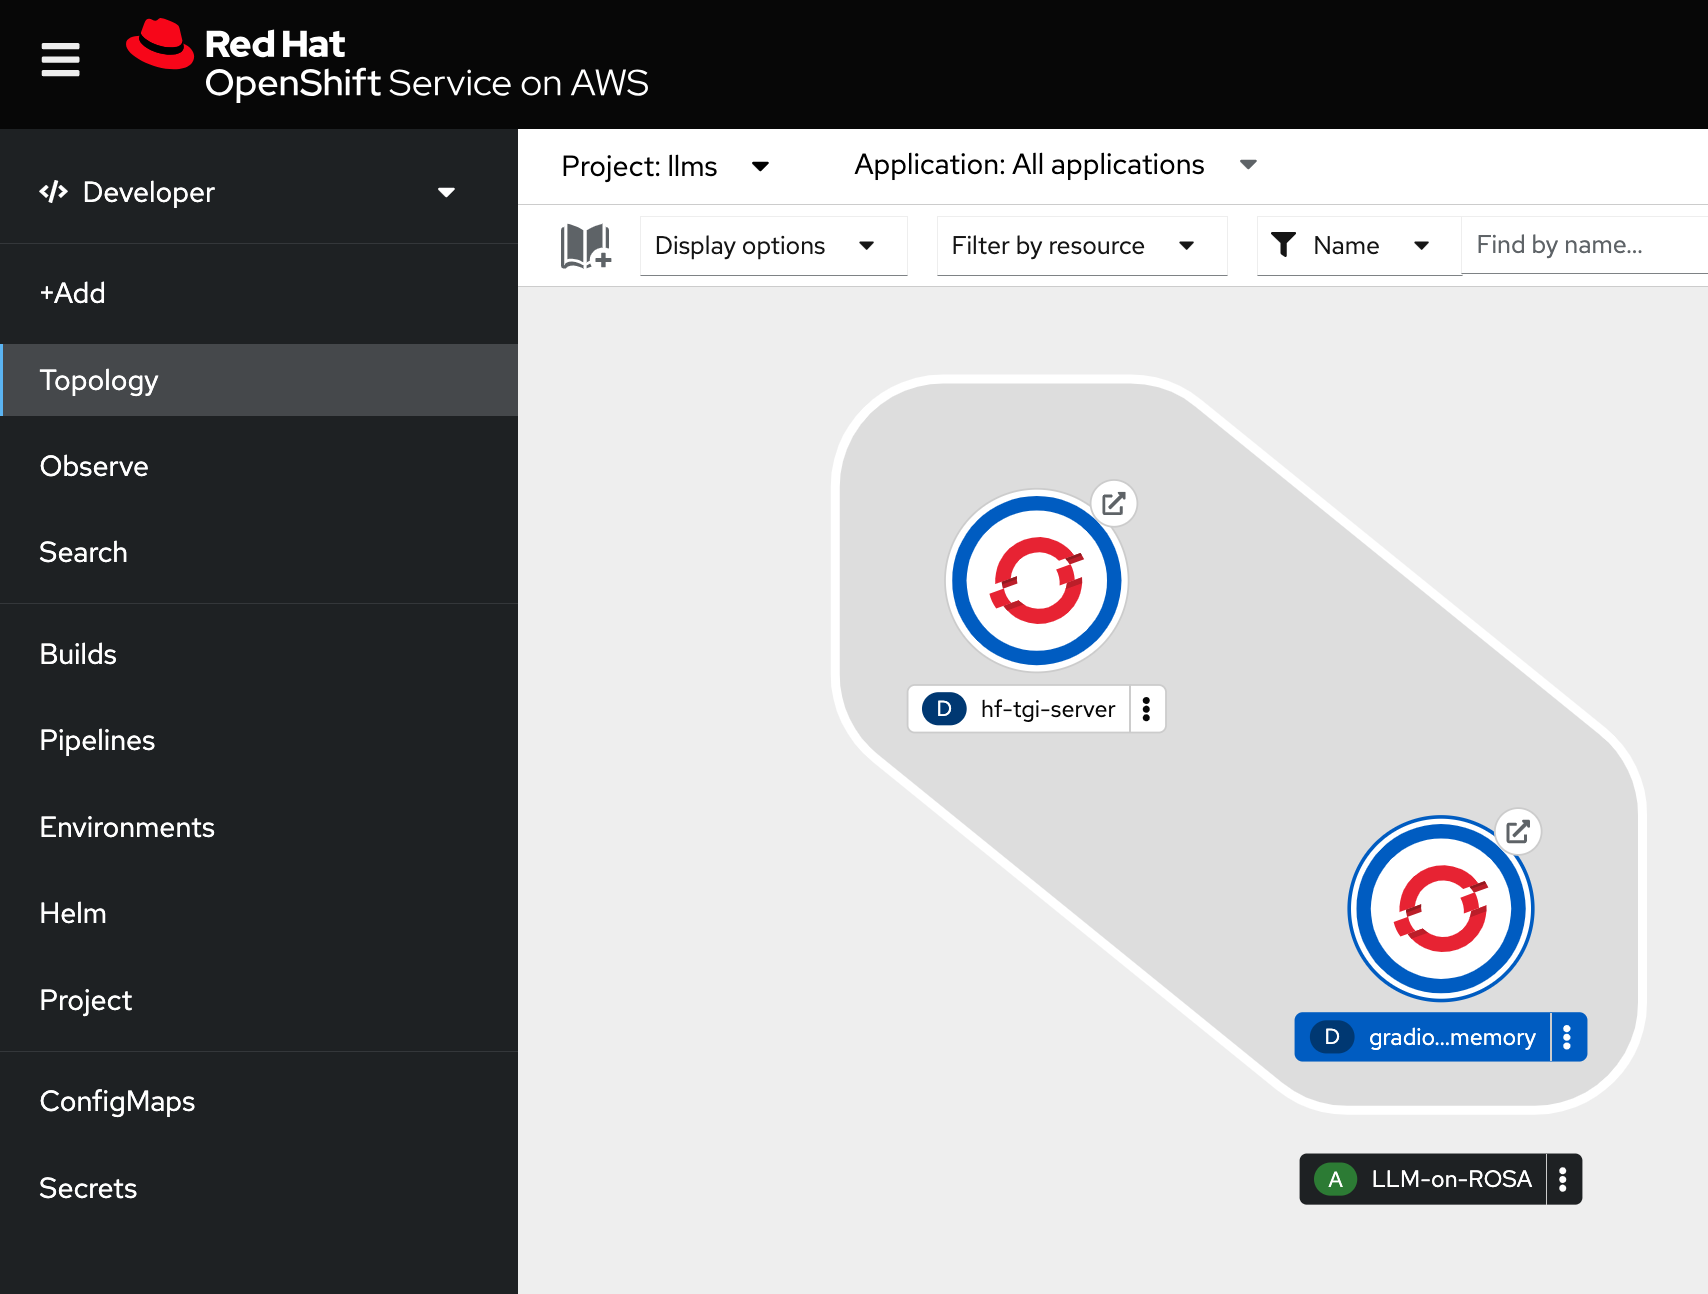
With this we can easily deploy different Open Source LLMs such as Llama2, Falcon, Mistral or FlanT5-XL among others in our OpenShift / Kubernetes clusters to be consumed as another application:
- ROSA or OpenShift Clusters (can be also deployed in K8s with some tweaks)
- GPU available (24gb vRAM recommended)
To deploy Large Language Models (LLMs) that require GPU resources, you need to ensure your OpenShift cluster has nodes with GPU capabilities. This section guides you through creating a GPU-enabled MachineSet in OpenShift.
Prerequisites
- Administrative access to an OpenShift cluster.
- The OpenShift Command Line Interface (CLI)
ocinstalled and configured.
Export Current MachineSet Configuration
First, identify the name of an existing MachineSet you wish to clone for your GPU nodes. You can list all MachineSets in the openshift-machine-api namespace with:
oc get machinesets -n openshift-machine-apiChoose an existing MachineSet from the list and export its configuration:
oc get machineset <YOUR_MACHINESET_NAME> -n openshift-machine-api -o json > machine_set_gpu.jsonModify the MachineSet Configuration for GPU
Edit the machine_set_gpu.json file to configure the MachineSet for GPU nodes:
- Change the
metadata:nameto a new name that includes "GPU" to easily identify it (e.g., cluster-gpu-worker). - Update the
spec:selector:matchLabels:machine.openshift.io/cluster-api-machinesetto match the new name. - Adjust
spec:template:metadata:labels:machine.openshift.io/cluster-api-machinesetlikewise. Additionally, modify the instance type and any other relevant specifications to suit your GPU requirements based on your cloud provider's offerings.
Create the GPU MachineSet Apply the updated MachineSet configuration to your cluster:
oc create -f machine_set_gpu.jsonValidate the GPU MachineSet Creation Confirm the new MachineSet is created and is provisioning nodes:
oc get machinesets -n openshift-machine-api | grep gpuThe Node Feature Discovery (NFD) Operator automatically detects and labels your OpenShift nodes with hardware features, like GPUs, making it easier to target workloads to specific hardware characteristics. Follow these steps to deploy NFD and verify its correct operation in your cluster, particularly for identifying nodes with NVIDIA GPUs.
-
Access Installed Operators:
- Navigate to Operators > Installed Operators from the OpenShift web console's side menu.
-
Install NFD:
- Locate the Node Feature Discovery entry in the list.
- Click NodeFeatureDiscovery under the Provided APIs section.
- Click Create NodeFeatureDiscovery.
- On the setup screen, click Create to initiate the NFD Operator, which will start labeling nodes with detected hardware features.
The NFD Operator uses vendor PCI IDs to recognize specific hardware. NVIDIA GPUs typically have the PCI ID 10de.
Using the OpenShift Web Console:
- Navigate to Compute > Nodes from the side menu.
- Select a worker node known to have an NVIDIA GPU.
- Click the Details tab.
- Check under Node Labels for the label:
feature.node.kubernetes.io/pci-10de.present=true. This label confirms the detection of an NVIDIA GPU.
Using the CLI:
To confirm the NFD has correctly labeled nodes with NVIDIA GPUs, run:
oc describe node | egrep 'Roles|pci' | grep -v masterYou're looking for entries like feature.node.kubernetes.io/pci-10de.present=true among the node labels, indicating that the NFD Operator has successfully identified NVIDIA GPU hardware on your nodes.
Note: The PCI vendor ID 0x10de is assigned to NVIDIA, serving as a unique identifier for their hardware components.
To install the NVIDIA GPU Operator in your OpenShift Container Platform, follow these steps:
- From the OpenShift web console's side menu, navigate to Operators > OperatorHub and select All Projects.
- In Operators > OperatorHub, search for the NVIDIA GPU Operator. For additional information, refer to the Red Hat OpenShift Container Platform documentation.
- Select the NVIDIA GPU Operator and click Install. On the subsequent screen, click Install again.
The installation of the NVIDIA GPU Operator introduces a custom resource definition for a ClusterPolicy, which configures the GPU stack, including image names and repository, pod restrictions/credentials, and more.
Note: Creating a ClusterPolicy with an empty specification, such as spec: {}, will cause the deployment to fail.
As a cluster administrator, you can create a ClusterPolicy using either the OpenShift Container Platform CLI or the web console. The steps differ when using NVIDIA vGPU; refer to the appropriate sections for details.
- In the OpenShift Container Platform web console, from the side menu, select Operators > Installed Operators and click NVIDIA GPU Operator.
- Select the ClusterPolicy tab, then click Create ClusterPolicy. The platform assigns the default name
gpu-cluster-policy.
Note: While you can customize the ClusterPolicy, the defaults are generally sufficient for configuring and running the GPUs.
- Click Create.
After creating the ClusterPolicy, the GPU Operator will install all necessary components to set up the NVIDIA GPUs in the OpenShift cluster. Allow at least 10-20 minutes for the installation process before initiating any troubleshooting, as it may take some time to complete.
The status of the newly deployed ClusterPolicy gpu-cluster-policy for the NVIDIA GPU Operator changes to State: ready upon successful installation.
To confirm that the NVIDIA GPU Operator has been installed successfully, use the following command to view the new pods and daemonsets:
oc get pods,daemonset -n nvidia-gpu-operatorThis command lists the pods and daemonsets deployed by the NVIDIA GPU Operator in the nvidia-gpu-operator namespace, indicating a successful installation.
Deploying ArgoCD or the OpenShift GitOps Operator in your OpenShift cluster facilitates continuous deployment and management of applications and resources. Follow these steps to install and configure the OpenShift GitOps Operator, which includes ArgoCD as part of its deployment.
-
Access OperatorHub:
- Navigate to Operators > OperatorHub from the OpenShift web console's side menu.
- Ensure you're in the correct project or namespace where you wish to deploy the GitOps operator.
-
Install the Operator:
- Search for the OpenShift GitOps Operator in the OperatorHub.
- Select the Operator from the search results and click Install.
- Follow the on-screen instructions, choosing the appropriate installation namespace (typically, this will be
openshift-gitops) and approval strategy, then click Install.
After the installation, the OpenShift GitOps Operator will automatically deploy ArgoCD instances and other necessary components.
-
Check the Installation Status:
- Navigate to Installed Operators under Operators in the side menu.
- Ensure the OpenShift GitOps Operator status is showing as Succeeded.
-
Access the ArgoCD Instance:
- From the OpenShift web console, go to Applications > Routes in the
openshift-gitopsnamespace. - Look for a route named
openshift-gitops-serverand access the URL provided. This will take you to the ArgoCD dashboard. - Log in using your OpenShift credentials.
- From the OpenShift web console, go to Applications > Routes in the
Once ArgoCD is accessible, you can begin configuring it to manage deployments within your OpenShift cluster.
-
Create Applications: Define applications in ArgoCD, linking them to your Git repositories where your Kubernetes manifests, Helm charts, or Kustomize configurations are stored.
-
Sync Policies: Set up automatic or manual sync policies for your applications to align your cluster state with your Git repository's state.
-
Monitor and Manage Deployments: Use the ArgoCD dashboard to monitor deployments, manually trigger syncs, and rollback changes if necessary.
Note: The OpenShift GitOps Operator and ArgoCD leverage Kubernetes RBAC and OpenShift's SSO capabilities, allowing for detailed access control and auditing of your deployment workflows.
For certain workloads or services in OpenShift, you may need to grant specific Security Context Constraints (SCCs) to service accounts to ensure they have the necessary permissions to run correctly. Below are commands to add various SCCs to the default service account in the llms namespace, which can be adjusted according to your specific requirements.
Execute the following commands to apply the necessary SCCs:
# Create the 'llms' namespace
oc create namespace llms

# Grant the 'anyuid' SCC to the 'default' service account
oc adm policy add-scc-to-user anyuid -z default --namespace llms

# Grant the 'nonroot' SCC to the 'default' service account
oc adm policy add-scc-to-user nonroot -z default --namespace llms

# Grant the 'hostmount-anyuid' SCC to the 'default' service account
oc adm policy add-scc-to-user hostmount-anyuid -z default --namespace llms

# Grant the 'machine-api-termination-handler' SCC to the 'default' service account
oc adm policy add-scc-to-user machine-api-termination-handler -z default --namespace llms

# Grant the 'hostnetwork' SCC to the 'default' service account
oc adm policy add-scc-to-user hostnetwork -z default --namespace llms

# Grant the 'hostaccess' SCC to the 'default' service account
oc adm policy add-scc-to-user hostaccess -z default --namespace llms

# Grant the 'node-exporter' SCC to the 'default' service account
oc adm policy add-scc-to-user node-exporter -z default --namespace llms

# Grant the 'privileged' SCC to the 'default' service account
oc adm policy add-scc-to-user privileged -z default --namespace llms

#
oc adm policy add-role-to-user admin system:serviceaccount:openshift-gitops:openshift-gitops-argocd-application-controller -n llms
These commands facilitate the application's operation by ensuring that the default service account within your namespace has the permissions necessary to perform its operations. Modify the namespace and service account names as needed for your specific deployment scenario.
kubectl apply -k gitops/mistralkubectl apply -k gitops/flant5xxlkubectl apply -k gitops/falconkubectl apply -k gitops/llama2NOTE: this model needs to set the HUGGING_FACE_HUB_TOKEN_BASE64 in a Secret to be downloaded.
export HUGGING_FACE_HUB_TOKEN_BASE64=$(echo -n 'your-token-value' | base64)
envsubst < hg-tgi/overlays/llama2-7b/hf-token-secret-template.yaml > /tmp/hf-token-secret.yaml
kubectl apply -f /tmp/hf-token-secret.yaml -n llmskubectl apply -k gitops/codellamakubectl apply -k gitops/starcoderNOTE: this model needs to set the HF_TOKEN in a Secret to be downloaded.
export HUGGING_FACE_HUB_TOKEN_BASE64=$(echo -n 'your-token-value' | base64)
envsubst < hg-tgi/overlays/llama2-7b/hf-token-secret-template.yaml > /tmp/hf-token-secret.yaml
kubectl apply -f /tmp/hf-token-secret.yaml -n llms- Check the Inference Guide to test your LLM deployed with Hugging Face Text Generation Inference
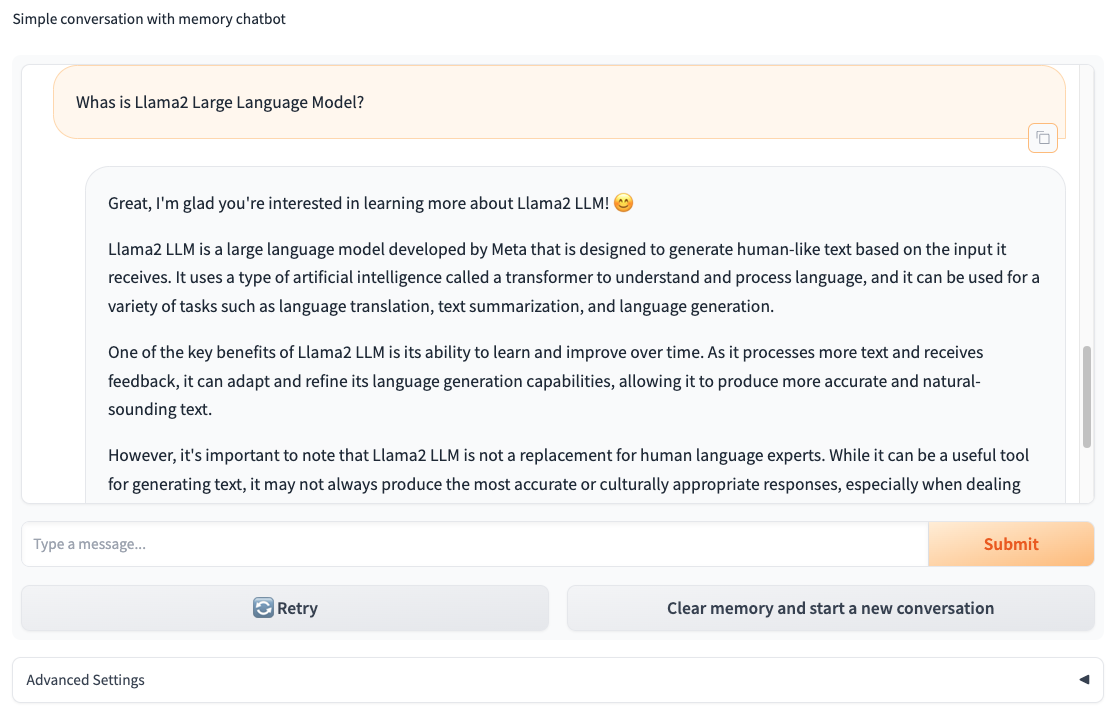
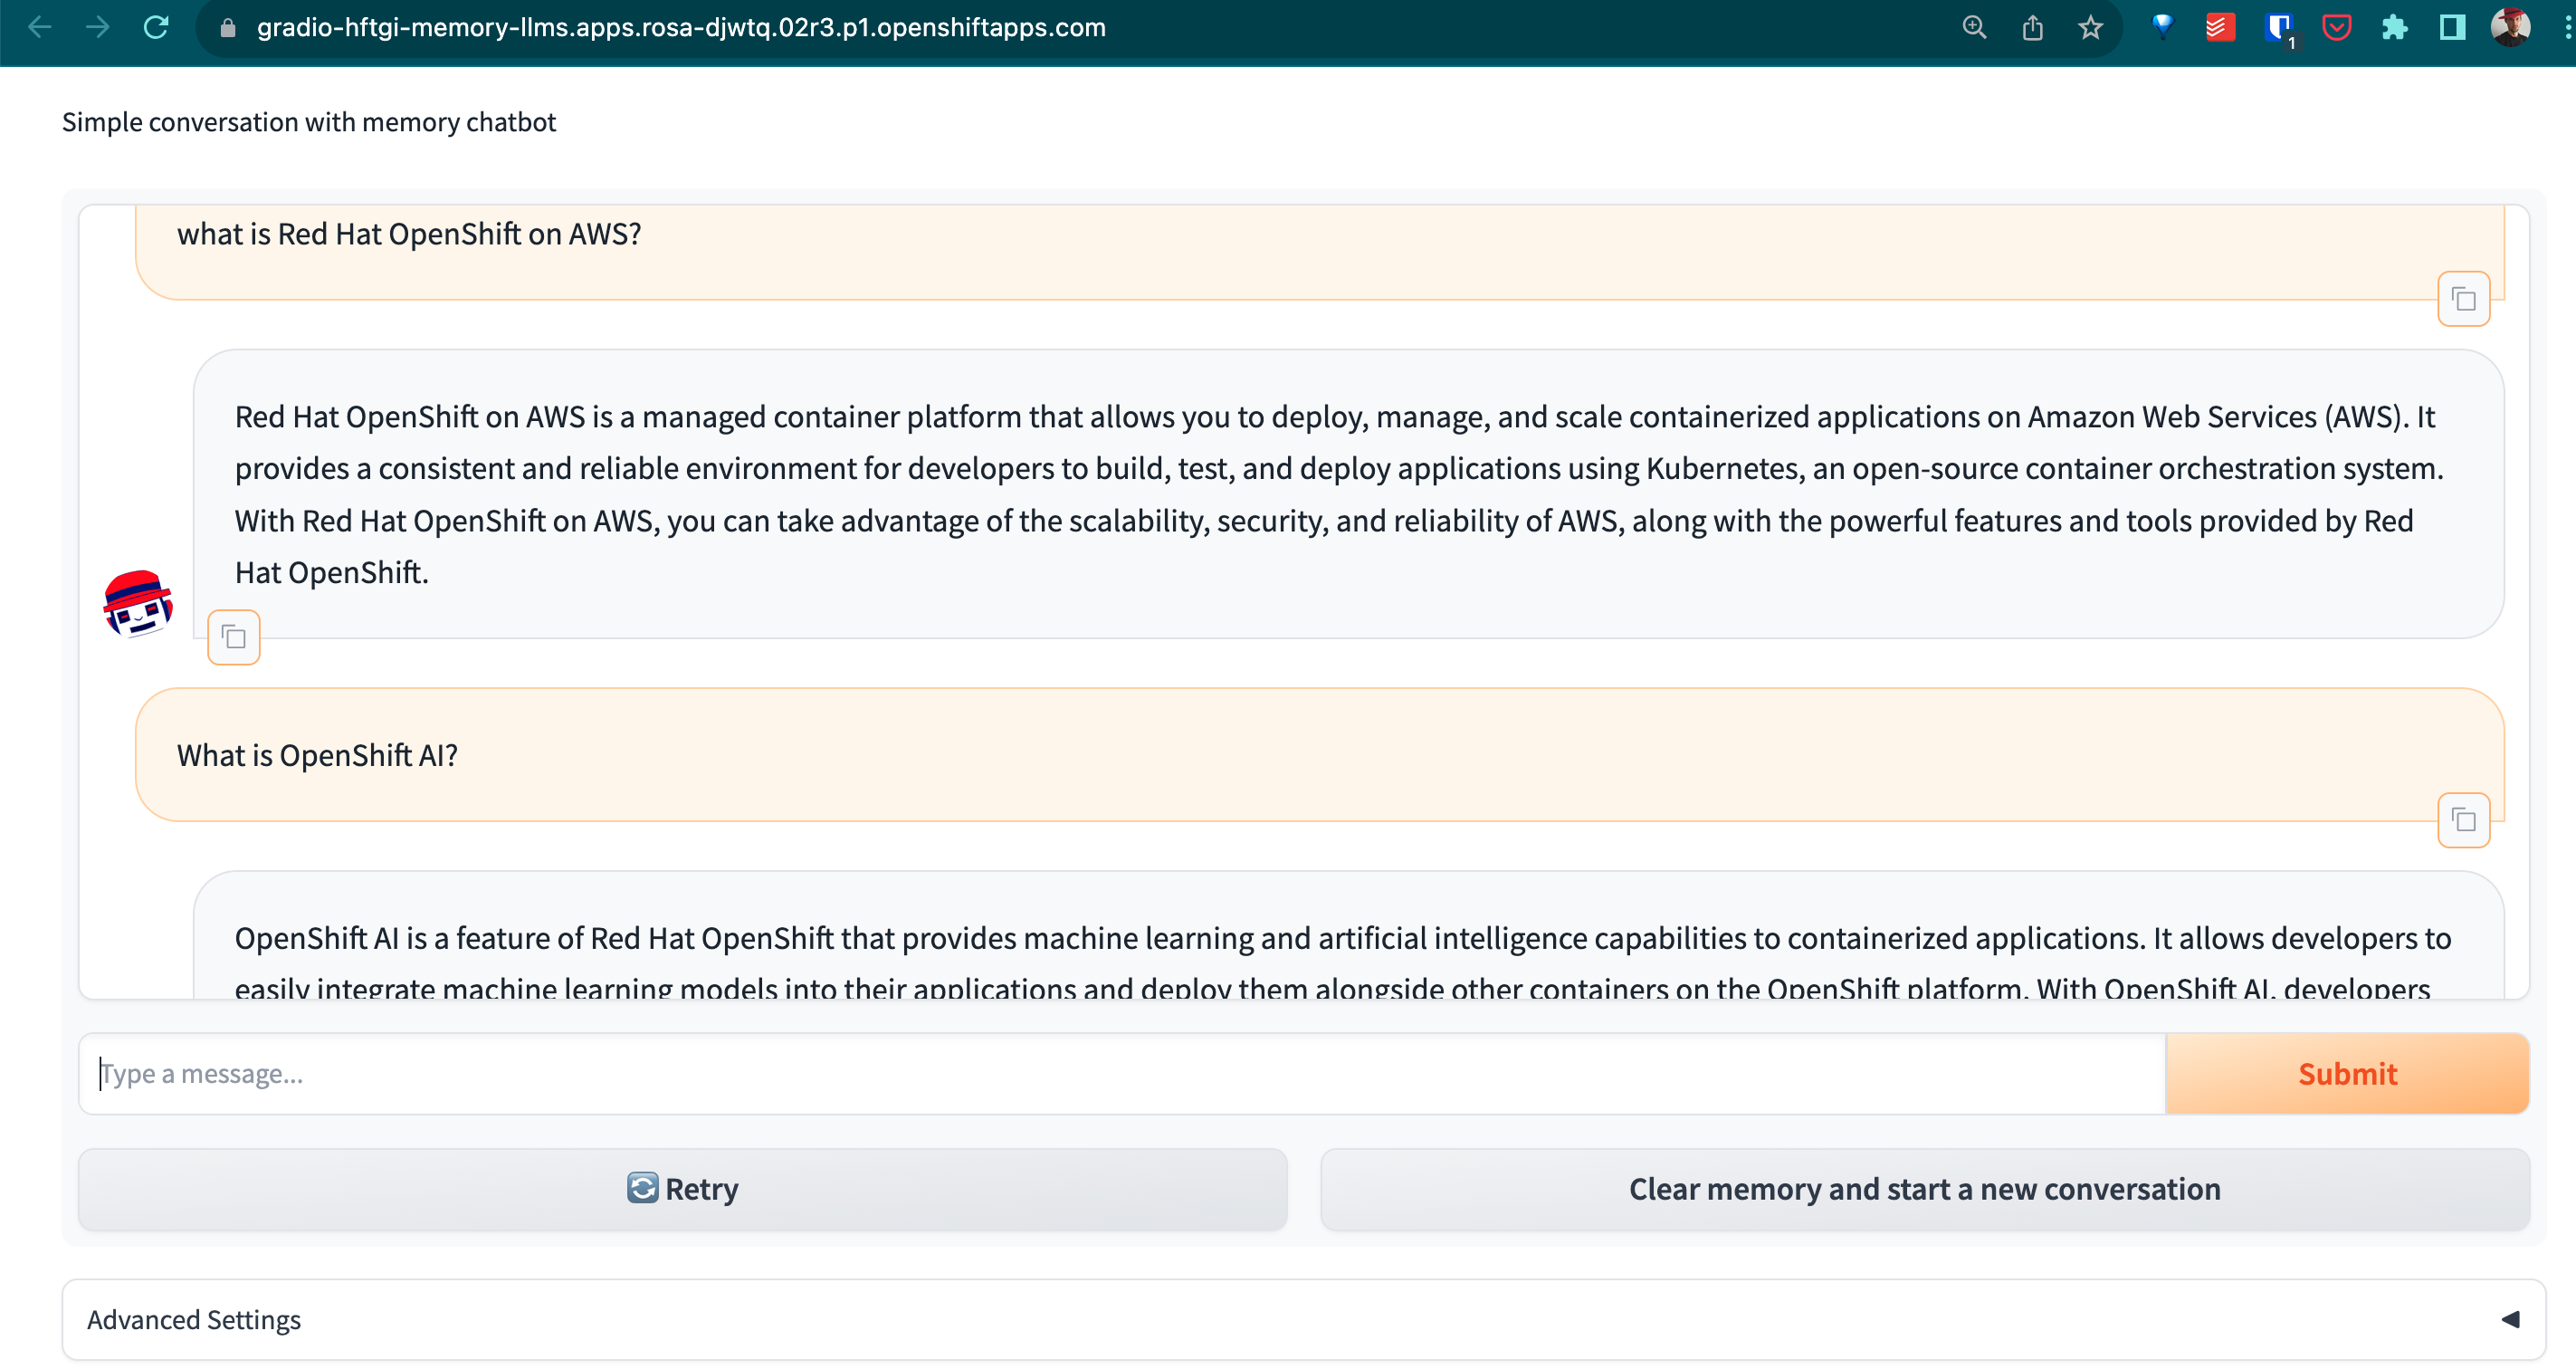
We will deploy alongside the HF-TGI a Gradio ChatBot application with Memory powered by LangChain.
This FrontEnd will be using the HF-TGI deployed as a backend, powering and fueling the AI NPL Chat capabilities of this FrontEnd Chatbot App.
Once the Gradio ChatBot is deployed, will access directly to the HF-TGI Server that serves the LLM of your choice (see section below), and will answer your questions:
NOTE: If you want to know more, check the original source rh-aiservices-bu repository.
- Repo is heavily based in the llm-on-openshift repo. Kudos to the team!
