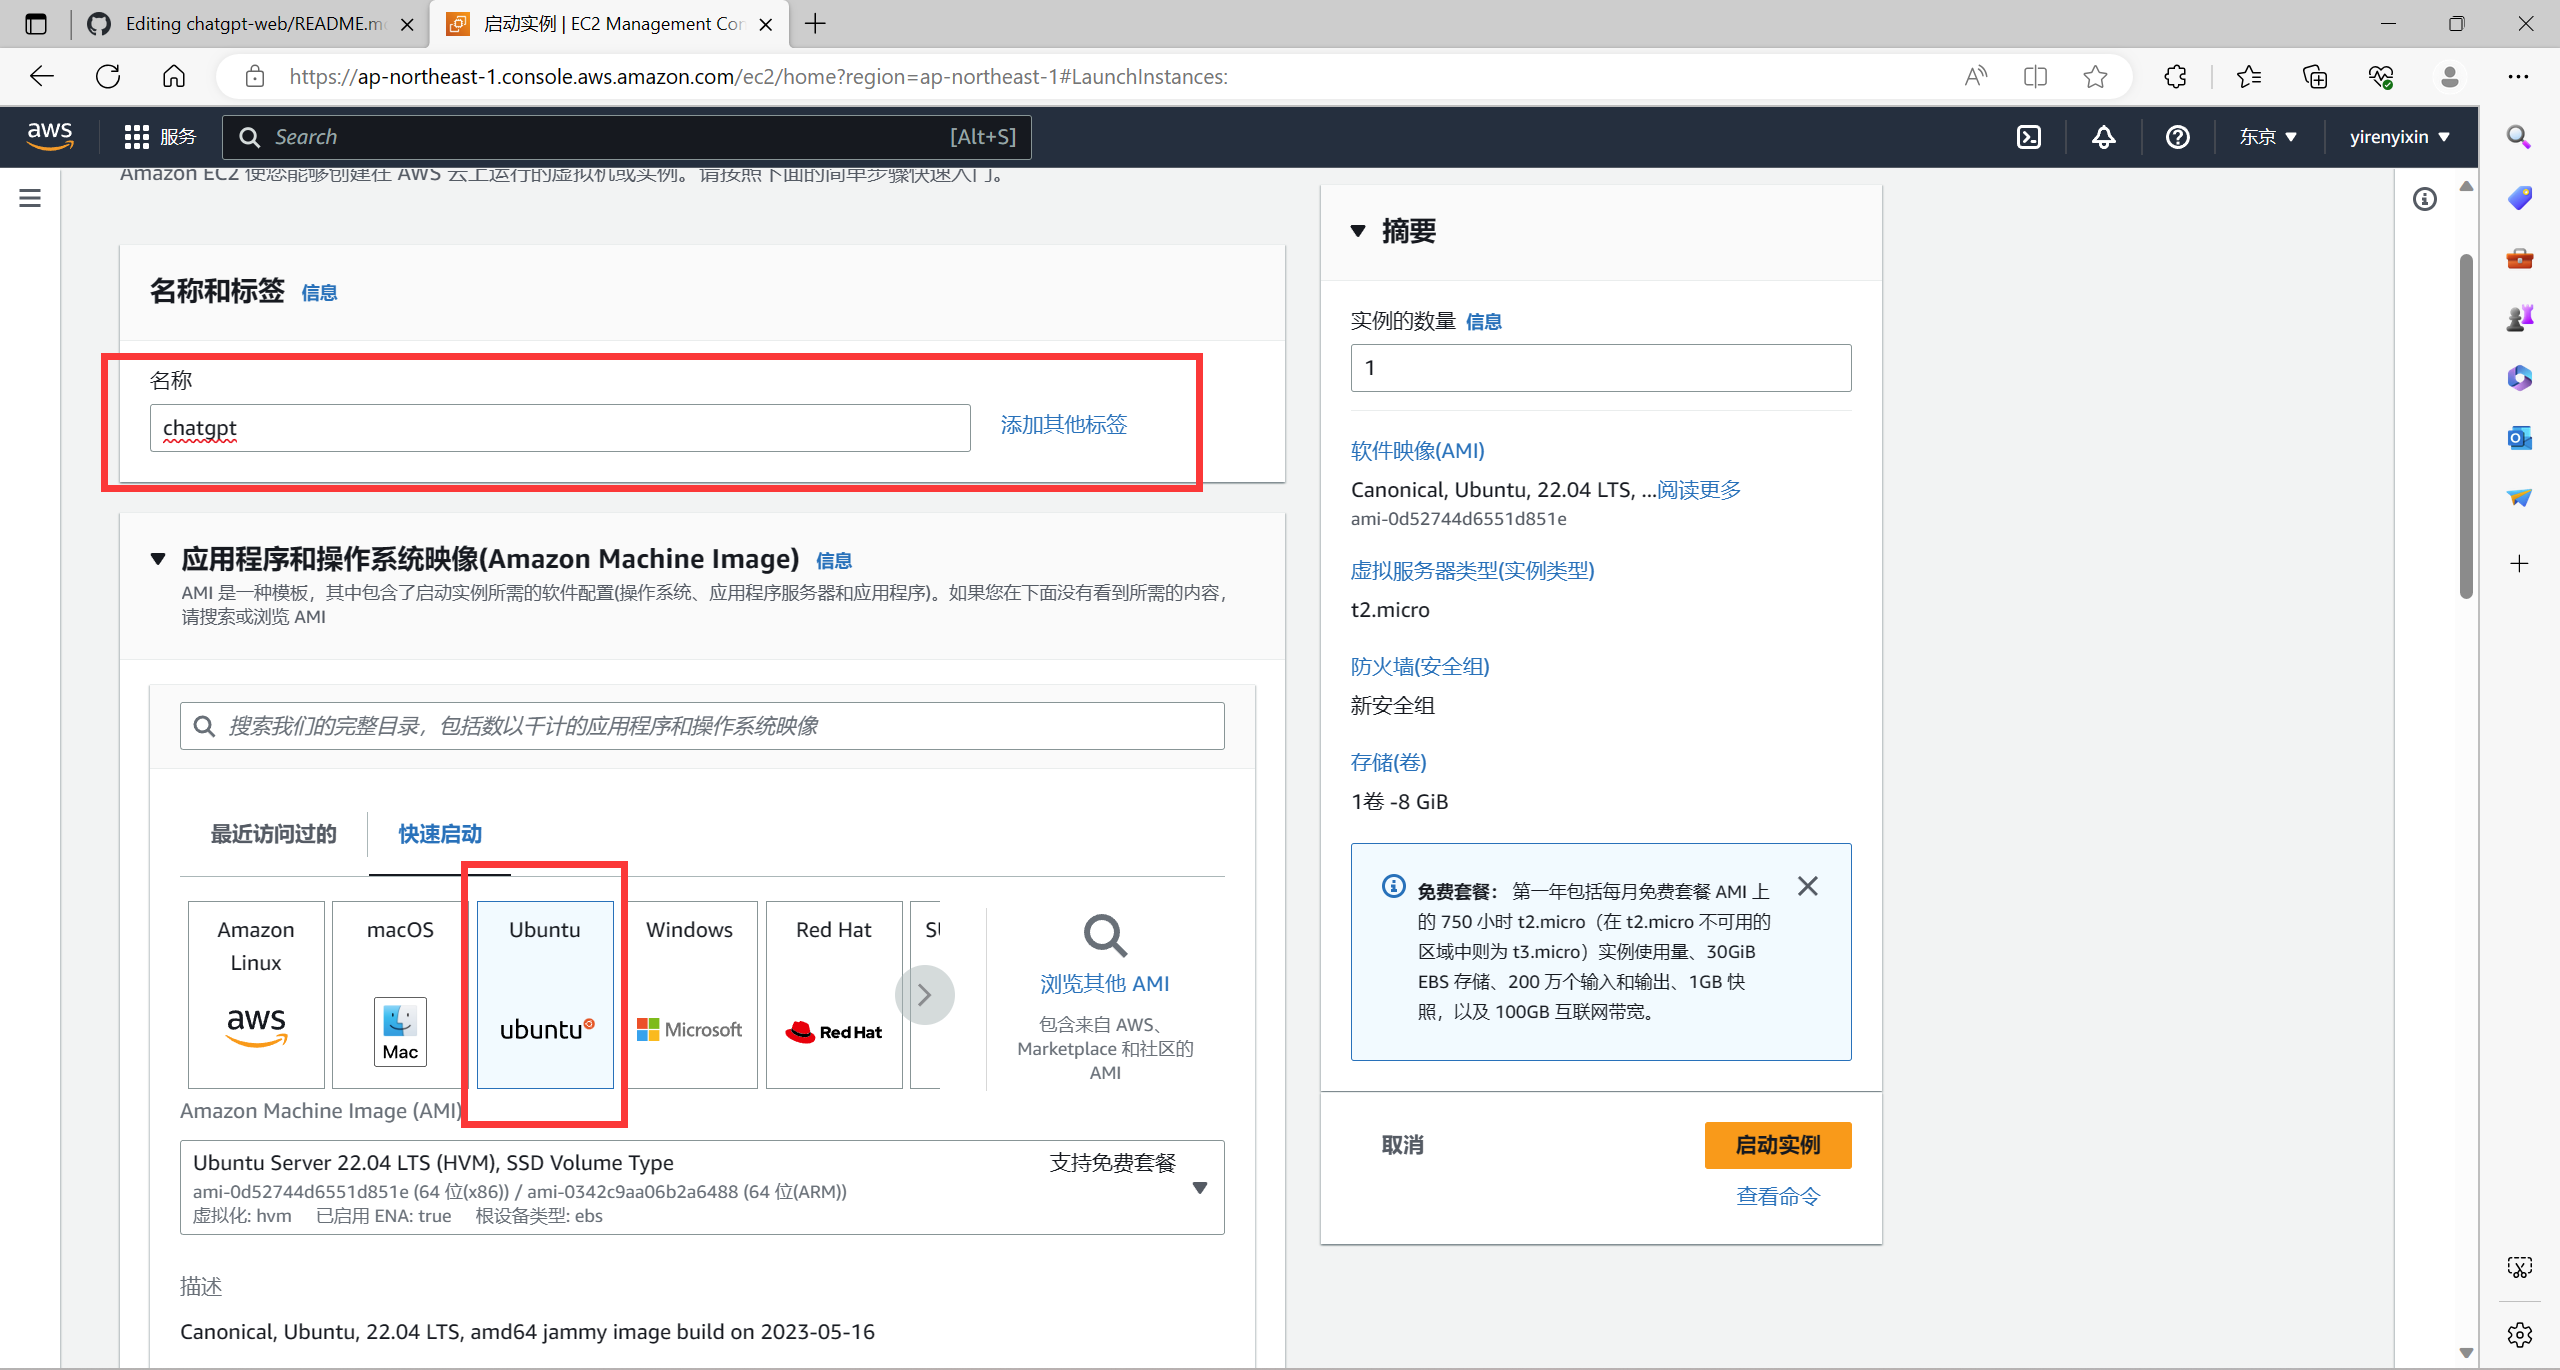
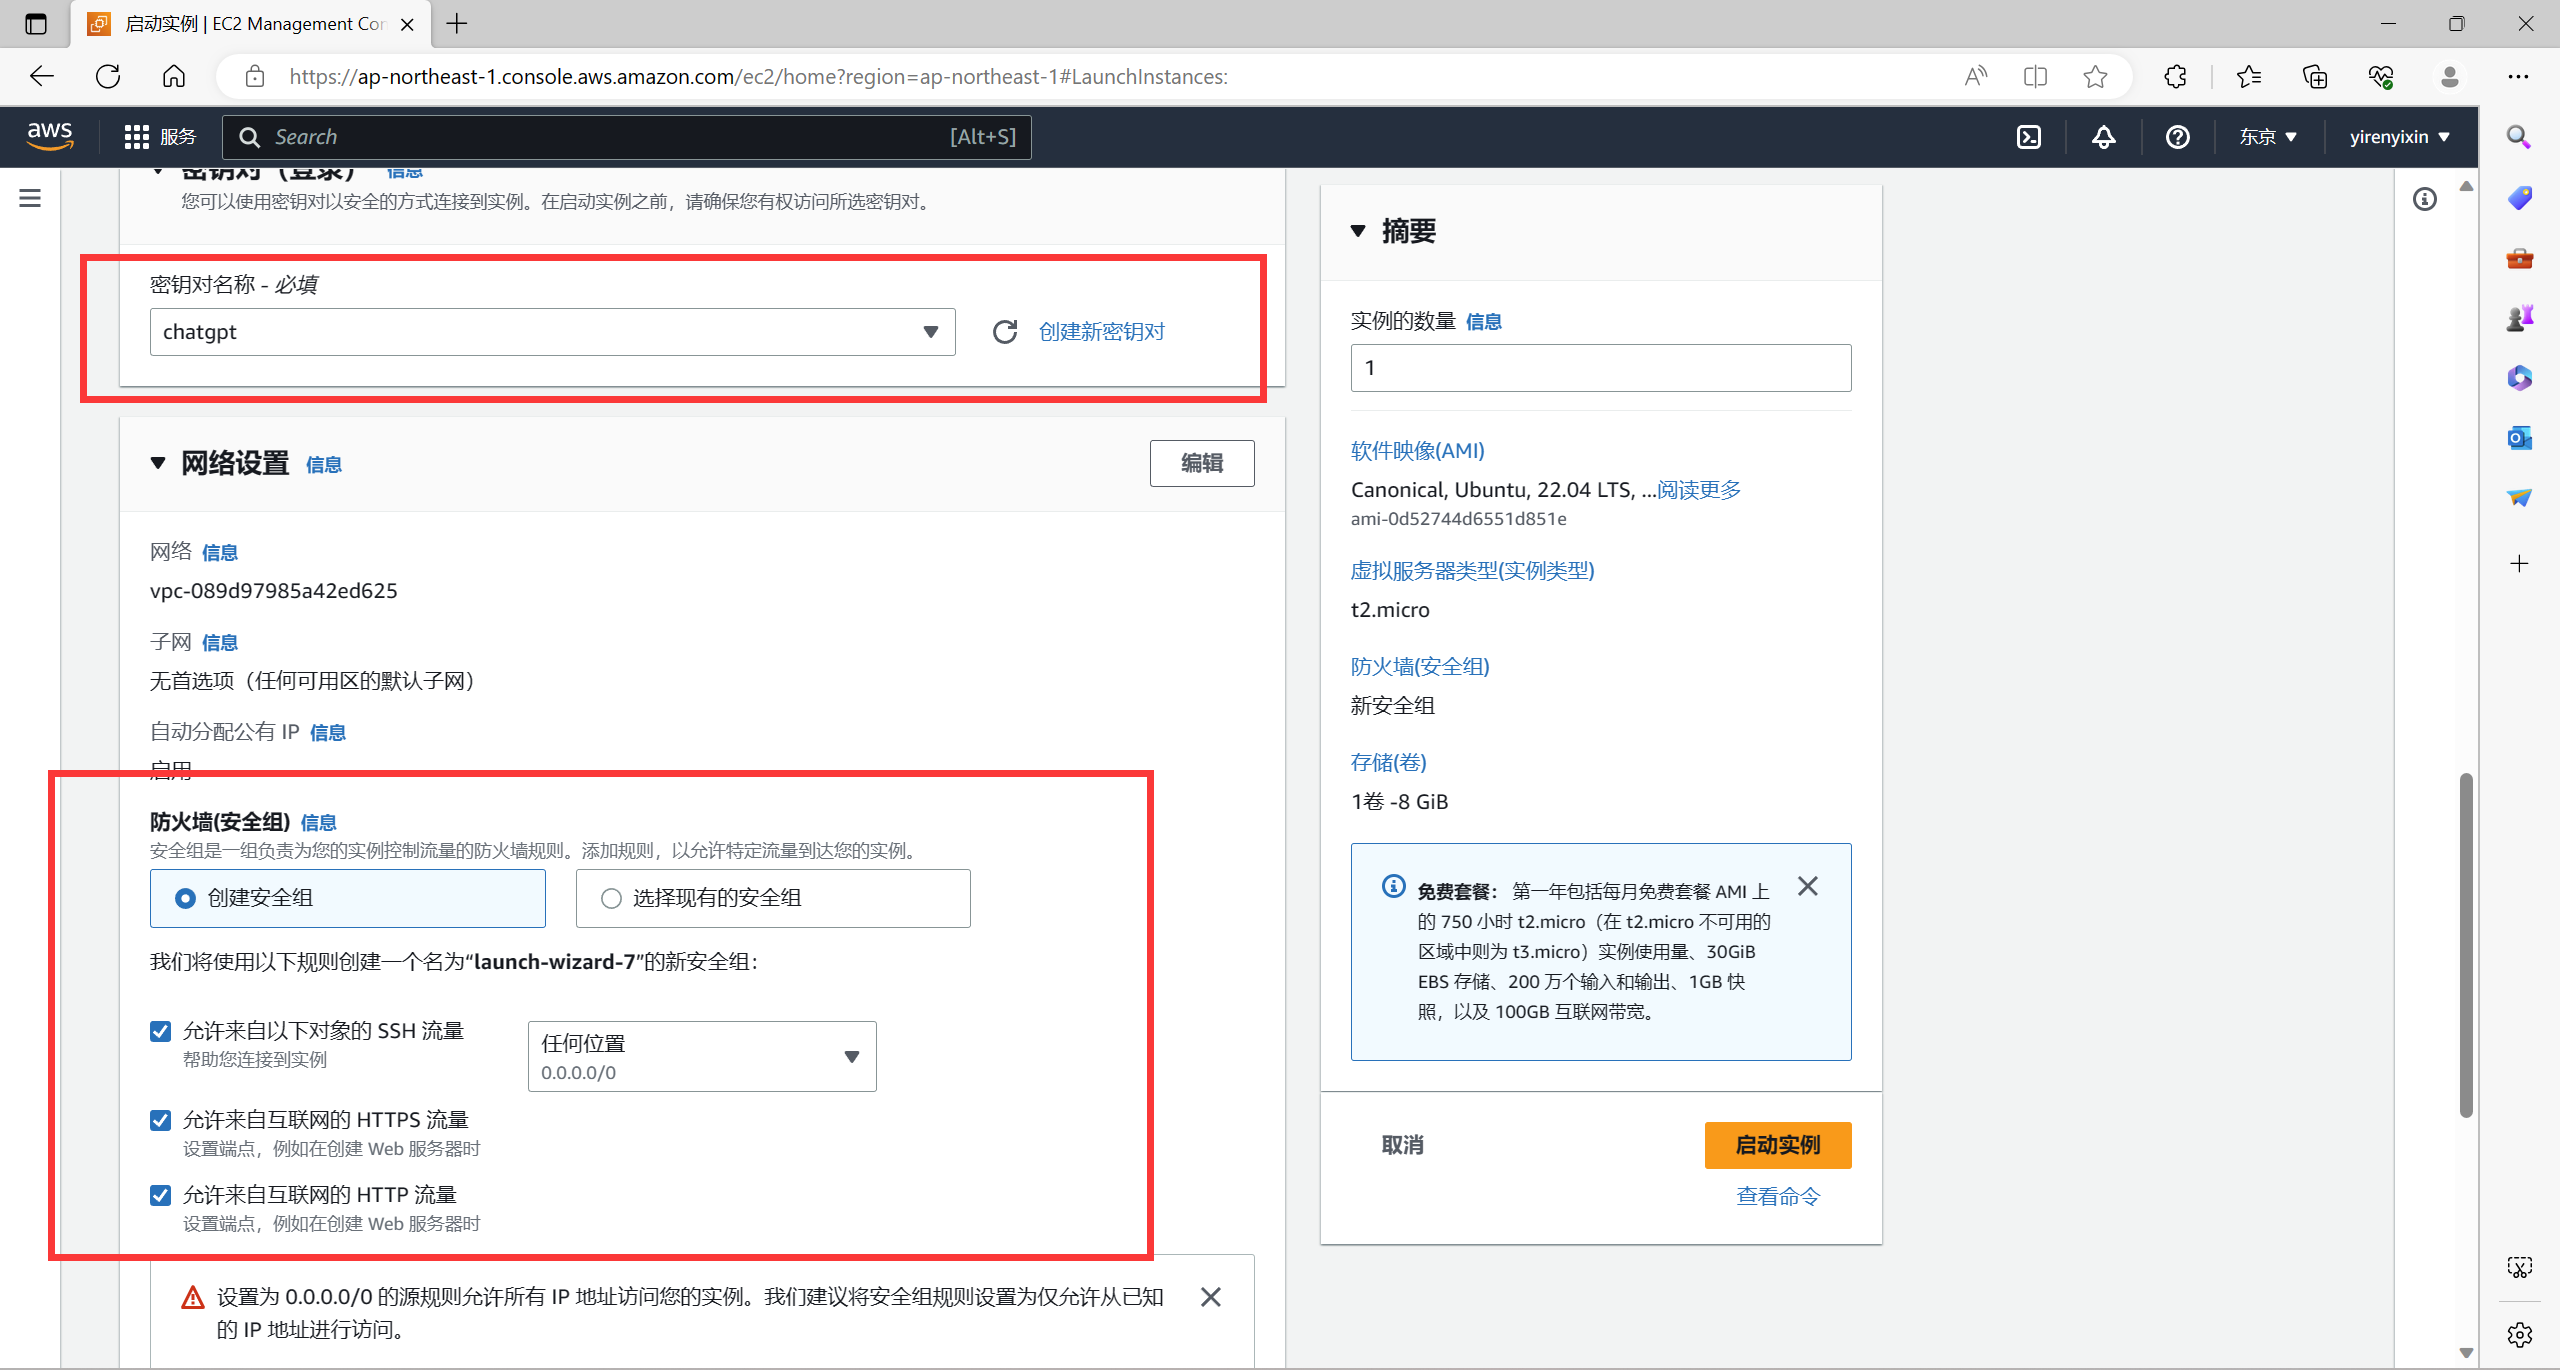
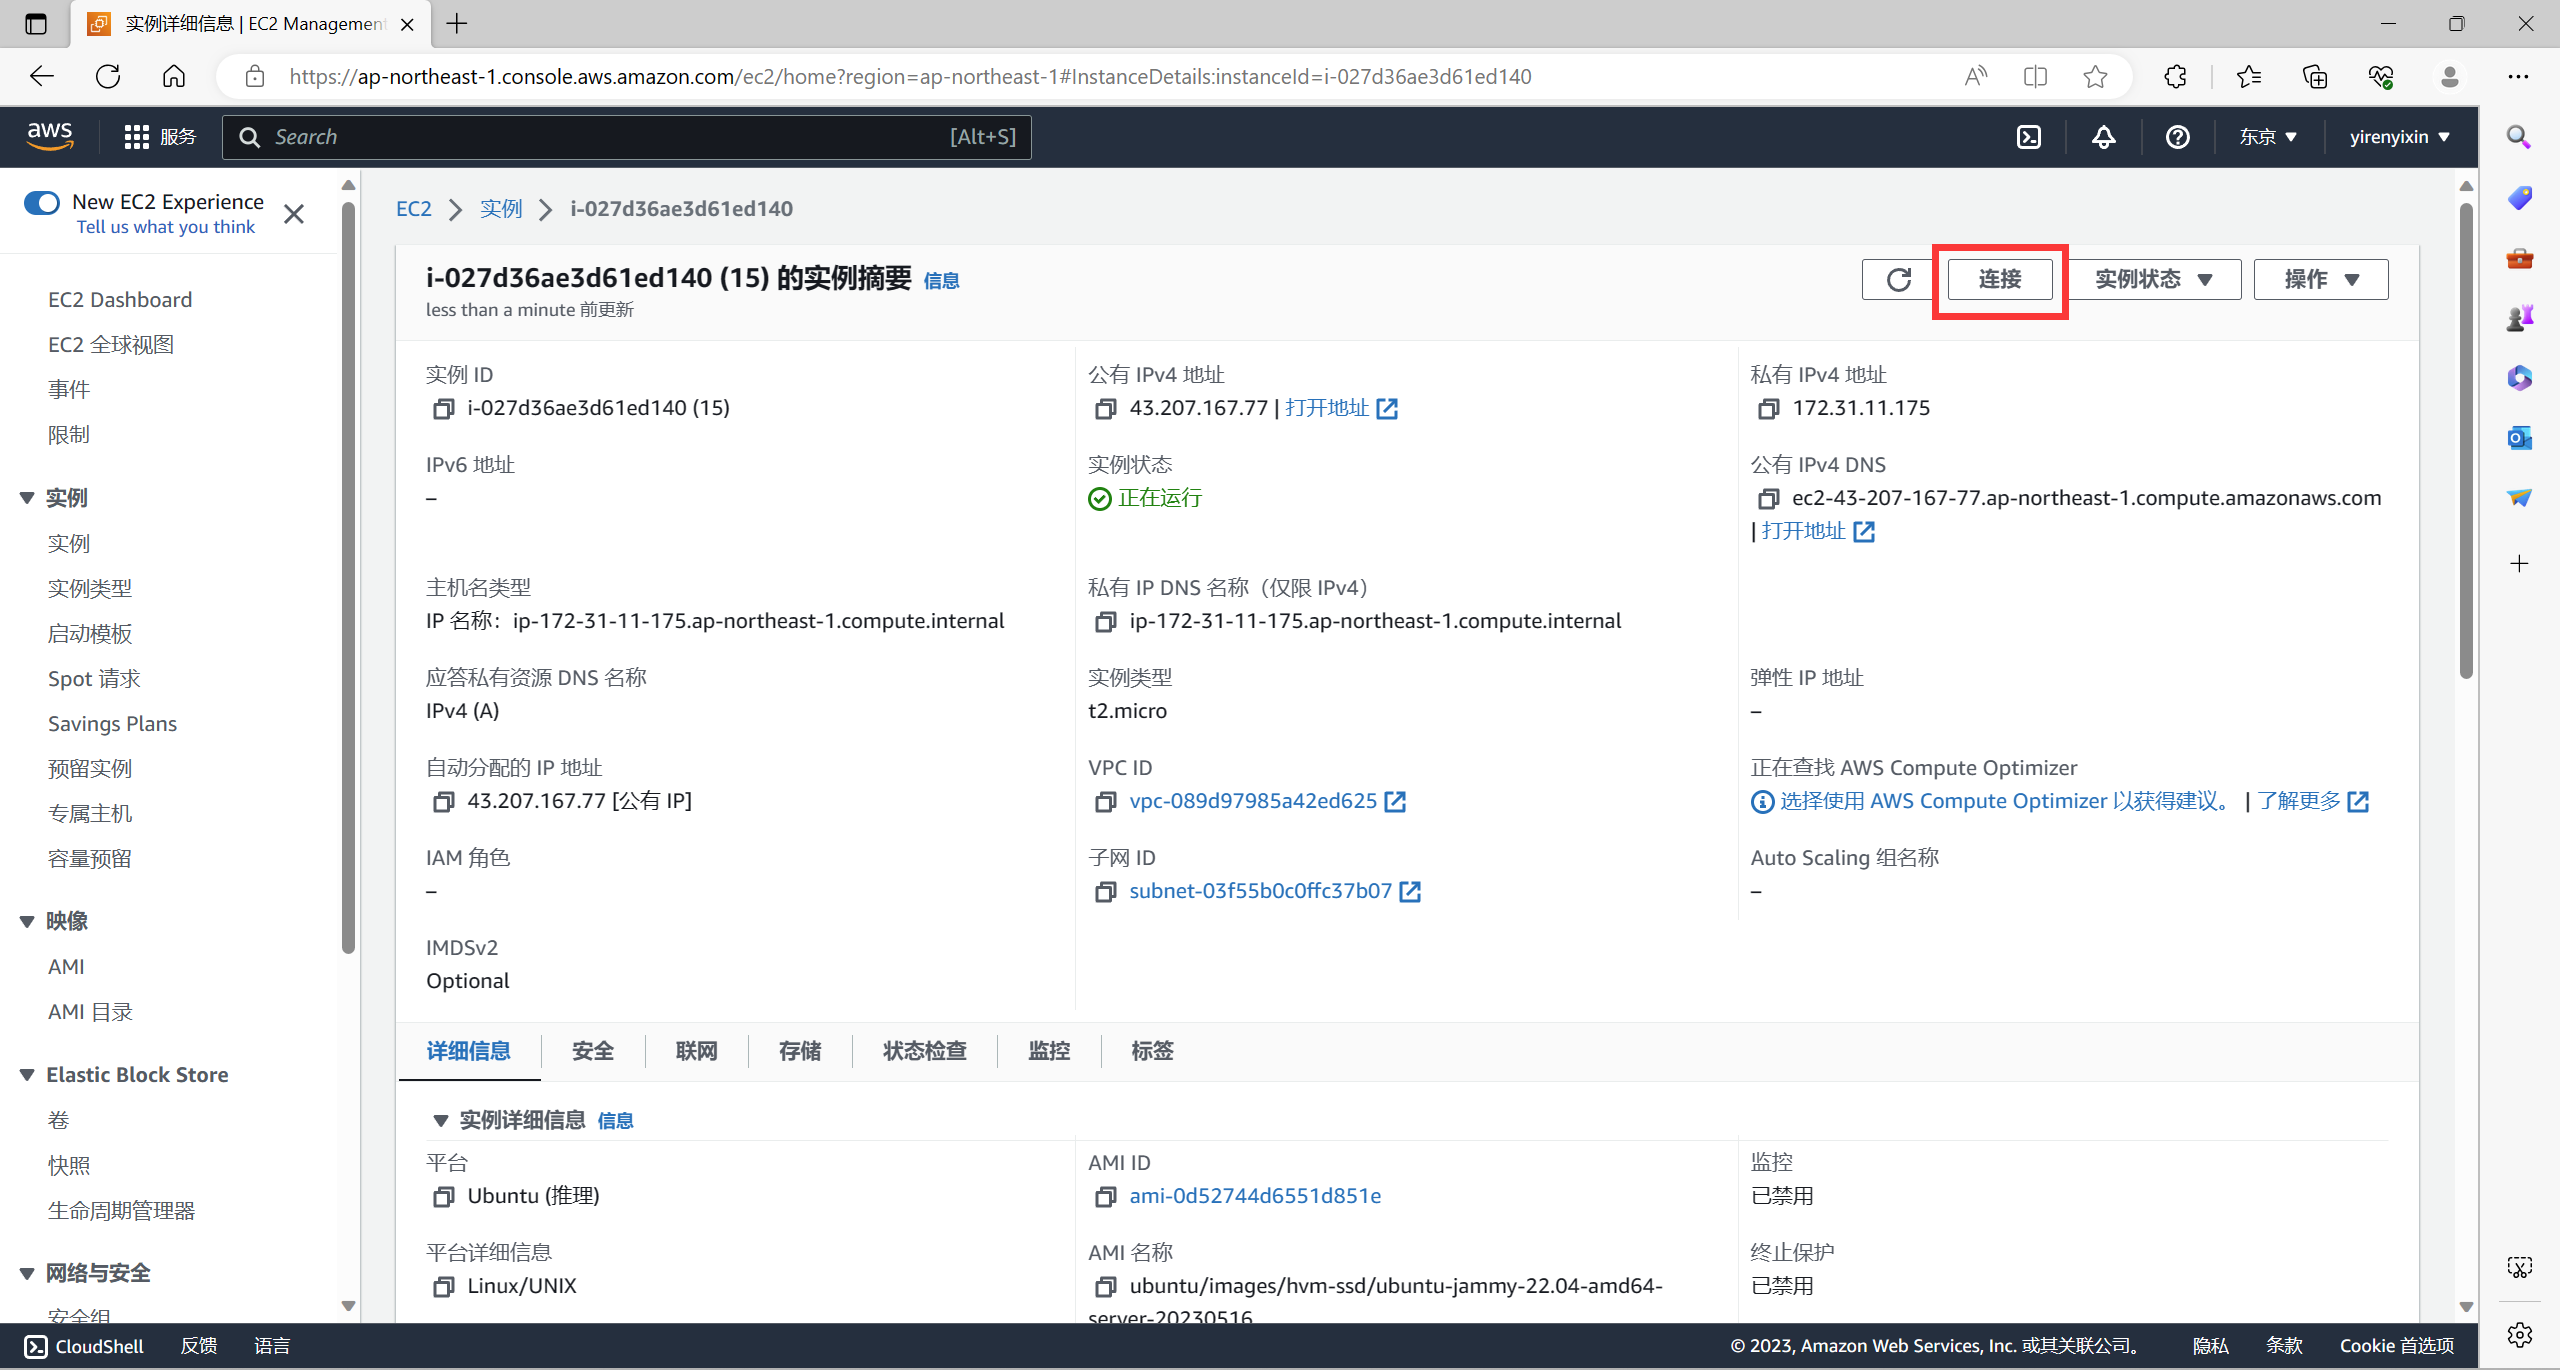
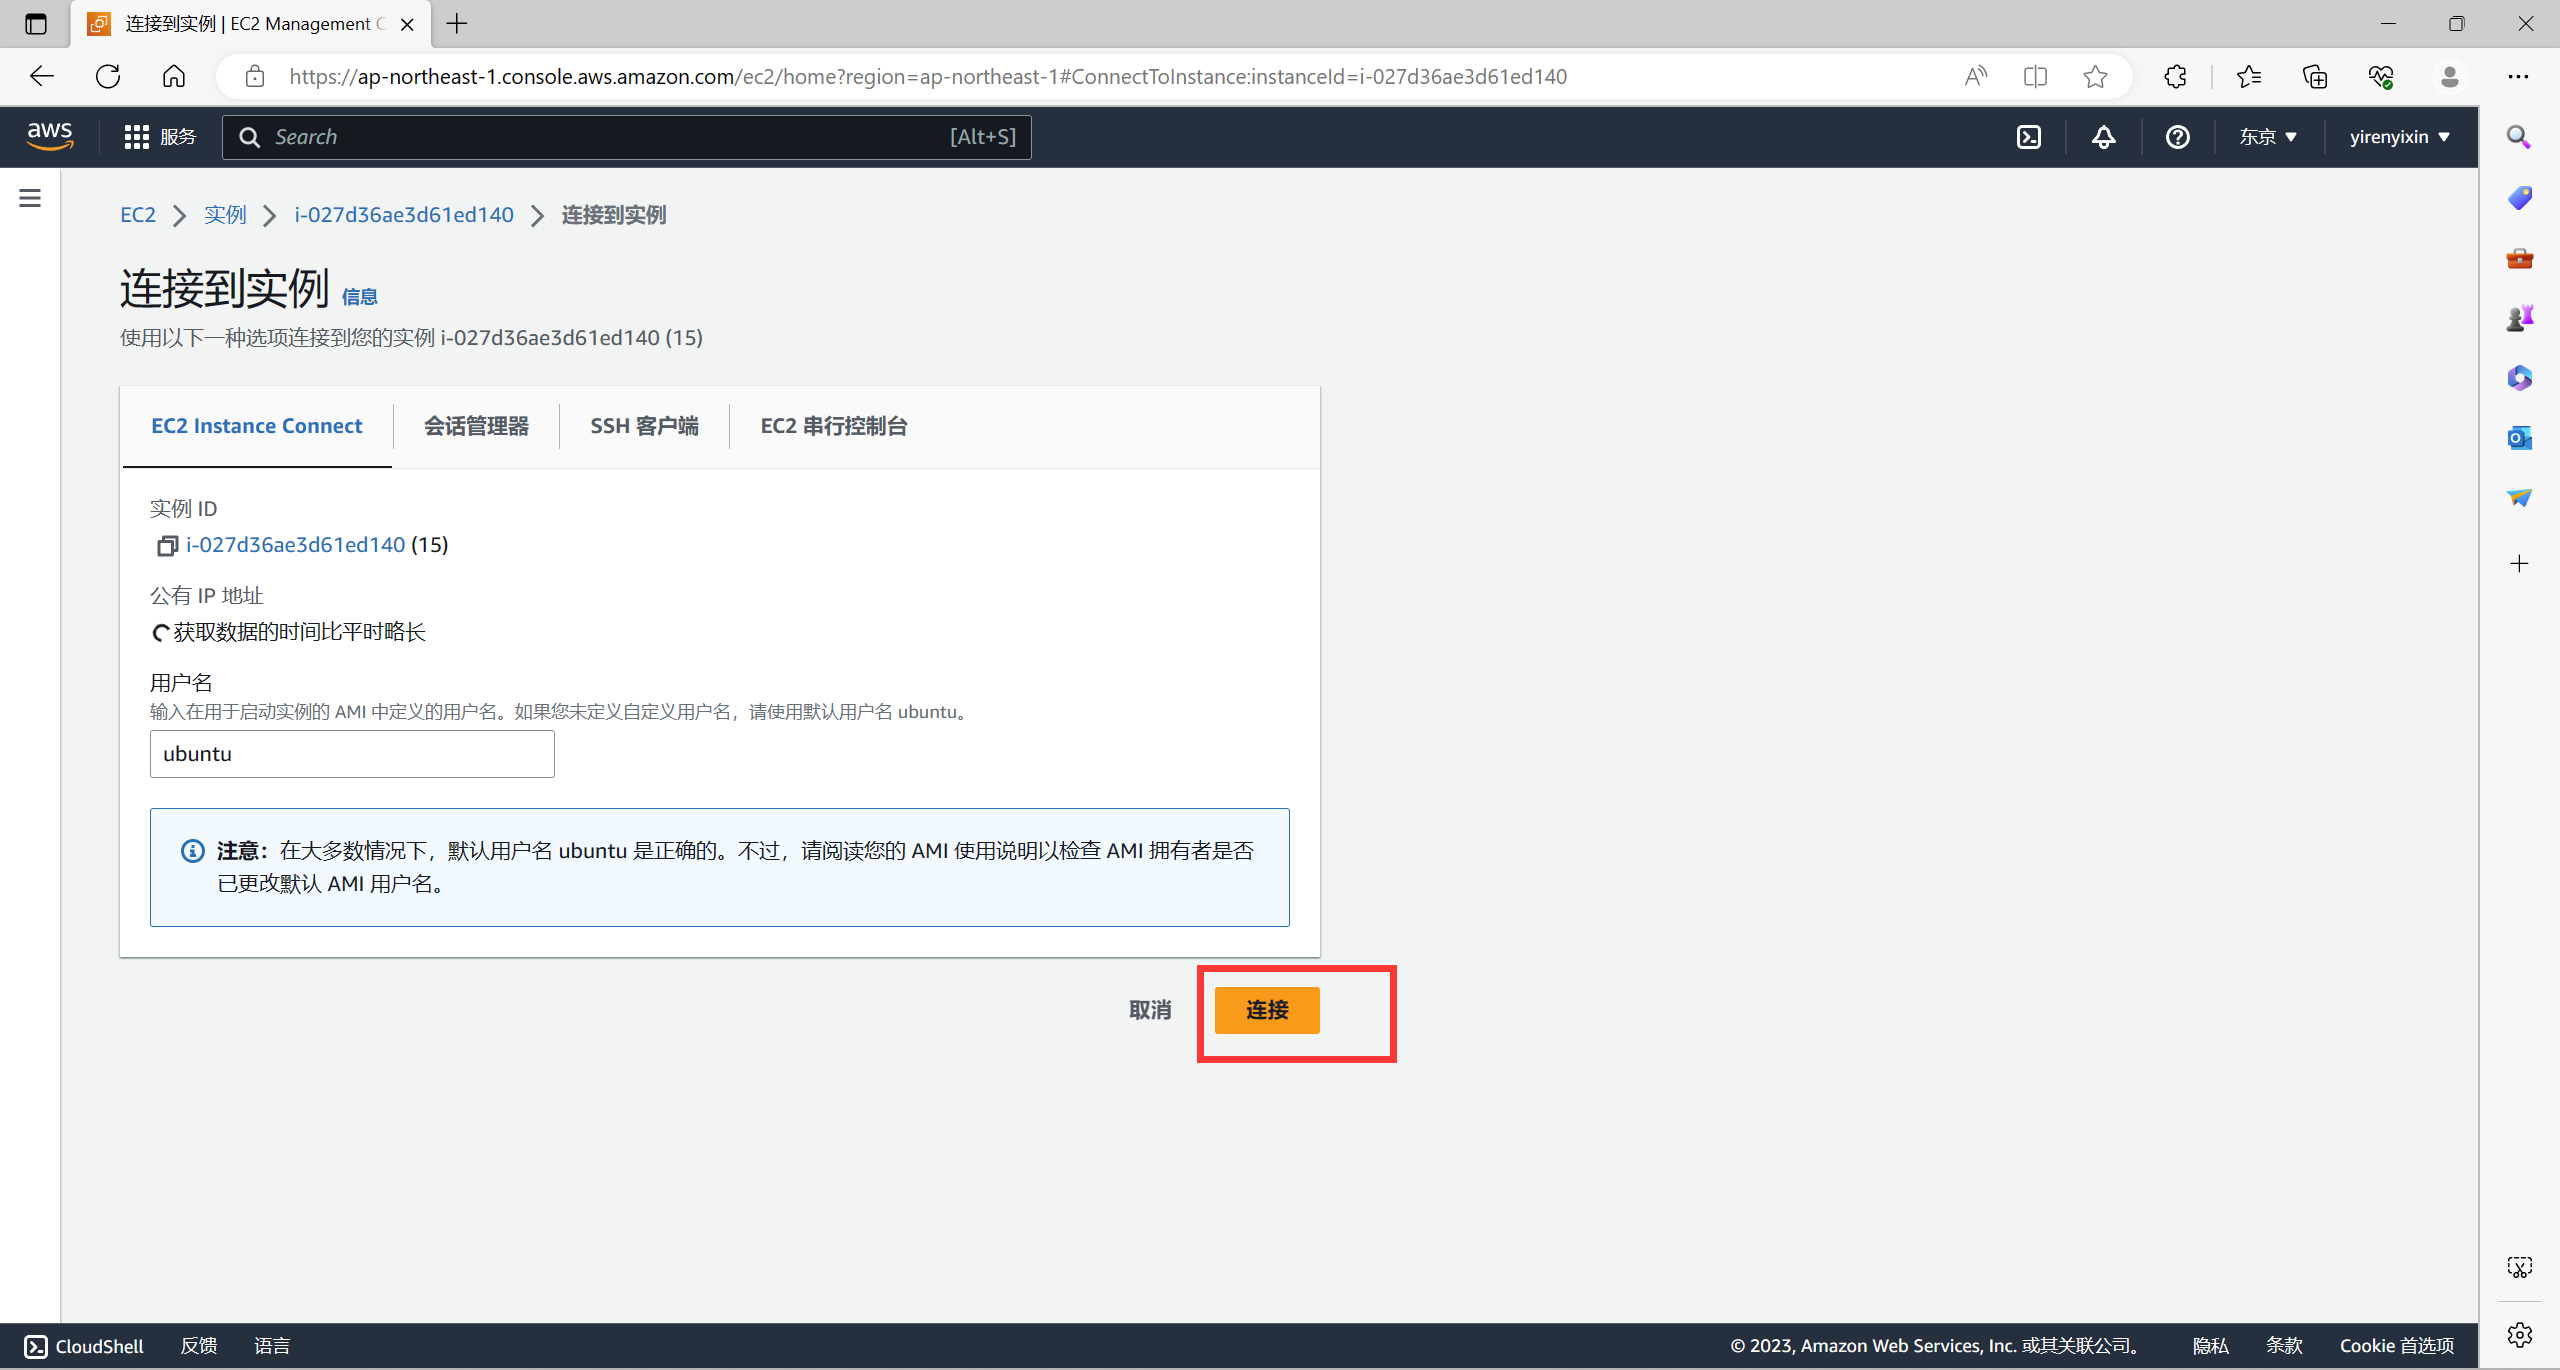
来源与Youtube博主:Youtube:【科技小飞哥】,欢迎关注。 博主github源码:https://github.com/techxiaofei/chatgpt-web 我只是介绍用aws亚马逊云服务和修改头像,名字等方法
声明:此项目只发布于 Github,基于 MIT 协议,免费且作为开源学习使用。并且不会有任何形式的卖号、付费服务、讨论群、讨论组等行为。谨防受骗。
在账户关联里面找到api key创建新密钥
先修改root用户密码
sudo passwd root

切换到root用户
su  root

# 更新包管理器
sudo apt-get update

# 安装docker
apt install docker.io

# 下载docker镜像
docker pull techxiaofei/chatgpt-web:latest

# 给镜像打标签
docker tag techxiaofei/chatgpt-web chatgpt-web

# 后台运行,可修改主机端口 比如:80->8080,3002是容器端口,不可修改
# your_api_key替换成你的API Key
docker run --name chatgpt-web -d -p 0.0.0.0:80:3002 --env OPENAI_API_KEY=你的openai-key chatgpt-web

# 后台运行,带密码访问
# 添加环境变量方式: --env KEY=XXX
docker run --name chatgpt-web -d -p 0.0.0.0:80:3002 --env OPENAI_API_KEY=你的openai-key --env AUTH_SECRET_KEY=techxiaofei chatgpt-web

# 停掉进程(如需重启)
docker stop chatgpt-web
docker rm chatgpt-web头像,名称,描述目录:src/store/modules/user/helper.ts 标题目录:index.html 密码文本提示目录:src/locales/zh-CN.ts 以下是免费服务器修改方法
先修改root用户密码(新的虚拟机)
sudo passwd root

切换到root用户
su  root

# 更新包管理器
sudo apt-get update

# 安装docker
apt install docker.io

# 下载源码
git clone https://github.com/techxiaofei/chatgpt-web.git
cd chatgpt-web(以下都需要在这个路径下运行)

修改名字头像
vim  src/store/modules/user/helper.ts

# 安装依赖
# 安装nodejs
apt install nodejs

# 安装node包管理器
apt install npm

# 升级包管理工具upgrade
npm install -g n

# 升级到node.js最新稳定版
n stable # latest(我用的ubuntu18版本,22版本可能更新不了,我的是这样)

hash -r

# 查看版本,如果是 18及以上就可以了
node -v

# 安装pnpm
npm install pnpm -g

# 编译
pnpm bootstrap

pnpm build(这一步非常慢,用免费服务器就会在这里卡住)

docker build -t chatgpt-web .
#接下来要上传docker(注册docker需要魔法上网 https://hub.docker.com/)
我的用户名

[root@localhost ~]#  docker login
Login with your Docker ID to push and pull images from Docker Hub. If you don't have a Docker ID, head over to https://hub.docker.com to create one.
Username:    ##输入账号
Password:          ##输入密码
#查看镜像
docker images
REPOSITORY          TAG(记住这两个就行)
chatgpt-web         latest
tag修改镜像名称
推送镜像的规范是:
docker push  注册docker用户名/REPOSITORY:TAG

比如我的就是
docker push yirwnyixin/chatgpt-web:latest

再次查看镜像
docker images
会变成这样
REPOSITORY                  TAG
yirwnyixin/chatgpt-web      latest

push到Docker Hub
docker push yirwnyixin/chatgpt-web:latest#接下来回到服务器
先修改root用户密码
sudo passwd root

切换到root用户
su  root

# 更新包管理器
sudo apt-get update

# 安装docker
apt install docker.io

# 下载docker镜像
docker pull yirwnyixin/chatgpt-web:latest(仓库名:TAG 对应yirwnyixin/chatgpt-web(你的仓库名):latest)

# 给镜像打标签
docker tag yirwnyixin/chatgpt-web chatgpt-web

# 后台运行,可修改主机端口 比如:80->8080,3002是容器端口,不可修改(到这里就可以结束)
docker run --name chatgpt-web -d -p 0.0.0.0:80:3002 --env OPENAI_API_KEY=你的openai-key chatgpt-web

# 后台运行,带密码访问
# 添加环境变量方式: --env KEY=XXX
docker run --name chatgpt-web -d -p 0.0.0.0:80:3002 --env OPENAI_API_KEY=你的openai-key --env AUTH_SECRET_KEY=techxiaofei chatgpt-web

# 停掉进程(如需重启)
docker stop chatgpt-web
docker
接下来就可以复制你的服务器公有ip(不用带端口)去网页查看了 有域名的还可以用cloudfrale将你的IP托管到域名上,就可以直接输入域名,不用输ip了


