Implementation of TodoMVC in Phoenix v1.5.9 / LiveView v0.15.7
The primary purpose of this project was to get a further understanding of Phoenix and LiveView by following DWYL's Phoenix Todo List Tutorial with a curveball: use LiveView instead of the traditional "dead views". By following a tutorial for the major parts and "coloring outside those lines", I step just a little further outside the comfort zone following a tutorial alone gives me. This approach "changes the goalposts" though so there is a sort of blindness as to how functionality should behave. Fortunately, nothing seems terribly off.
[A year later]... I realized it would be useful to deploy this project to Heroku so I could understand how to deploy this to production. I was tempted to put this on my personal site [braytonium.com] but I have other projects in the pipeline for that.
See the documentation for the steps performed to complete this project from mix phx.new ... to completion.
I wanted to document my understanding as I progressed each day so I kept a development diary.
[A year later]... This was one of my earliest Phoenix projects and my very first introduction to completing something with LiveView.
Follow the deployment instructions to deploy this application to Heroku.
Click [https://pacific-savannah-85771.herokuapp.com/] to view the application in your browser.
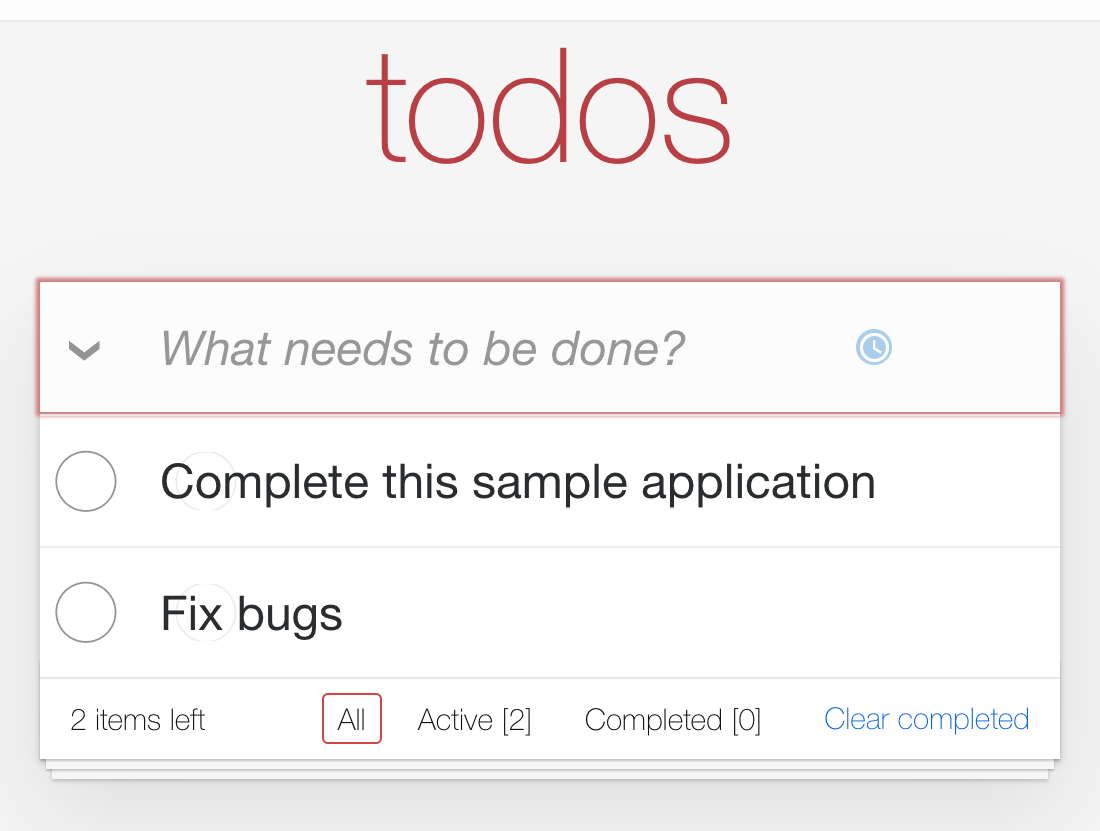
- Main todo list screen with items
Complete sample applicationandFix bugs.
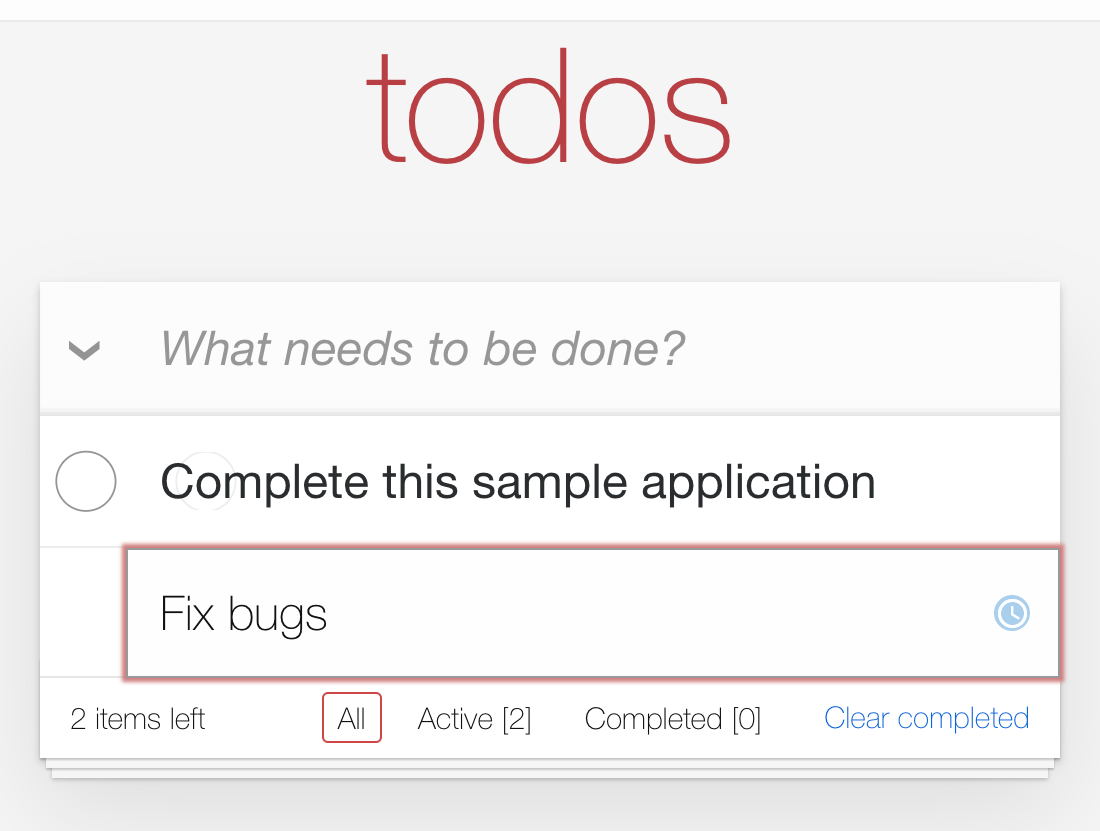
- Double click to edit an existing item.

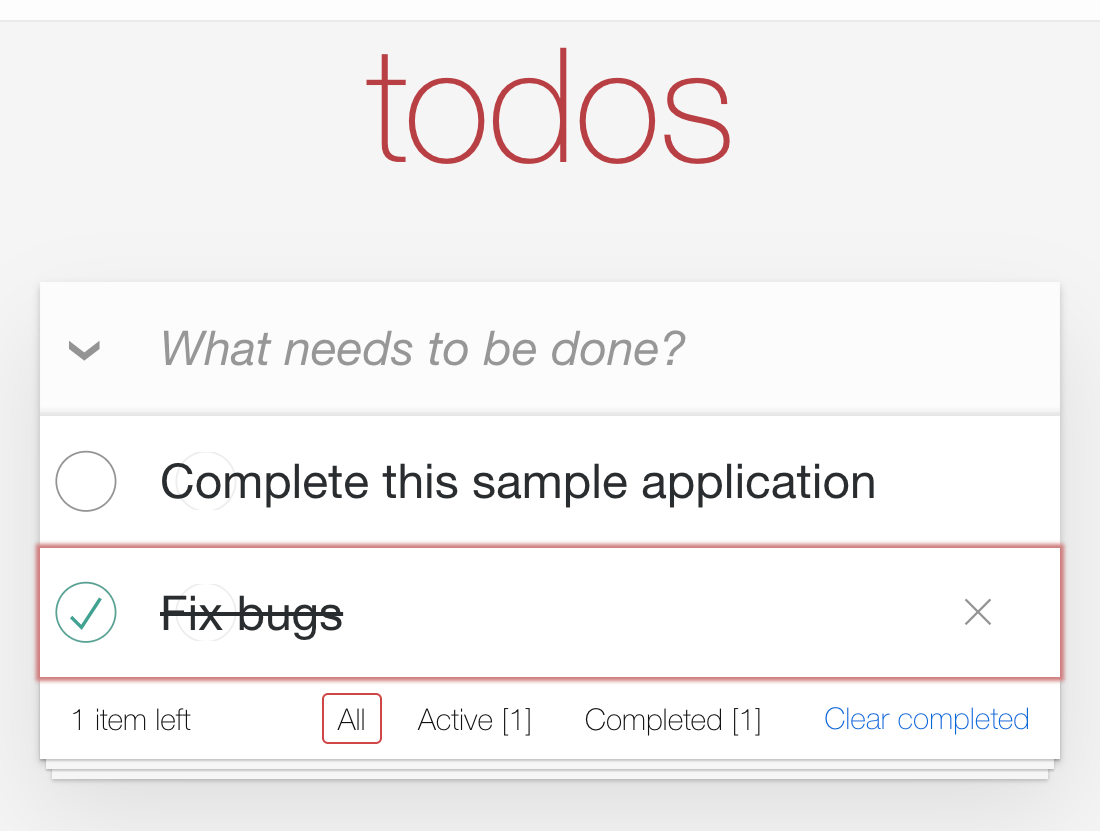
- Click the checkmark to complete the item.

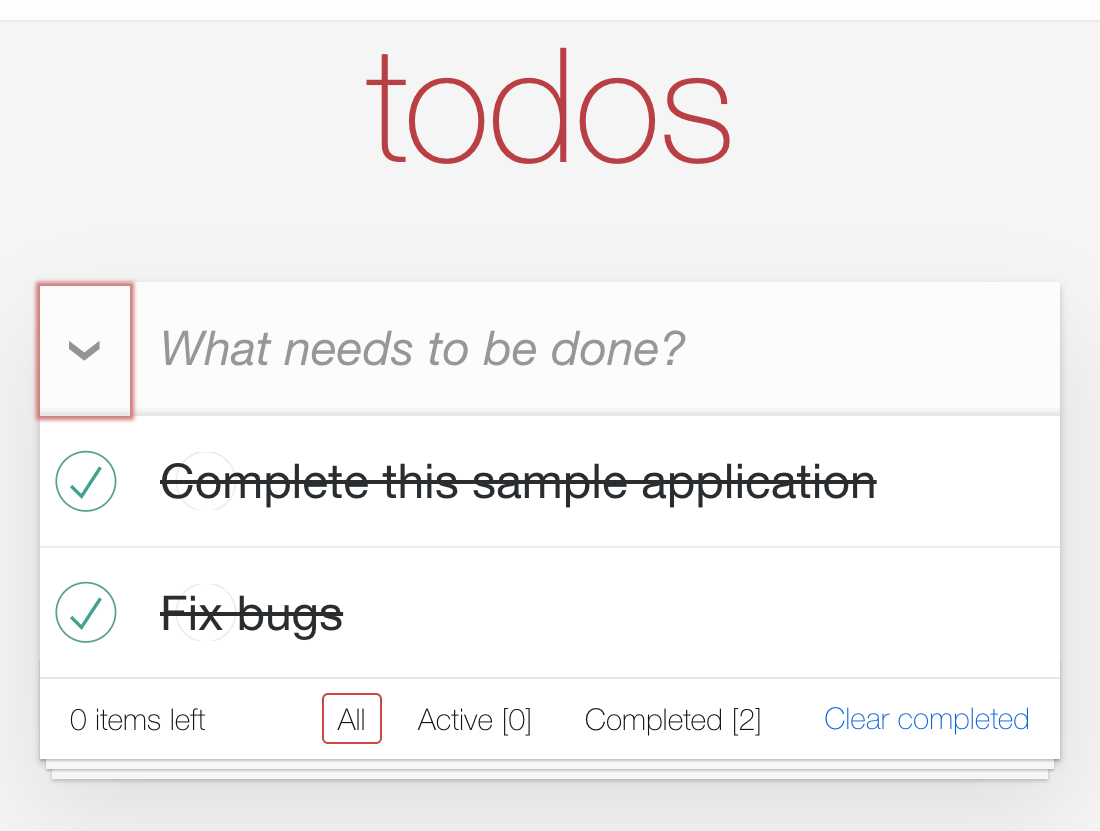
- Click the down arrow to complete all items.

- Listing of only active items.

- Listing of only completed items.

To start your Phoenix server:
- Install dependencies with
mix deps.get - Create and migrate your database with
mix ecto.setup - Install Node.js dependencies with
npm installinside theassetsdirectory - Start Phoenix endpoint with
mix phx.server
Now you can visit localhost:4000 from your browser.
Ready to run in production? Please check our deployment guides.
- Official website: [https://www.phoenixframework.org/]
- Guides: h[ttps:https://hexdocs.pm/phoenix/overview.html]
- Docs: [https://hexdocs.pm/phoenix]
- Forum: [https://elixirforum.com/c/phoenix-forum]
- Source: [https://github.com/phoenixframework/phoenix]