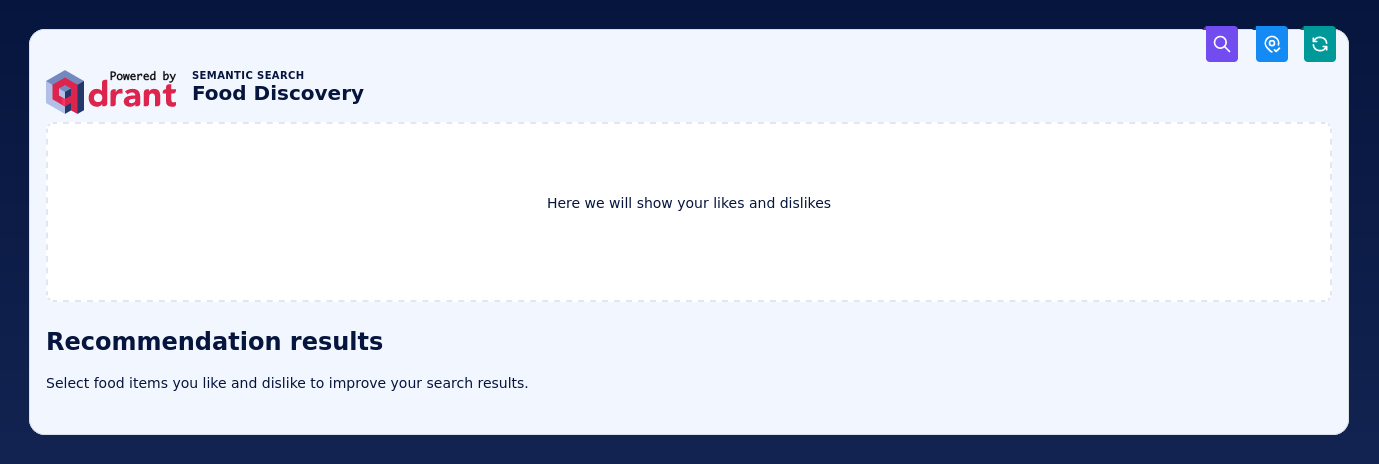
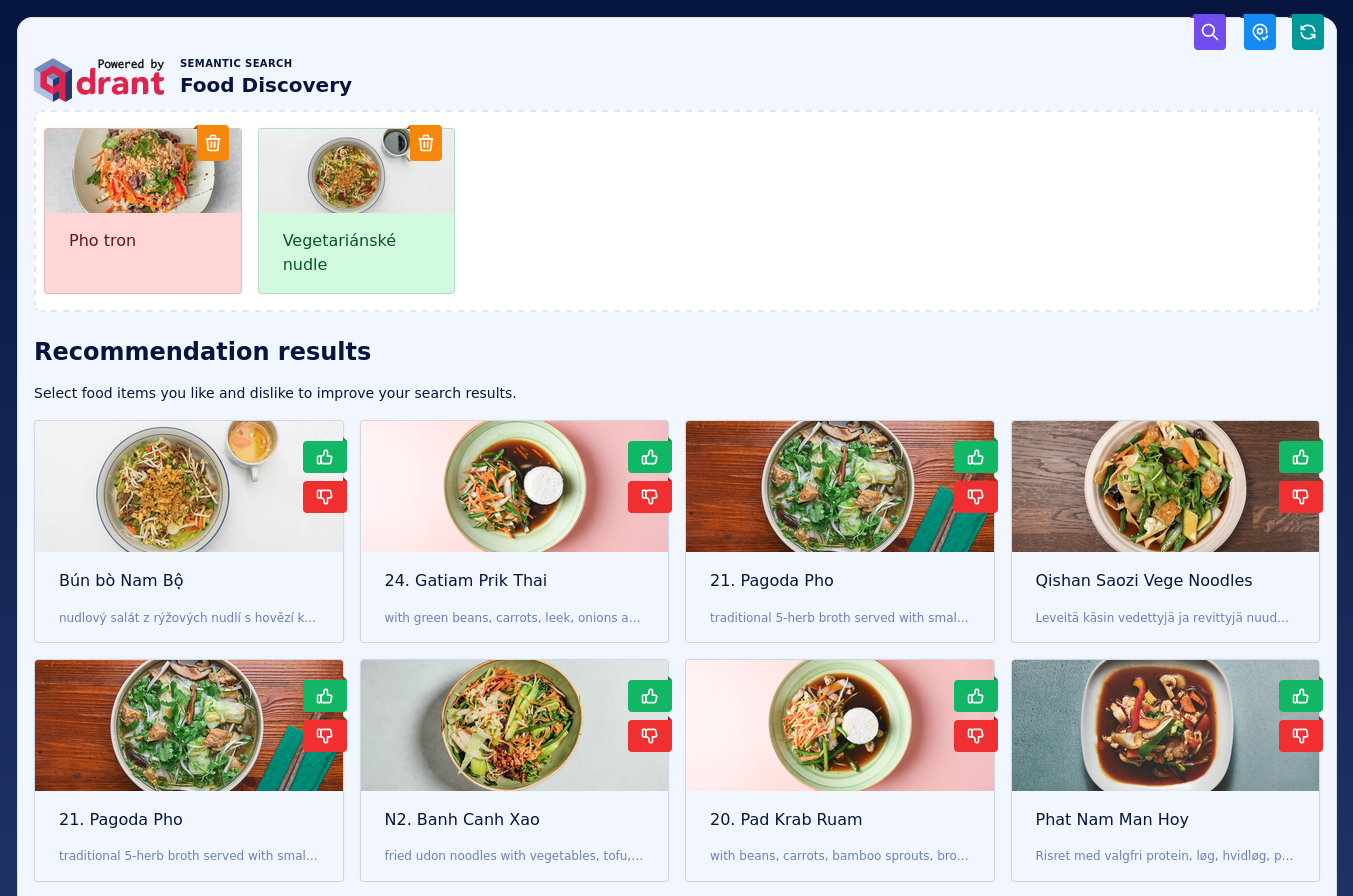
If you want to start with having a look at a running application, it is available here: https://food-discovery.qdrant.tech/
This is a demo project for the Qdrant vector search engine. It allows searching for dishes based on their photos. The search is, however, not based on queries, but on a discovery. The user is presented with a set of images and asked to select the ones that they like or not. That's a different paradigm of search, which might be more natural for humans in some specific cases, like food. If you are hungry, you might not know precisely what you want, but want to see some options and explore them to find something interesting.
The demo is based on the Wolt dataset of dishes. It contains
over 2M images of dishes from different restaurants. The images are vectorized with
the CLIP model and indexed in Qdrant. For the
simplicity, we use the clip-ViT-B-32 model available in the
Sentence-Transformers
library.
The demo uses the FastAPI framework for the backend and React for the frontend, with Tabler web application UI kit. Qdrant Recommendation API is used internally to find some other items that are visually similar to the liked ones and dissimilar to the disliked ones. All the components are enclosed in Docker Compose and can be run with a single command.
On top of the positive and negative examples based search, you can also use a text query to filter the results based on the names of the dishes. The text query is vectorized with the same CLIP model and used in semantic search.
Proposed mechanism is embedding-agnostic, so it can be used with any multimodal embeddings model. We only vectorize text queries during the search, but mostly use the same image embeddings that were used during the indexing. Thus, there might no vectorization overhead during the search, what makes it very fast.
The demo consists of the following components:
- React frontend - a web application that allows the user to interact with the demo
- FastAPI backend - a backend that communicates with Qdrant and exposes a REST API
- Qdrant - a vector search engine that stores the data and performs the search
All the components come pre-configured and can be run with a single command. The uvicorn webserver handles the communication between the user and the application.
If you want to set up the demo locally, you need to have Docker and Docker Compose installed. Then, you can follow the instructions below.
In order to set up the demo, you need to have a running Qdrant server. You can either run it locally or use a Qdrant Cloud instance. There is a small difference in how you need to configure the demo in these two cases.
If you prefer to use a Qdrant Cloud instance, please create a cluster and API key in
the Qdrant Cloud Console. Then, create a .env file using
the template provided in the .env.example file and set the following variables:
QDRANT_URL=<< QDRANT_URL >>
QDRANT_API_KEY=<< QDRANT_API_KEY >>
QDRANT_COLLECTION=wolt-clip-ViT-B-32
QDRANT_URL should include the protocol and the port, e.g.
https://MY_CLUSTER.eu-central-1-0.aws.cloud.qdrant.io:6333.
You can adjust the collection name, but make sure that to use the same name for all the other steps. Once configured, you can launch the project with Docker Compose:
docker-compose up -dIf you decided to run Qdrant locally, you can start with configuring the .env file,
based on the provided .env.example template. Here is how it should look like:
QDRANT_URL=https://qdrant:6333
QDRANT_COLLECTION=wolt-clip-ViT-B-32
Then, you can launch the project with Docker Compose:
docker-compose --profile local up -dAt this point, you should have a running demo. However, it does not contain any data, but the web application is already available at https://localhost:8001. You can open it in your browser.
Each point in the collection represents a dish with a single image. The image is represented as a vector of 512 float numbers. There is also a JSON payload attached to each point, which looks similar to this:
{
    "cafe": {
        "address": "VGX7+6R2 Vecchia Napoli, Valletta",
        "categories": ["italian", "pasta", "pizza", "burgers", "mediterranean"],
        "location": {"lat": 35.8980154, "lon": 14.5145106},
        "menu_id": "610936a4ee8ea7a56f4a372a",
        "name": "Vecchia Napoli Is-Suq Tal-Belt",
        "rating": 9,
        "slug": "vecchia-napoli-skyparks-suq-tal-belt"
    },
    "description": "Tomato sauce, mozzarella fior di latte, crispy guanciale, Pecorino Romano cheese and a hint of chilli",
    "image": "https://wolt-menu-images-cdn.wolt.com/menu-images/610936a4ee8ea7a56f4a372a/005dfeb2-e734-11ec-b667-ced7a78a5abd_l_amatriciana_pizza_joel_gueller1.jpeg",
    "name": "L'Amatriciana"
}
We have exported the data from the Wolt dataset and prepared a snapshot that you can import into your Qdrant instance.
Qdrant documentation describes how to import a snapshot into a Qdrant instance. We are
going to recover via API.
First of all, we need to download the snapshot from GCP bucket.
Let's assume it was downloaded to /tmp/wolt-clip-ViT-B-32.snapshot. You can use the
following command to import the snapshot:
If you are using a local Qdrant instance, you can import the snapshot with the following command. Please adjust the collection name if you want to use a different one.
curl -X POST \
    -H 'Content-Type: multipart/form-data' \
    -F 'snapshot=@/tmp/wolt-clip-ViT-B-32.snapshot' \
    https://localhost:6333/collections/wolt-clip-ViT-B-32/snapshots/upload
A successful response should look like this:
{
    "result": true,
    "status": "ok",
    "time": 234.737387814
}If you decided to use a Qdrant Cloud instance, you need to pass your API key. Other than that, the request is the same as for the local Qdrant instance.
curl -X POST \
    -H 'Content-Type: multipart/form-data' \
    -F 'snapshot=@/tmp/wolt-clip-ViT-B-32.snapshot' \
    -H "Api-key: << QDRANT_API_KEY >>" \
<< QDRANT_URL >>/collections/wolt-clip-ViT-B-32/snapshots/uploadOnce your demo is up and running, you can open it in your browser at https://localhost:8001 and finally start using it.
By clicking the buttons, you can navigate through the search results and explore your options by selecting the dishes you like and discarding the ones you don't.
Some of the links to the resources that were useful during the development:
- https://www.erraticbits.ca/post/2021/fastapi/
- https://tabler.io/docs/getting-started
- https://qdrant.tech/documentation/concepts/snapshots/
If you want to continue working on this demo, here are some ideas for the next steps:
- Use some additional payload properties and allow filtering by them. It may require setting up some payload indexes and definitely some UI changes.
- Play with collection configuration to improve the search quality, reduce the latency, and/or reduce the memory footprint, as described in the Optimize Qdrant tutorial.
- Experiment with different models and see how they affect the search results.
- Consider fine-tuning CLIP model on a food-specific dataset to see how it may improve the search quality.


