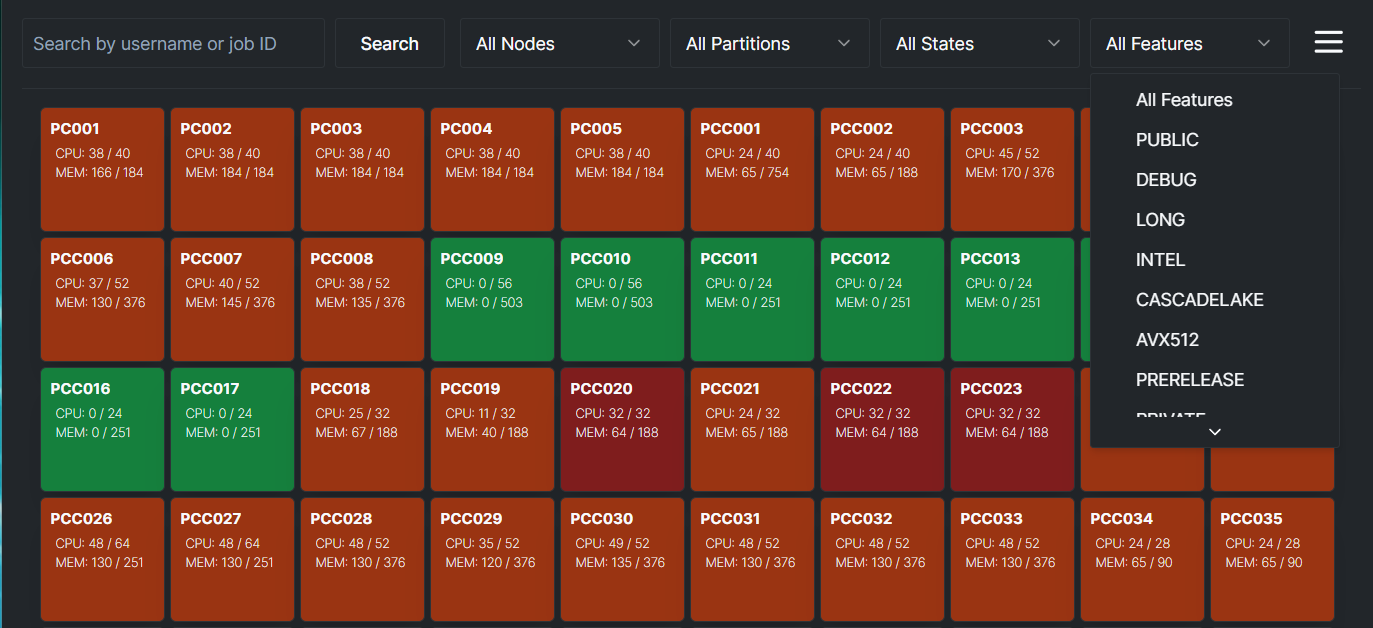
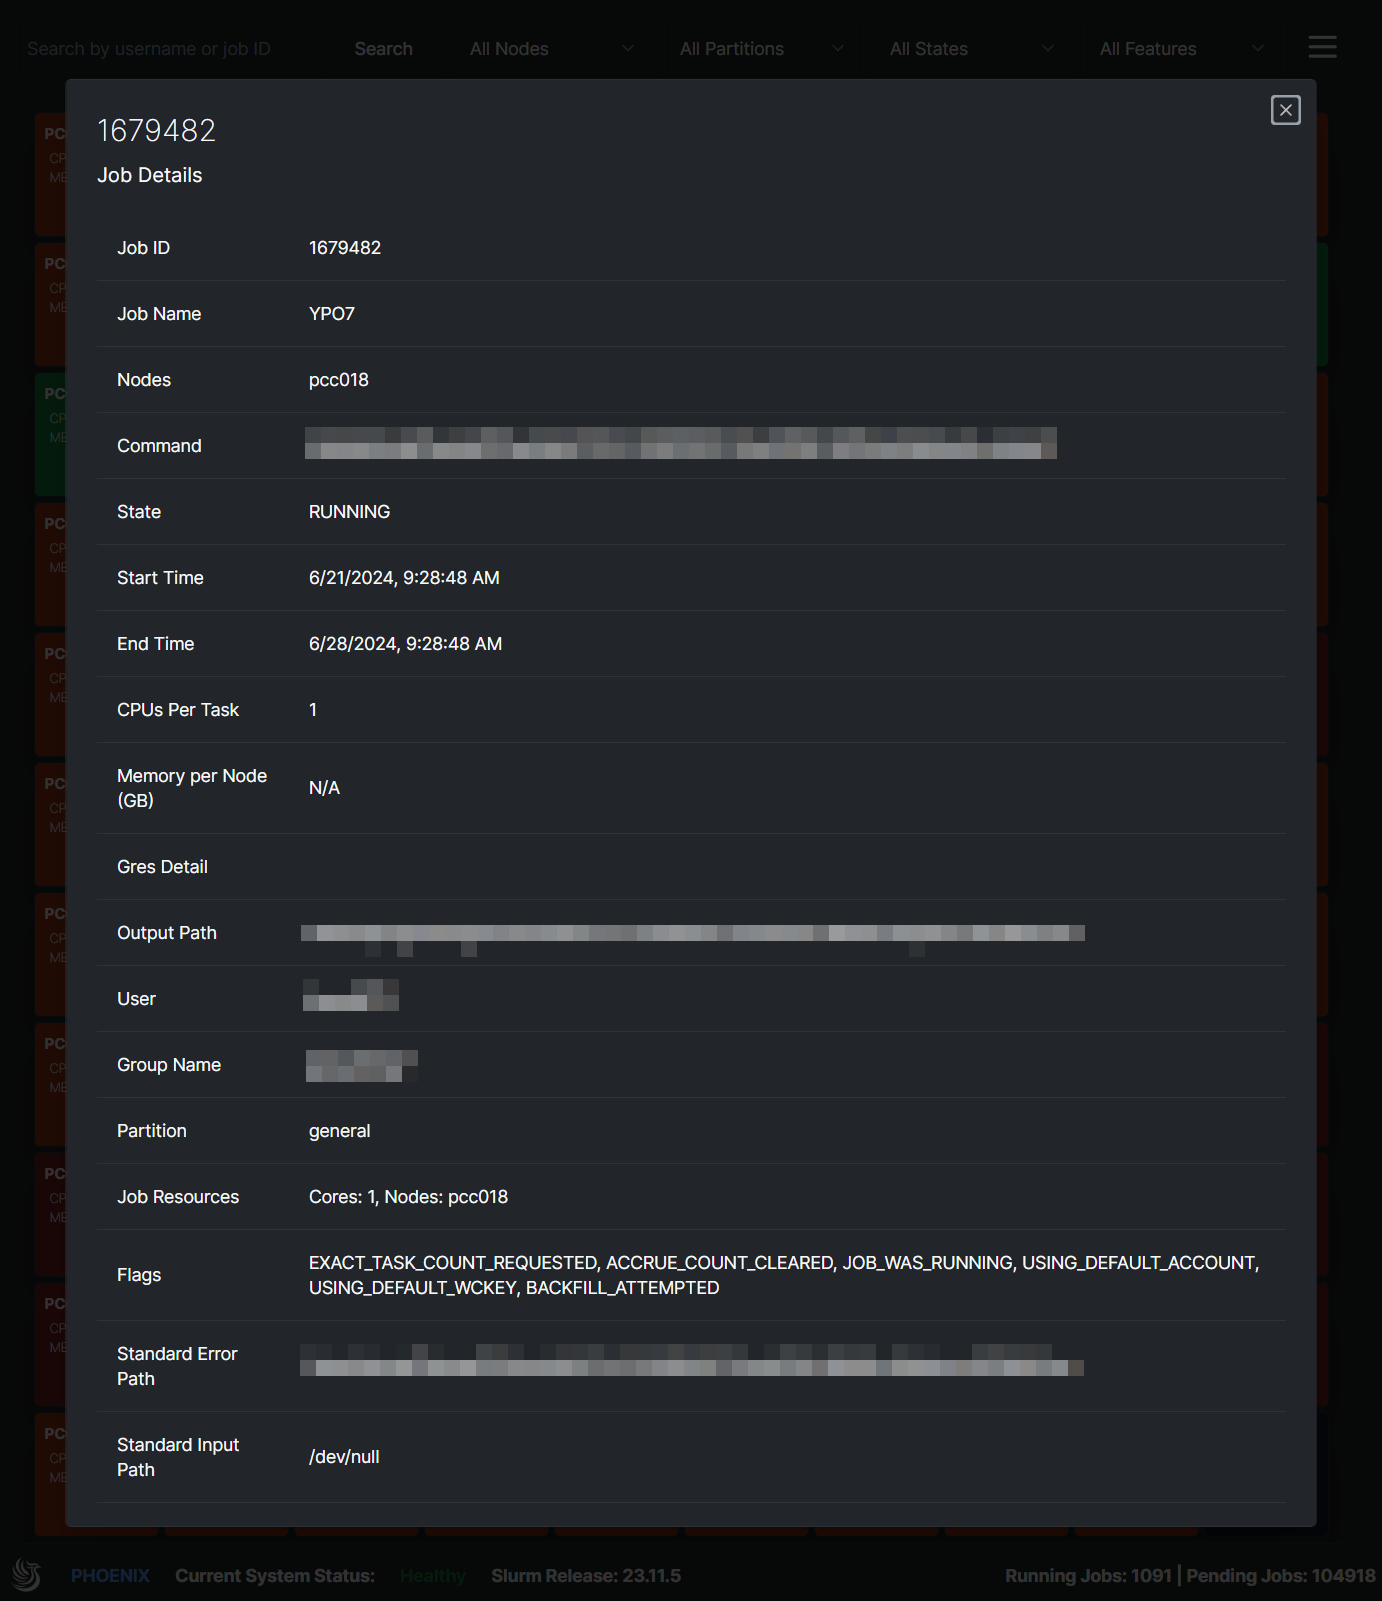
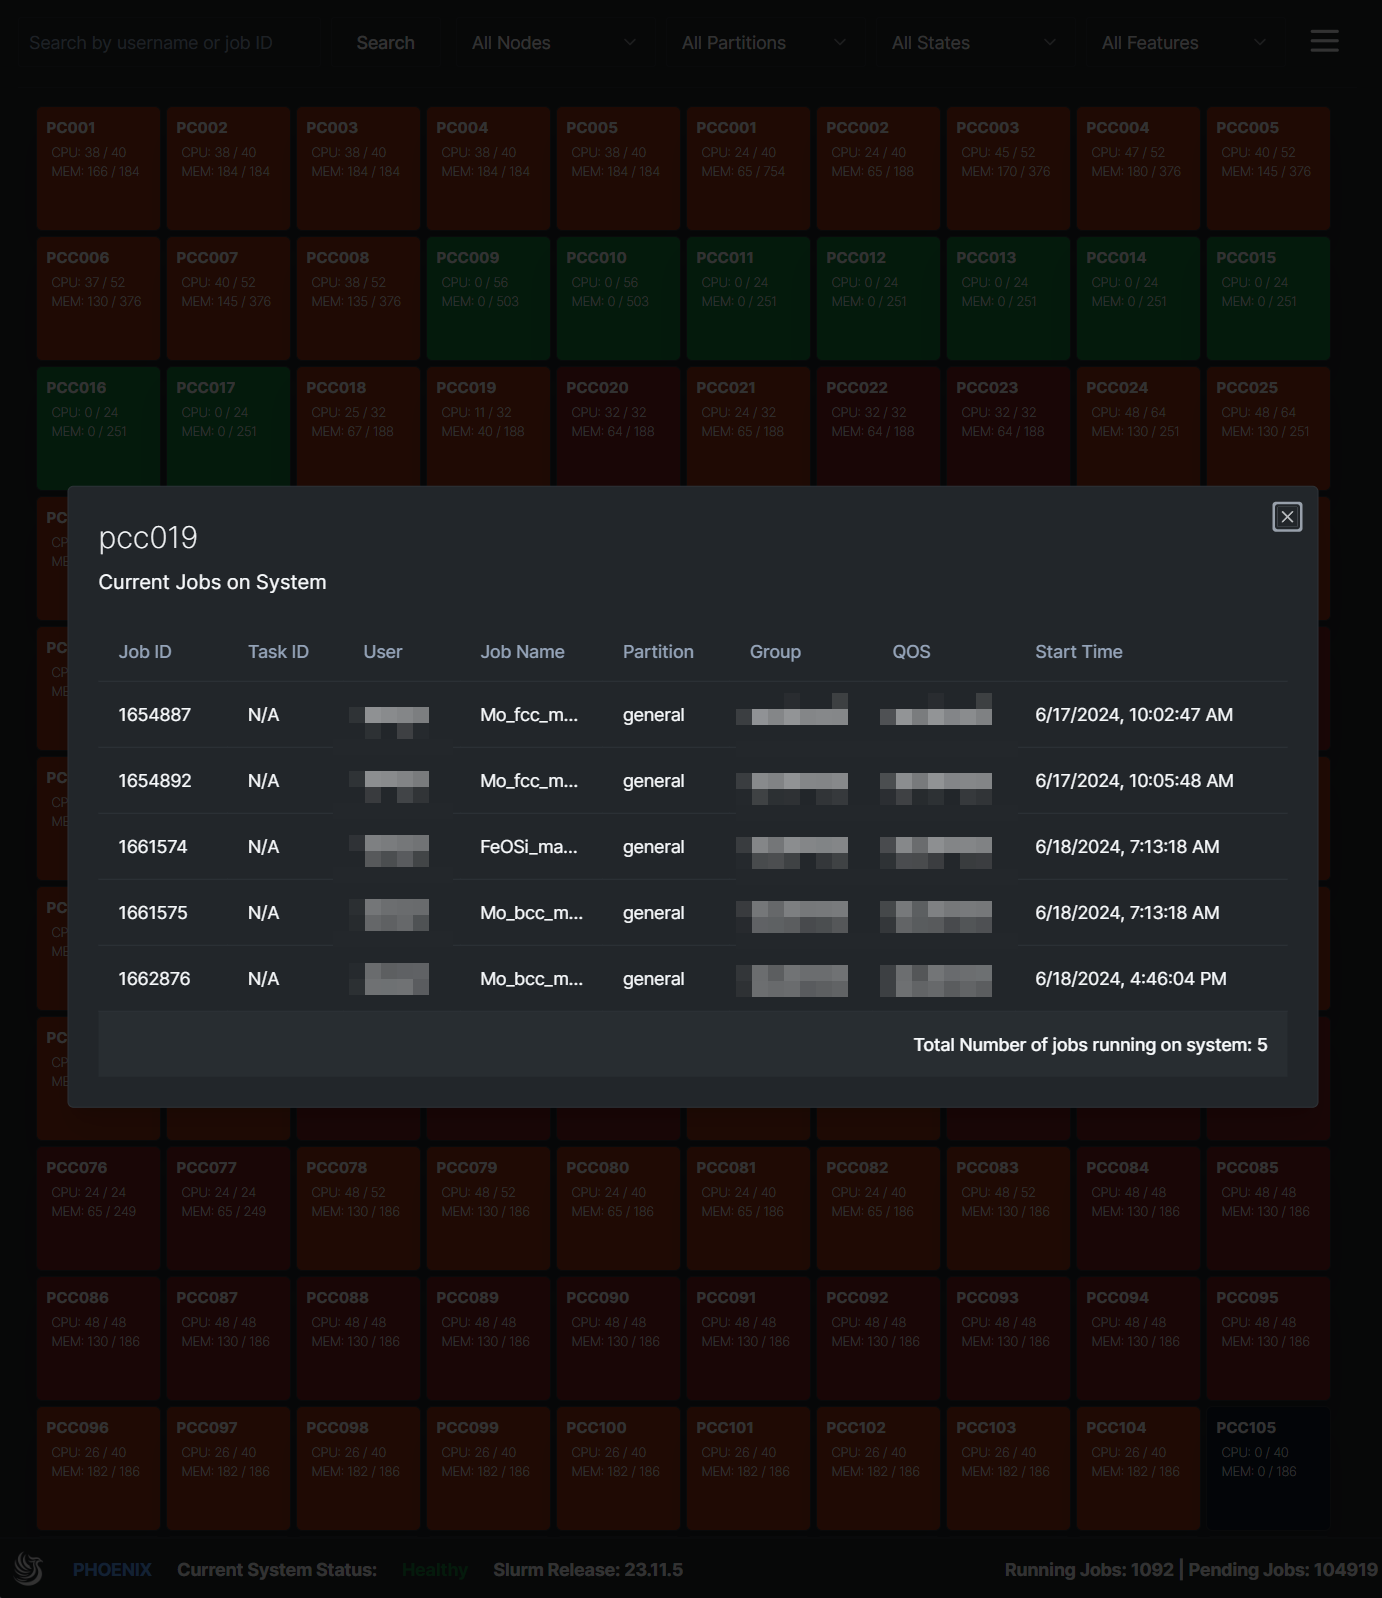
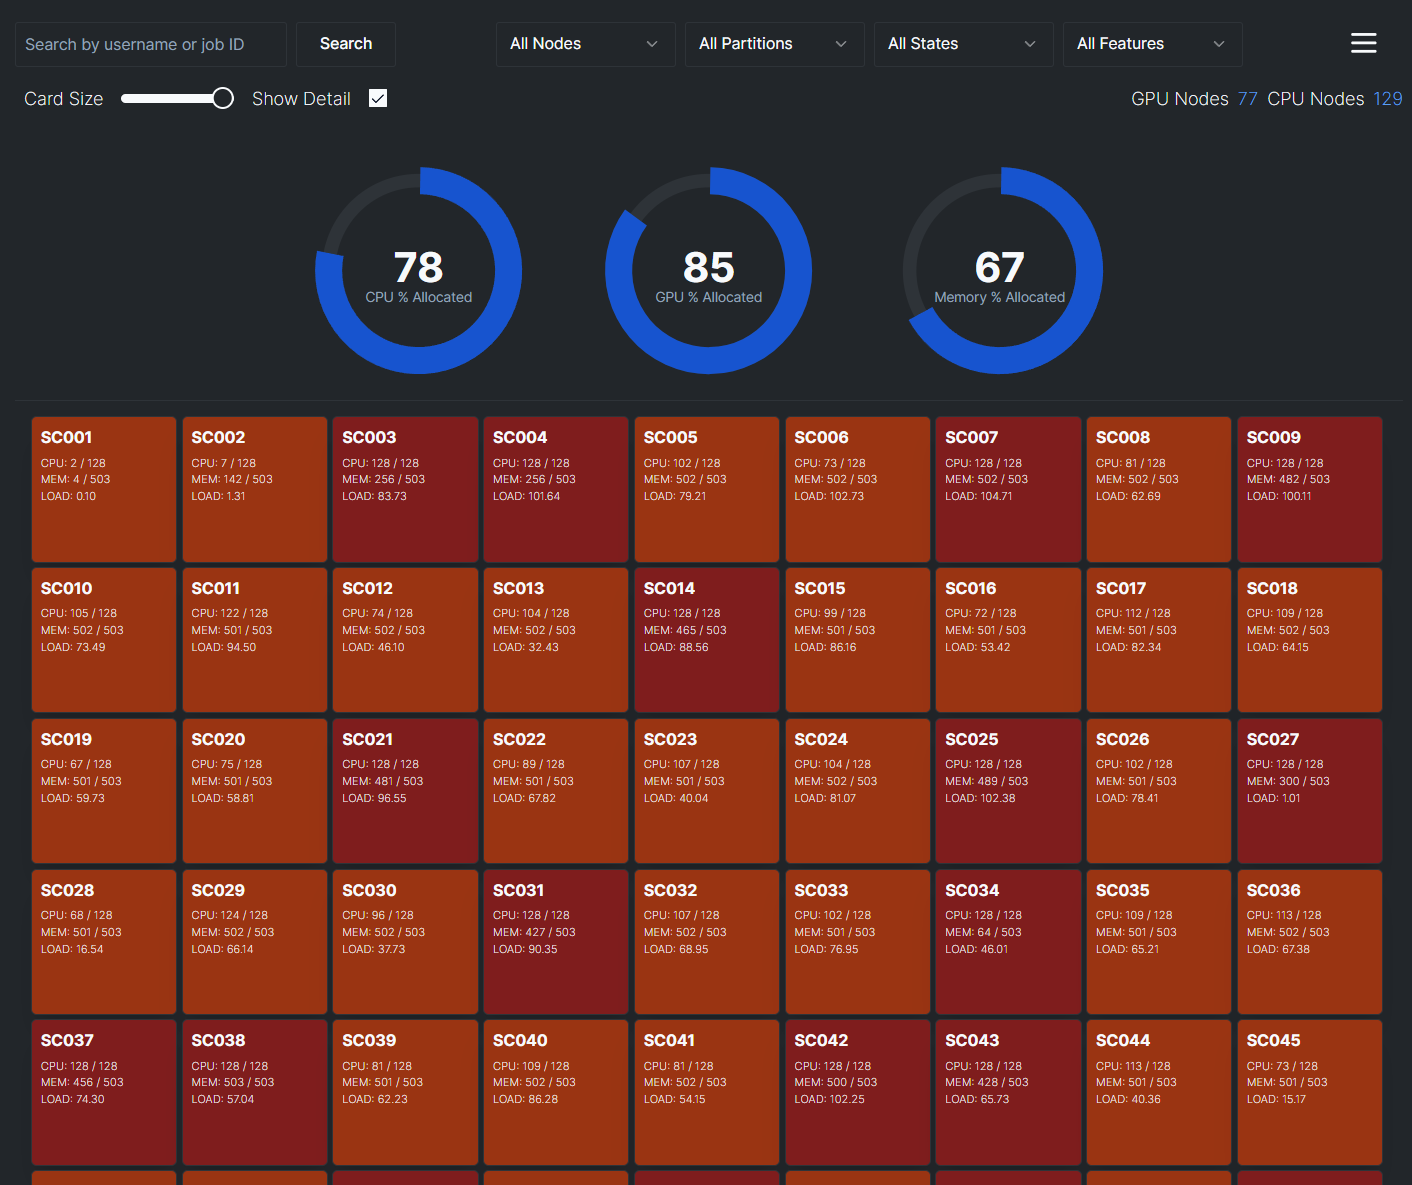
This repository contains the source code for the HPC Dashboard, a Next.js application designed to monitor the status of SLURM nodes. The dashboard provides comprehensive utilization metrics for both CPU and GPU nodes, along with detailed statuses for individual nodes. Additionally, you can search for individual users and their jobs.
- View total utilization of CPU and GPU nodes.
- Search for Users to see their current jobs.
- Search for Jobs to see its current status.
- Individual node status with details on CPU, GPU, and memory usage.
- Styled with Shadcn and Tailwind CSS.
- Built with Next.js.
Note: Docker was the preferred way to install this application, but recently I have been experiencing issues with timeouts while using Docker, which I no longer encountered when running with PM2 natively. I've left the Docker instructions but recommend using PM2 natively for the time being.
Before you begin, ensure you have the following installed:
- Node.js (v18 or later)
- Yarn or npm
- PM2
- Docker (optional)
- SLURM API enabled on your HPC cluster
- SLURM API token for authentication
To get a local copy up and running, follow these simple steps.
git clone https://github.com/thediymaker/slurm-node-dashboard.git
cd slurm-node-dashboardnpm install
dnf install pm2
or
apt install pm2
pm2 start npm --name "slurm-node-dashboard" -- start
The application should now be running on http:https://localhost:3000.
To run this project, you will need to add the following environment variables to your .env file.
COMPANY_NAME=""
URL=""
NEXT_PUBLIC_APP_URL=""
VERSION="1.1.2"
CLUSTER_NAME=""
CLUSTER_LOGO="logo.png"

NODE_ENV="production"
REACT_EDITOR="code"

SLURM_API_VERSION="v0.0.40"
SLURM_SERVER=""
SLURM_API_TOKEN=""
You will also need to make sure you place your logo.png in the plublic directory, as well as replace the default favicon.ico with your own.
Here's a brief overview of the Docker setup:
- Base Image: Uses
node:18-alpinefor a lightweight container. - Dependencies: Installs project dependencies selectively based on the presence of a lock file.
- Building: Compiles the Next.js project.
- Running: Uses a non-root user for improved security.
Refer to the Dockerfile in the repository for detailed configuration.
docker build -t slurm-node-dashboard .docker run -p 3000:3000 slurm-node-dashboardContributions are what make the open-source community such an amazing place to learn, inspire, and create. Any contributions you make are greatly appreciated.
- Fork the Project
- Create your Feature Branch (
git checkout -b feature/AmazingFeature) - Commit your Changes (
git commit -m 'Add some AmazingFeature') - Push to the Branch (
git push origin feature/AmazingFeature) - Open a Pull Request
Distributed under the MIT License. See LICENSE for more information.
Your Name – [email protected]
Project Link: https://github.com/thediymaker/slurm-node-dashboard


