- Run Windows Powershell as administrator.
- Paste the following into the terminal and follow the instructions.
Enable-WindowsOptionalFeature -Online -FeatureName Microsoft-Windows-Subsystem-Linux - Restart computer when prompted.
- Go to Microsoft store and search for Ubuntu (in this case) and install it.
- When installation is complete run Bash.exe and follow the instructions.
- You should now have a UNIX-environment running in Windows.
- By default Ubuntu comes with an older version of Git, to fix this you need to add a package repository to your Ubuntu package manager.
- Open Bash.exe and paste the following into the terminal.
sudo add-apt-repository ppa:git-core/ppa - Once that is done you can now run
sudo apt update && sudo apt install git
- Go to https://github.com/nvm-sh/nvm and follow the instructions for how to install nvm
- When nvm has been installed you can run Bash.exe and paste the following into the terminal
nvm install lts/*to install the latest LTS-release of node. This will also set your default node version to lts/* - To see your installed versions of node run the following command
nvm list - And to use a specific version of node you type
nvm use <your version>
- Open Bash.exe and run the following command
curl -sS https://dl.yarnpkg.com/debian/pubkey.gpg | sudo apt-key add - - Then run
echo "deb https://dl.yarnpkg.com/debian/ stable main" | sudo tee /etc/apt/sources.list.d/yarn.list - And finally if you are using nvm
sudo apt update && sudo apt install --no-install-recommends yarnelse just runsudo apt update && sudo apt install yarn
- Download VSCode from https://code.visualstudio.com/ and install it.
- Plugins
- Debugger for Chrome
- Docker
- Remote - WSL
- Babel Javascript
- ESLint
- GitLens
- Prettier
-
Firstly you need to download and install docker from https://hub.docker.com/
-
To make your docker.exe runnable from WSL without having to write docker.exe you can instead use an alias, simply open your Bash.exe and run
echo "alias docker=docker.exe" >> ~/.bash_aliasesthis will append the stringalias docker=docker.exeyour .bash_aliases file located in your home directory ( ~/ ) -
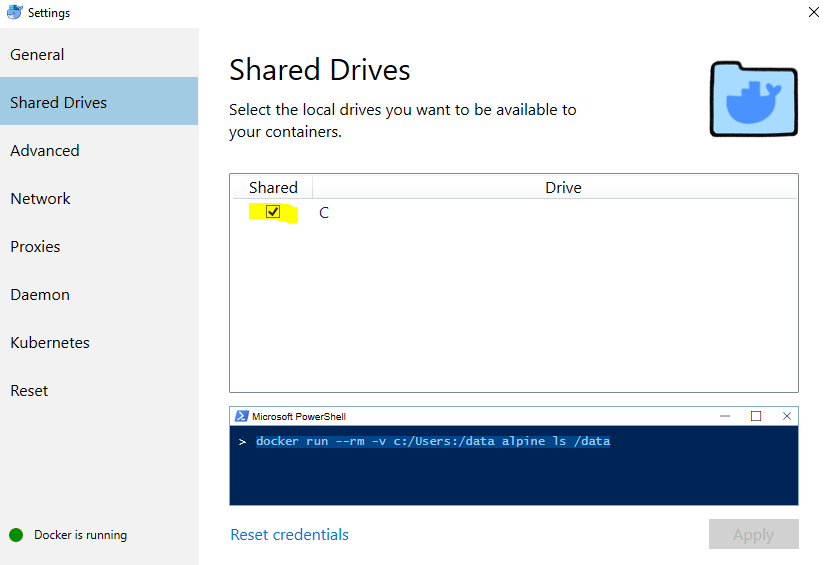
To get docker volume mounts to work when using WSL and Docker desktop for Windows you need to change WSL mount root path from
/mntto/to do this you open the terminal and runsudo nano /etc/wsl.confand you add the following:
[automount]
root = /
options = "metadata" -
Then in your docker desktop settings you select that you want to share your
C:/drive

- You can run mongo db as a docker container and exposing the port used by mongo in the docker container to the host system to make it accessible as if it was running normally on your system.
- To persist data across container runs you can create a volumes, do this by running
docker volume create mongodata docker run --name local-mongo -d -p 27017:27017 -v mongodata:/data/db mongo:latest- The above command will run a docker container with the name
local-mongoin daemon mode with the port-mappings27017from the docker container to27017on the host system, i.e your windows machine. Lastly it will map the data folder from the docker container to your docker volume calledmongodatathat you created earlier. - To start the local mongo server you can then run
docker start local-mongo
- TODO
- You can run redis db as a docker container and exposing the port used by redis in the docker container to the host system to make it accessible as if it was running normally on your system.
- To persist data across container runs you can create a volumes, do this by running
docker volume create redisdata docker run --name local-redis -d -p 6379:6379 -v redisdata:/data redis:latest redis-server- The above command will run a docker container with the name
local-redisin daemon mode with the port-mappings6379from the docker container to6379on the host system, i.e your windows machine. Lastly it will map the data folder from the docker container to your docker volume calledredisdatathat you created earlier. - To start the local redis server you can then run
docker start local-redis
- TODO
-
Download OpenJDK 12 from https://jdk.java.net/12/ (select the windows alternative)
-
Extract the folder to any place you like, but keep it on the windows filesystem or else some applications will have trouble finding the java.exe
-
Download Maven from https://maven.apache.org/download.cgi (select the binary version)
-
Extract to anywhere you like but as with Java, keep the files on the windows filesystem.
-
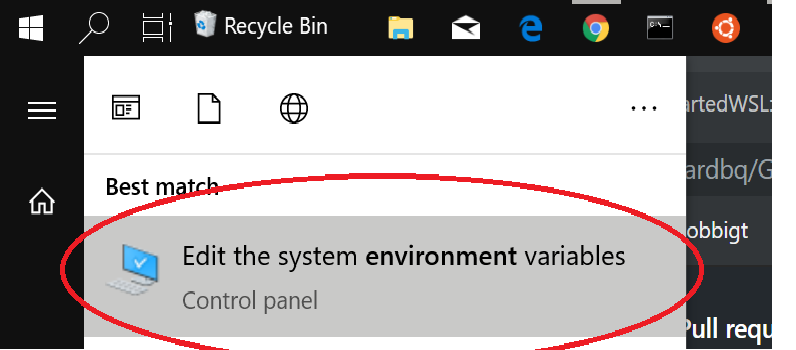
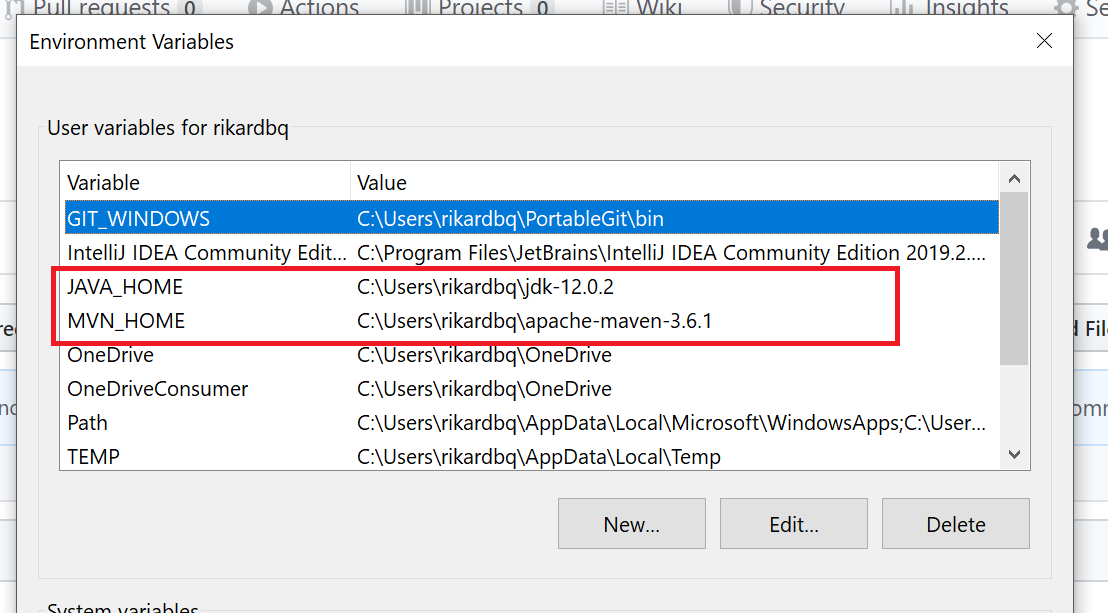
Next you need to add some environment variables
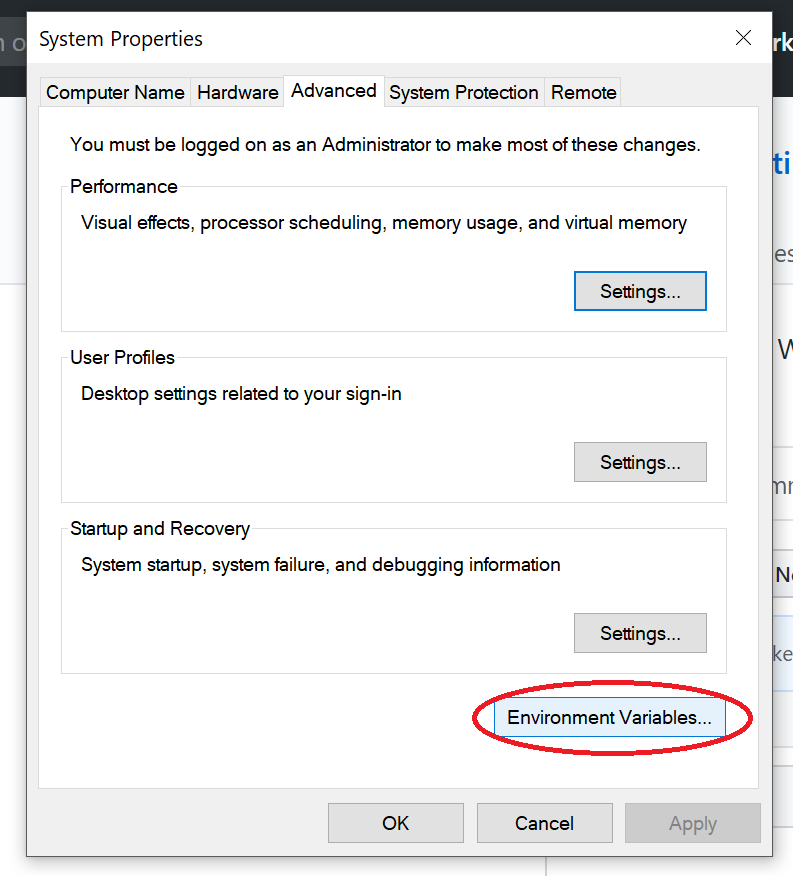
-
Then select the entry named Path and click
Editand add the following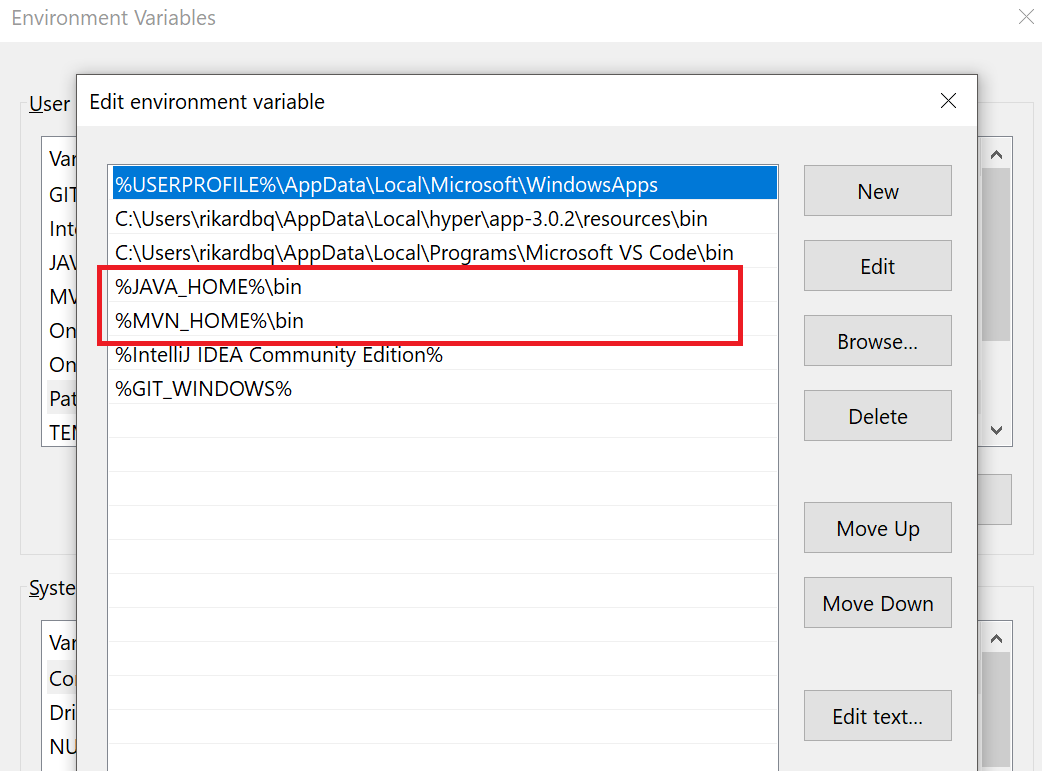
-
To see that it worked you should now the able to run (in your windows command line)
java --versionor if you do it in WSLjava.exe --version -
For maven you run
mvn -v


