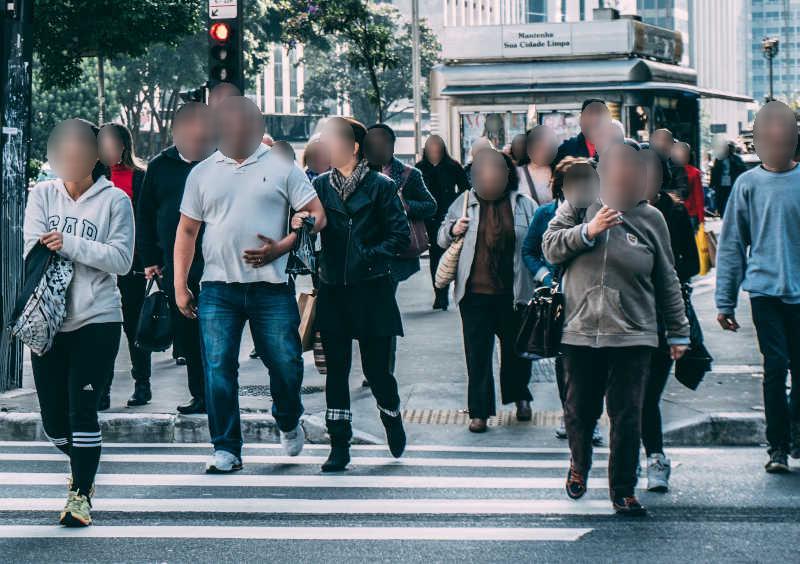
A fork of deface, a program that anonymizes videos or images. Here you can specify a rectangle in which the anonymization of faces is not applied. This works very well. x1, y1 and x2, y2 describe the rectangle in which the faces remain recognizable.
deface --exclude x1 y1 x2 y2
I also experimented with recognizing a specific face and excluding it from the anonymization. The image must be specified in the code under line 26, reference_image_path = "/myknownfacespath/face_to_exclude.png".
This doesn't work so well yet, but it can certainly be optimized.
deface --tolerance 0.6 sets the tolerance used for face recognition to 0.6.
deface is a simple command-line tool for automatic anonymization of faces in videos or photos.
It works by first detecting all human faces in each video frame and then applying an anonymization filter (blurring or black boxes) on each detected face region.
By default all audio tracks are discarded as well.
| Original frame | deface output (using default options) |
|---|---|
 |
 |
deface supports all commonly used operating systems (Linux, Windows, MacOS), but it requires using a command-line shell such as bash. There are currently no plans of creating a graphical user interface.
The recommended way of installing deface is via the pip package manager. This requires that you have Python 3.6 or later installed on your system. It is recommended to set up and activate a new virtual environment first. Then you can install the latest release of deface and all necessary dependencies by running:
$ python3 -m pip install deface
Alternatively, if you want to use the latest (unreleased) revision directly from GitHub, you can run:
$ python3 -m pip install 'git+https://github.com/ORB-HD/deface'
This will only install the dependencies that are strictly required for running the tool. If you want to speed up processing by enabling hardware acceleration, you will need to manually install additional packages, see Hardware acceleration
If you want to try out anonymizing a video using the default settings, you just need to supply the path to it. For example, if the path to your test video is myvideos/vid1.mp4, run:
$ deface myvideos/vid1.mp4
This will write the the output to the new video file myvideos/vid1_anonymized.mp4.
If you have a camera (webcam) attached to your computer, you can run deface on the live video input by calling it with the cam argument instead of an input path:
$ deface cam
This is a shortcut for $ deface --preview '<video0>', where '<video0>' (literal) is a camera device identifier. If you have