A 3D Printed Hexapod Robot
This is a hexapod robot based on Smallp Tsai's hexapod-v2-7697 project. This project reused most of the mechanical design in the original project, but with a full redesign of the circuits and software. The table below shows the difference between this project and the original one.
| Original hexapod-v2-7697 | This project | |
|---|---|---|
| Controller | Linkit 7697 | Raspberry Pi Zero W or Raspberry Pi Zero W 2 |
| PWM control | Custom circuit board | 2 x PCA9685 motor driver boards |
| DC-DC | 7 x mini360 modules | 2 x XL4005 5A Max DC-DC modules and 1 x mini360 |
| Power | 2S Lipo battery | 2 x 18650 batteries |
| Remote | BLE | WiFi, Bluetooth |
| Remote software | Android and iOS | PC, Android |
hexapod.mp4
0001-0702.mp4
Raspberry Pi is running Raspberry Pi OS.
- Enable
I2Cthroughraspi-config
sudo raspi-config- Install required packages
sudo apt-get install python3-numpy python3-pip- Install required Python modules
pip3 install adafruit-circuitpython-servokitTips: It is convenient to debug code on Raspberry Pi through VSCode's remote feature.
The hexapod program, located under ./software/raspberry pi/, is written in Python. Use the following command to start it manually.
python3 hexapod.pyPC program source files are located under ./software/pc/. The compiled program can be downloaded under the release page.
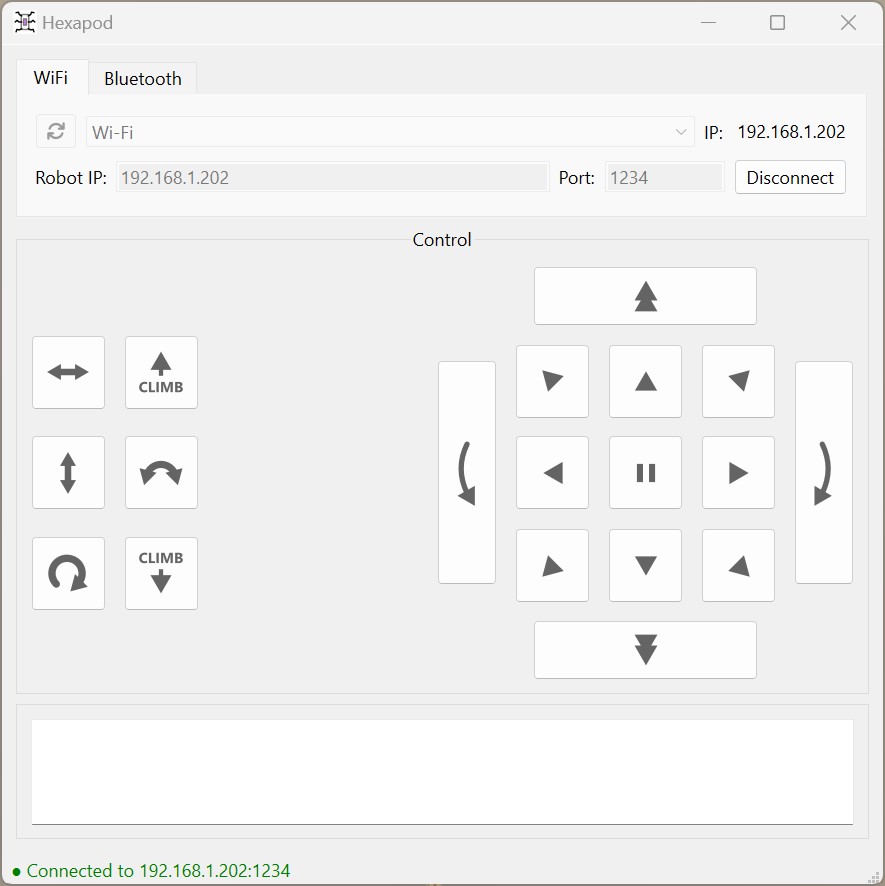
- Find the correct IP address of the Raspberry Pi on the hexapod
- Connect to the hexapod using the IP address
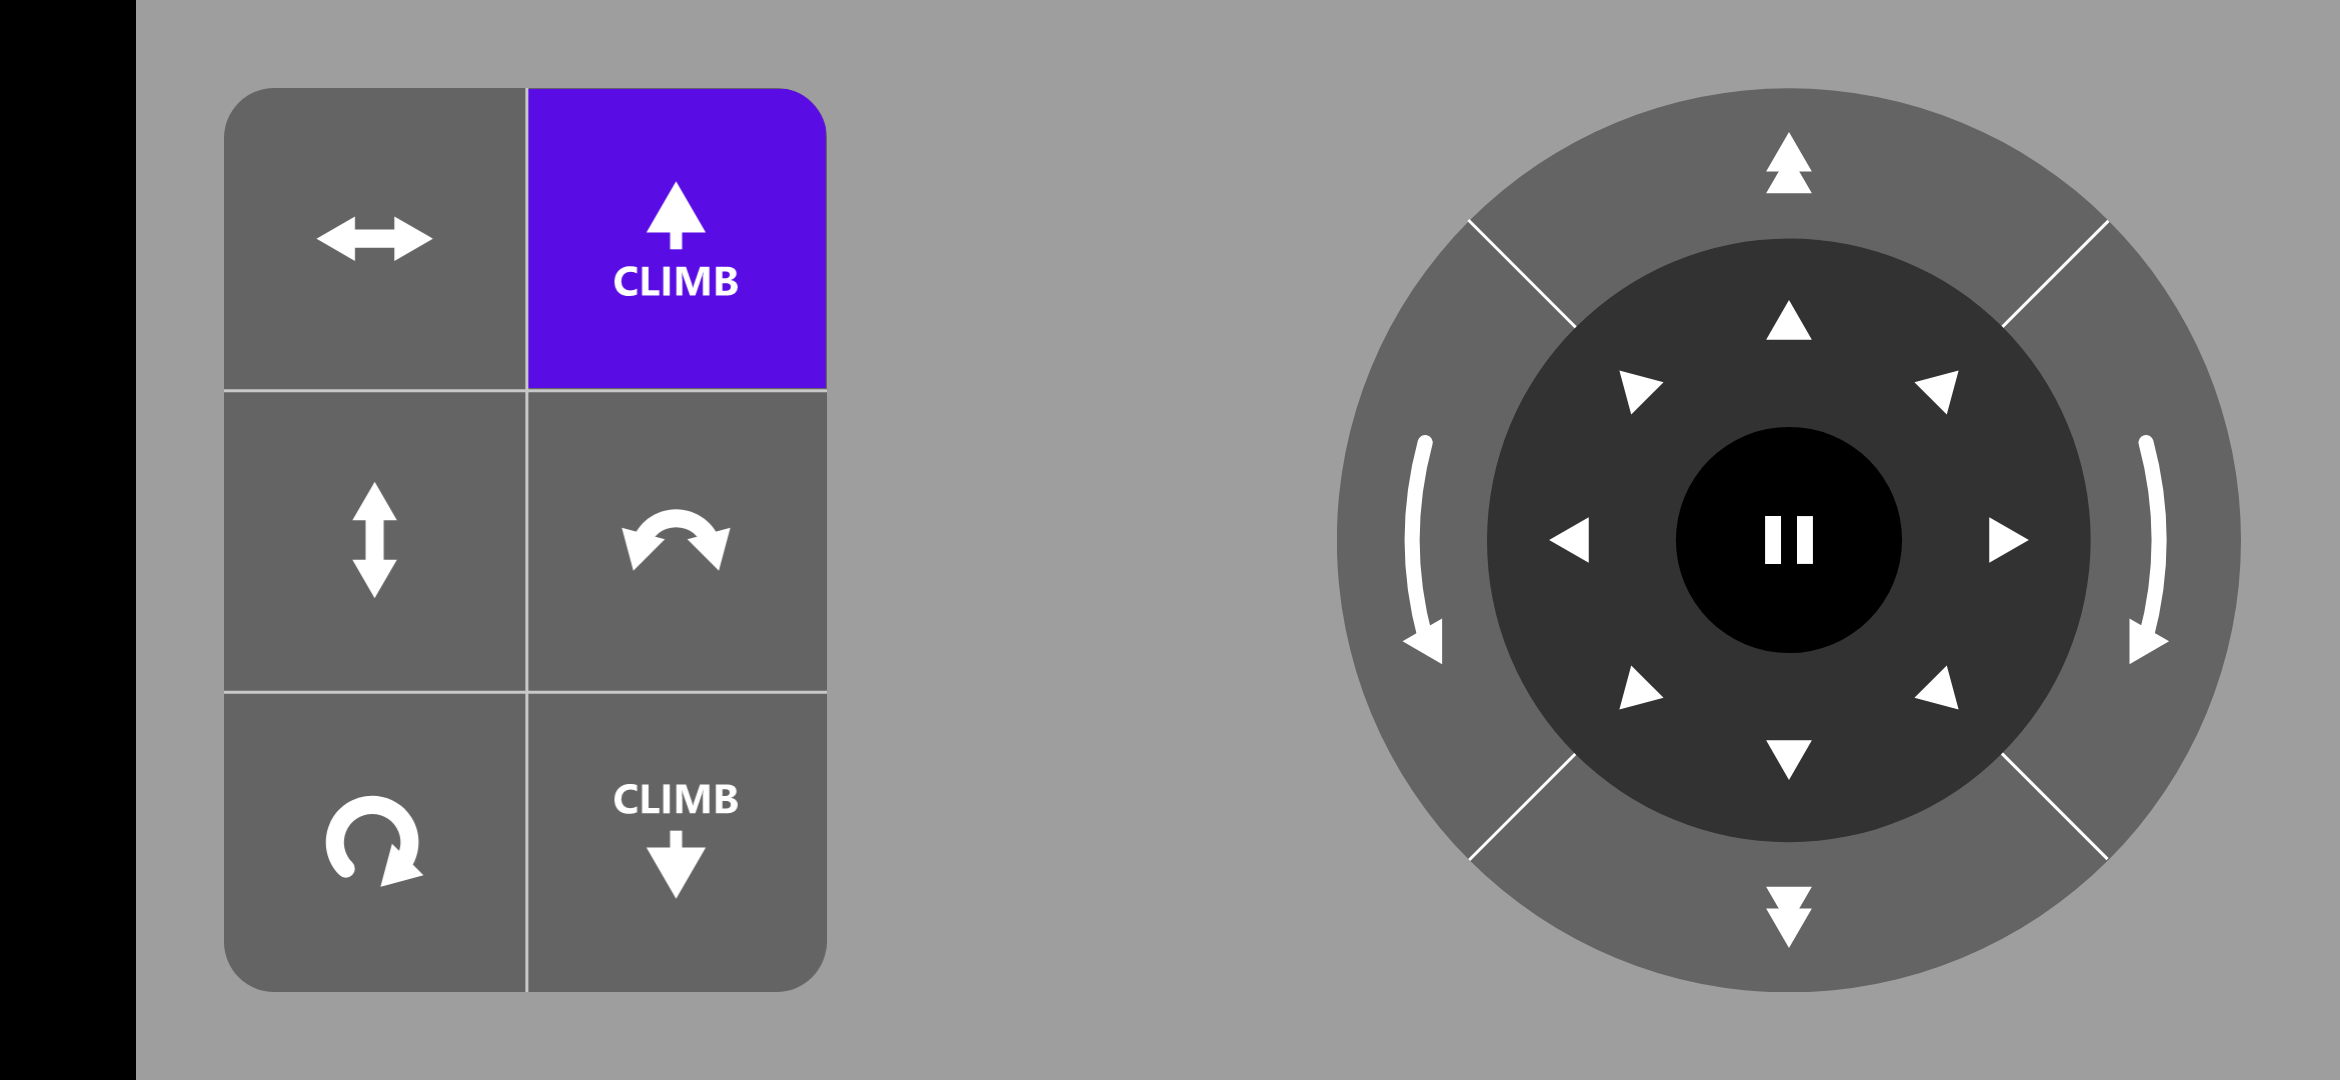
- Use the buttons on the panel to control the hexapod
18 TowerPro MG92B are required.
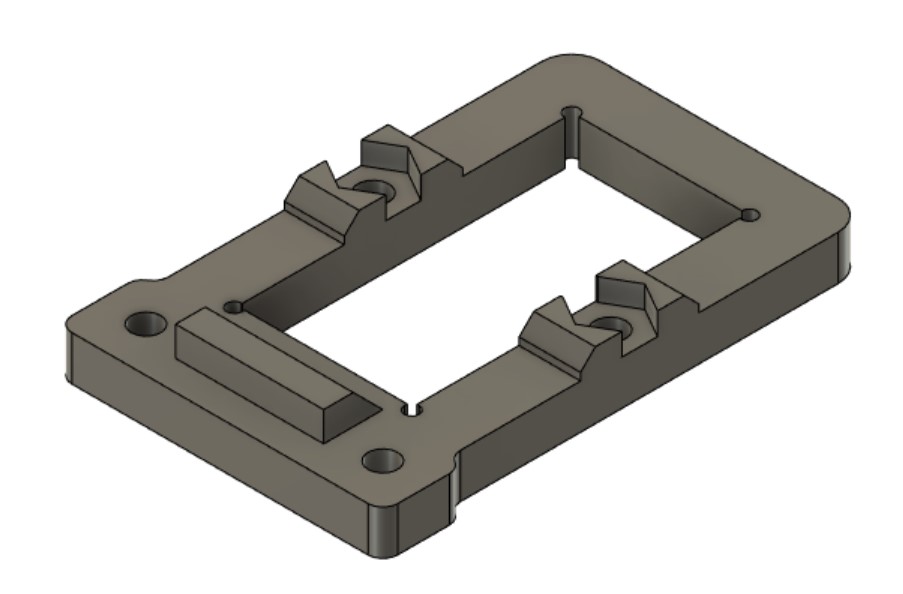
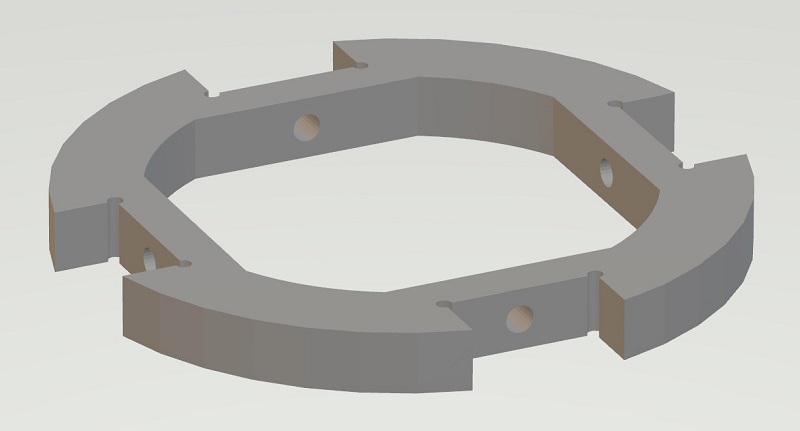
The dimension of 3d printed part is highly dependent on the servo's size. Modification is required if you want to use alternative servos.
| Filename | Thumbnail | Required |
|---|---|---|
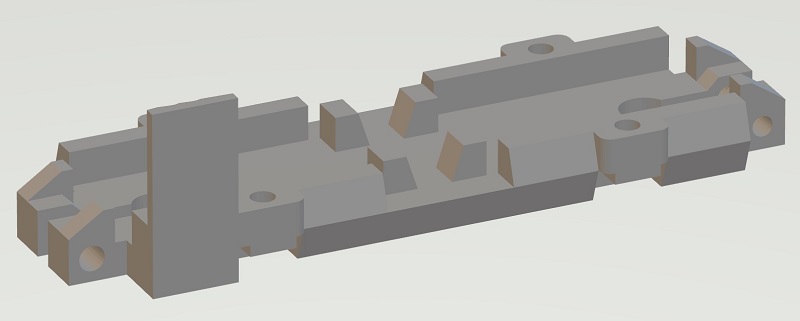
| body_top | 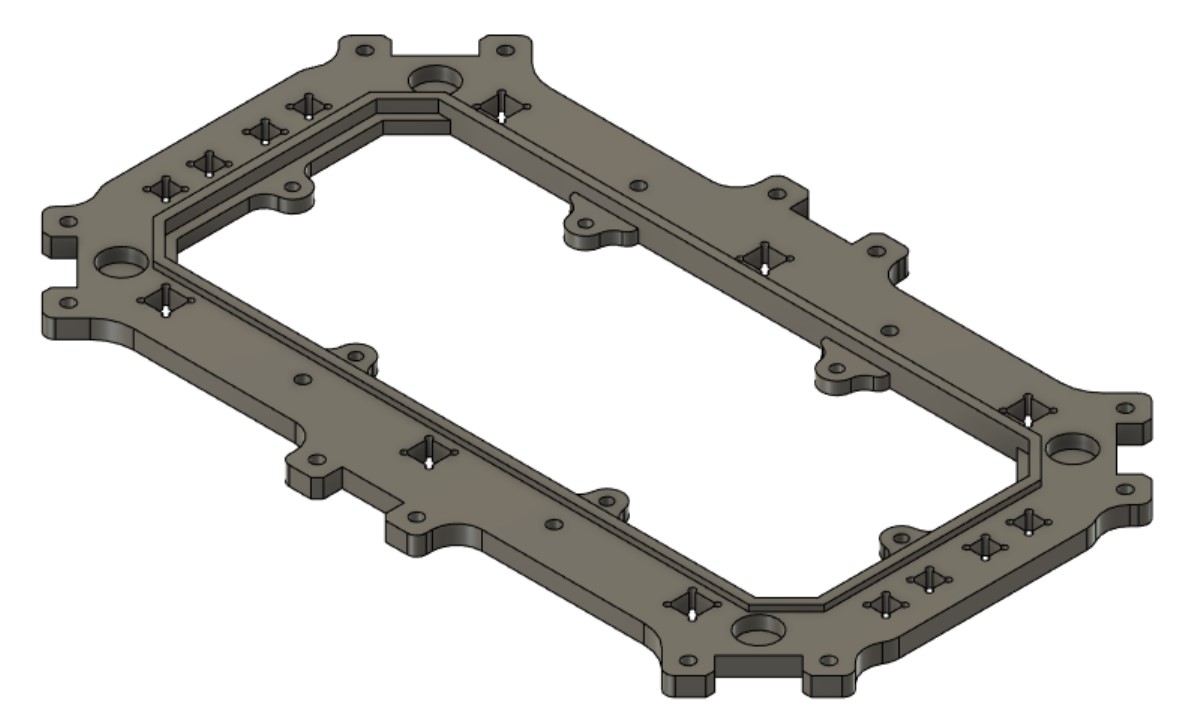 |
1 |
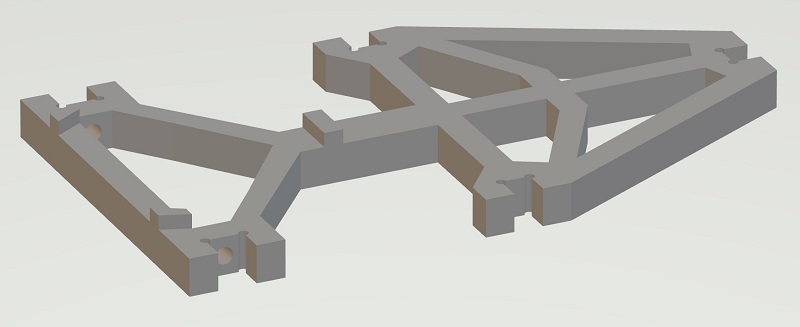
| body_bottom | 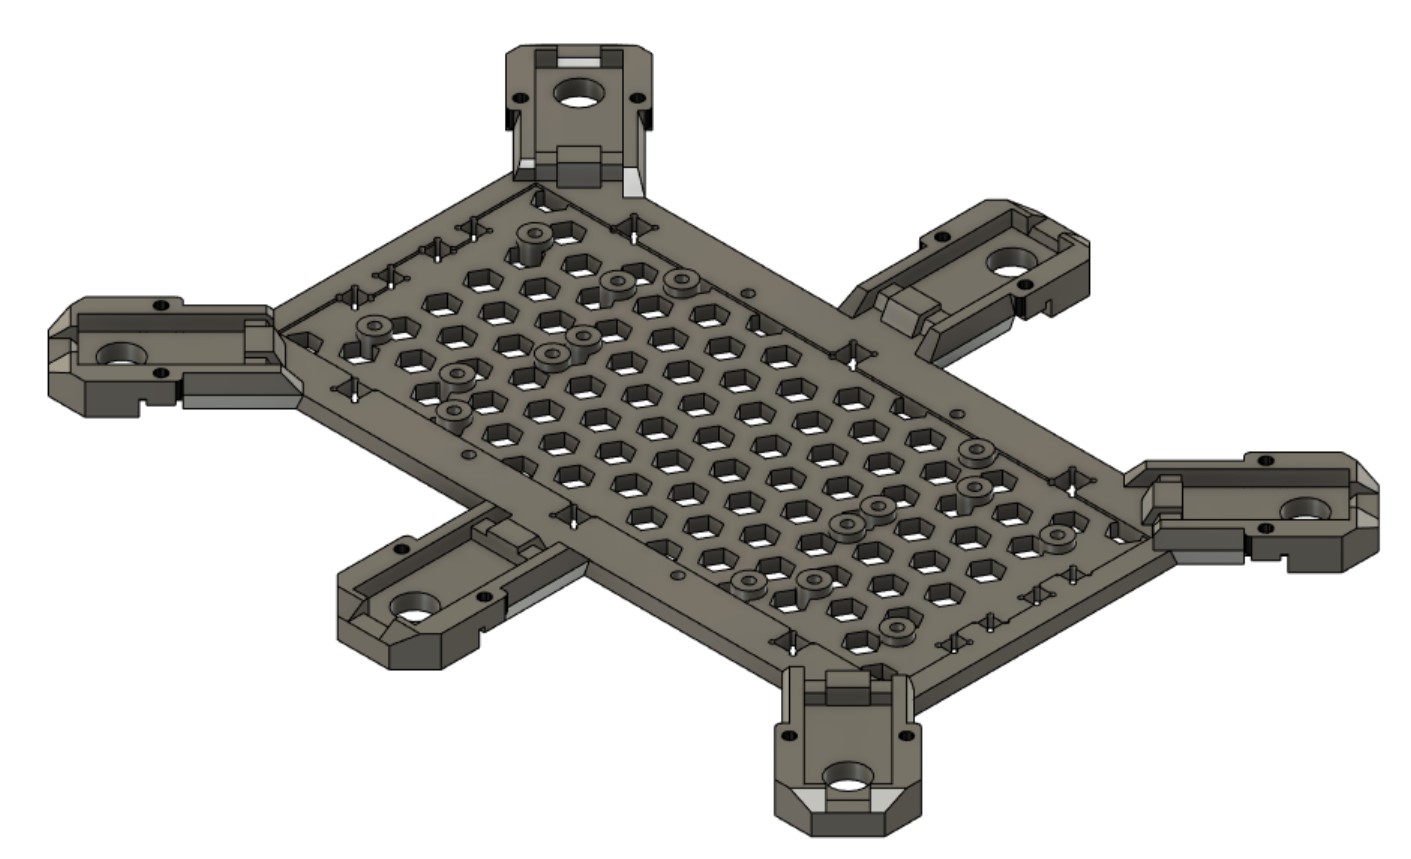 |
1 |
| body_side_wall |  |
2 |
| body_back_wall | 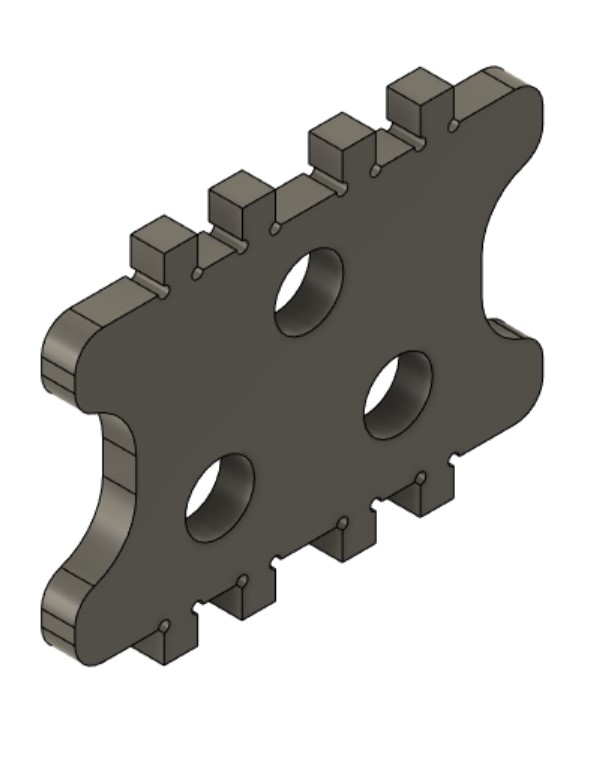 |
2 |
| battery_box |  |
1 |
| battery_cover | 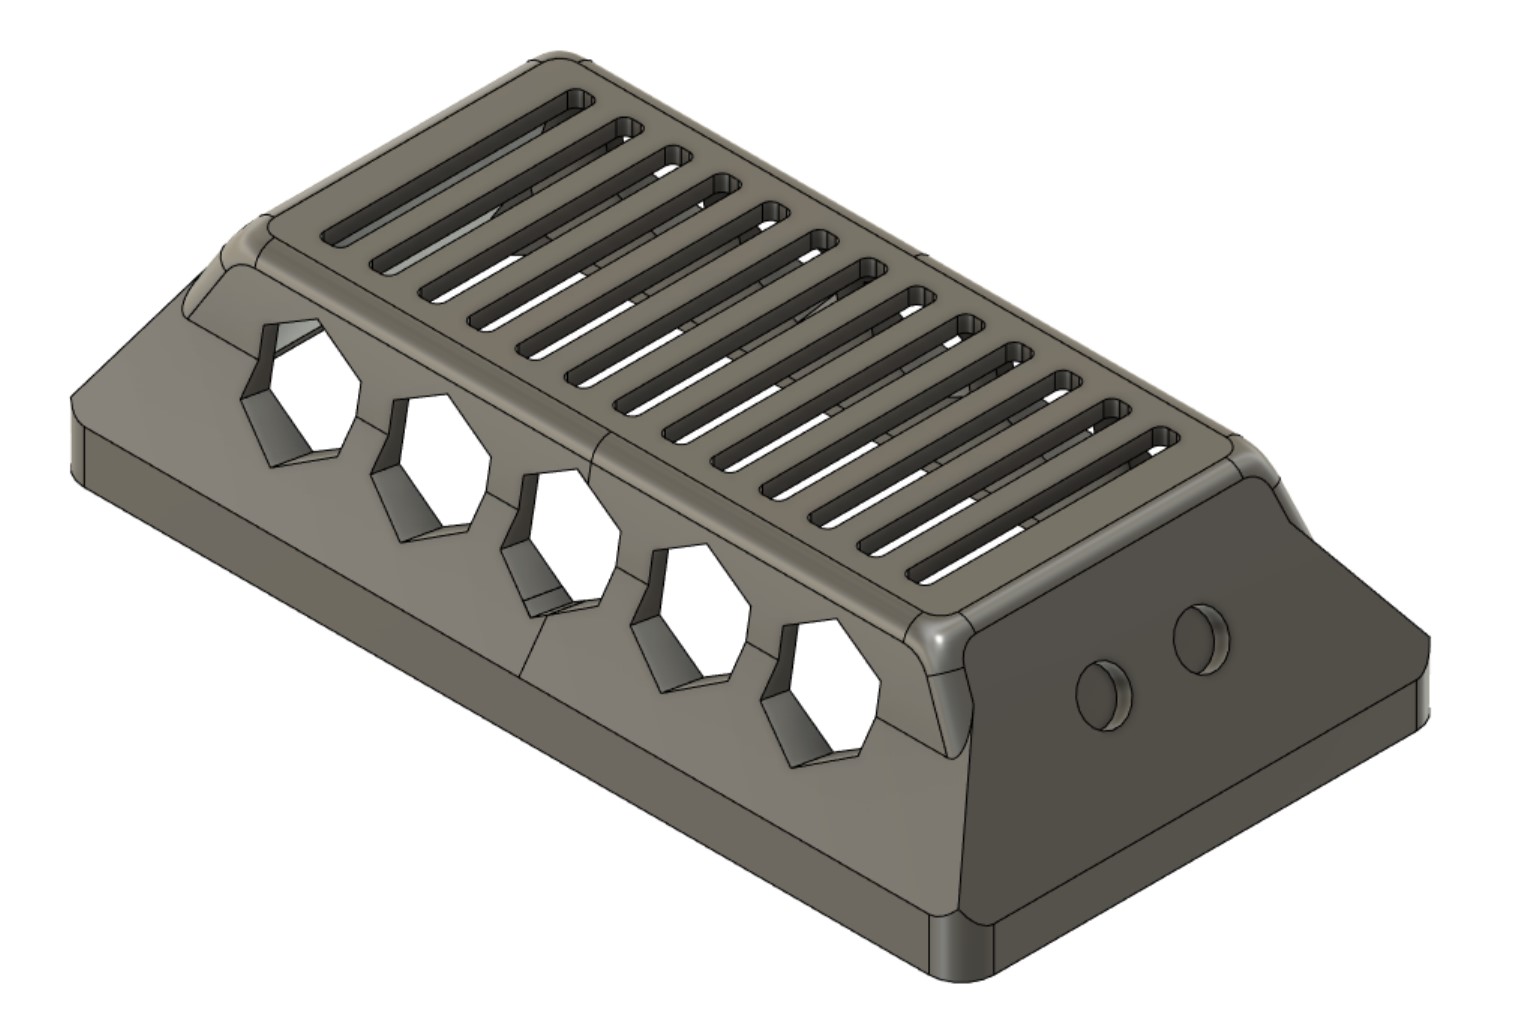 |
1 |
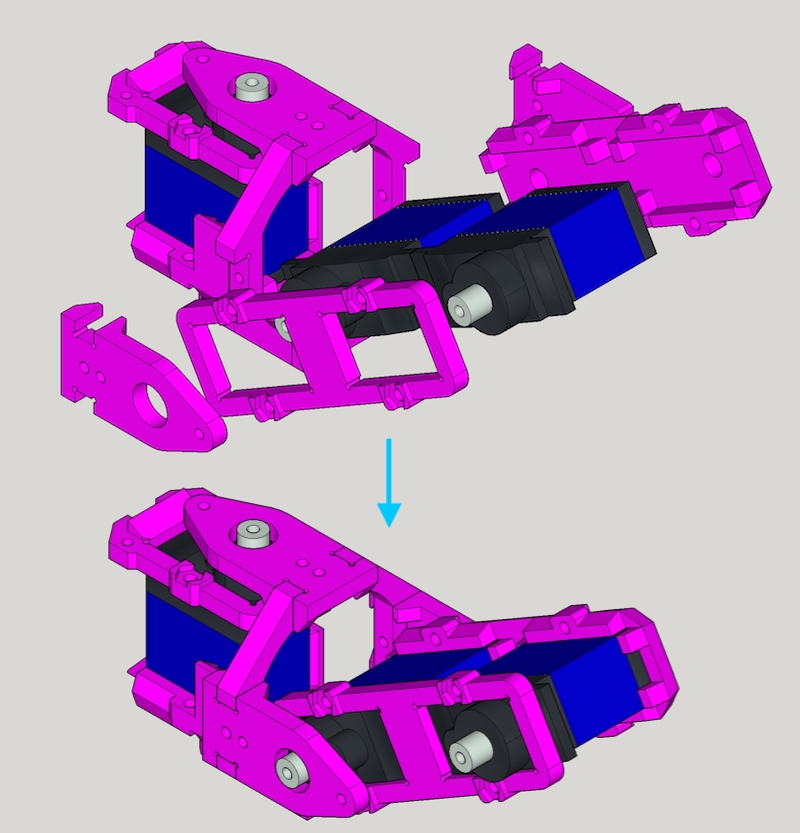
- Step 1 - Combine
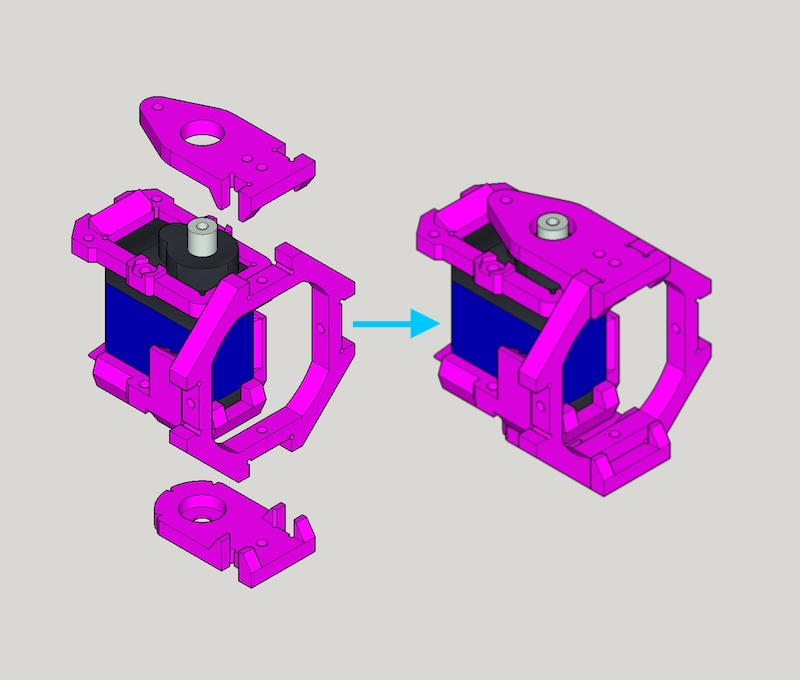
thigh_top,MG92Bandthigh_bottom, use M2x30mm screw and nut to secure them together.
- Step 2 - Grab one
joint_cross,joint_topandjoint_bottomand combine them
- Step 3 - First put 2 x
MG92B,leg_topandleg_bottomtogether with M2x30mm screw and nut. Then attachjoint_topandjoint_bottomaltogether
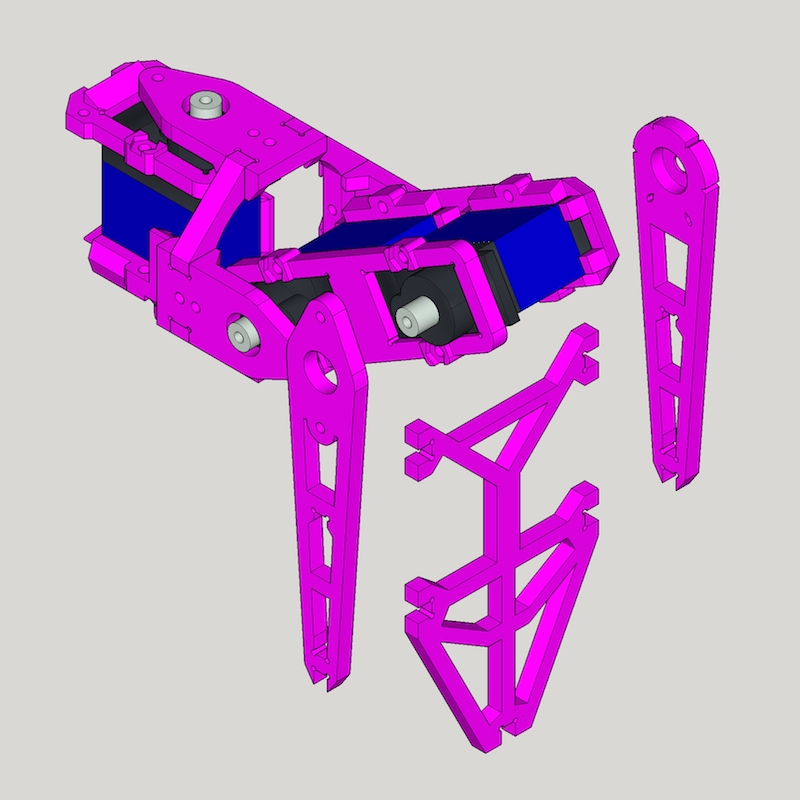
- Step 4 - Grab
foot_top,foot_bottomandfoot_ground(andfoot_top) and assemble them.
- Finish - Great, you got 1 leg done, 5 more to go :)
| Name | Thumbnail | Required |
|---|---|---|
| Raspberry Pi Zero W or W 2 | 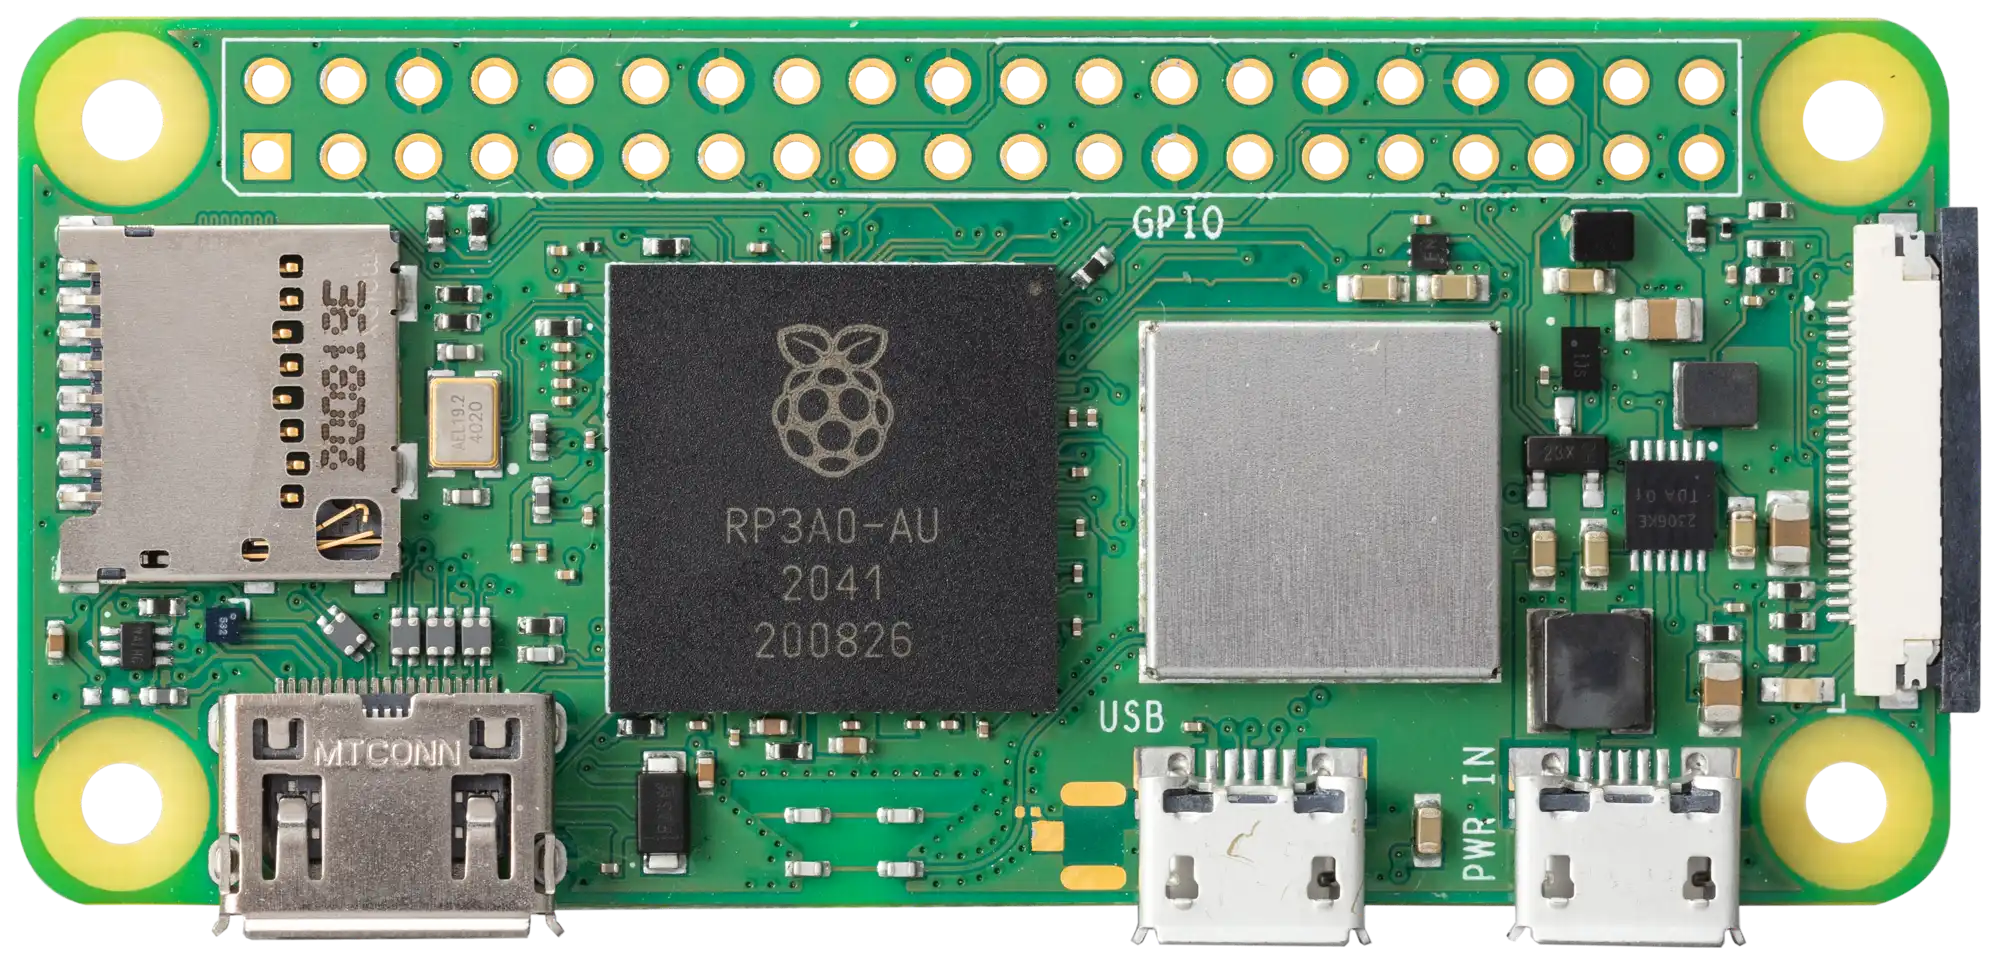 |
1 |
| PCA9685 motor driver |  |
2 |
| XL4005 DC-DC step down |  |
2 |
| Mini 360 DC-DC step down | 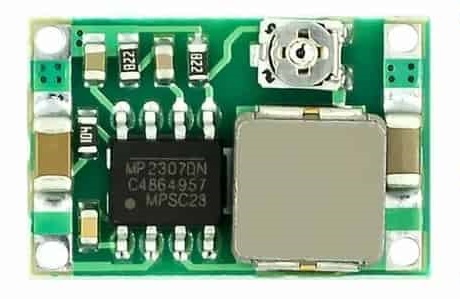 |
1 |
| Toggle switch |  |
1 |

