A test project for a dev job interview.
This project has been built using Laravel 5.5. To see various libraries used in development of this project, please view the composer.json and package.json files. Front-end assets are managed and compiled via laravel-mix and webpack. To view the task/problem I needed to work on, please visit the TASKDETAILS.md file.
If you have any issues installing and running this project, please let me know - I'm very happy to help, and also learn something new.
EDIT (15/11/2017): A live demo is available at https://sales-tax-test.robertattfield.com. To login, enter the following credentials:
- Email: [email protected] (not a real one)
- Password: demo
The demo user cannot save any edits, and add/delete new items.
To install the project on your local server, please read the requirements below:
To install this Laravel-based project, please make sure your server has the following installed:
- PHP >= 7.0.0
- OpenSSL PHP Extension
- PDO PHP Extension
- Mbstring PHP Extension
- Tokenizer PHP Extension
- XML PHP Extension
You can also view the above requirements on Laravel's website at https://laravel.com/docs/5.5/installation#server-requirements.
This project was built using a MySQL database, however, Laravel currently supports the following DBMS's:
- MySQL
- PostgreSQL
- SQLite
- SQL Server
You can view further details about Laravel database support at https://laravel.com/docs/5.5/database#introduction
This project was built upon a LAMP stack; however, it should be workable on most available stacks. The installation instructions will be based on a LAMP stack.
More specifically, I developed this project on a local Vagrant / VirtualBox machine. I used the ubuntu/xenial Vagrant box with this, and I also recommend using Laravel's own laravel/homestead box.
Clone this repository to your server's web root directory. For me, I cloned this repository to /var/www. An example is provided below:
git clone https://github.com/rattfieldnz/sales-tax-test.git /var/www/sales-tax-test.localhost
Navigate into build/sales-tax-test, then install Composer dependencies by executing the following command: composer install. This could take a minute or two, depending on your network capabilities and server specs.
After Composer dependencies have finished installing, you will need to edit the .env file that was generated with your particular details. The env variables should be straightforward; however, feel free to get in touch if you are unsure..
I have copied my .env settings into .env.example, so you could use those if you prefer (keep in mind your database credentials could be different).
As Laravel needs the storage directory to store compiled view and log files, you will need to make this directory readable and writeable. To do this, you can execute the following command within the build/sales-tax-test directory:
chown -R www-data:www-data storage/ && chmod -R 755 storage/
Below is my Apache configuration file for this project. You would usually put this file in the /ect/apache2/sites-available directory.
<VirtualHost *:80>
    # The ServerName directive sets the request scheme, hostname and port that
    # the server uses to identify itself. This is used when creating
    # redirection URLs. In the context of virtual hosts, the ServerName
    # specifies what hostname must appear in the request's Host: header to
    # match this virtual host. For the default virtual host (this file) this
    # value is not decisive as it is used as a last resort host regardless.
    # However, you must set it for any further virtual host explicitly.
    ServerName sales-tax-test.localhost
    ServerAlias sales-tax-test.localhost

    ServerAdmin [email protected]
    DocumentRoot /var/www/sales-tax-test.localhost/build/sales-tax-test/public/
    <Directory /var/www/sales-tax-test.localhost/build/sales-tax-test/public/>
        Options Indexes FollowSymLinks MultiViews
        AllowOverride All
        Order allow,deny
        allow from all
    </Directory>

    RewriteEngine On

    # Available loglevels: trace8, ..., trace1, debug, info, notice, warn,
    # error, crit, alert, emerg.
    # It is also possible to configure the loglevel for particular
    # modules, e.g.
    #LogLevel info ssl:warn

    ErrorLog ${APACHE_LOG_DIR}/error.log
    CustomLog ${APACHE_LOG_DIR}/access.log combined
</VirtualHost>
I saved this file as /etc/apache2/sites-available/sales-tax-test.localhost.conf.
Once you have saved the conf file, you will need to enable the new site configuration. You can do this by running the following command: a2ensite sales-tax-test.localhost.conf.
In terms of viewing the project website, it will depend on your development environment. If you would like to use Vagrant and VirtualBox like me, you can visit my repository I created at https://github.com/rattfieldnz/silverstripe-vagrant-dev-machine. This is a development environment I made for a few Silverstripe projects. Keep in mind you will need to make sure that Laravel 5.5's requirements are still met. At the time of typing this README, an earlier PHP version (5.6) is configured to install, whereas Laravel 5.5 requires PHP 7+.
To create the necessary database tables (and fill them with the project testing data), run the following command from within build/sales-tax-test directory:
php artisan migrate --seed
If you get issues with running the command, you may need to run this one below, then run the one above again:
php artisan cache:clear && php artisan config:cache
If all goes well, you should now be up and running with this project. If there are any issues, please let me know.
If you want to view the project in your browser (keeping in mind details in Step Five), enter in the URL assigned to the APP_URL variable in your .env file. You may also need to add a port number onto this URL in the browser, depending on your setup (i.e. Step 6).
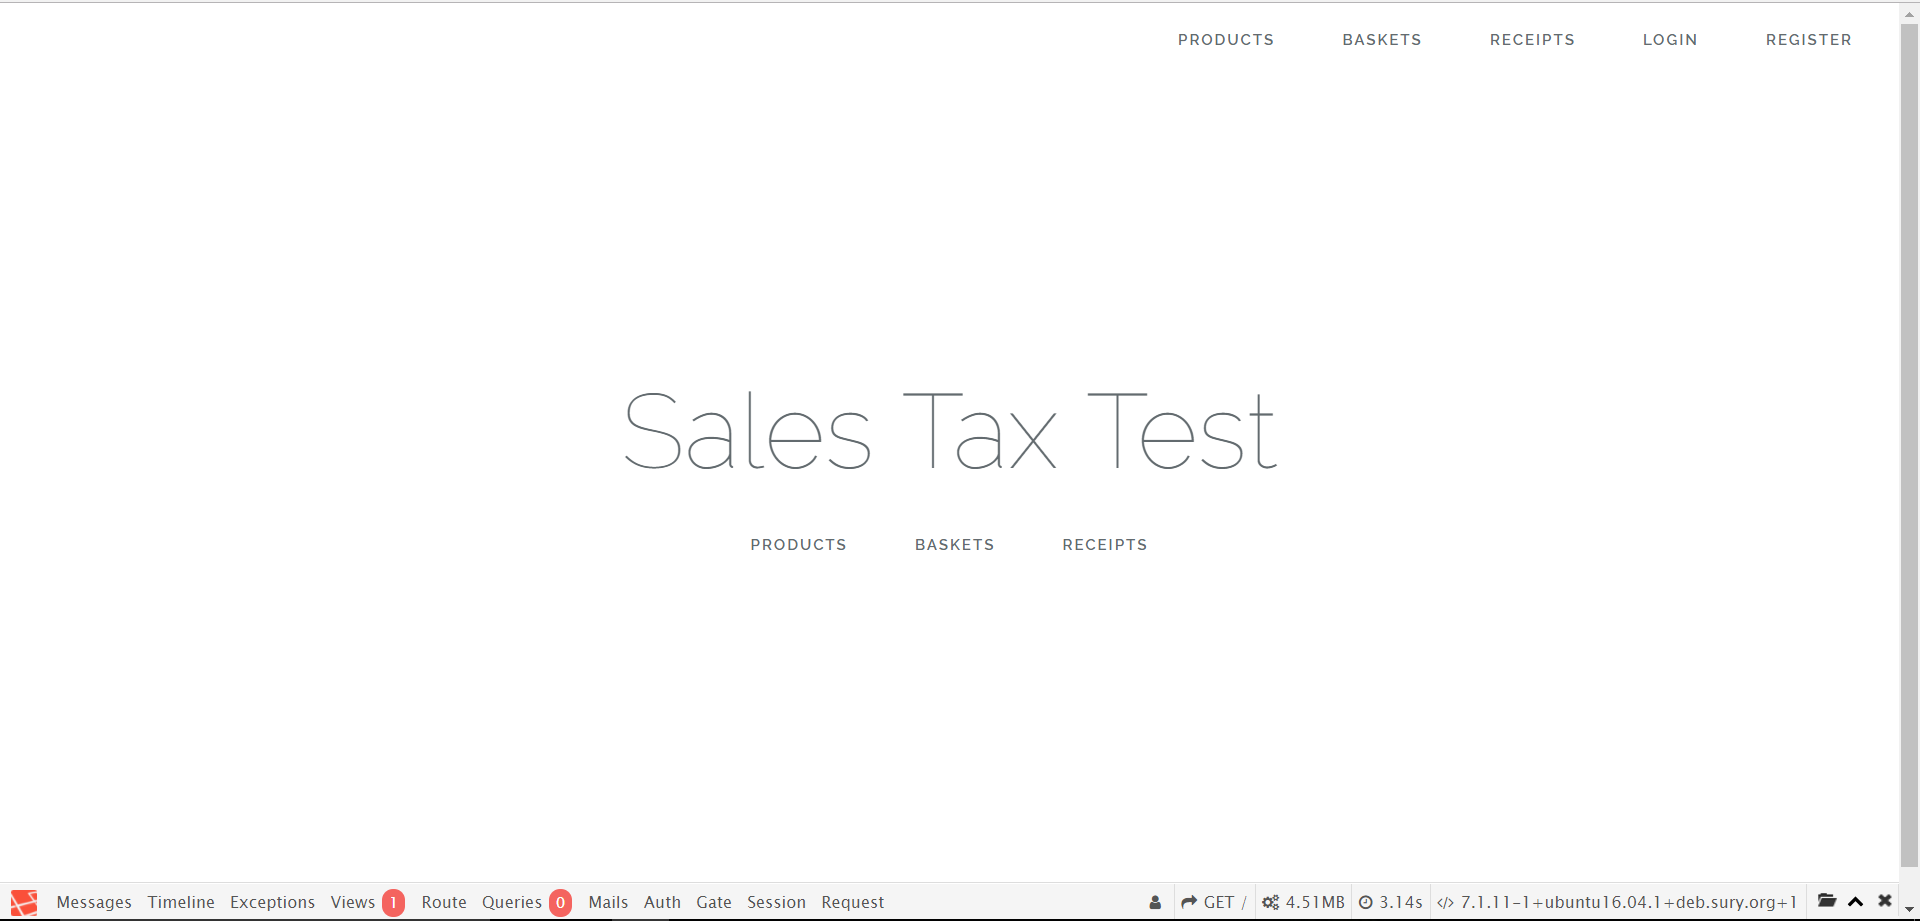
With my current set-up, I would enter http:https://sales-tax-test.localhost:8080 in my browser bar. If everything has gone well so far, you would see the following:
If viewing the image does not work, you can open the browser-view-homepage.png image in the root of this repository.
To log in, enter the USER_EMAIL and USER_PASSWORD details from your .env file.
While you can view test data in the project seeding files (in database/seeds), you can also (obviously) view seeded data in the browser.
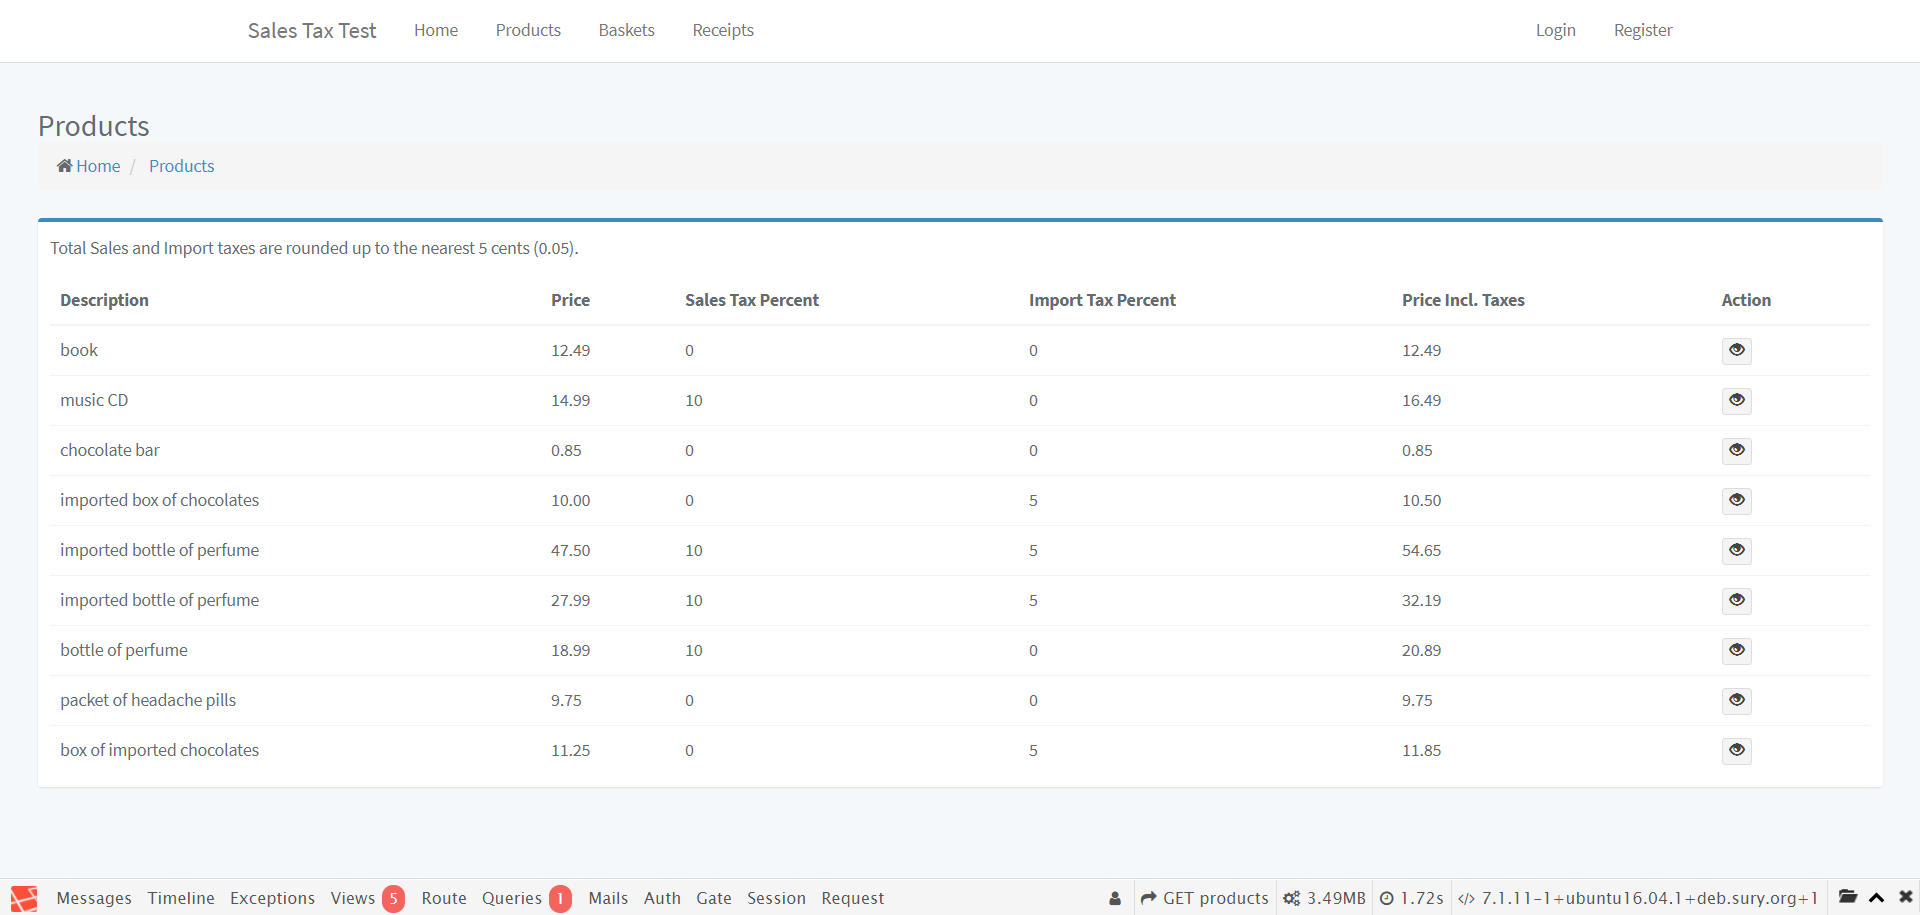
To view products, append /products to the root URL. You are able to view this index page, and subsequent product pages, without being logged in.
You should see something like the following:
If viewing the image does not work, you can open the products-page-not-logged-in.png image in the root of this repository.
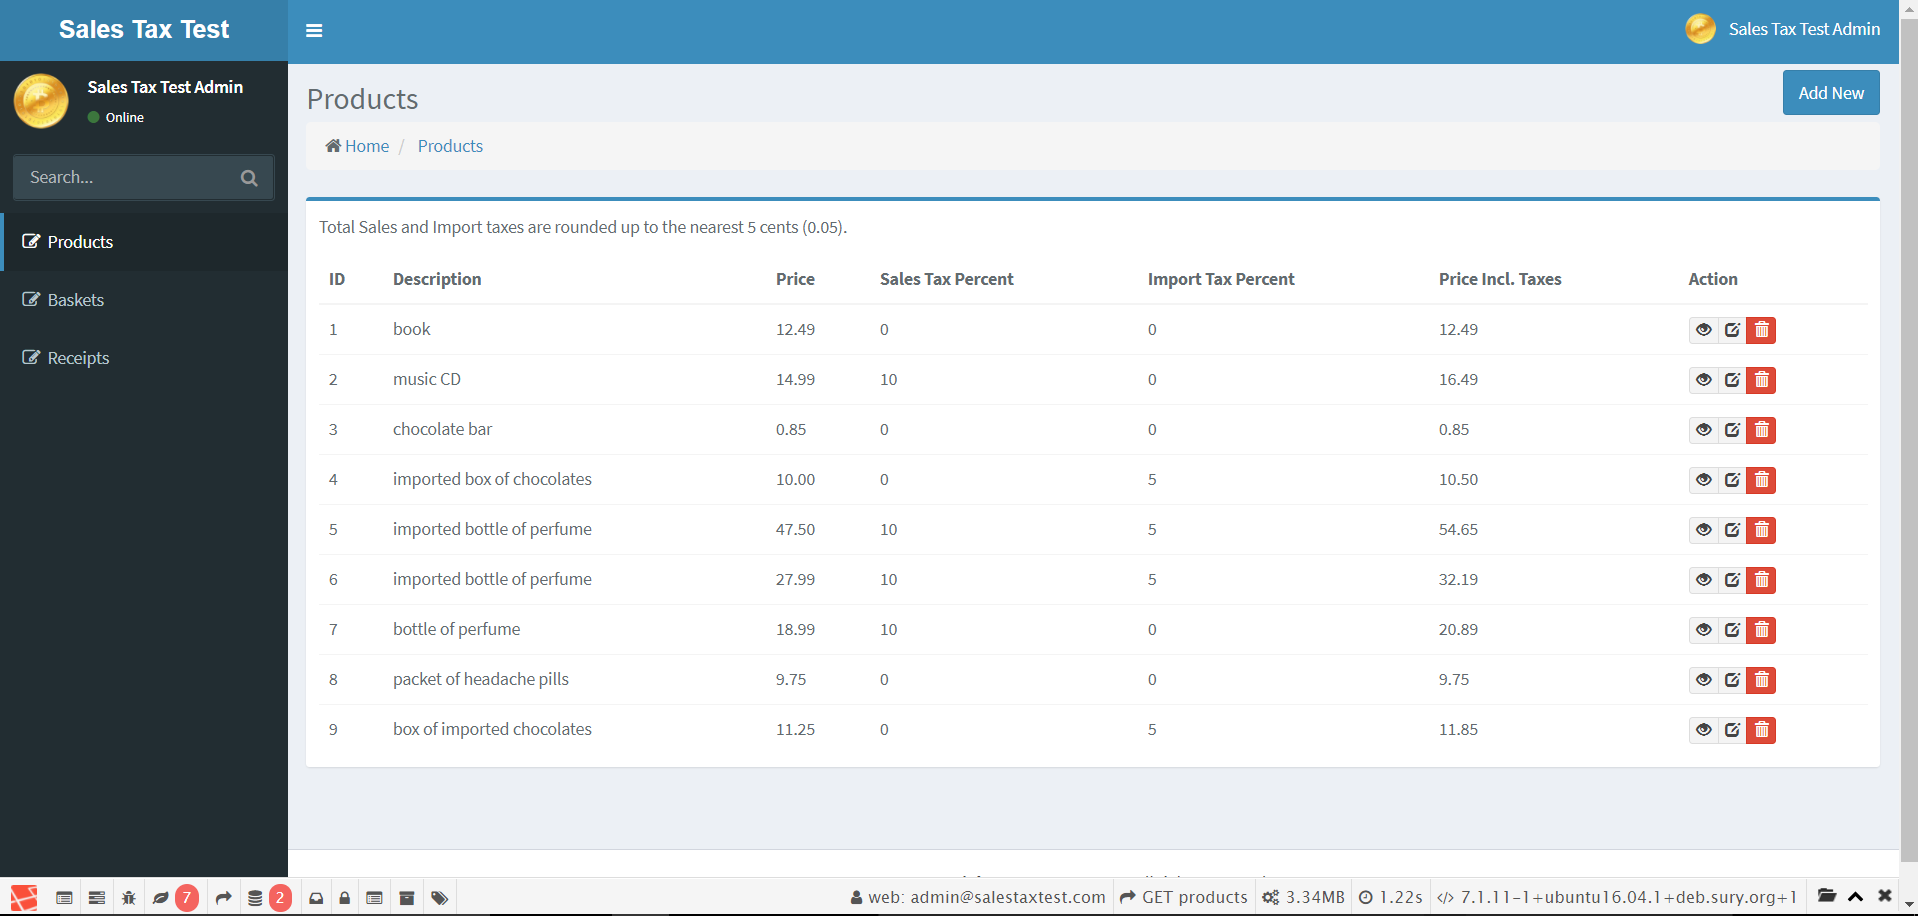
If viewing the image does not work, you can open the products-page-logged-in.png image in the root of this repository.
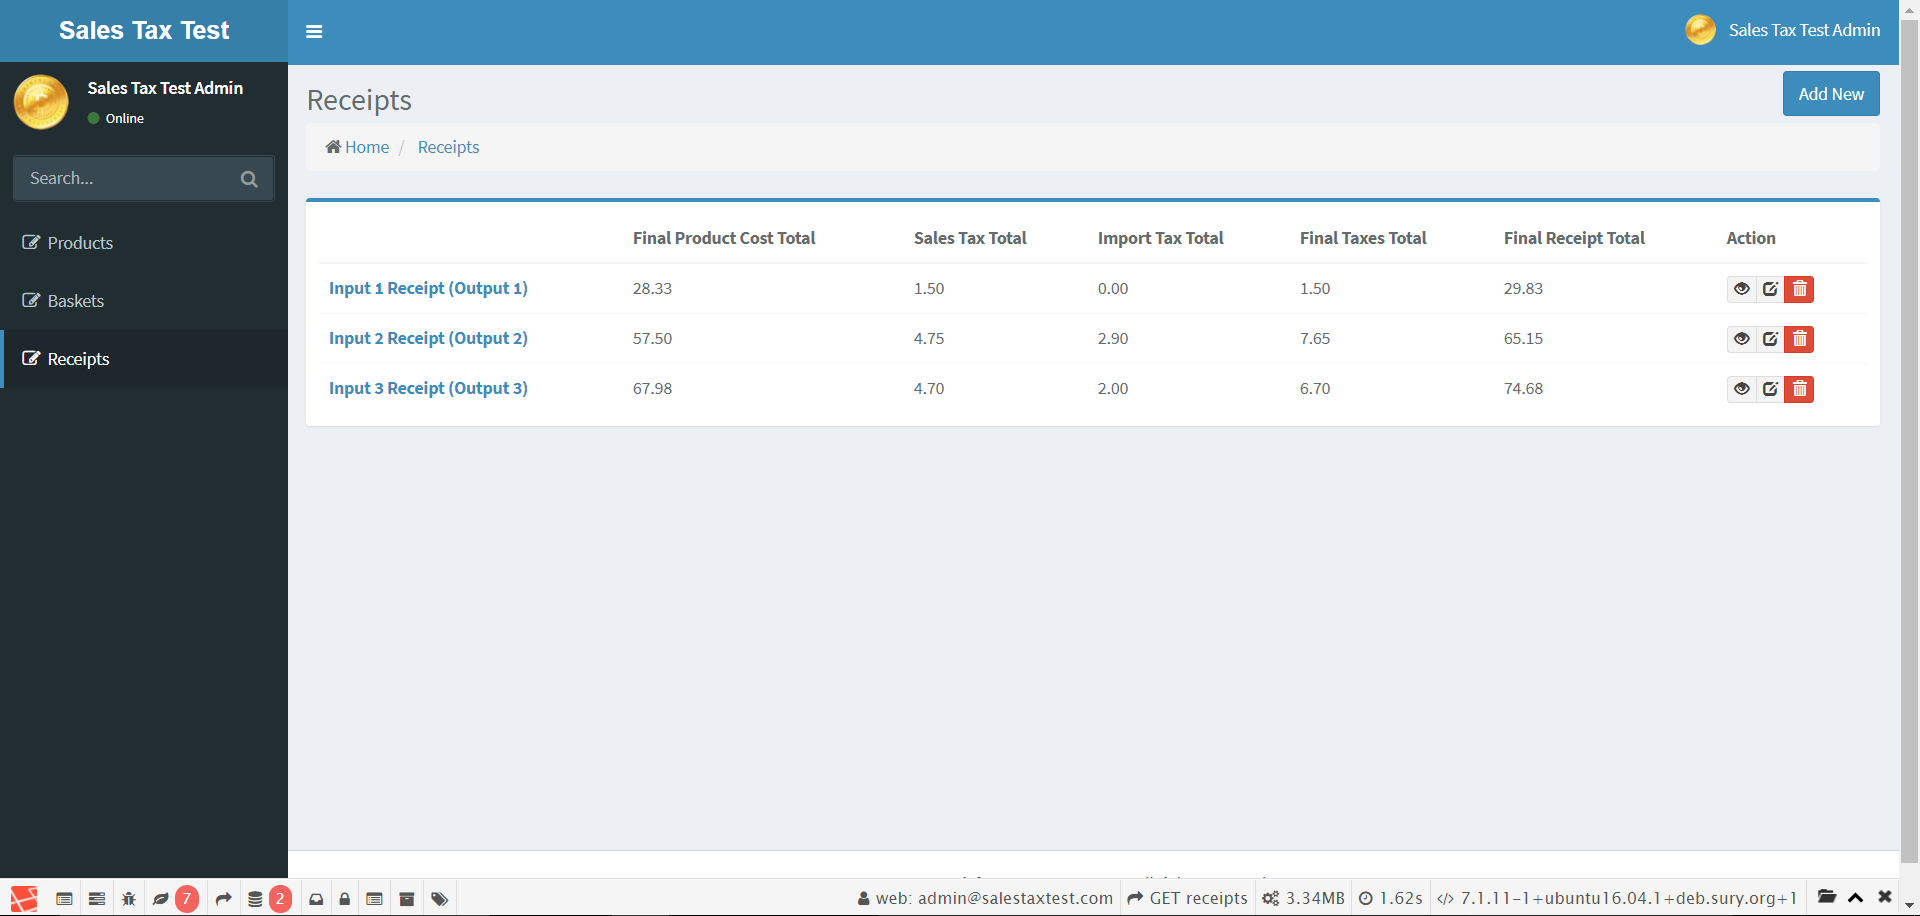
You need to be logged in to view the test receipts.
If viewing the image does not work, you can open the receipts-page.png image in the root of this repository.
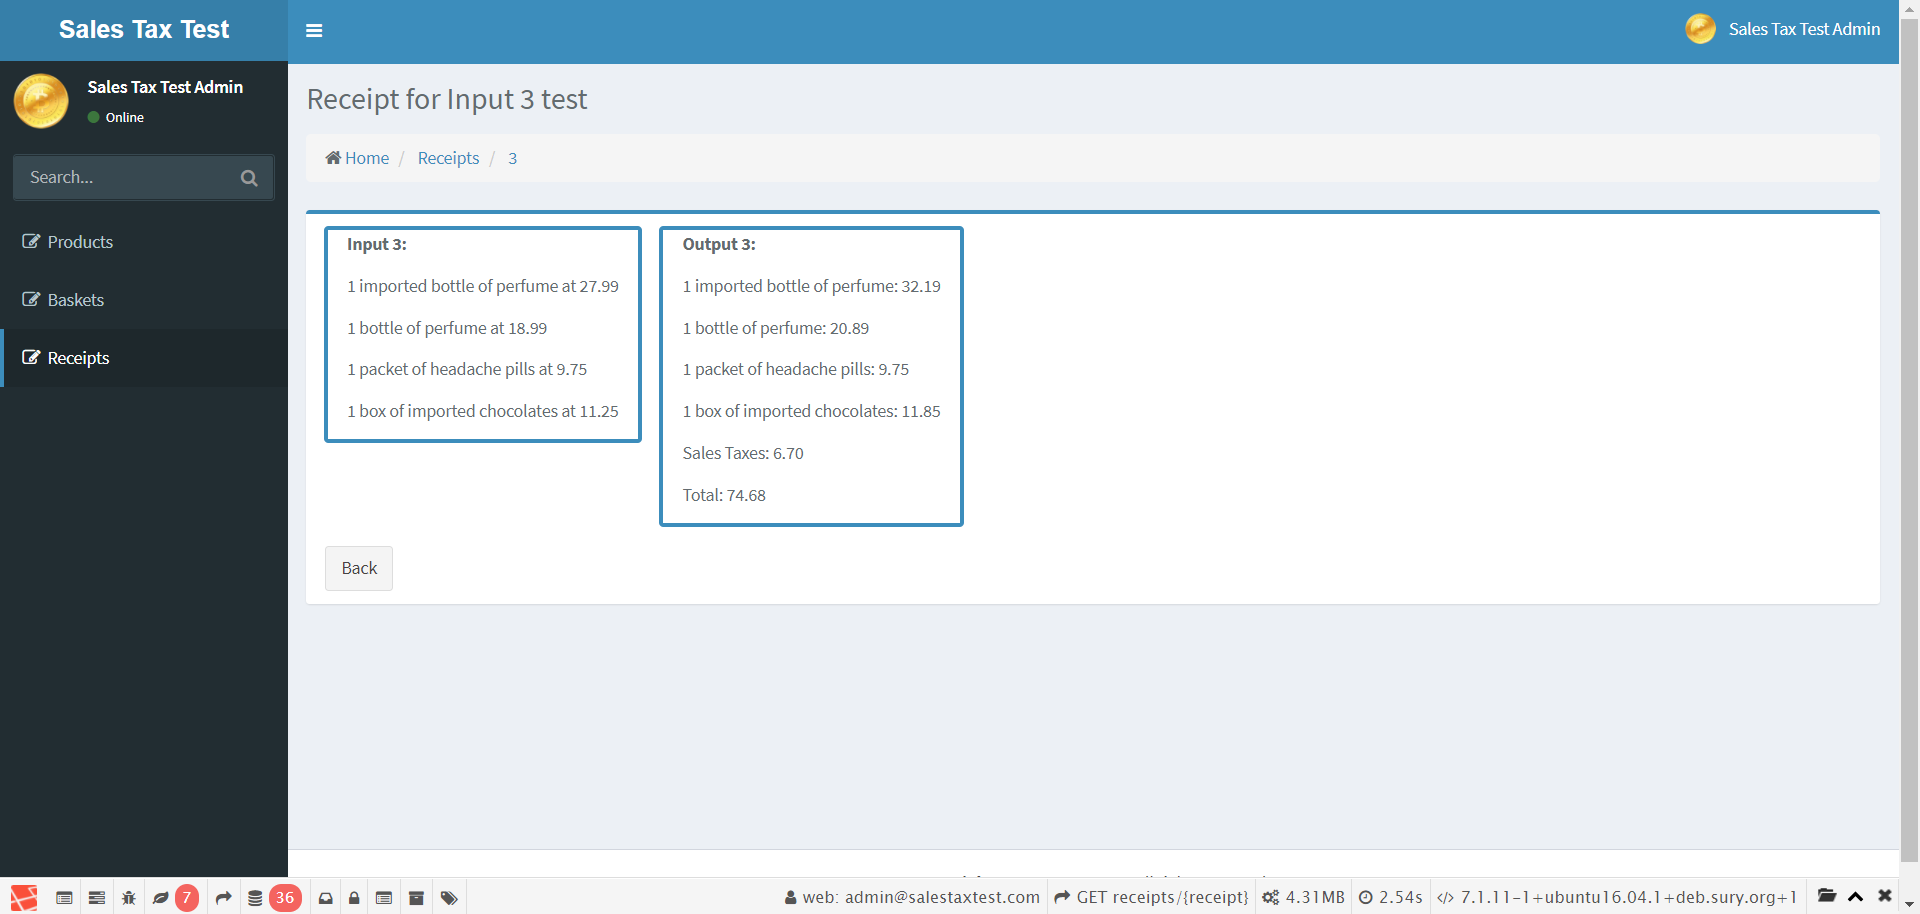
An example individual receipt is below:
If viewing the image does not work, you can open the individual-receipt-example.png image in the root of this repository.
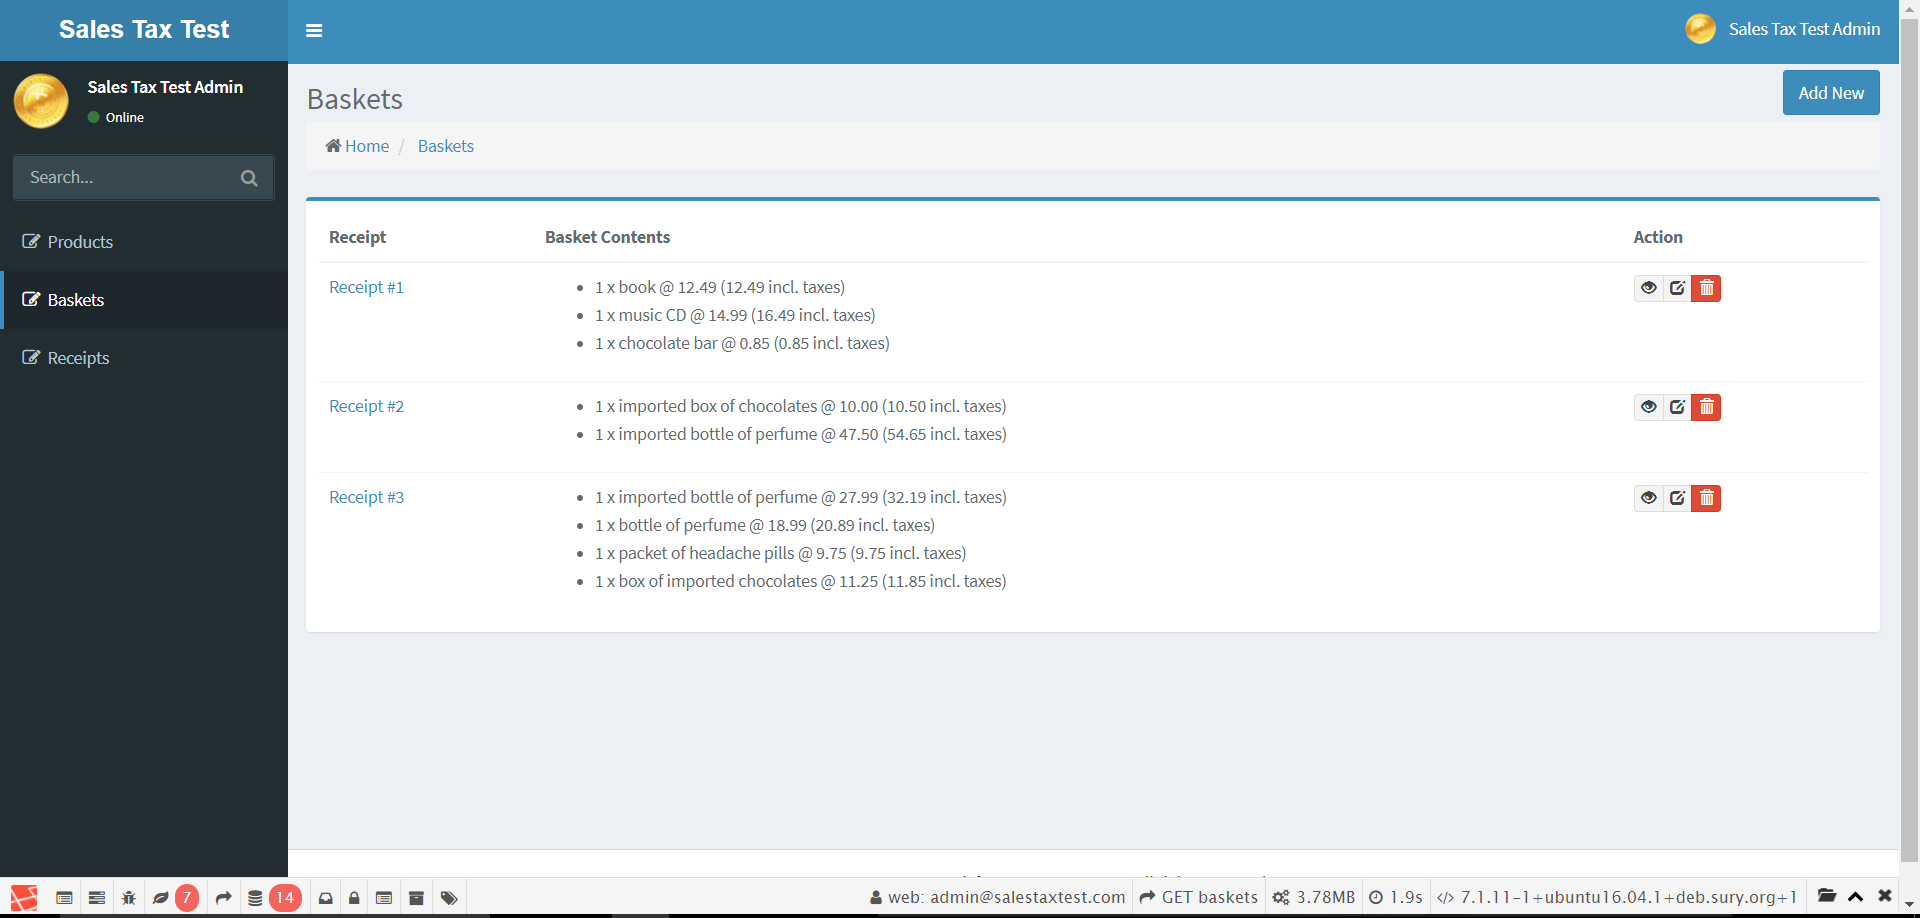
You need to be logged in to view the test baskets.
If viewing the image does not work, you can open the baskets-page.png image in the root of this repository.
I have implemented unit tests for the most important functions - ones that calculated, stored, retrieved and displayed data pertinent to the problem I was tasked with.
You can run all unit tests by entering the following command, from 'build/sales-taxt-test': vendor/bin/./phpunit.
You can also run unit tests only in particular test files by the following example:
vendor/bin/./phpunit --filter TestClass tests/Unit/TestClass.php
Also, if you choose, you can also run unit tests for individual test methods by the following example:
vendor/bin/./phpunit --filter testMethod TestClass tests/Unit/TestClass.php
If you wish to fork this repo and make your own changes, I recommend you run the following commands (within build/sales-tax-test):
npm install --save --no-bin-links --force
Depending on your set-up, you may get errors in this process. One example is NPM complaing that 'cross-env' does not exist. You can install this by running the following command:
npm -g install cross-env --save --no-bin-links;
npm install cross-env --save --no-bin-links;
To do this, run the following commands (assuming the above ones worked):
npm run dev && npm-run-prod
Basically, 'dev' compiles all the front-end assets together, and prod compresses/minifies them.
If doing the above resulted in errors, and you want to reinstall all node modules again, run the following:
rm -rf node_modules --force;
rm package-lock.json yarn.lock;
npm cache clear --force;
npm install --save --force --no-bin-links;
The following links point to resources that may provide extra assistance:
- laravel-mix/laravel-mix#1072 (comment)
- https://docs.npmjs.com/troubleshooting/common-errors
- https://docs.npmjs.com/all
- https://github.com/npm/npm/wiki/Troubleshooting
- https://www.sitepoint.com/beginners-guide-node-package-manager/
- https://laracasts.com/discuss/channels/laravel/cross-env-not-found-on-npm-run-dev?page=1
