- Rental-Recommendation-System-in-Singapore
- Conda virtual environment configuration
- Install Required Packages
- Github SSH Key Setup
- GitHub Workflow
Intelligent Reasoning Systems: Group 3.
Create a new conda env "gp"
conda create --name gp python=3.11
conda activate gp
Following setup is to prevent getting stuck at "solving environment"
Set conda-forge as default channel (--env: for the active environment)
conda config --env --add channels conda-forge
conda config --env --set channel_priority strict
Set libmamba solver
conda config --env --set solver libmamba
Install each required package by commandline during development.
After development, check the version of packages then write a requirements.txt.
conda install flask wtforms flask-wtf flask-login flask-sqlalchemy flask-bcrypt numpy python-dotenv flask-migrate flask-minify pandas jupyter folium scikit-learn matplotlib langdetect python-flair textblob deap scikit-surprise dill
pip install asent
or run:
conda install --file requirements.txt
-
Make sure Git is installed in our system:
git --versionIf Git is not installed, run:
sudo apt install git -
Accept the invitation email for collaborate.
-
Checking for existing SSH keys
ls -al ~/.ssh
# Lists the files in your .ssh directory, if they exist
Check the directory listing to see if you already have a public SSH key. By default, the filenames of supported public keys for GitHub are one of the following.
- id_rsa.pub
- id_ecdsa.pub
- id_ed25519.pub
-
Generating a new SSH key and adding it to the ssh-agent
4.1. Paste the text below, substituting in your GitHub email address.
ssh-keygen -t ed25519 -C "[email protected]"You can press Enter to accept the default file location.
Please note that if you created SSH keys previously, ssh-keygen may ask you to rewrite another key, in which case we recommend creating a custom-named SSH key. To do so, type the default file location and replace id_ssh_keyname with your custom key name.
At the prompt, type a secure passphrase.
When you generate an SSH key, you can add a passphrase to further secure the key. Whenever you use the key, you must enter the passphrase. If your key has a passphrase and you don't want to enter the passphrase every time you use the key, you can add your key to the SSH agent. The SSH agent manages your SSH keys and remembers your passphrase.
4.2. Adding your SSH key to the ssh-agent
Start the ssh-agent in the background.
eval "$(ssh-agent -s)"Add your SSH private key to the ssh-agent.
If you created your key with a different name, or if you are adding an existing key that has a different name, replace id_ed25519 in the command with the name of your private key file.
ssh-add ~/.ssh/id_ed25519You will be asked to type in the passphrase if you set it on last step.
-
Add the SSH public key to your account on GitHub.
You can add an SSH key and use it for authentication, or commit signing, or both. If you want to use the same SSH key for both authentication and signing, you need to upload it twice.
5.1. Copy the SSH public key to your clipboard.
If your SSH public key file has a different name than the example code, modify the filename to match your current setup. When copying your key, don't add any newlines or whitespace.
cat ~/.ssh/id_ed25519.pub
# Then select and copy the contents of the id_ed25519.pub file
# displayed in the terminal to your clipboard
5.2. On Github webpages, click Settings->SSH and GPG keys( "Access" section of the sidebar)->New SSH key or Add SSH key.
5.3. In the "Title" field, add a descriptive label for the new key. For example, if you're using a personal laptop, you might call this key "Personal laptop".
5.4. Select the type of key, either authentication or signing. We can select "authentication".
5.5. In the "Key" field, paste your public key.
5.6. Click Add SSH key.
The workflow GitHub recommends:
- Create a branch
- Make changes
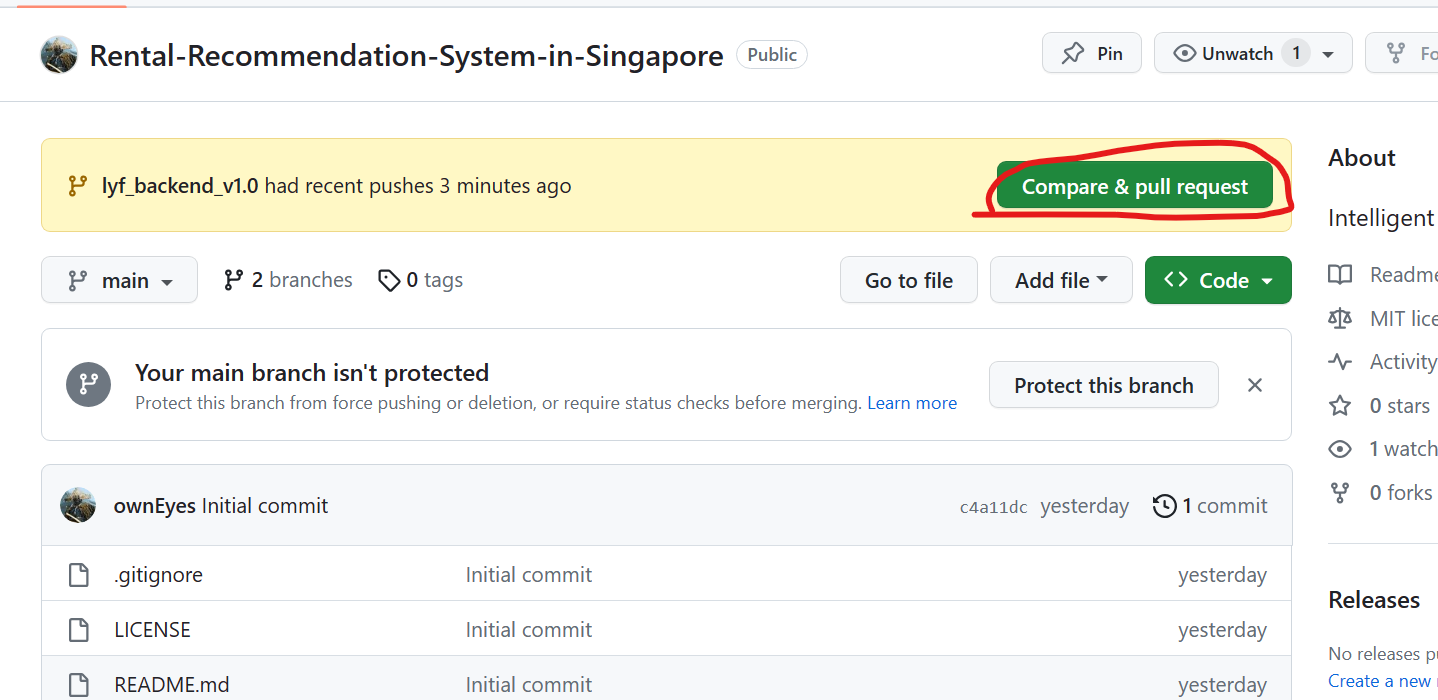
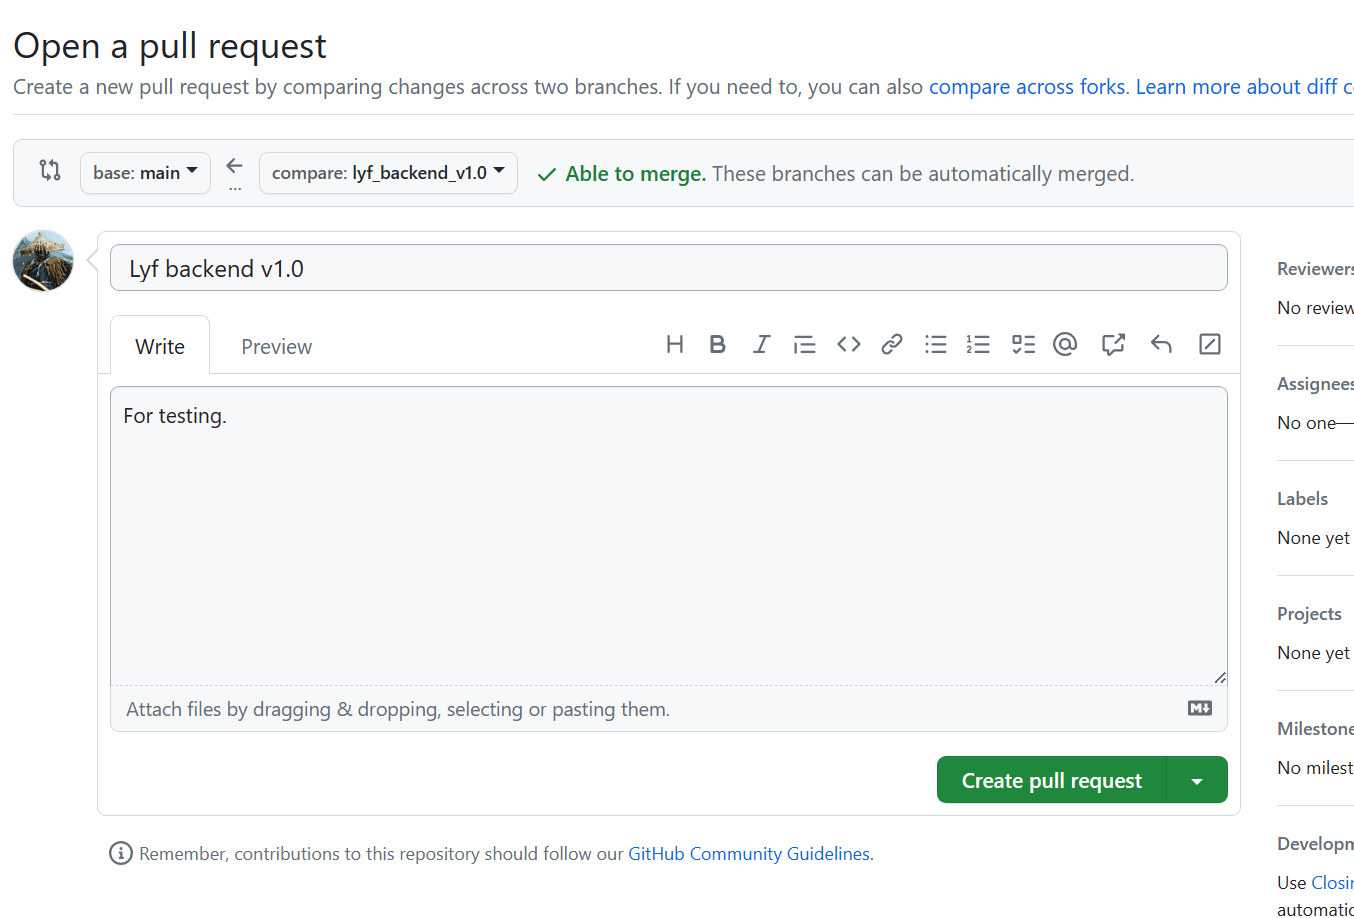
- Create a pull request
- Address review comments
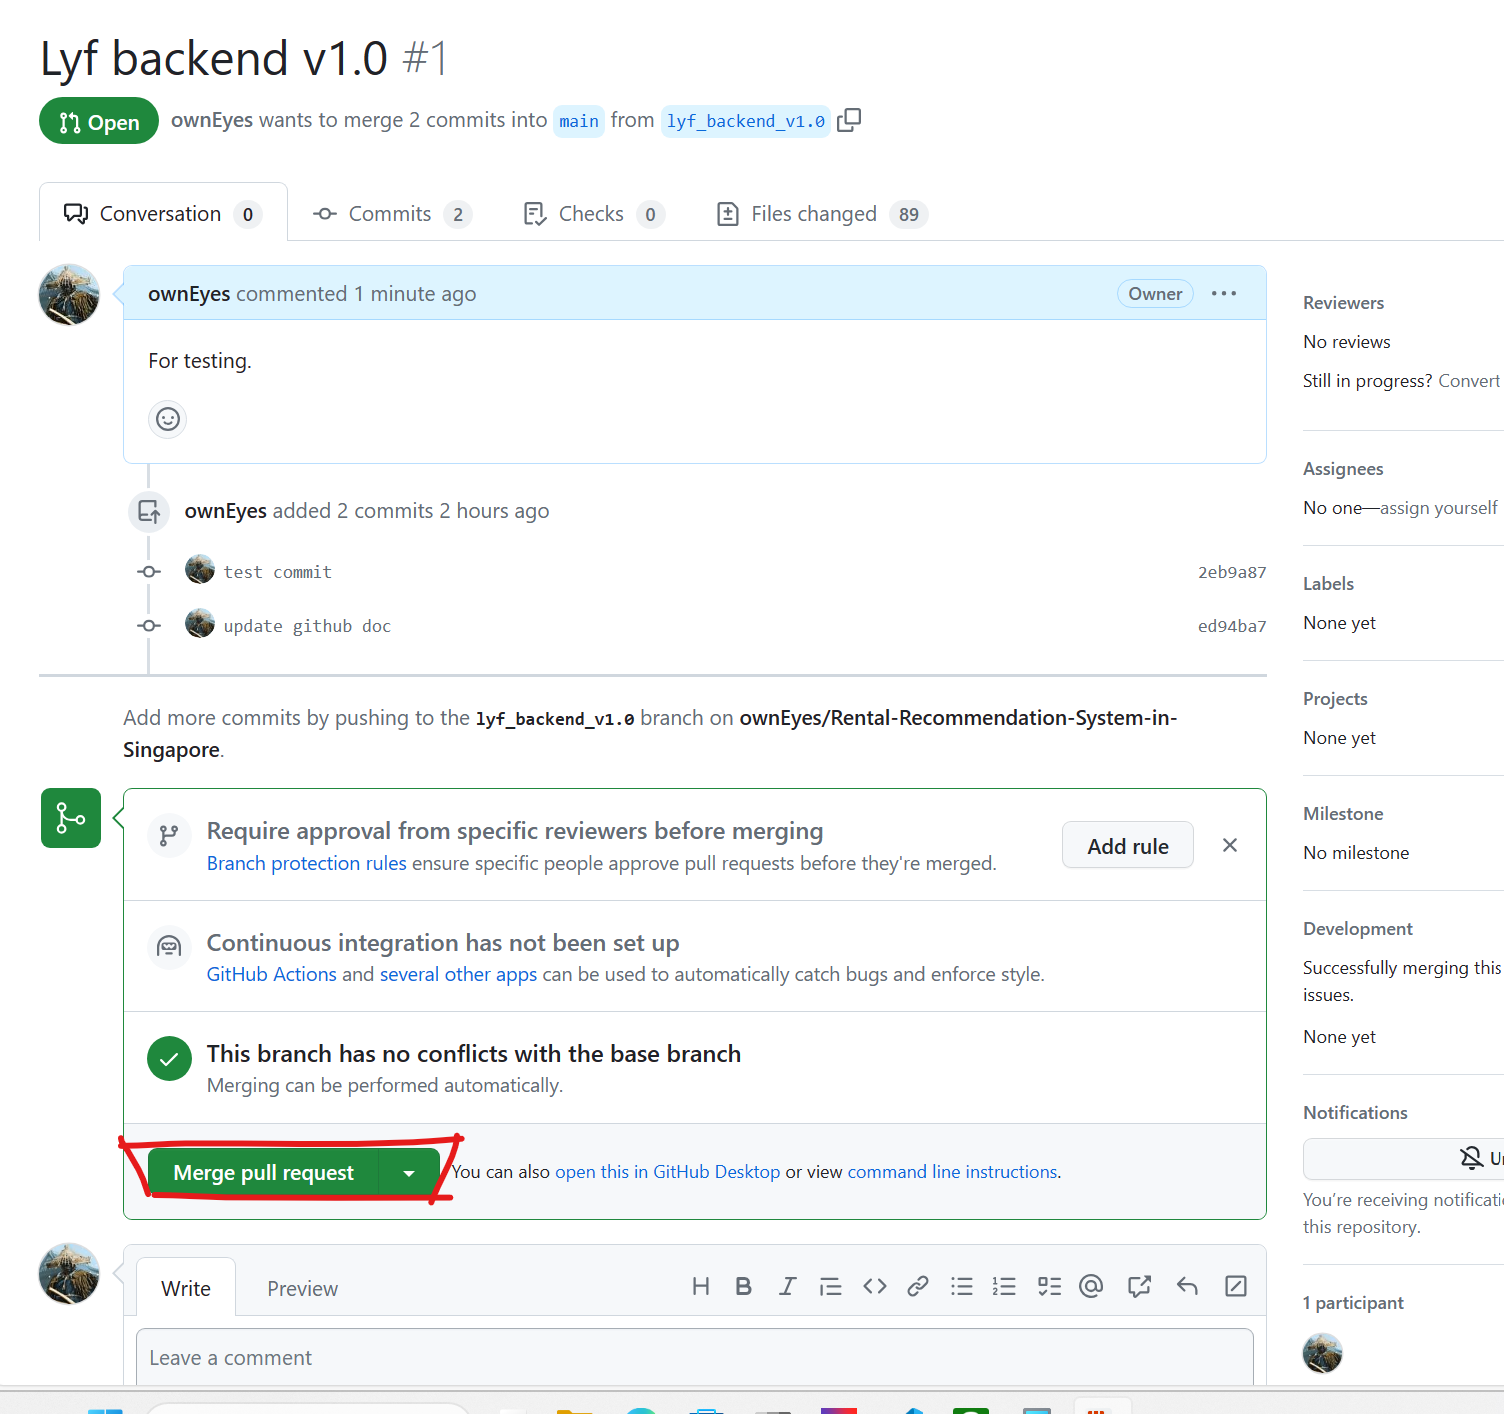
- Merge your pull request
- Delete your branch
Clone the project into local development environment:
git clone [email protected]:ownEyes/Rental-Recommendation-System-in-Singapore.git
You may see
# Are you sure you want to continue connecting (yes/no/[fingerprint])?
Type in 'yes' then press enter.
It is a good practice not to work on the master branch directly.
Each contributor should create their own local branch for their work. This new branch will be a copy of the main branch.
You can do this by using Git commands or do this on the GitHub repository website.
1. If you choose to use git commands:
Navigate to the top directory of the repo you just cloned. The ‘master’ branch should be active.
Check which branch is active using the command:
git branch
Create a new branch, giving it a name consistent with the naming conventions developed by your team.
git branch your_branch_name
Check out the new branch. It will create a copy of the cloned master and set the current working branch.
git checkout your_ branch_name
Alternately, you can check out and create the new branch in one command:
git checkout -b your_branch_name
2. If you choose to do this on the GitHub repository:
Create a new branch on website.
 Navigate to the top directory of the repo you just cloned, run:
git pull
This do a pull of the whole repository so you could see the branch in your local development environment.
Then switch to the new branch by using the command:
git checkout <name_of_branch>
You may ensure you are working in the correct branch with the command
git branch
It is a good idea to save versions of your work frequently. Do this with the ‘git commit’ command.
The process involves staging the work you want to ‘check in’, using the ‘git add’ command, then using ‘git commit’ to tell Git to save the staged changes.
Git keeps track of each commit batch and allows you to roll back to any prior commit if necessary.
You can repeatedly ‘git add’ and ‘git commit’ in your local environment without ever pushing to GitHub.
You may want to occasionally ‘git push’ unfinished code to GitHub (without doing a pull request) to have a backup copy, but it is good practice to merge to the master branch only code that has been tested and ready for release.
To check what files have changed, what files git is tracking, and what files have been staged for commit:
git status
Use the ‘git add’ command to add a file to staging. Do this to add a new file to Git or to add a modified file to staging:
git add your_file_name
To add all the files in the tracked directory, including subdirectories, to staging. However, there may be files you do not want to track, such as temporary files created by you or by the software you use.
git add -A
You can create a .gitignore file to tell Git to always ignore certain files.
To remove a file. This removes the file from git and the branch:
git rm your_file_name
Commit the staged files when you have added the files you wish to have Git save to staging:
git commit -m'descriptive message here'
You might need to config git before commit:
git config --global user.email "[email protected]"
git config --global user.name "Your Github ID Name"
Here is where team communication comes into play. Has anyone updated the main branch on GitHub since you created your branch?
If not:
Push your changes upstream (-u) to the repo pointed to by origin and creates a copy of your branch in the repo on GitHub:
git push -u origin your-branch_name
You will need to enter the passphrase which you set before.
To push again to this same branch again, just run:
git push
Or:
If others have pushed to GitHub since you created your local branch, you may want to bring a fresh copy of the main branch to your local system to resolve conflicts prior to pushing your code to GitHub.
Refresh your local git environment with what is on GitHub.
git fetch
Note: The above brings down the current copy of the main branch to your git environment, but does not update your local main branch.
Rebase to add your commits (the changes you have checked-in locally) to the head of the main pointed to by the origin.
git rebase origin/main
or
git rebase -i origin/main
Interactive Rebase Using the -i parameter will open a file that tells you what actions are going to be taken.
When you close that file, those actions will be taken. You can edit the actions while the file is open. This can be handy if you want to clean up your history, or for troubleshooting.
If you don’t want Git to take any action, delete the update instructions before closing the file.
If this works, you are ready to push to GitHub.
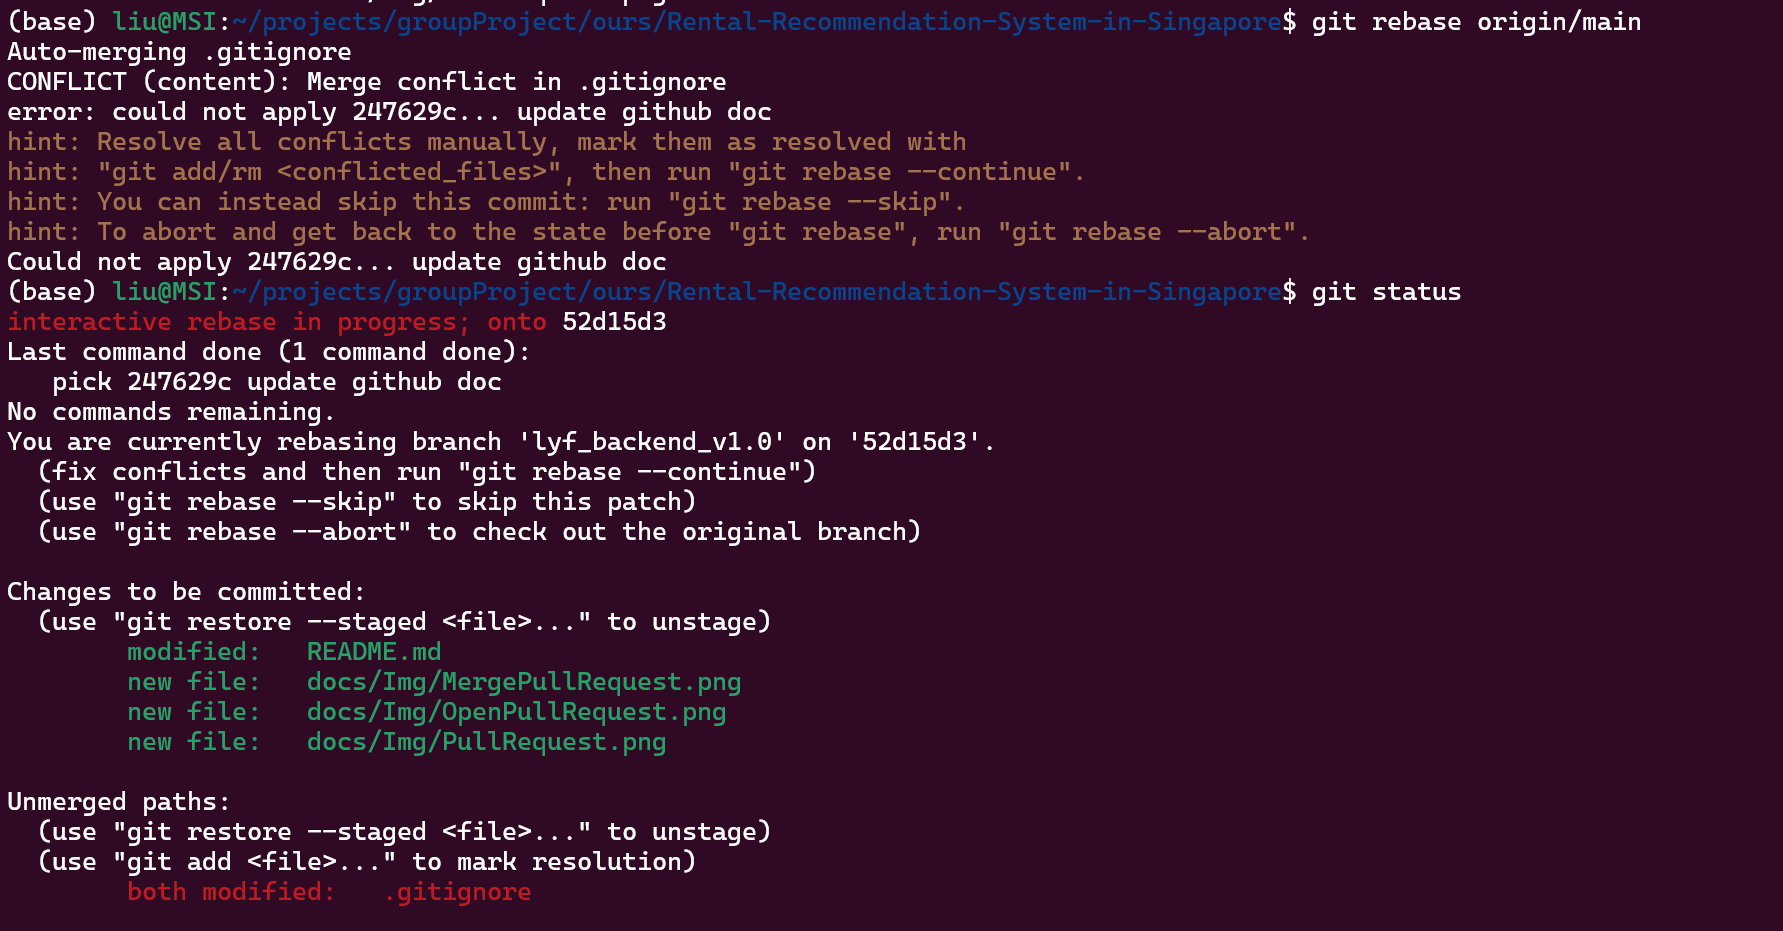
If the rebase failed due to conflicts, Git will have placed conflict markers in the offending files. Use ‘git status’ to see what files have been changed.
Edit each of these files, fix the conflicts, remove the markers, and save the files.
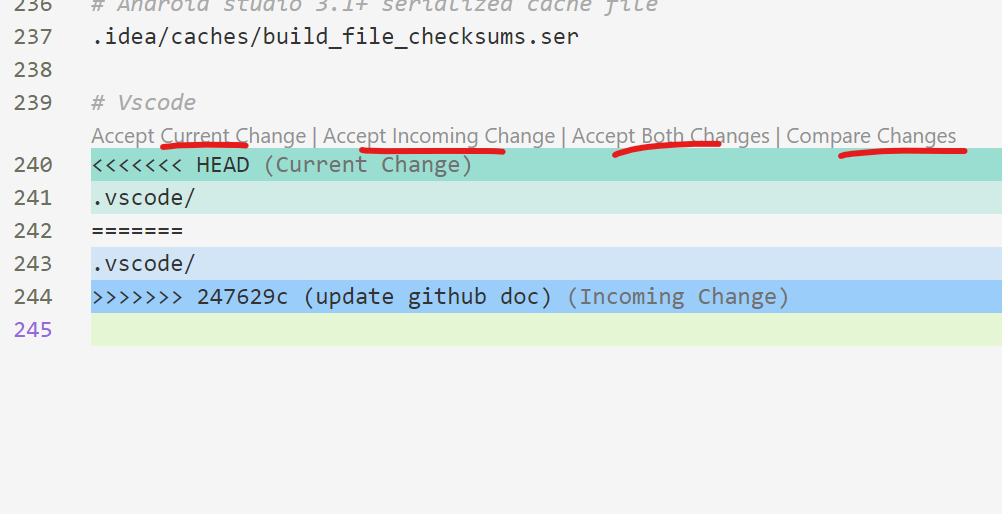 When you get each file the way you want it, use ‘
git add’ to save the modified file.
Then continue the rebase:
git rebase --continue
Switch to main barnch before you delete.
git checkout main
Then, pull the latest changes from the remote repository:
git pull origin main
git pull origin main performs two main operations:
-
Fetch: It retrieves any new work that has been pushed to your main branch on the remote repository named origin since you last checked. This is essentially the same as running
git fetch origin main. -
Merge: It merges any new changes that were fetched from the remote main branch into your current local branch.
If there are any conflicts between your local and remote branches, Git will prompt you to resolve them. After resolving any conflicts, you can commit the changes to complete the merge.
Delete your branch locally
git branch --delete old-branch
#or
git branch -d old-branch
Delete your branch from github, run
git push origin --delete old-branch
When you’re ready to work on a new feature, create a new branch.
The steps to change a git branch name are:
-
Rename the Git branch locally with the
git branch -m new-branch-namecommand -
Push the new branch to your GitHub or GitLab repo
-
Delete the branch with the old name from your remote repo
While on the old branch, the command to change the Git branch name, which requires the -m switch, is issued:
git branch -m NEW_BRANCH_NAME
To show all branches and check the Git branch name is renamed successeful:
git branch -a
Delete renamed Git branch from GitHub
git push origin --delete OLD_BRANCH_NAME
Then you can push the renamed Git branch remotely.
git push origin -u NEW_BRANCH_NAME
