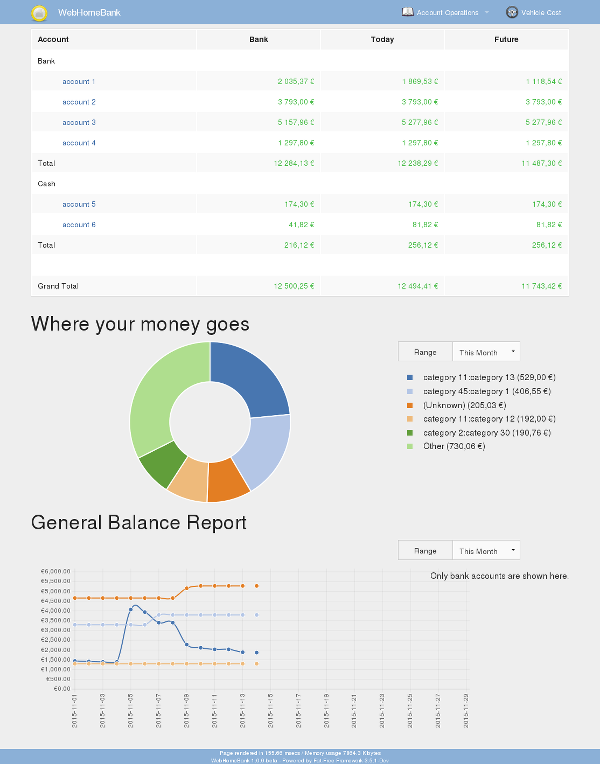
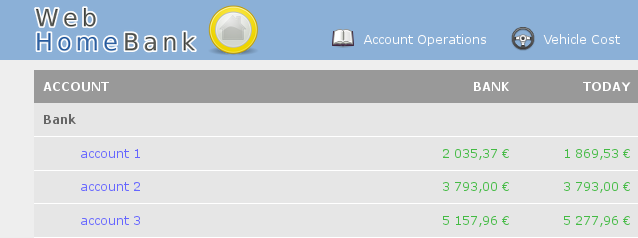
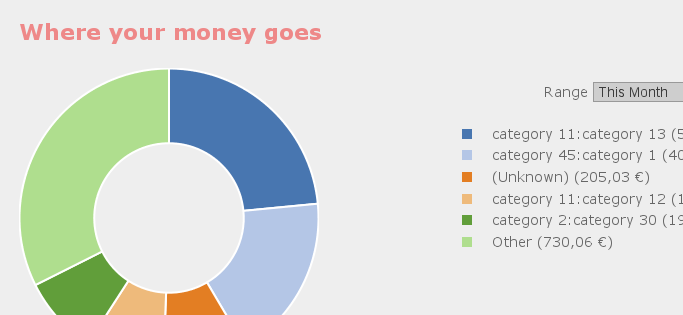
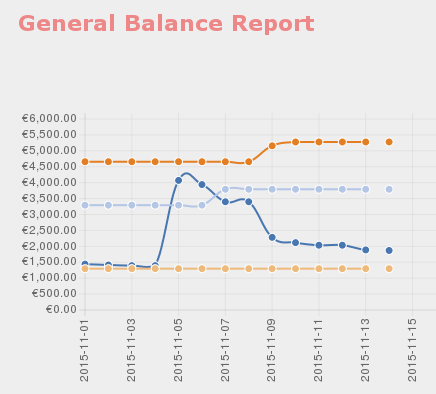
A simple web-viewer for Homebank XML files. HomeBank is a free software developed by Maxime Doyen that will assist you to manage your personal accounting, released under the GPL v2 license.
Please visit https://homebank.free.fr/ for more information about the original software.
More screenshots below:
Requirements:
- Apache 2.x with the following modules enabled:
- rewrite
- php7
- expires (optional)
(should also work with Lighttpd or Nginx))
- PHP 7.4+ with the following extensions enabled:
- mcrypt
- pdo_sqlite
- intl
- sqlite3
Clone repository into the folder of your choice and set up your webserver to point to it. You may want to create a dedicated virtual host.
Copy the sample configuration etc/local.ini.sample to etc/local.ini and set the BUDGET_FILE variable to point to your XHB file (HomeBank save file).
Install the dependencies with Composer (it may take a few minutes).
composer -d src/ install
Open your browser and go to the index.php of the application.
If you plan to use a reverse-proxy/load-balancer, please read the section below in order to configure the special
X-External-Base-Path header directive.
You can override any configuration directive present in etc/*.ini files from local.ini. Just add the corresponding
section if necessary. Some examples are already commented in it.
Clone repository at the location of your choice, it can be a temporary folder.
Install the dependencies with Composer (it may take a few minutes).
composer -d src/ install
Then build the image (based on php:5.6-apache).
docker build -t webhomebank .
Run it (you may want to tune some settings)
docker run -it --rm \
    -p 49080:80 \                               # App will be available from host at localhost:49080
    -v /home/myuser/mybudgetdir:/data:ro \      # Replace the first part with the path to the directory holding your budget.xhb
    --name my-webhomebank \                     # Name of the new container
    webhomebank                                 # Name of the image (above in the build command)
Notice (1): The .xhb file must be readable on the host by the UID the webserver of the container uses (www-data: UID 33).
Notice (2): The container does not support SSL. You may want to use a SSL-enabled reverse-proxy before it to secure the connection.
In this example, we want the application to be accessible from path /whb from the RP on the standard HTTP port
(ex: https://mywebhost.me/whb), while the Docker container exposes its port 80 on the port
49080 on localhost.
The following directives should be placed into your VirtualHost listening on port 80.
ProxyRequests Off
ProxyPreserveHost On
ProxyPass /whb https://localhost:49080/
ProxyPassReverse /whb https://localhost:49080/
<Location /whb>
    RequestHeader set X-External-Base-Path /whb
</Location>
In this example, we want the application to be accessible from path /whb from the RP on the standard HTTPS port
(ex: https://mywebhost.me/whb), while the Docker container exposes its port 80 on the port
49080 on localhost. Hence SSL is provided solely by the RP.
The following directives should be placed into your VirtualHost listening on port 443.
ProxyRequests Off
ProxyPreserveHost On
ProxyPass /whb https://localhost:49080/
ProxyPassReverse /whb https://localhost:49080/
<Location /whb>
    RequestHeader set X-External-Base-Path /whb
    RequestHeader set X-Forwarded-Proto https
</Location>
See LICENSE
-
Fat-Free Framework (GPL v3)
-
Chart.js (MIT license)
-
Charts.Scatter.js (MIT license)
-
jQuery (MIT license)
-
Foundation (MIT license)
-
Zend Framework 2 (New BSD License)
-
Composer (MIT license)
-
Grunt (MIT license)
The "loading pie" has been created with loading.io
Copyright (c) 2015-2022 Anaël Ollier <[email protected]>


