🔤 English | 🀄 简体中文
ScrapydWeb: Web app for Scrapyd cluster management, with support for Scrapy log analysis & visualization.


🔗 How to efficiently manage your distributed web scraping projects
🔗 How to set up Scrapyd cluster on Heroku
View contents
-
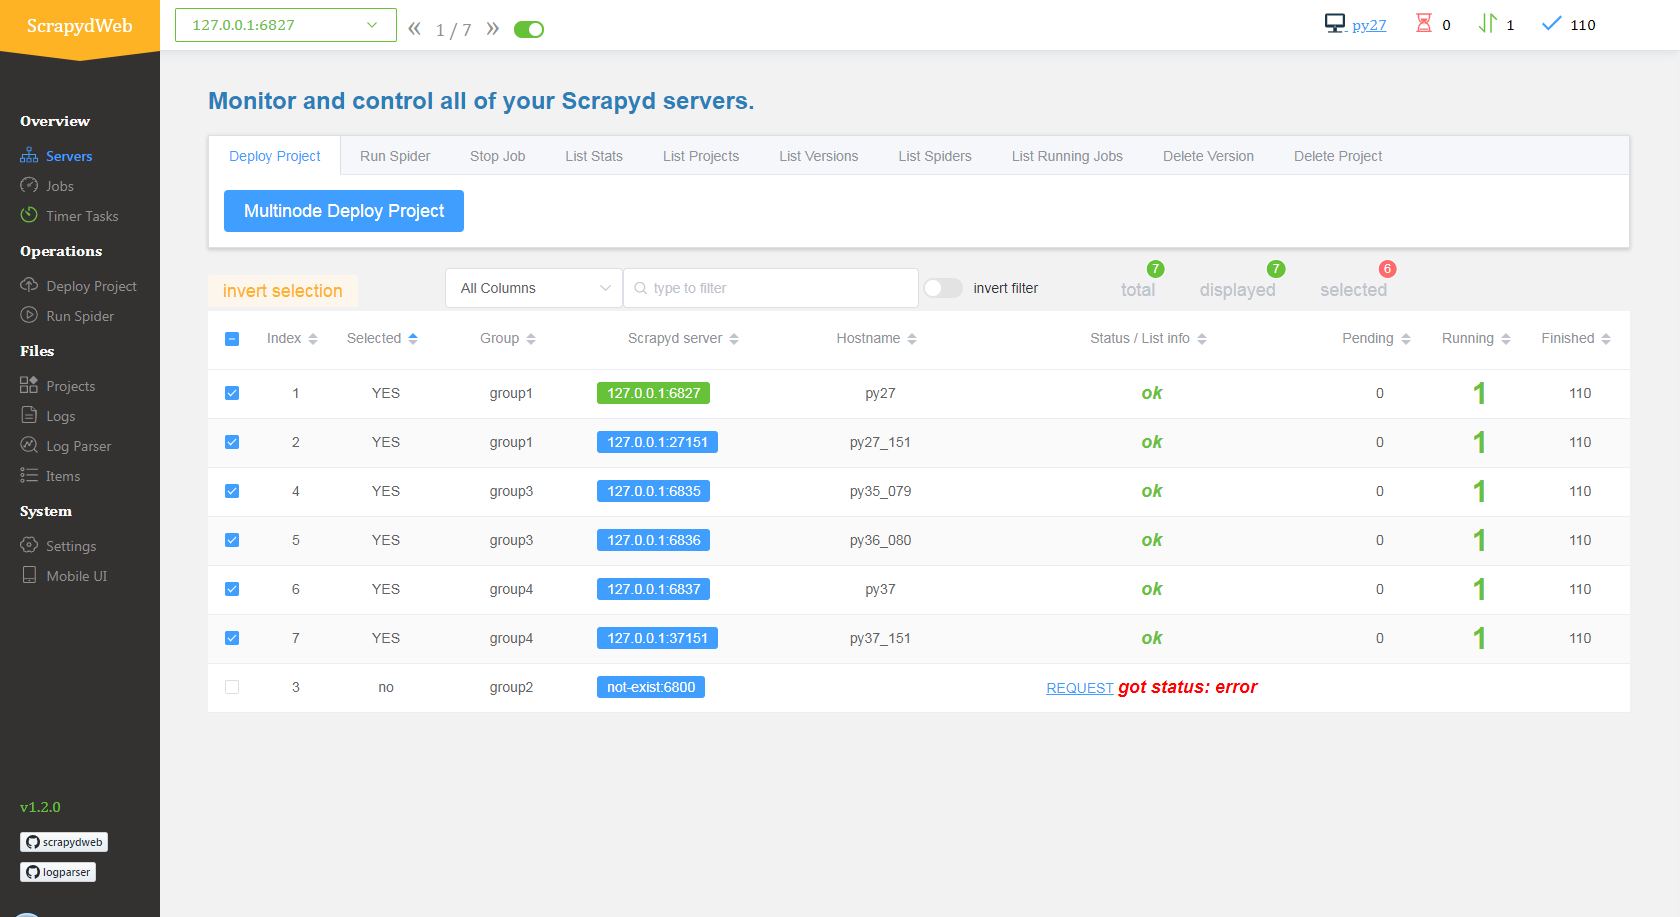
💠 Scrapyd Cluster Management
- 💯 All Scrapyd JSON API Supported
- ☑️ Group, filter and select any number of nodes
- 🖱️ Execute command on multinodes with just a few clicks
-
🔍 Scrapy Log Analysis
- 📊 Stats collection
- 📈 Progress visualization
- 📑 Logs categorization
-
🔋 Enhancements
- 📦 Auto packaging
- 🕵️♂️ Integrated with 🔗 LogParser
- ⏰ Timer tasks
- 📧 Monitor & Alert
- 📱 Mobile UI
- 🔐 Basic auth for web UI
View contents
❗ Make sure that 🔗 Scrapyd has been installed and started on all of your hosts.
- Use pip:
pip install scrapydweb❗ Note that you may need to execute python -m pip install --upgrade pip first in order to get the latest version of scrapydweb, or download the tar.gz file from https://pypi.org/project/scrapydweb/#files and get it installed via pip install scrapydweb-x.x.x.tar.gz
- Use git:
pip install --upgrade git+https://github.com/my8100/scrapydweb.gitOr:
git clone https://github.com/my8100/scrapydweb.git
cd scrapydweb
python setup.py install- Start ScrapydWeb via command
scrapydweb. (a config file would be generated for customizing settings at the first startup.) - Visit http:https://127.0.0.1:5000 (It's recommended to use Google Chrome for a better experience.)
The latest version of Google Chrome, Firefox, and Safari.
View contents
$ git clone https://github.com/my8100/scrapydweb.git
$ cd scrapydweb

# To create isolated Python environments
$ pip install virtualenv
$ virtualenv venv/scrapydweb
# Or specify your Python interpreter: $ virtualenv -p /usr/local/bin/python3.7 venv/scrapydweb
$ source venv/scrapydweb/bin/activate

# Install dependent libraries
(scrapydweb) $ python setup.py install
(scrapydweb) $ pip install pytest
(scrapydweb) $ pip install coverage

# Make sure Scrapyd has been installed and started, then update the custom_settings item in tests/conftest.py
(scrapydweb) $ vi tests/conftest.py
(scrapydweb) $ curl http:https://127.0.0.1:6800

# '-x': stop on first failure
(scrapydweb) $ coverage run --source=scrapydweb -m pytest tests/test_a_factory.py -s -vv -x
(scrapydweb) $ coverage run --source=scrapydweb -m pytest tests -s -vv --disable-warnings
(scrapydweb) $ coverage report
# To create an HTML report, check out htmlcov/index.html
(scrapydweb) $ coverage html1. Project is slightly outdated so, for best results install Python 3.7 specifically for the project
2. Make sure exact Python packages are installed from requirements.txt as some are outdated
3. FlaskSQlAlchemy package may be incompatible with some other packages, try downgrading
4. In project root directory run
scrapydweb to initiate settings config file5. Set
DOMAIN, ALL_WORKERS and SCRAPYD_SERVER as:DOMAIN = 'smbots-international.com'ALL_WORKERS = ['US,US-minibots,US-linear,AR,AT,AU,BE,BR,CA,CH,DE,DK,ES,FI,FR,GB,IE,IN,IT,JP,KR,MX,NL,NO,PL,PT,SE,NZ,TR']SCRAPYD_SERVERS = [
ScrapydServer(
f"scrapyd-us",
f"scrapyd-us.{DOMAIN}",
80,
(USERNAME, PASSWORD),
'US'
)
]
6. Re-run the project again with
scrapydweb it should start server on port 68007. To see timer tasks locally, use exported CSV from the prod database and import it into
task.db SQLite database. Default db table
is in /root/scrapydweb/scrapydweb/data/database/timer_tasks.db8. To run Flask app in debugger/IDE, set
FLASK_APP=/root/scrapydweb/scrapydweb/run.pyDetailed changes for each release are documented in the 🔗 HISTORY.md.
 my8100 |
|---|
 Kaisla |
|---|
This project is licensed under the GNU General Public License v3.0 - see the 🔗 LICENSE file for details.