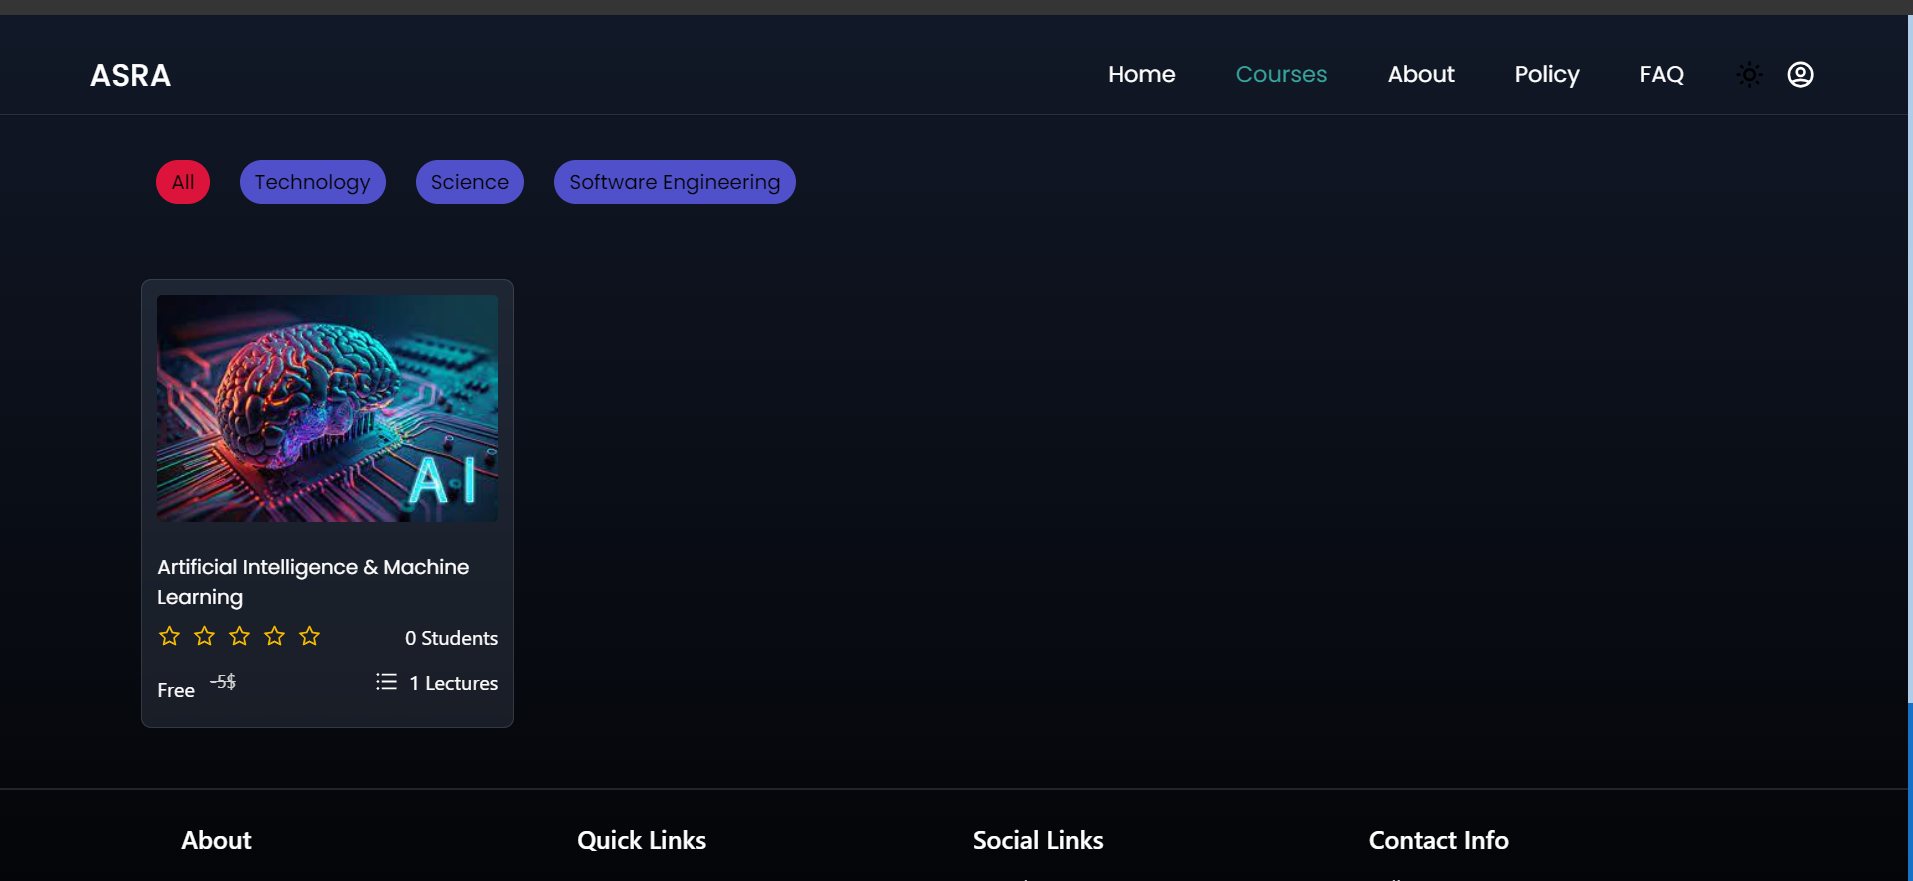
Welcome to SciNet Learning, a powerful Learning Management System designed to enhance the educational experience for both users and administrators. Developed by Martin Lubowa ([email protected]), SciNet Learning is built using Node.js, TypeScript, Redis, MongoDB, and Next.js.
Live Demo: https://africanscienceresearchacademy.netlify.app/ (The site will take long to launch because it is hosted on a free server. For login credentials, please contact me at [email protected])
Before you begin, ensure you have the following installed:
- Node.js - v14.x or later
- MongoDB - A NoSQL database
- Redis - An in-memory data structure store
- Next.js - A React framework for building server-rendered applications
-
Clone the repository:
git clone https://github.com/your-username/lms.git cd lms -
Install dependencies:
# Install backend dependencies
cd backend
npm install

# Install frontend dependencies
cd ../frontend
npm install
-
Configure environment variables:
-
Create a
.envfile in thebackenddirectory with the necessary configuration variables. Sample:PORT=3000 MONGODB_URI=mongodb:https://localhost:27017/lms REDIS_URL=redis:https://localhost:6379
Update the variables based on your environment.
-
Create a
.env.localfile in thefrontenddirectory with the necessary configuration variables for the frontend. Sample:NEXT_PUBLIC_API_URL=http:https://localhost:3000/api
Update the variable based on your backend API URL.
-
-
Run the application:
# Run the backend server
cd backend
npm run dev

# Run the frontend development server
cd ../frontend
npm run dev
The LMS should now be accessible at http:https://localhost:3000.
-
Sign In and Sign Out:
- Users can create accounts, sign in, and sign out securely.
-
Enrollment in Courses:
- Users can browse available courses and enroll in their preferred courses.
-
Quizzes:
- Users can take quizzes associated with each course to assess their understanding.
-
Course Reviews:
- Users can provide reviews and feedback on courses they have completed.
-
Lesson Videos:
- Users can watch video lessons associated with each course.
-
Payment Processing:
- Users can make secure payments for paid courses.
-
Team Role Management:
- Admins can manage team roles and permissions.
-
Create Courses:
- Admins can create new courses, including adding lessons, quizzes, and setting pricing.
-
Analytics Dashboard:
- Admins have access to an analytics dashboard to track user engagement and course popularity.
-
Invoice Management:
- Admins can manage and track invoices for paid courses.
-
Course Categories:
- Admins can create and manage course categories for better organization.
-
User Activity Tracking:
- Admins can view and track user activity within the system.
-
Student:
- Enrolls in courses
- Takes quizzes
- Provides course reviews
- Watches lessons
-
Instructor:
- Creates and manages courses
- Adds lessons, quizzes, and content
-
Admin:
- Manages team roles and permissions
- Accesses analytics dashboard
- Manages invoices and user activity
- Creates course categories
-
Navigate to the Sign-Up page.
-
Fill in the required information to create a new account.
-
Browse the available courses on the Courses page.
-
Click on a course to view details.
-
Enroll in the course if interested.
-
Access the enrolled course from the My Courses page.
-
Navigate to the quizzes section.
-
Take the quizzes associated with the course.
-
Access the completed course from the My Courses page.
-
Provide a review and feedback on the course.
-
Access the enrolled course from the My Courses page.
-
Navigate to the lessons section.
-
Watch the video lessons associated with the course.
- Access the desired paid course from the [Courses](http:https://
localhost:3000/courses) page.
- Proceed to payment and complete the transaction securely.
-
Access the admin dashboard from Admin Dashboard.
-
Explore team role management, analytics, invoice management, and user activity tracking.
If you'd like to contribute to the project, please follow the Contribution Guidelines.
This project is licensed under the MIT License.


