Our first MERN Stack project
- Here in our Full stack application we have: Frontend and Backend
Frontend holds react app with some components and Backend holds the core js file.
  // navigate to frontend/proj_name
  npm install

  // navigate to backend/proj_name (in our case tourbar)
  npm intall

  // to start the server
  npm start
Wireframe of our app
:octacat: Using Homebrew install MongoDB
// In terminal, to install MongoDB issue the following
brew install [email protected]

// To run MongoDB as a macOS service, issue the following
brew services start [email protected]

// To stop a MongoDB as a macOS service, issue the following
brew services stop [email protected]
how to perform CRUD operations in MongoDB click here
Getting started with ExpressJS
:octacat: Using Homebrew install node
brew install node
or alternatively, download node from official site:
- So, here in this project we will be building a fullstack MERN application where our frontend will be in react and backend will be in Node.
![]() What is React ?
What is React ?
A client-side (browser) library which allows you to build highly reactive user interfaces. Responsible for controlling what users see on screen and how the things change there.
![]() What is Node ?
What is Node ?
It's a javascript runtime often used to create server-side applications. Node JS is used to execute javascript code outside the browser.
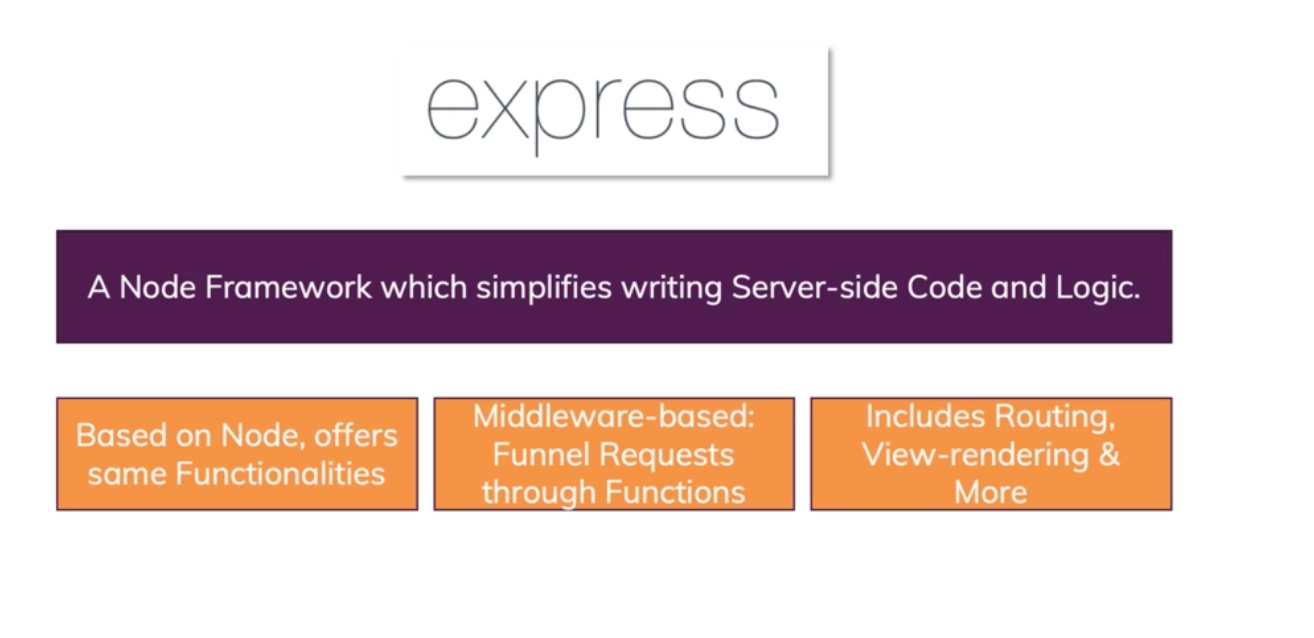
![]() What is Express ?
What is Express ?
A Node framework which simplifies writing server-side code and logic. Express is for Node what Laravel for PHP.
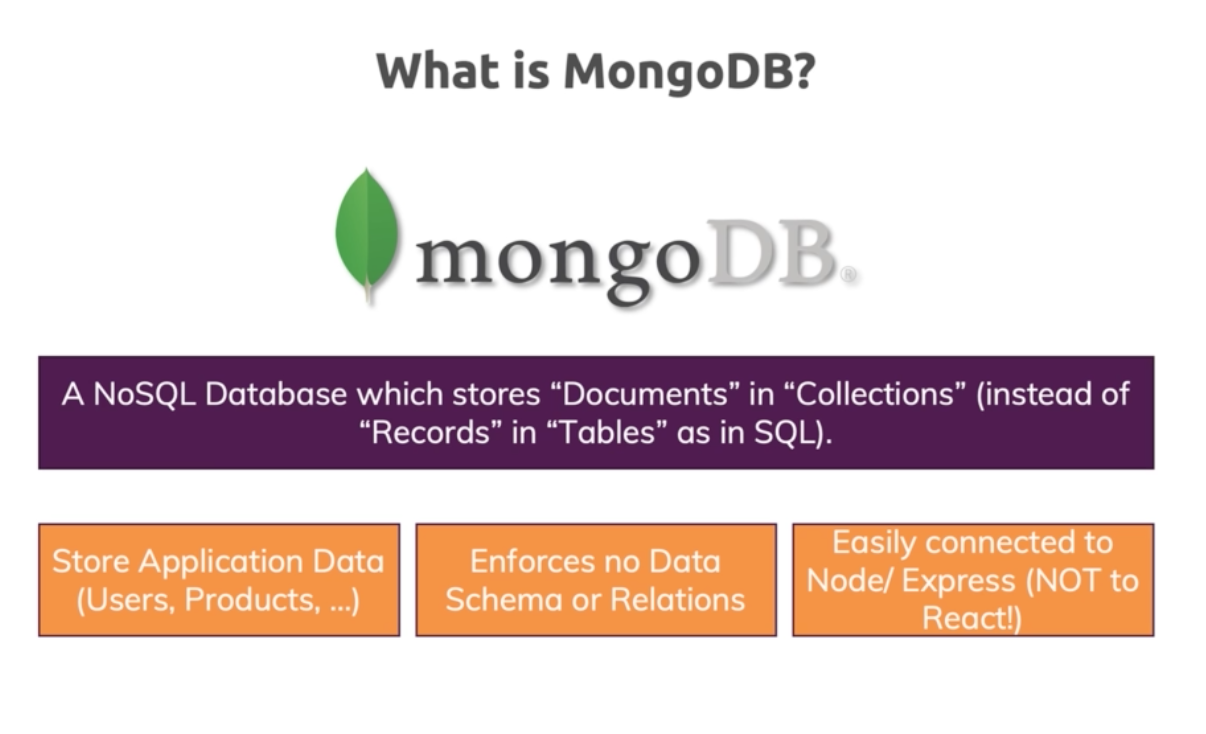
![]() What is mongoDB ?
What is mongoDB ?
A NoSQL Database which stores "Documents" in collections instead of "Records" in tables as in SQL. mongoDB often gives amazing performance because it is way more flexible. We can use other DBs also but then it would not be MERN application. Considered as a powerful database which can be easily integrated into a Node/Express environment.
- Our application UI for web version looks something like this:
- And the mobile app version looks something like this:
We are making an application called tourbar where users can share places they have visited
const VALIDATOR_TYPE_REQUIRE = 'REQUIRE';
const VALIDATOR_TYPE_MINLENGTH = 'MINLENGTH';
const VALIDATOR_TYPE_MAXLENGTH = 'MAXLENGTH';
const VALIDATOR_TYPE_MIN = 'MIN';
const VALIDATOR_TYPE_MAX = 'MAX';
const VALIDATOR_TYPE_EMAIL = 'EMAIL';
const VALIDATOR_TYPE_FILE = 'FILE';


for (const validator of validators) {
    if (validator.type === VALIDATOR_TYPE_REQUIRE) {
      isValid = isValid && value.trim().length > 0;
    }
    if (validator.type === VALIDATOR_TYPE_MINLENGTH) {
      isValid = isValid && value.trim().length >= validator.val;
    }
    if (validator.type === VALIDATOR_TYPE_MAXLENGTH) {
      isValid = isValid && value.trim().length <= validator.val;
    }
    if (validator.type === VALIDATOR_TYPE_MIN) {
      isValid = isValid && +value >= validator.val;
    }
    if (validator.type === VALIDATOR_TYPE_MAX) {
      isValid = isValid && +value <= validator.val;
    }
    if (validator.type === VALIDATOR_TYPE_EMAIL) {
      isValid = isValid && /^\S+@\S+\.\S+$/.test(value);
    }
  }
return isValid;- here User can click on edit to update the places they have visited.
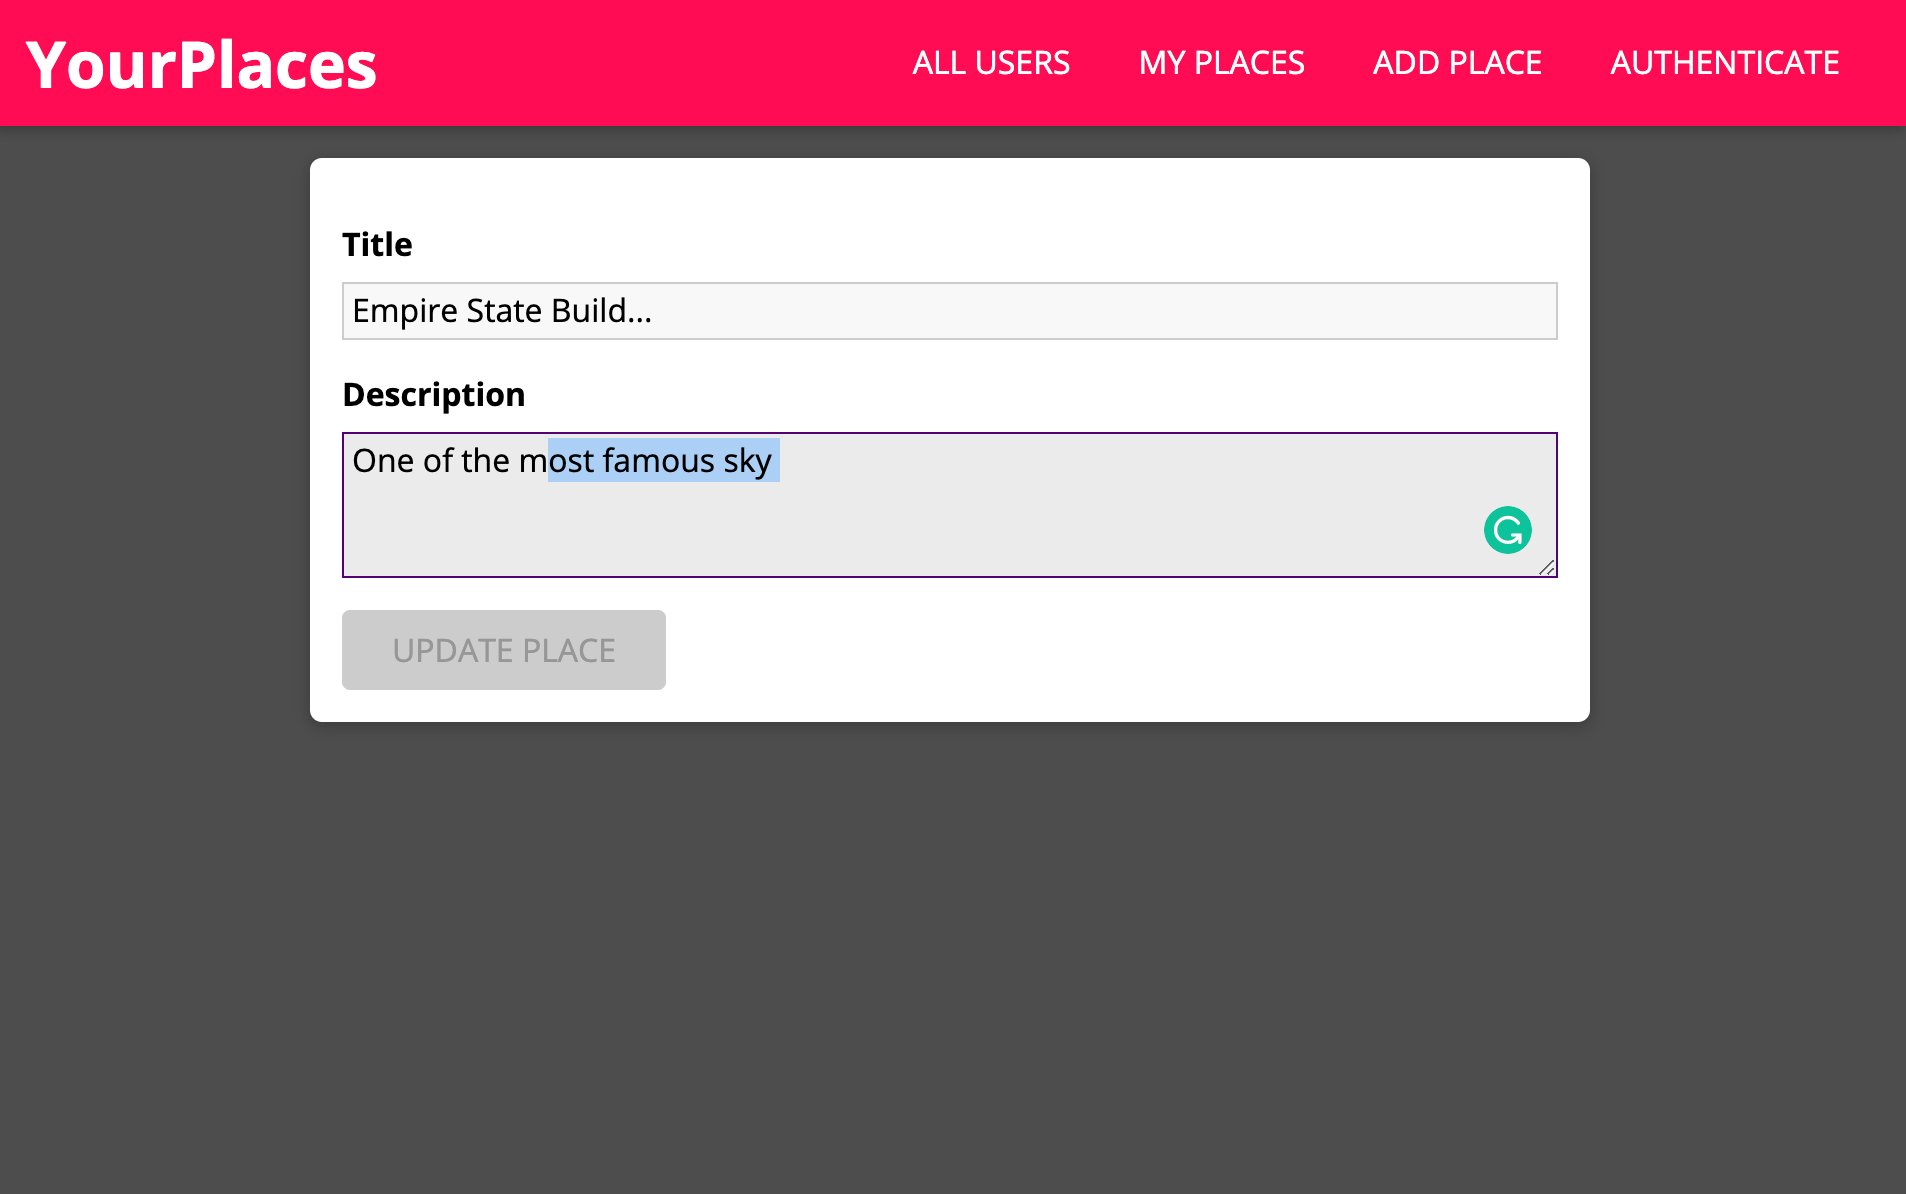
- Once clicked, they can update the details they want to change:
- These will be the API ENDPOINTS in our application for backend.
- Once frontend is done, for backends we need to install now required Dependencies and Packages
npm install --save express body-parser

npm install --save-dev nodemon- Let's first install mongoose.
npm install --save mongoose- We will start server only when database is connected, else it will throw error.
mongoose
  .connect('mongodb+srv:https://dbMadhav:[email protected]/places?retryWrites=true&w=majority')
  .then( () => {
    app.listen(5000);
  })
  .catch(err => {
    console.log(err);
  });
Let's start with basics:
Login to MongoDB Atlas, then
Step 1: mongoDB Atlas - Network Access -> Add IP -> Add current IP -> Confirm.
Step 2: mongoDB Atlas -> Database Access -> Add new User -> Fill Details -> Add User.
Step 3: mongoDB Atlas -> connect -> connect your Application.
- Creating Schema and Model


