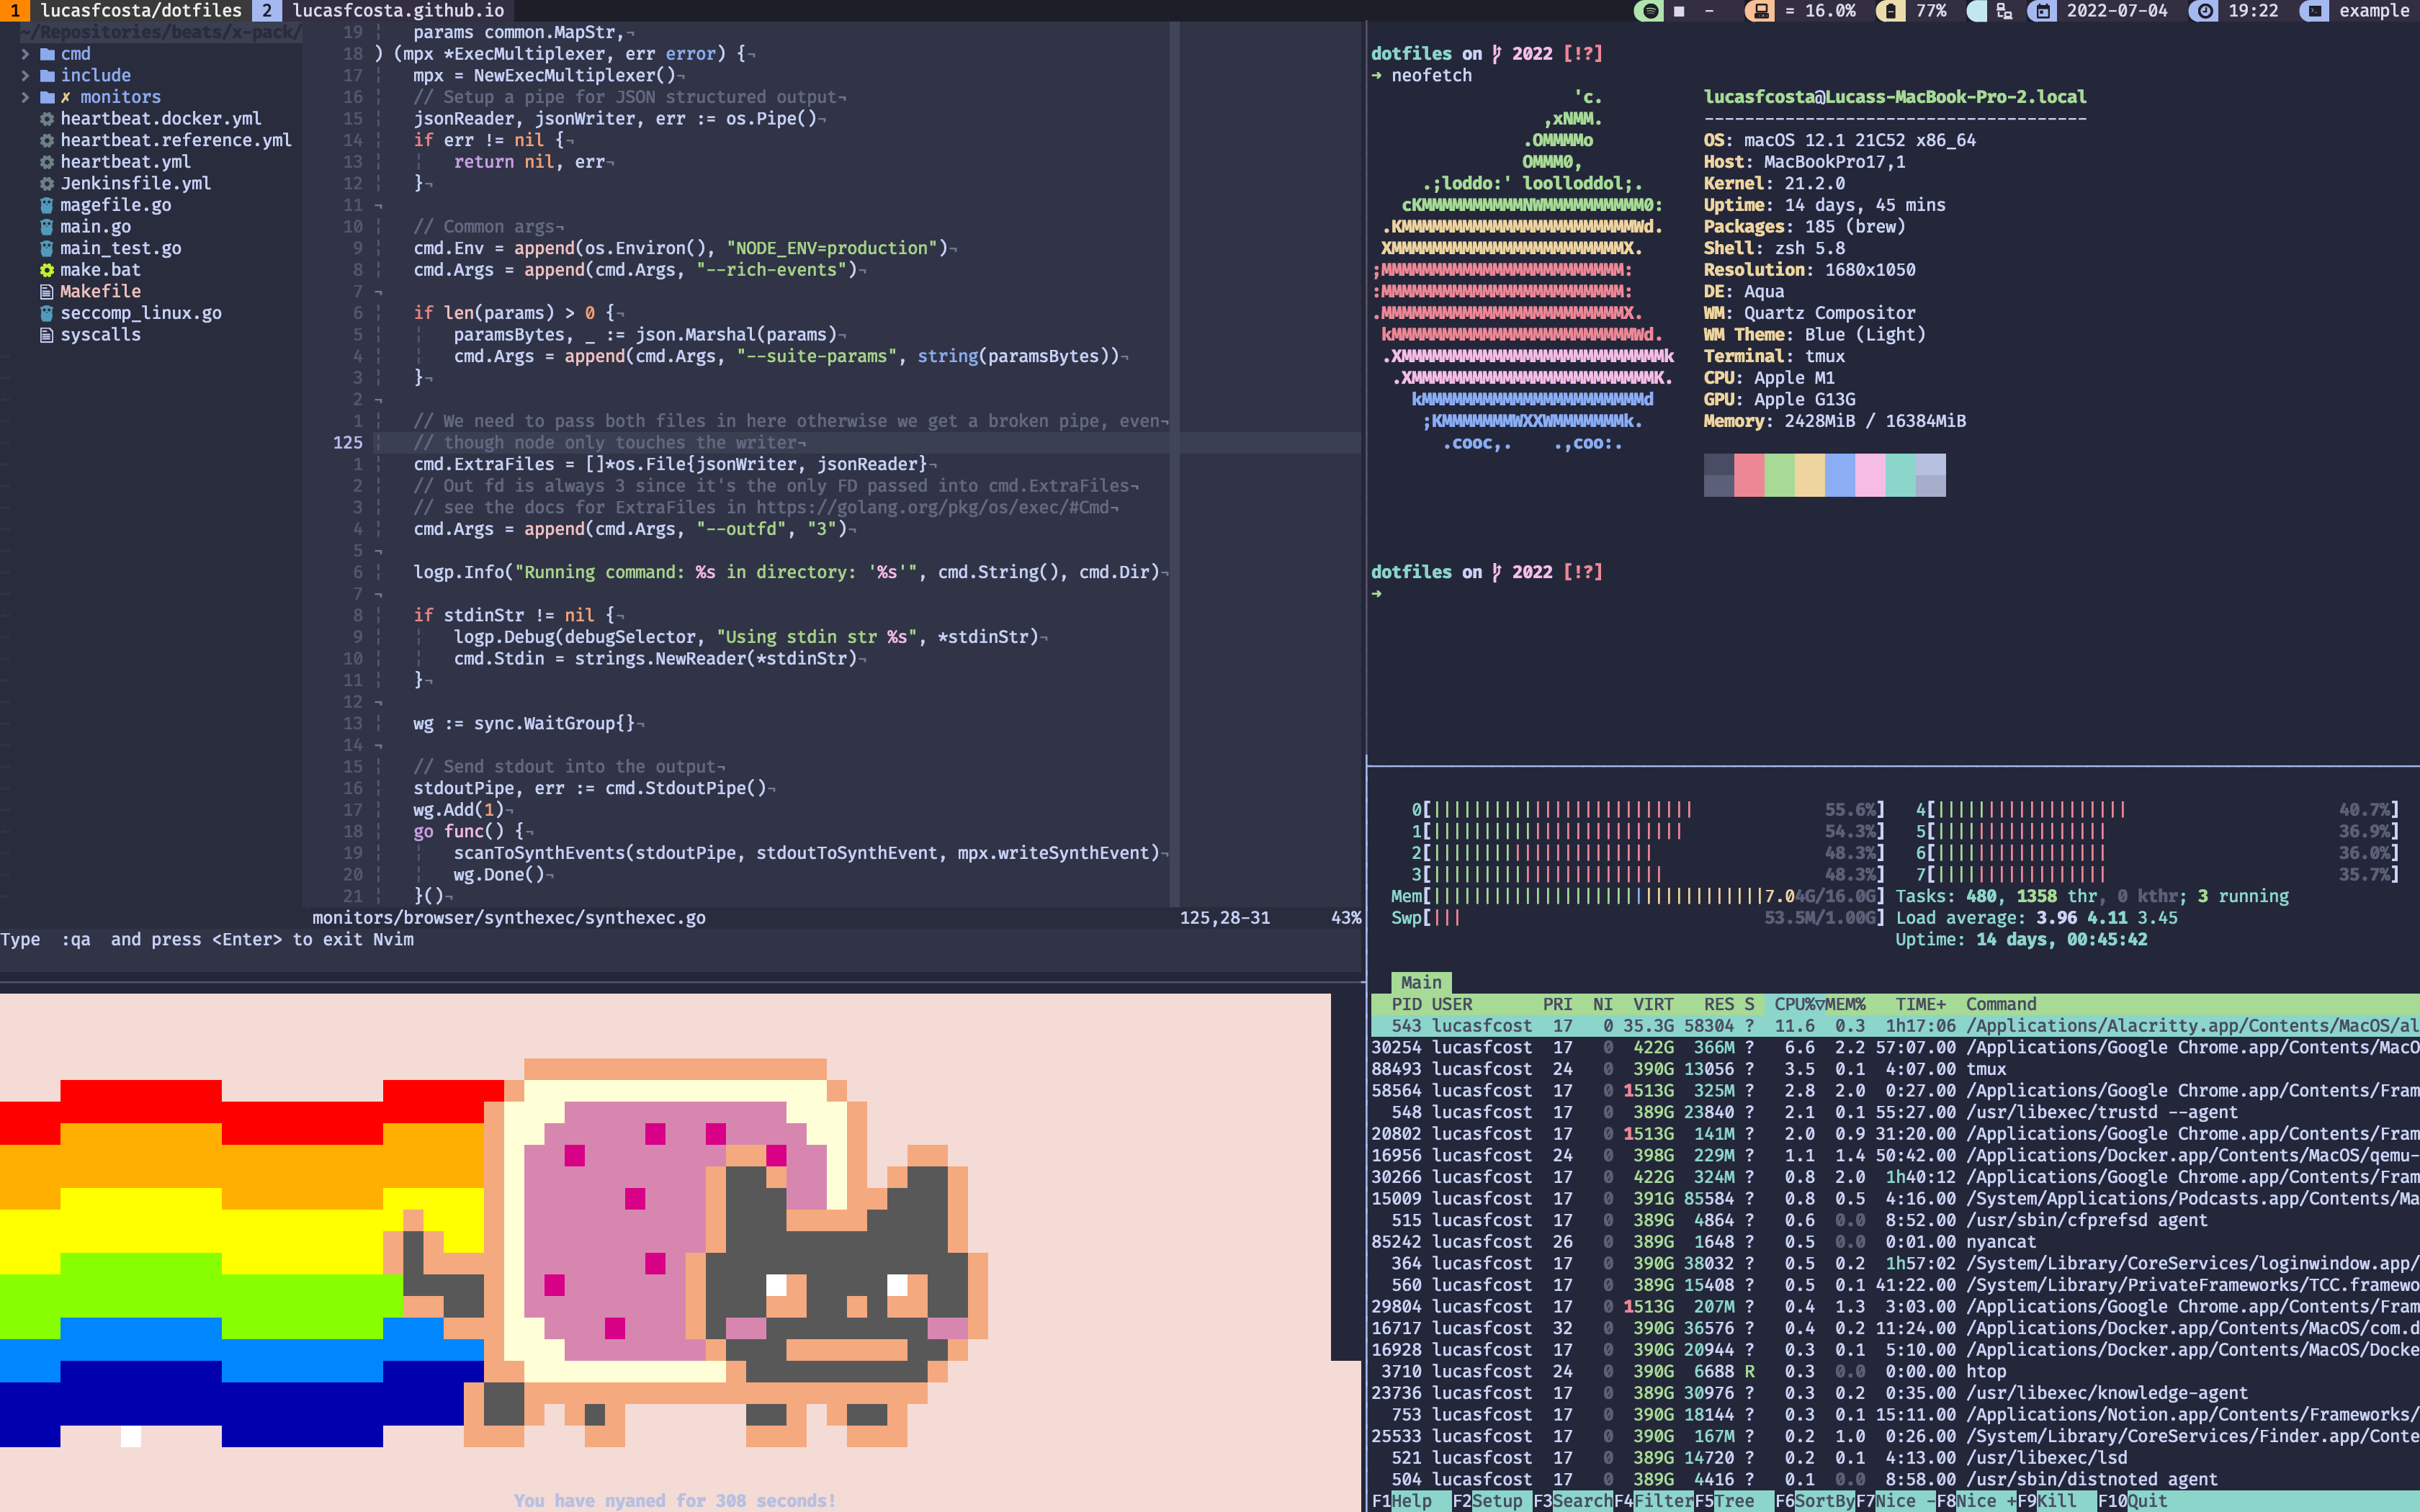
dotfiles - Lucas F. Costa
The best dotfiles in the entire universe.
These dotfiles should work straight out-of-the box on MacOS. For other operating systems you will need to update a few files, mainly programs.sh.
- Install
brewfollowing the instructions at Homebrew's official website. - Install
gitusingbrew install gitand clone this repository suinggit clone https://github.com/lucasfcosta/dotfiles. - Execute
./install.shto transfer configuration files to your home directory. - Execute
programs.shto install all programs.
Programs like docker, neovim, and the alike are installed through programs.sh using brew itself, which you must have installed before executing programs.sh.
Casks are GUI applications packaged to be installed through Homebrew Cask.
These are installed from the list of programs in the Casks file.
To install these programs separately from the other ones in programs.sh, use brew bundle --file=Cask.
Utilities like the zsh-spaceship prompt and rustup are also installed through programs.sh.
These are my favourite configurations for MacOS and I highly recommend you to at least take a look at this file and figure out what are yours.
Having all these set up in a single script is a huge life-quality improvement. Being able to setup simple things like showing file extensions, menu extras, dock settings, update checks and etc at the speed of a command has definitely changed my life for the better.
To run the script which sets those up just run .macos:
$ ./dotfiles/.macosWell, this repository could not be called dotfiles if it didn't actually have any dotfiles, right?
These contain configs for nvim, zsh, tmux and git.
To copy them to their correct places just run install.sh:
$ . ./dotfiles/install.shUnfortunately, life has not yet given me the opportunity to make everything in this repo automatic, so here's a few things you will have to do by yourself:
Once you have ran install.sh to copy dotfiles to their right places (including .tmux.conf), open tmux and press prefix (ctrl + a) + I (capital I, as in Install) to fetch the plugin.
Open Iterm configs by pressing command + ,, go to Profiles and then Colors.
Choose the Nord.itermcolors color preset.
For the icons in vim and tmux to appear, you'll have to install NERD fonts.
Given how big the NERD fonts repo is, you'll have to install fonts manually so that you can pick only the ones you want. That's why I didn't automate the installation process in this repository.
Once you've installed your preferred font, update Alacritty's configuration file with the name of the chosen font.
