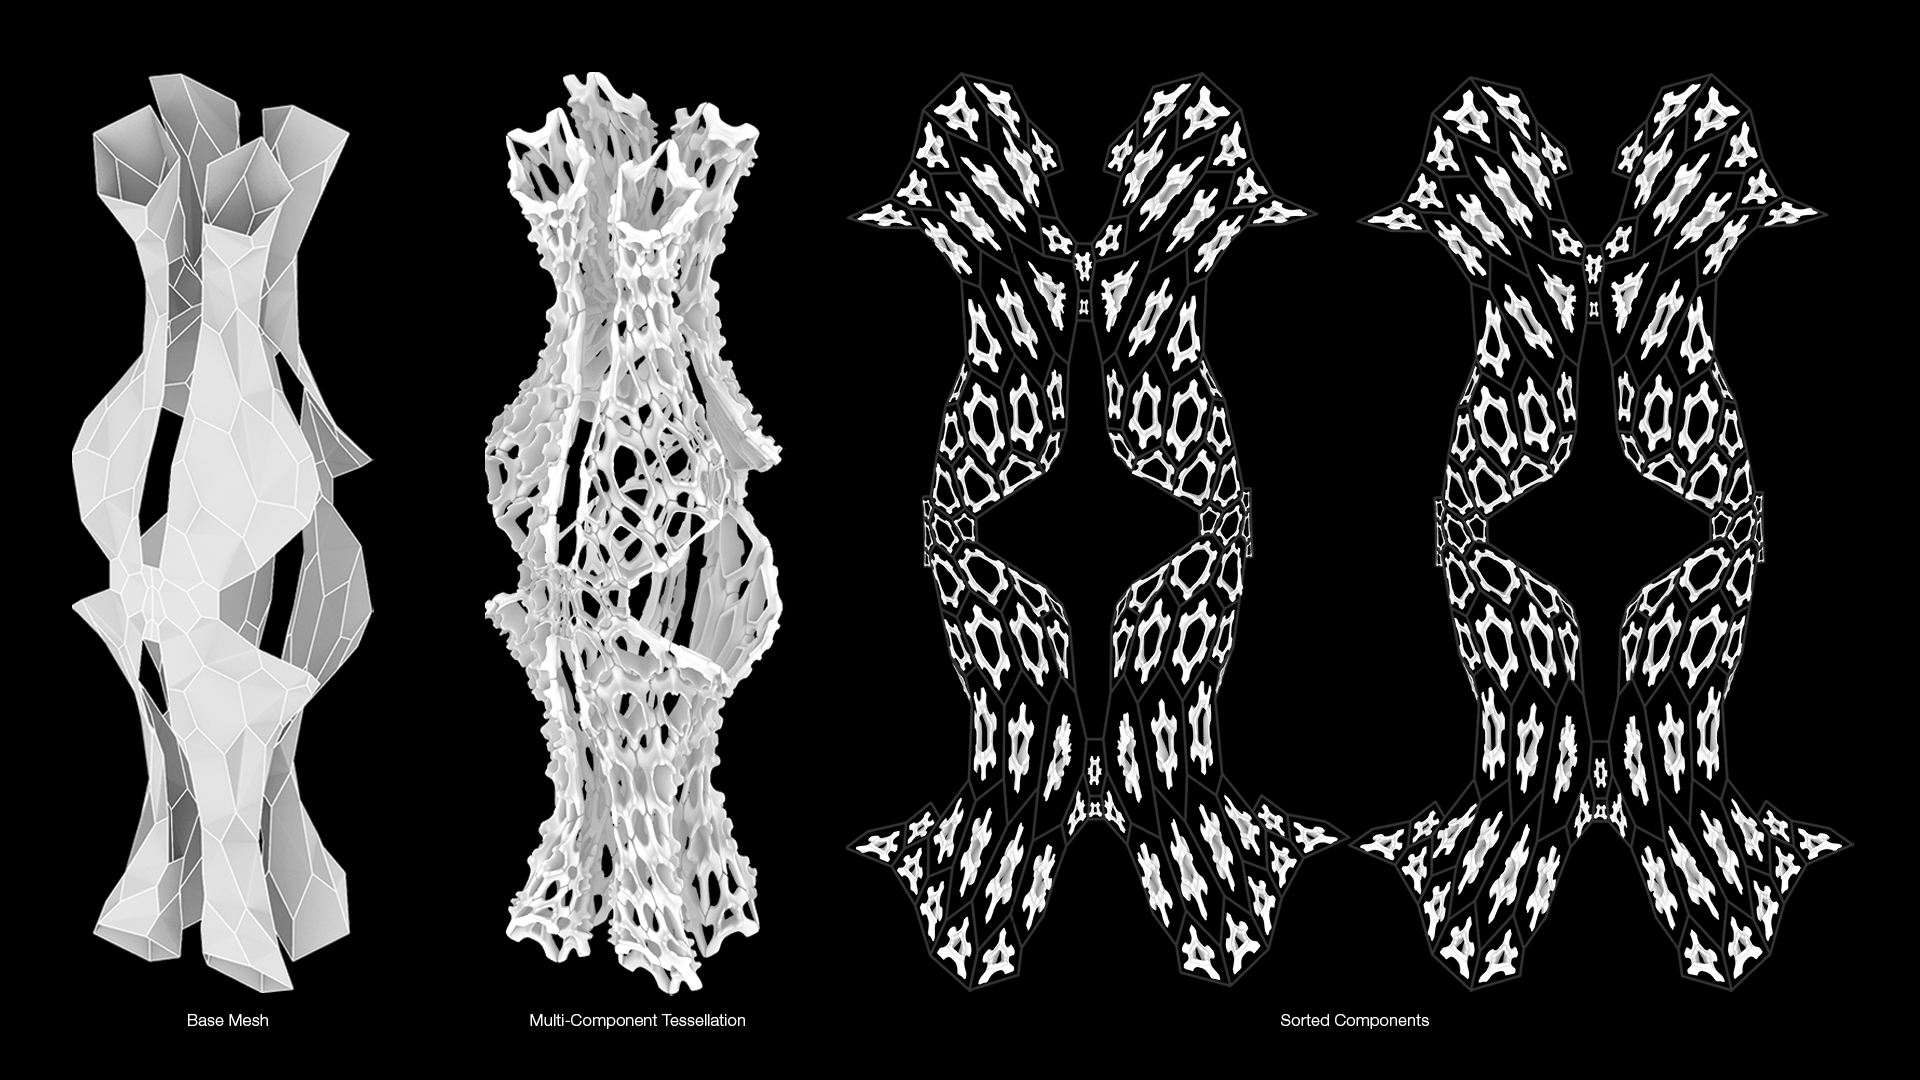
 Microbi Assembly Sequencer: A toolset for creating an assembly sequence of multi-part designs.
Microbi Assembly Sequencer is designed to help you create an assembly sequence of multi-part designs efficiently in Blender.
This add-on is compatible with Blender 3.6.7 and later versions.
- Download the add-on zip file.
- In Blender, go to
Edit > Preferences > Add-ons. - Click
Installand select the downloaded zip file. - Enable the add-on from the list.
-
Set Seam (Edit Mode):
- Go to
Edit Modeand select the edges where you want to set seams. These seams will be used for the UV unwrapping. - Click the
Set Seambutton.
- Go to
-
Clear Seam (Edit Mode):
- Go to
Edit Modeand select the seams you want to clear. This is only necessary if you want to reset the seam and try a different UV unwrap. - Click the
Clear Seambutton.
- Go to
-
UV Unwrap:
- Go to
Object Modeand select the mesh you want to unwrap. - Click the
UV Unwrapbutton to create a 2D mesh layout while keeping the original mesh in place.
- Go to
-
Rotate 90°:
- Select the mesh you want to rotate.
- Click the
Rotate 90°button to rotate the mesh 90 degrees about its origin.
-
Sort Faces:
- Select the mesh you want to sort based on the minimum spanning tree algorithm.
- Click the
Sort Facesbutton to sort the faces and create a visual representation.
-
Show/Hide MST:
- Click the
Show/Hide MSTbutton to toggle the visibility of the Grease Pencil object that visualizes the MST.
- Click the
-
Create Loose Parts:
- Select the mesh with loose components.
- Click the
Create Loose Partsbutton to separate loose components into individual parts and reset their origins.
-
Sort Components:
- Select the components you want to reorient based on the 2D mesh layout.
- Click the
Sort Componentsbutton to reorient the components from the 3D mesh to the 2D mesh layout.
-
Edge Naming:
- Select the mesh you want to label the edges.
- Click the
Edge Namingbutton to label the edges based on the operator logic.
-
Face Text Size:
- Adjust the
Face Text Sizeproperty to change the size of the text created for faces.
- Adjust the
-
Edge Text Size:
- Adjust the
Edge Text Sizeproperty to change the size of the text created for edges.
- Adjust the
- Select Component:
- Enter the name of the component you want to select in the
Component Namefield. - Click the
Selectbutton to select the component by its name.
- Enter the name of the component you want to select in the
This program is free software: you can redistribute it and/or modify it under the terms of the GNU General Public License as published by the Free Software Foundation, either version 2 of the License, or (at your option) any later version.
This program is distributed in the hope that it will be useful, but WITHOUT ANY WARRANTY; without even the implied warranty of MERCHANTABILITY or FITNESS FOR A PARTICULAR PURPOSE. See the GNU General Public License for more details.
You should have received a copy of the GNU General Public License along with this program. If not, see https://www.gnu.org/licenses/.