How to easily get Jenkins with the Blue Ocean UI up and running on your computer using
dockeranddocker-compose
-
- Install Docker and Docker Compose for your OS.
- For Windows OS without Hyper-V Capability
- Install Docker toolbox (https://docs.docker.com/toolbox/toolbox_install_windows/)
- Once installed you might need to remove the line
"credsStore": "wincred"from~/.docker/config.json - Execute all command using
Docker Quickstart Terminal
-
In your directory, copy
.env.sampleto.envand customize as needed. In particular, changeJENKINS_HTTP_PORTandJENKINS_HTTPS_PORTto a high port (e.g. 18443) on Minikube. -
Run docker-compose to bring up Jenkins
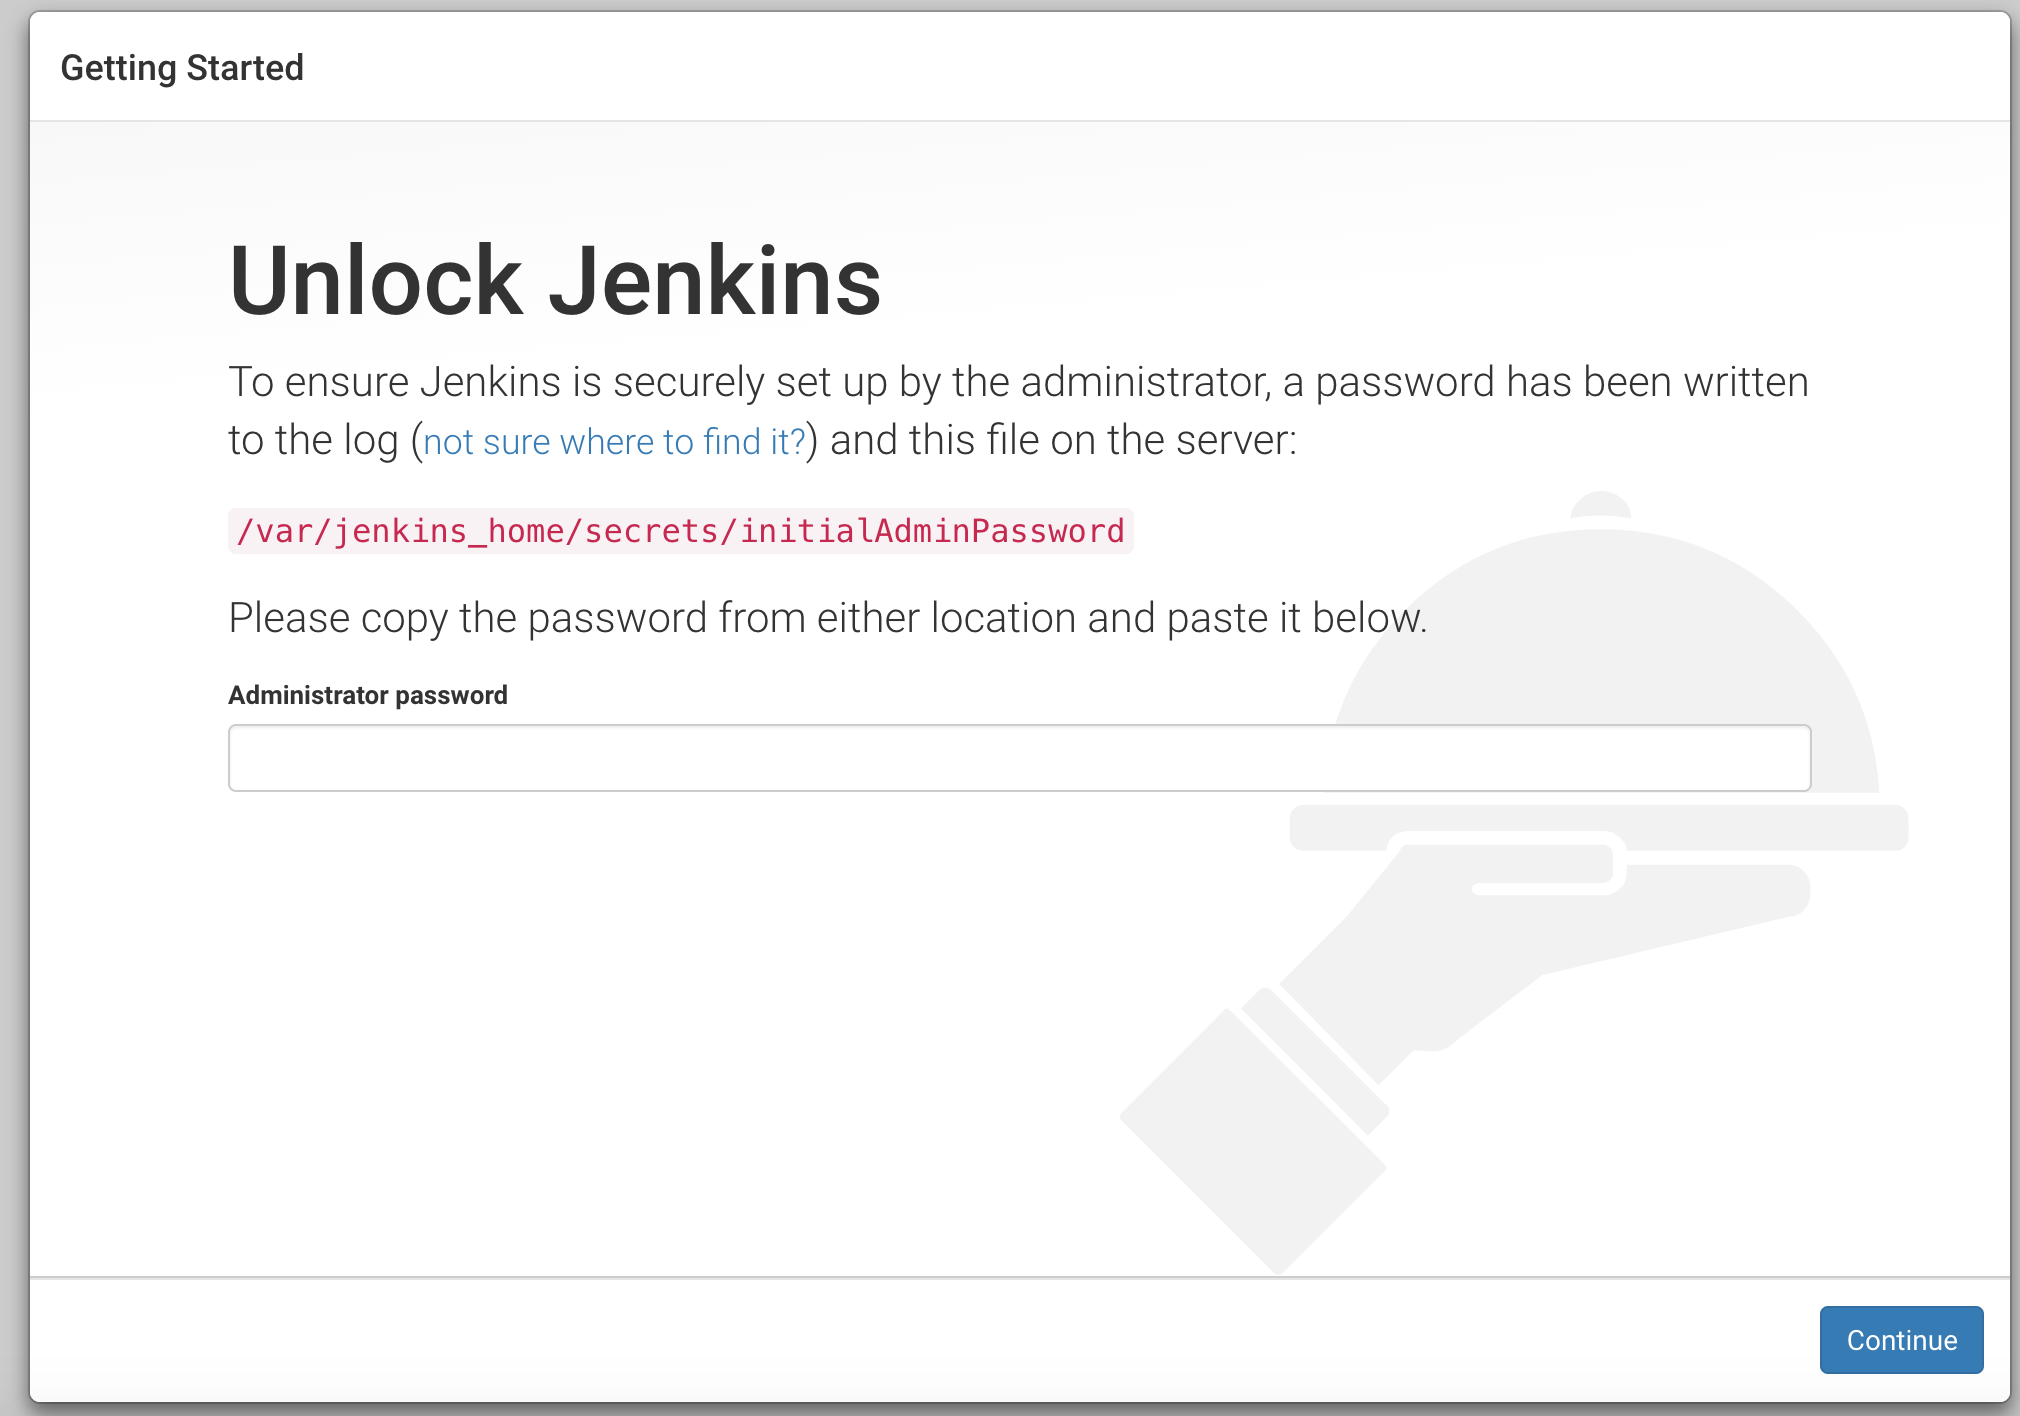
$ docker-compose up -d- Get your initial admin password
$ docker-compose exec jenkins cat /var/jenkins_home/secrets/initialAdminPassword-
Open Jenkins in your browser by going to either https://0.0.0.0:8080/ or https://0.0.0.0:8443/ (or whatever your Docker Machine IP is).
-
Enter your initial admin password when the setup wizard asks you to.
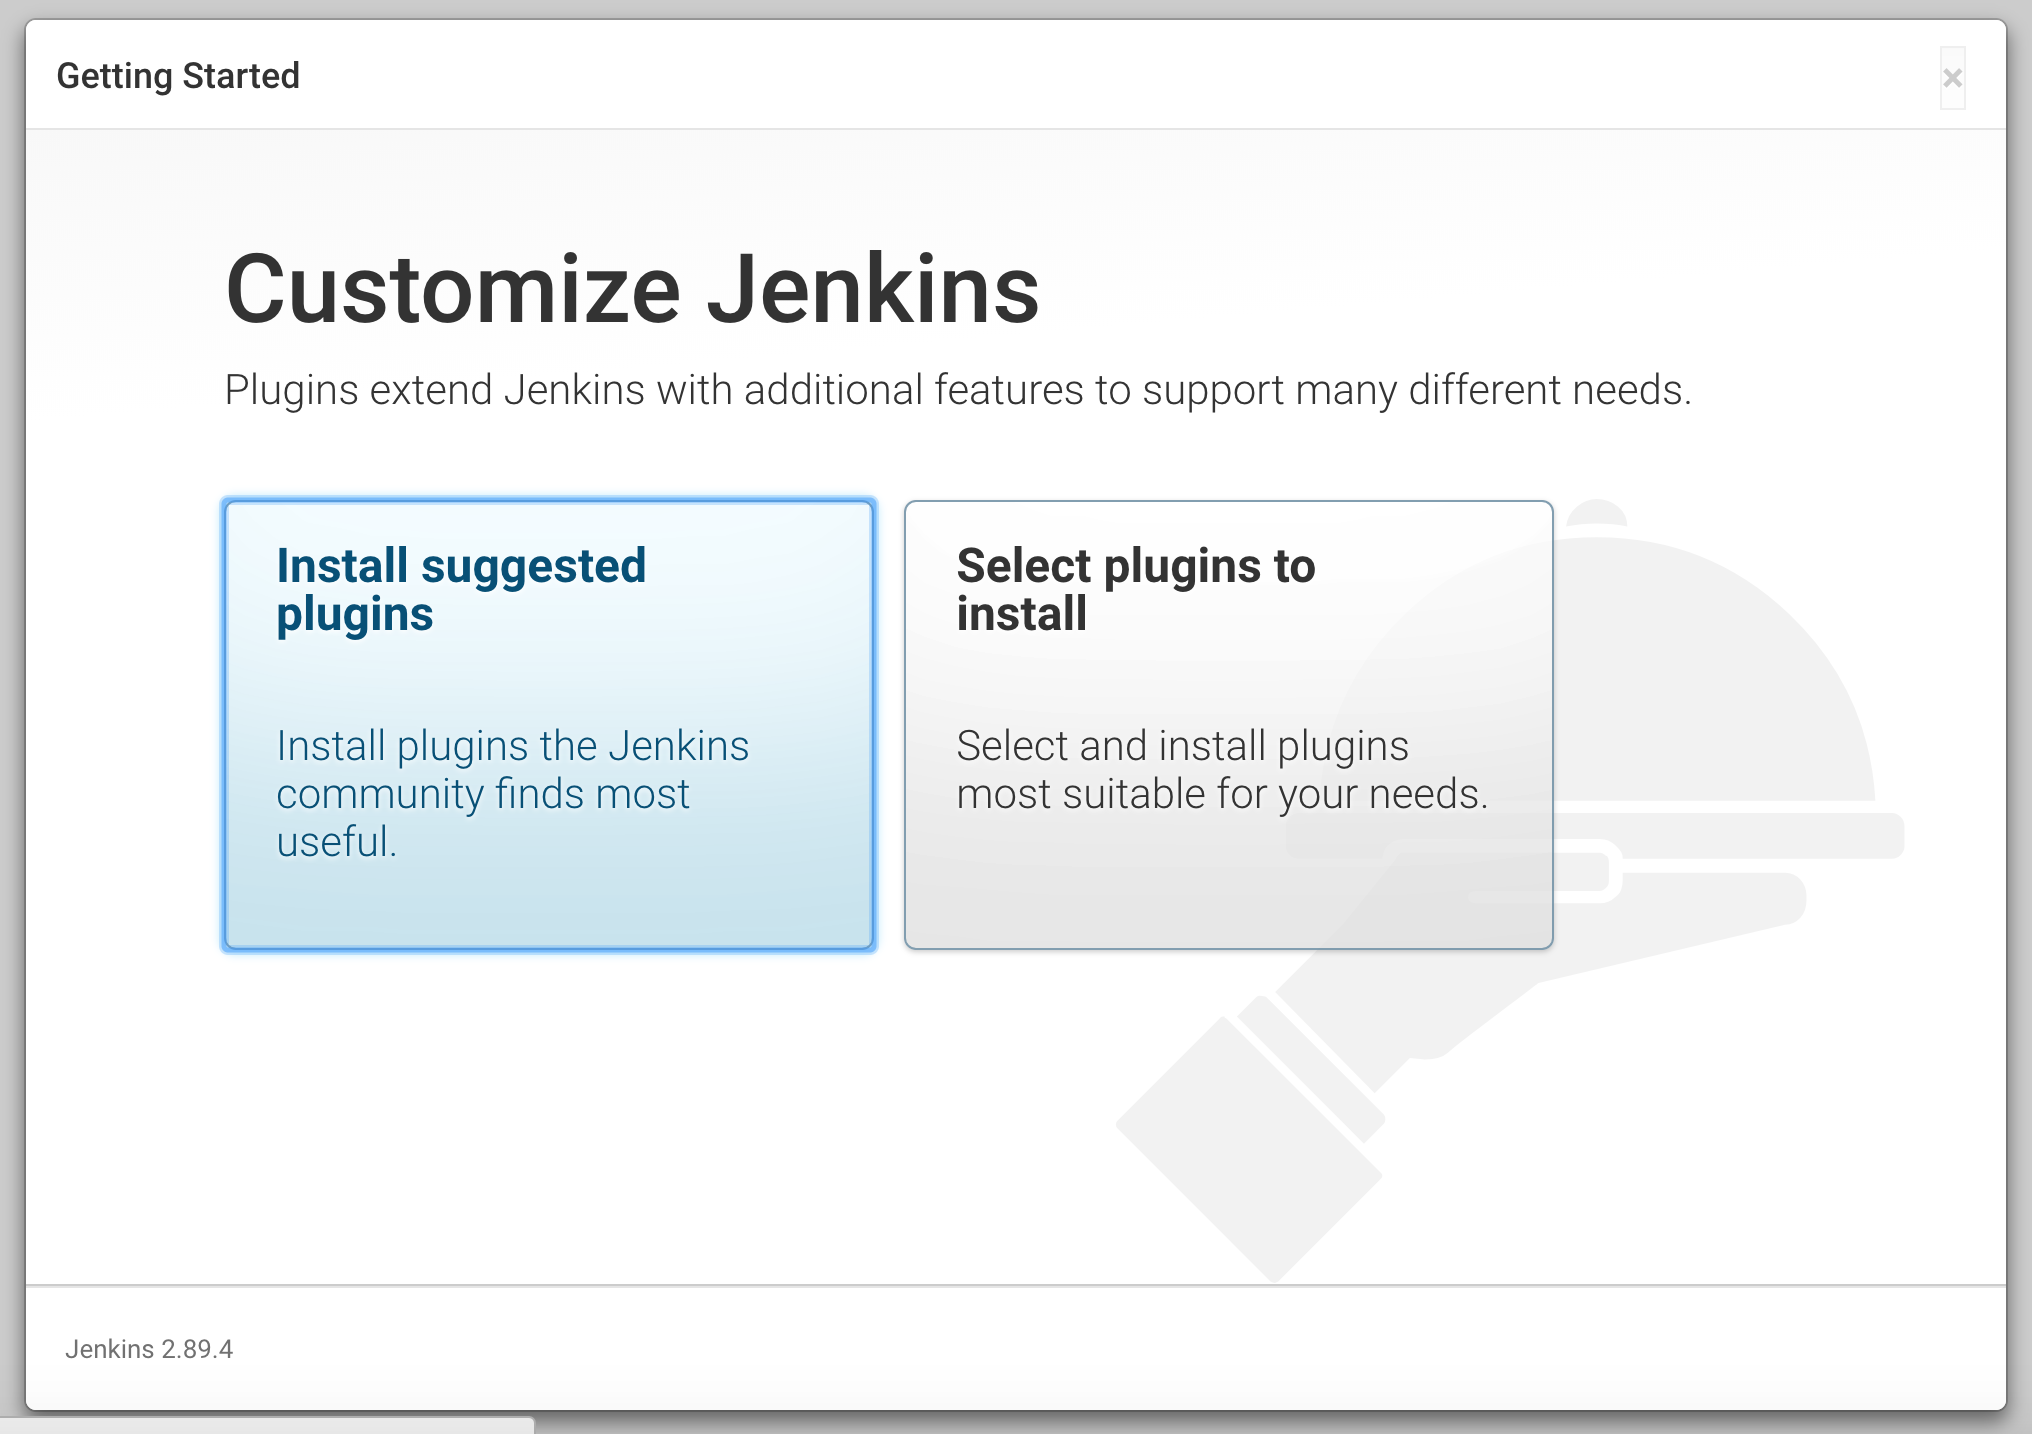
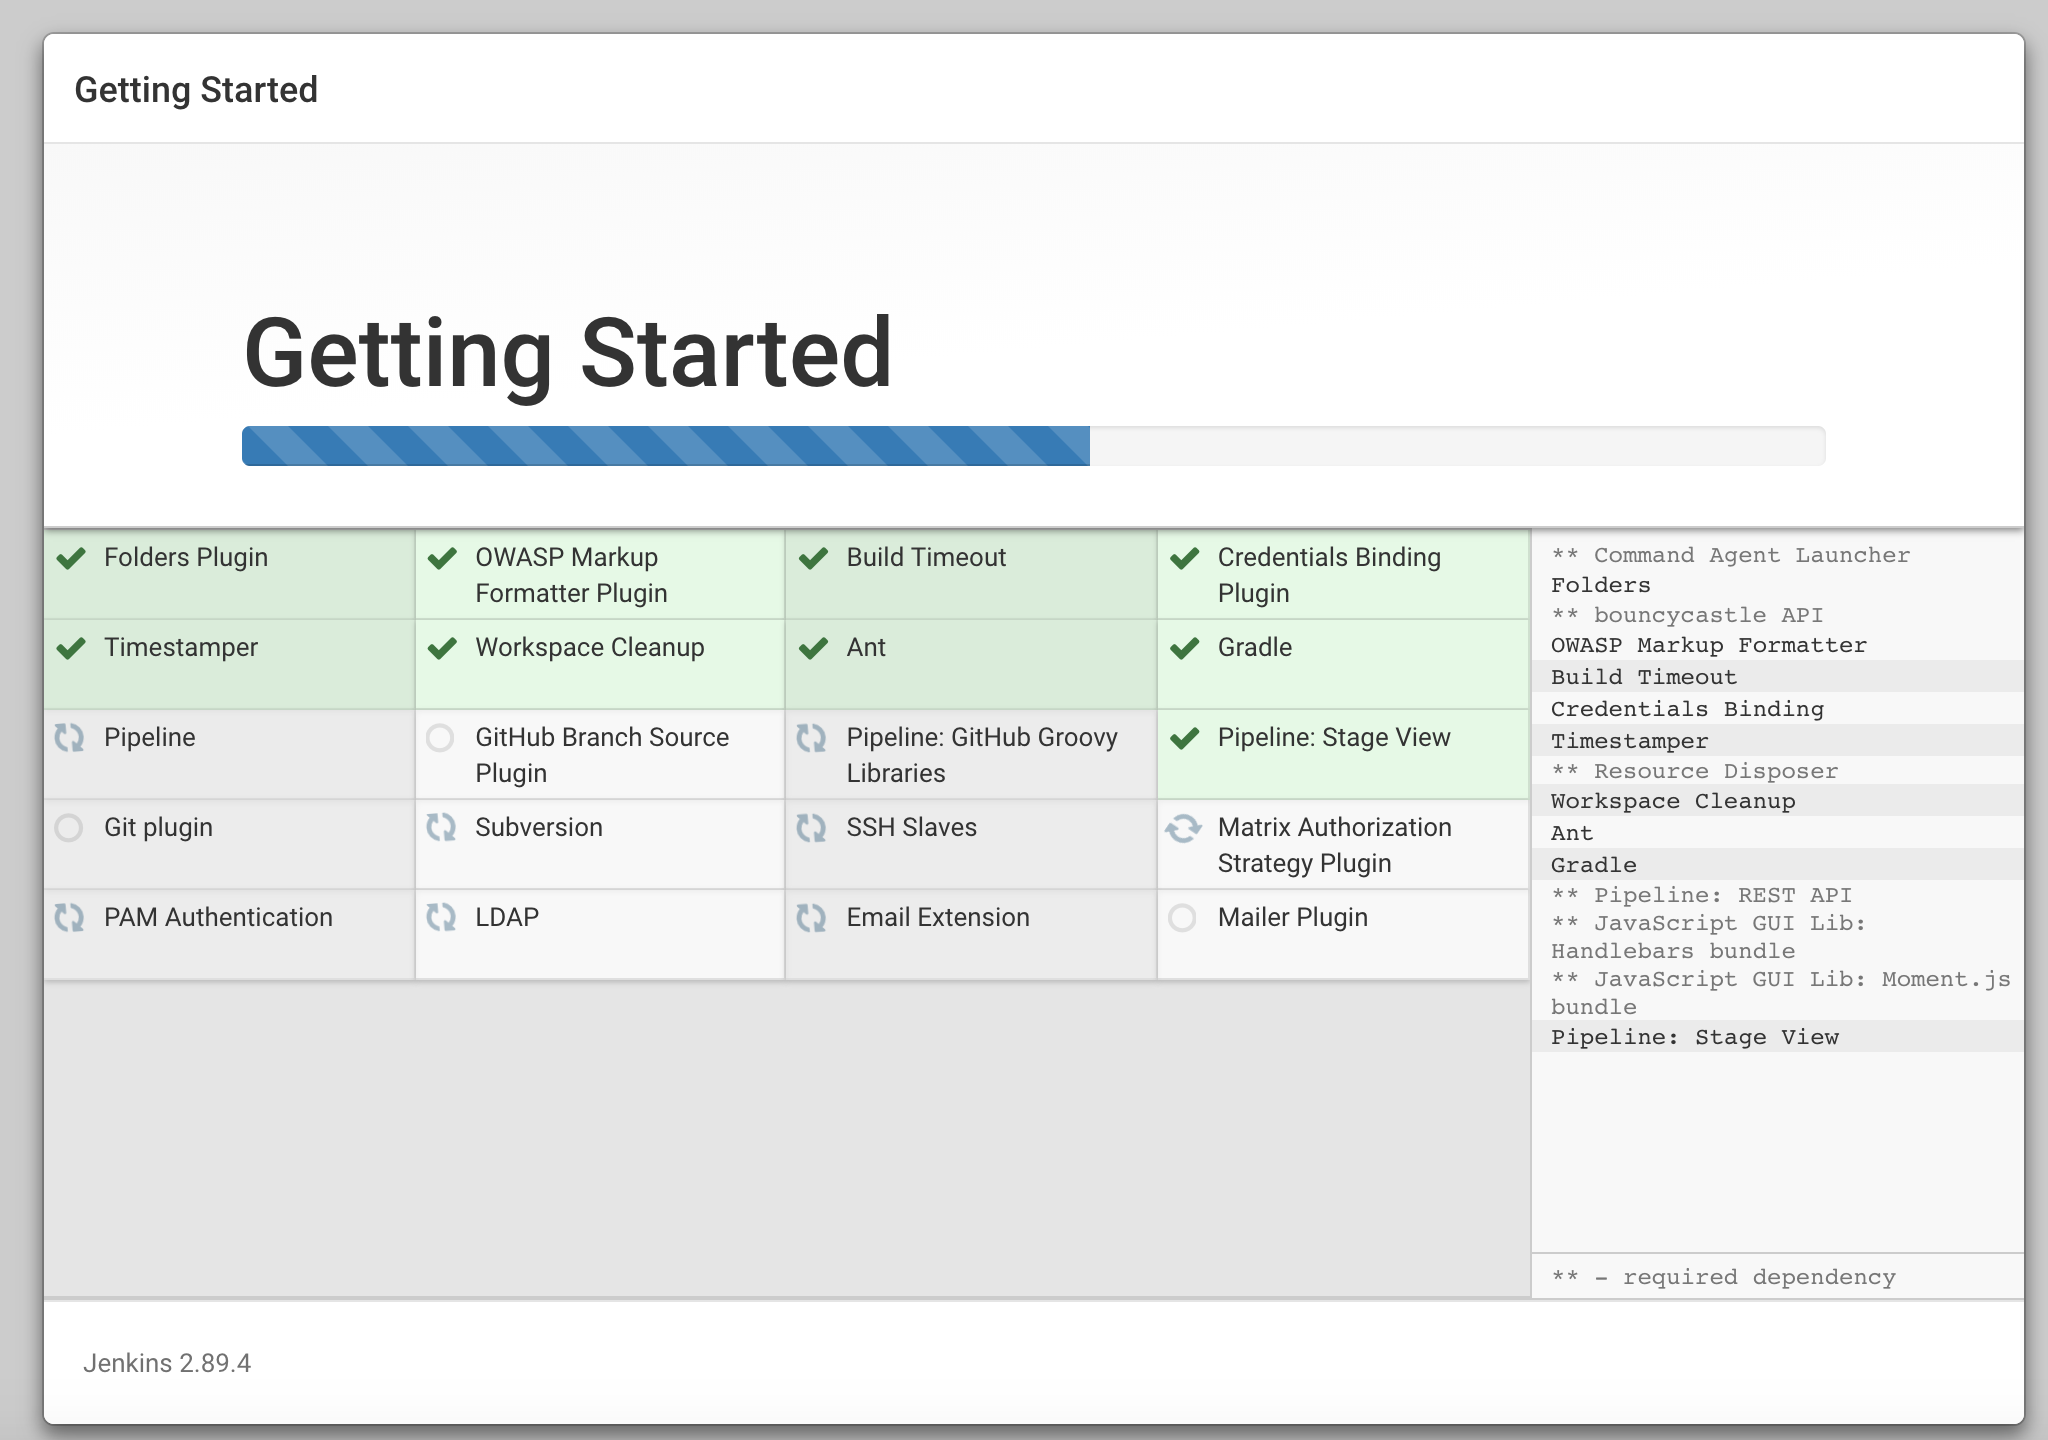
- Choose
Install suggested plugins
- Enter your admin user details and click
Save and Finish
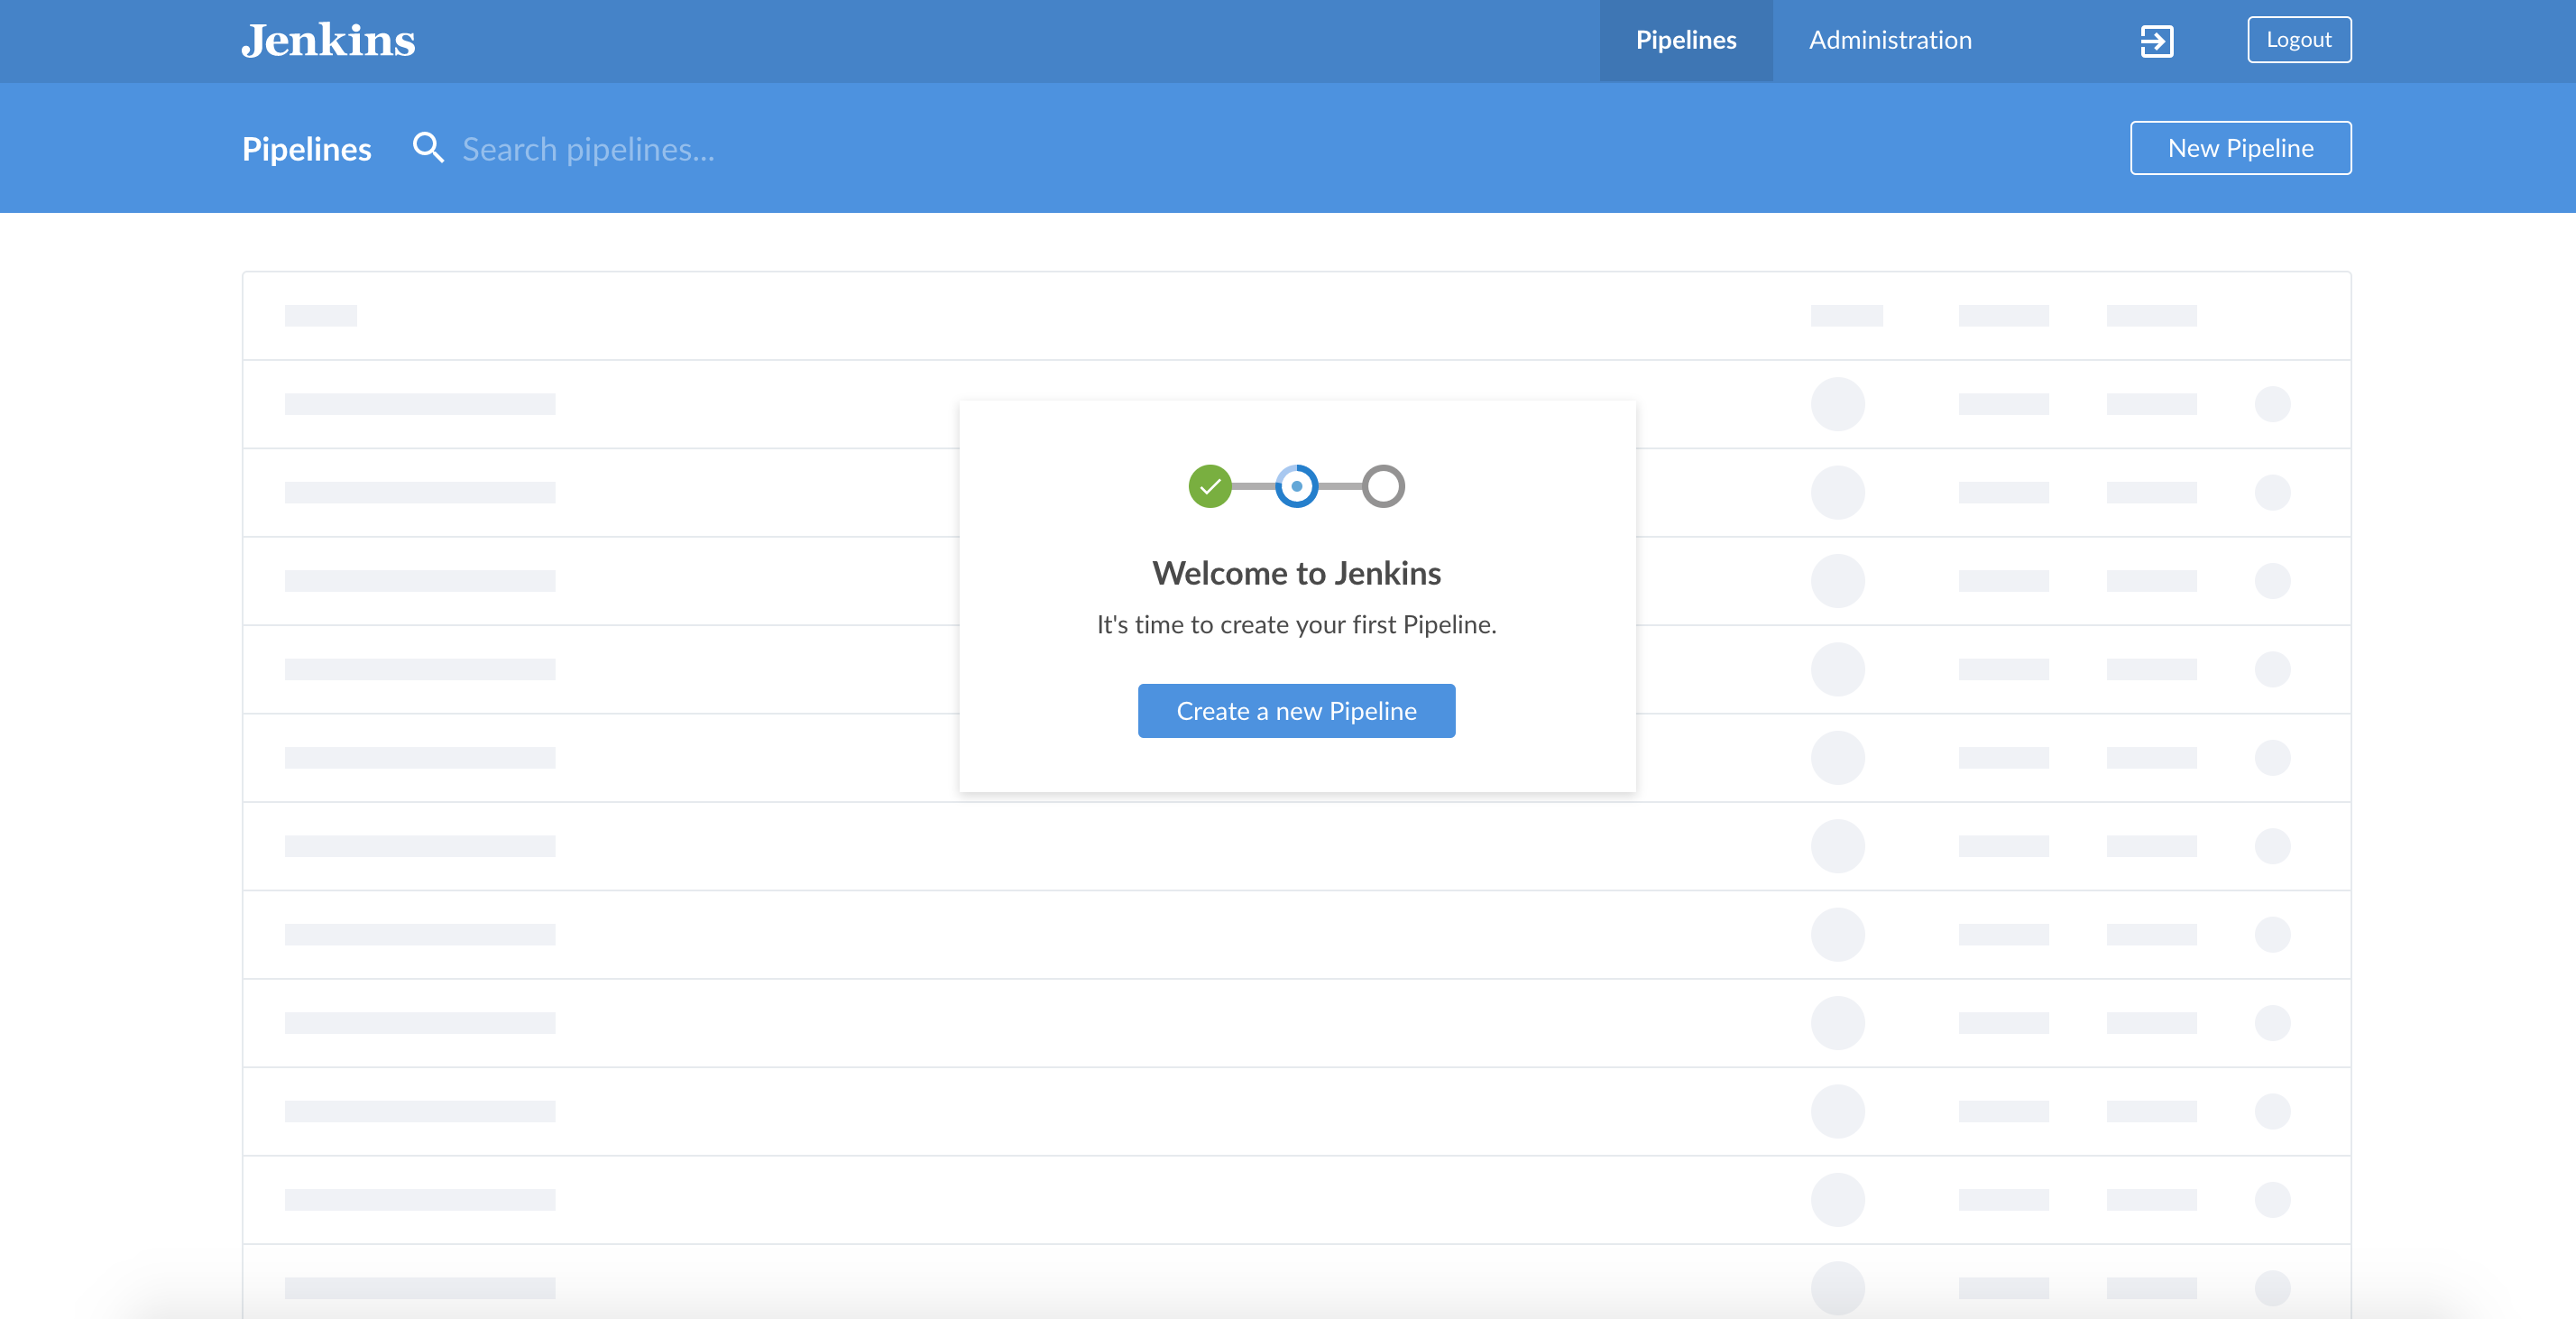
- Click
Open Blue Oceanfrom the left hand menu
Congratulations! You may now use Jenkins with the Blue Ocean UI and the Jenkins Pipelines of 2.0
This guide is for:
- Windows users that did not meet the system requirements of Docker for Windows (You may check out the system requirements here)
- Uses Docker Toolbox
- Uses Virtualbox for virtualization
Note: We will assume that your current working directory is at D:\Projects\Jenkins
Note: All commands are executed inside the Docker Quickstart Terminal
-
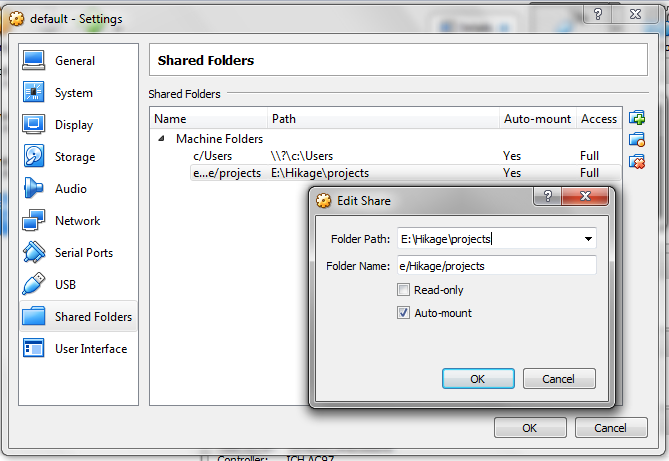
In your virtual machine, create a shared folder that has access to your working directory You may share
D:\Projectsinstead ofD:\Projects\Jenkins. Everything underD:\Projectswill be accessible in the vm.- Open Virtualbox
- Open the vm's settings
- Your vm's name is probably default
- You can see which machine is currently active by running
docker-machine lsThe active machine should have an asterisk (*) on theACTIVEcolumn.
- Under Shared Folders add a new entry
- If folder path is
D:\Projects, folder name should bed/Projects - Tick
Auto-mount - Tick
Make Permanent
- If folder path is
sometimes, Make Permanent won't be an option. Don't bother looking for that if so, it'll still be fine. Auto-mount is what we want.
-
If your vm is running, Restart your vm by executing
docker-machine restartIf your vm is stopped, you are either not executing these inside the quickstart terminal or you need to executedocker-machine start <vm-name-here> -
Verify the shared folder by logging in to the vm
- run
docker-machine ssh - run
ls /d/Projects
- run
Now your containers should have access to your current folder.
- When setting up the
Folder Namein the VM settings, assure that it's a valid linux path and must be relative to/(root) directory (ege/projects). - The directory that contains
jenkinsmust not contain any whitespaces or any characters that must be escaped. (e.gF19 Source Code,Source\ Code) The reason is that it'll serve as aFolder Namein your VM settings, and you cannot click OK when you do supply such names.
