

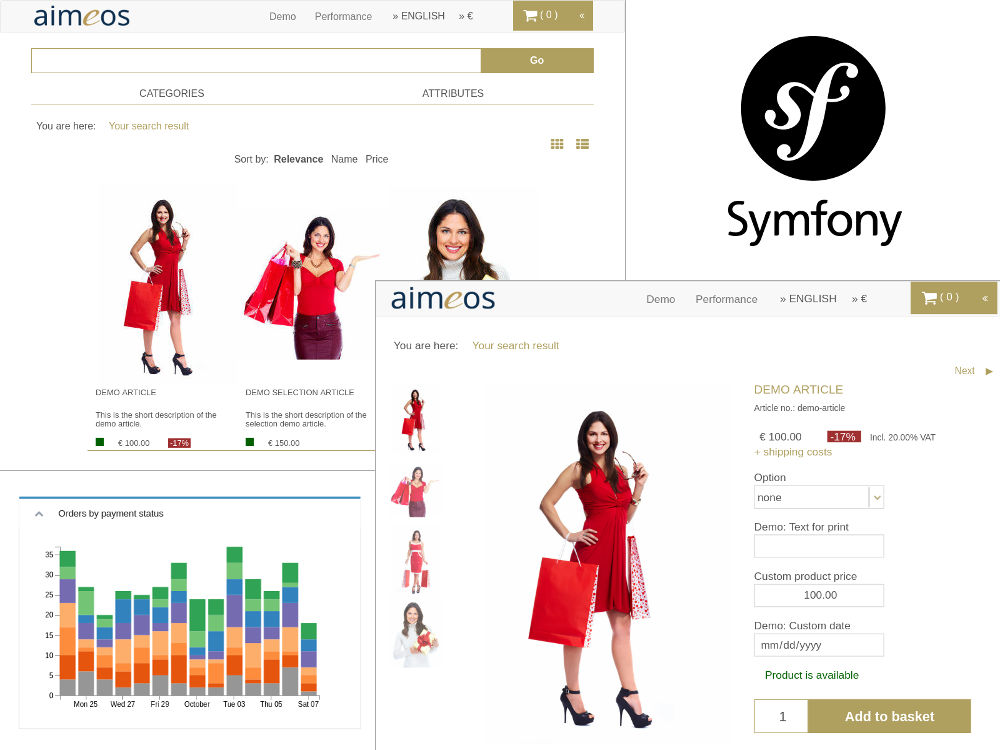
The repository contains the Symfony e-commerce bundle integrating the Aimeos e-commerce library into Symfony 2 and 3. The bundle provides controllers for e.g. faceted filter, product lists and detail views, for searching products as well as baskets and the checkout process. A full set of pages including routing is also available for a quick start.
This document is for the latest Aimeos Symfony 2016.10 release and later.
- LTS release: 2017.10
If you want to upgrade between major versions, please have a look into the upgrade guide!
The Aimeos Symfony e-commerce bundle is a composer based library that can be installed easiest by using Composer. If you don't have an existing Symfony application, you can create a skeleton application using
composer create-project symfony/framework-standard-edition myshop
You need to adapt some files inside the newly created directory. Before, the Aimeos
bundle class must be known by the registerBundles() method in the app/AppKernel.php
file so the composer post install/update scripts won't fail:
    $bundles = array(
        new Aimeos\ShopBundle\AimeosShopBundle(),
        new FOS\UserBundle\FOSUserBundle(),
        ...
    );
These settings need to be added at the end of your ./app/config/config.yml file:
fos_user:
    db_driver: orm
    user_class: Aimeos\ShopBundle\Entity\FosUser
    firewall_name: aimeos_myaccount
    from_email:
        address: "[email protected]"
        sender_name: "Test shop"
The Aimeos components have to be configured as well to get authentication working correctly.
You need to take care of two things: Using the correct customer manager implementation and
password encryption method. Both must be appended at the end of your ./app/config/config.yml
as well:
aimeos_shop:
    mshop:
        customer:
            manager:
                name: FosUser
                password:
                    name: Bcrypt
Make sure that the database is set up and it is configured in your config.yml. If you want to use a database server other than MySQL, please have a look into the article about supported database servers and their specific configuration.
Then add these lines to your composer.json of your Symfony project:
    "prefer-stable": true,
    "minimum-stability": "dev",
    "require": {
        "aimeos/aimeos-symfony": "~2017.10",
        ...
    },
    "scripts": {
        "post-install-cmd": [
            "Aimeos\\ShopBundle\\Composer\\ScriptHandler::installBundle",
            "Aimeos\\ShopBundle\\Composer\\ScriptHandler::updateConfig",
            "Aimeos\\ShopBundle\\Composer\\ScriptHandler::setupDatabase",
            ...
        ],
        "post-update-cmd": [
            "Aimeos\\ShopBundle\\Composer\\ScriptHandler::installBundle",
            "Aimeos\\ShopBundle\\Composer\\ScriptHandler::updateConfig",
            "Aimeos\\ShopBundle\\Composer\\ScriptHandler::setupDatabase",
            ...
        ]
    }
Afterwards, install the Aimeos shop bundle using
composer update
In a production environment or if you don't want that the demo data gets installed, use the --no-dev option:
SYMFONY_ENV=prod composer update --no-dev
To see all components and get everything working, you also need to adapt your
Twig base template in app/Resources/views/base.html.twig. This is a working
example using the Twitter bootstrap CSS framework:
<!DOCTYPE html>
<html>
    <head>
        <meta charset="UTF-8" />
        <meta http-equiv="X-UA-Compatible" content="IE=edge">
        <meta name="viewport" content="width=device-width, initial-scale=1">
{% block aimeos_header %}{% endblock %}
        <title>{% block title %}Aimeos shop{% endblock %}</title>
        <link rel="icon" type="image/x-icon" href="{{ asset('favicon.ico') }}" />
        <link type="text/css" rel="stylesheet" href="https://maxcdn.bootstrapcdn.com/bootstrap/3.3.7/css/bootstrap.min.css">
{% block aimeos_styles %}{% endblock %}
    </head>
    <body>
        <div class="navbar navbar-static" role="navigation">
          <div class="container">
            <div class="navbar-header">
              <button type="button" class="navbar-toggle collapsed" data-toggle="collapse" data-target=".navbar-collapse">
                <span class="sr-only">Toggle navigation</span>
                <span class="icon-bar"></span>
                <span class="icon-bar"></span>
                <span class="icon-bar"></span>
              </button>
            </div>
          </div>
{% block aimeos_head %}{% endblock %}
        </div>
        <div class="col-xs-12">
            {% block aimeos_nav %}{% endblock %}
            {% block aimeos_stage %}{% endblock %}
            {% block aimeos_body %}{% endblock %}
            {% block aimeos_aside %}{% endblock %}
        </div>
        <script type="text/javascript" src="https://code.jquery.com/jquery-3.1.1.min.js"></script>
        <script type="text/javascript" src="https://maxcdn.bootstrapcdn.com/bootstrap/3.3.7/js/bootstrap.min.js"></script>
{% block aimeos_scripts %}{% endblock %}
    </body>
</html>
Start the PHP web server in the base directory of your application to do some quick tests:
php -S 127.0.0.1:8000 -t web
Then, you should be able to call the catalog list page in your browser using
http:https://127.0.0.1:8000/app_dev.php/list
Setting up the administration interface is a matter of configuring the Symfony firewall to restrict access to the admin URLs. Since 2017.07, the FOSUserBundle is required. For a more detailed description, please read the article about setting up the FOSUserBundle.
To add the required routes for the FOSUserBundle, append these two lines at the
end of your ./app/config/routing.yml file:
fos_user:
    resource: "@FOSUserBundle/Resources/config/routing/all.xml"
Setting up the security configuration is the most complex part. The firewall
setup in the ./app/config/security.yml file should look like this one:
security:
    providers:
        aimeos:
            entity: { class: AimeosShopBundle:FosUser, property: username }

    encoders:
        Aimeos\ShopBundle\Entity\FosUser: bcrypt

    firewalls:
        aimeos_admin:
            pattern:   ^/admin
            anonymous: ~
            provider: aimeos
            form_login:
                login_path: /admin
                check_path: /admin_check
        aimeos_myaccount:
            pattern: ^/
            form_login:
                provider: aimeos
                csrf_token_generator: security.csrf.token_manager
            logout:       true
            anonymous:    true

    access_control:
        - { path: ^/login$, role: IS_AUTHENTICATED_ANONYMOUSLY }
        - { path: ^/register, role: IS_AUTHENTICATED_ANONYMOUSLY }
        - { path: ^/resetting, role: IS_AUTHENTICATED_ANONYMOUSLY }
        - { path: ^/myaccount, roles: ROLE_USER }
        - { path: ^/admin/.+, roles: ROLE_ADMIN }
Caution: The order of the configuration settings in this file is important!
These settings will protect the /admin/* URLs from unauthorized access from
someone without admin privileges.
The /myaccount URL is protected by the FOS user bundle as well, which also offers
user registration. A bit more detailed explanation of the authentication is available in the
Aimeos docs.
As last step, you have to create an admin account using the Symfony command line:
./bin/console aimeos:account --admin [email protected]
./bin/console fos:user:promote [email protected] ROLE_ADMIN
Please replace [email protected] with your own e-mail address. If the PHP web server is
still running (php -S 127.0.0.1:8000 -t web), you should be able to call the admin
login page in your browser using:
http:https://127.0.0.1:8000/app_dev.php/admin
and authenticating with your e-mail and the password which has been asked for by the aimeos:account command.
To simplify development, you should configure to use no content cache. You can do this in the ./app/config/config_dev.yml file of your Symfony application by adding these lines:
aimeos_shop:
    madmin:
        cache:
            manager:
name: NoneThe Aimeos Symfony bundle is licensed under the terms of the MIT license and is available for free.