This repository is a demo of how to use Travis CI in a Java project on GitHub.
- Sign in to your user Github account and fork this repo
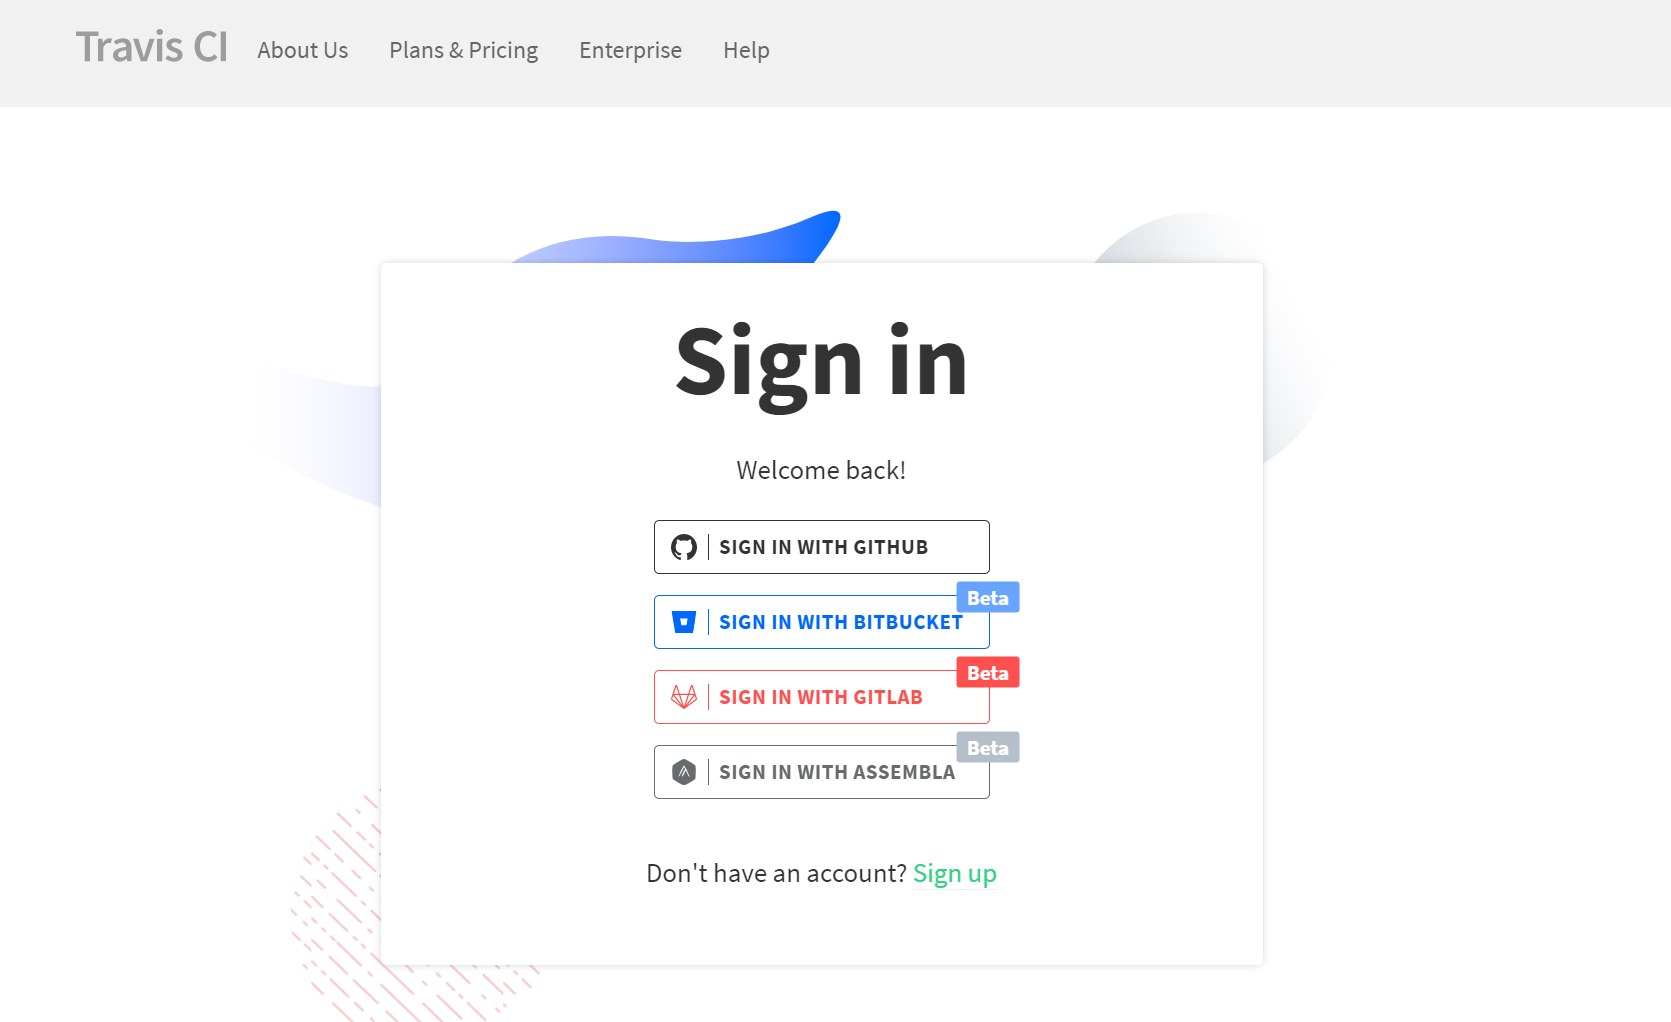
- Go to Travis-ci.com and Sign in with GitHub account
- Accept the authorization of Travis CI
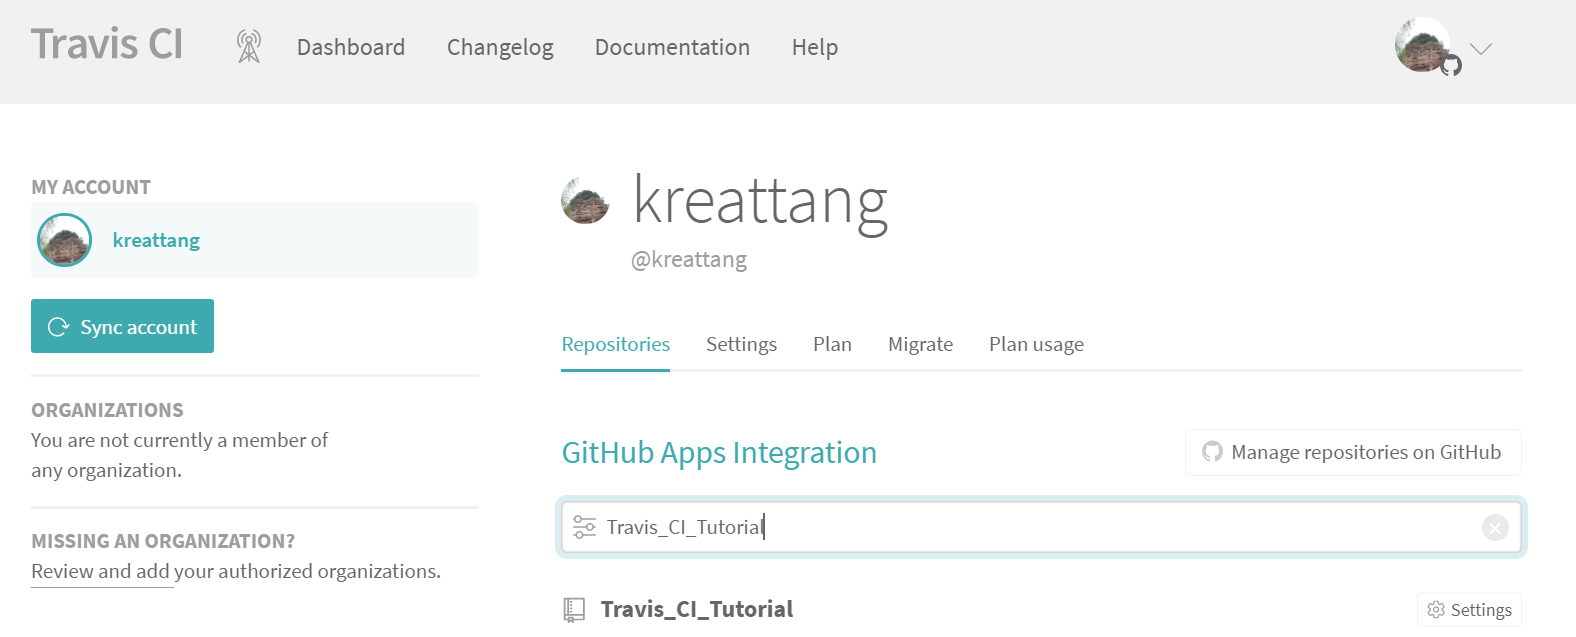
- Click on your profile picture in the top right of your Travis Dashboard, click Settings
- Select the repo you want to use with Travis CI. If repo cannot be found, click Sync account
- Back to Github. Create a .travis.yml file and add the following content(to tell Travis CI what to do). Commit and push the changes to the root directory of your repo
# Building a Java project
language: java

# We can specify a list of JDKs to be used for testing
jdk:
 - openjdk11
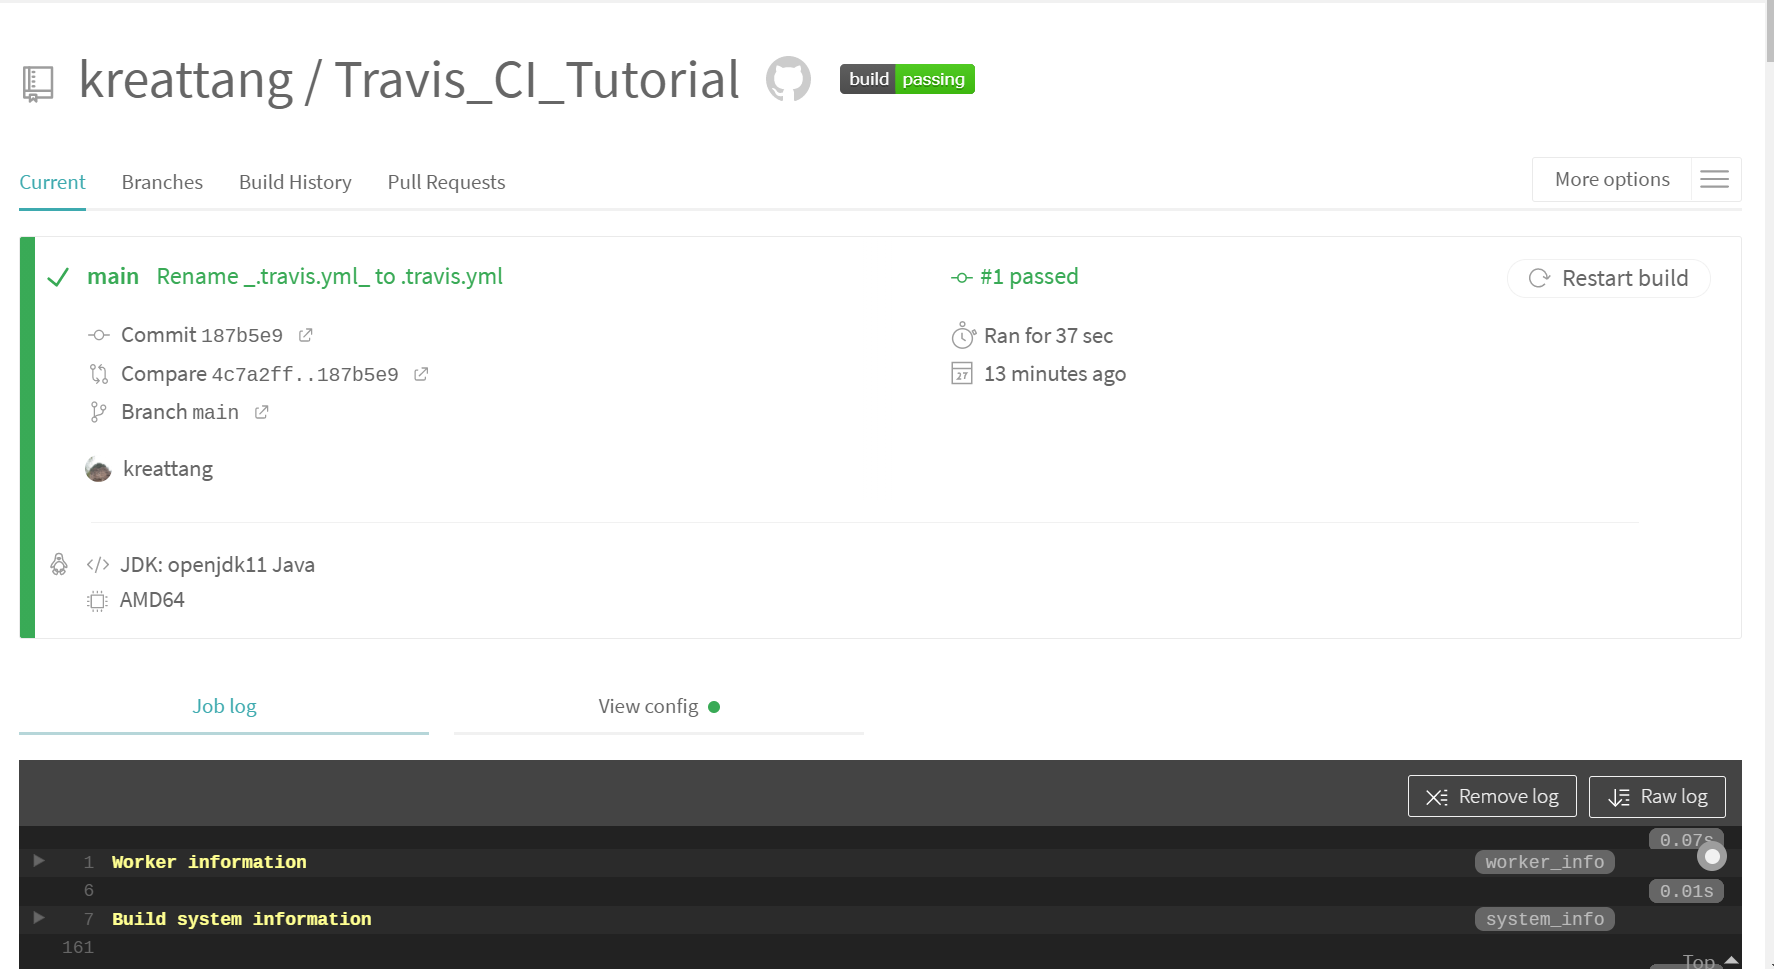
- Back to Travis CI. Click your repo and you will find it start build by Travis CI
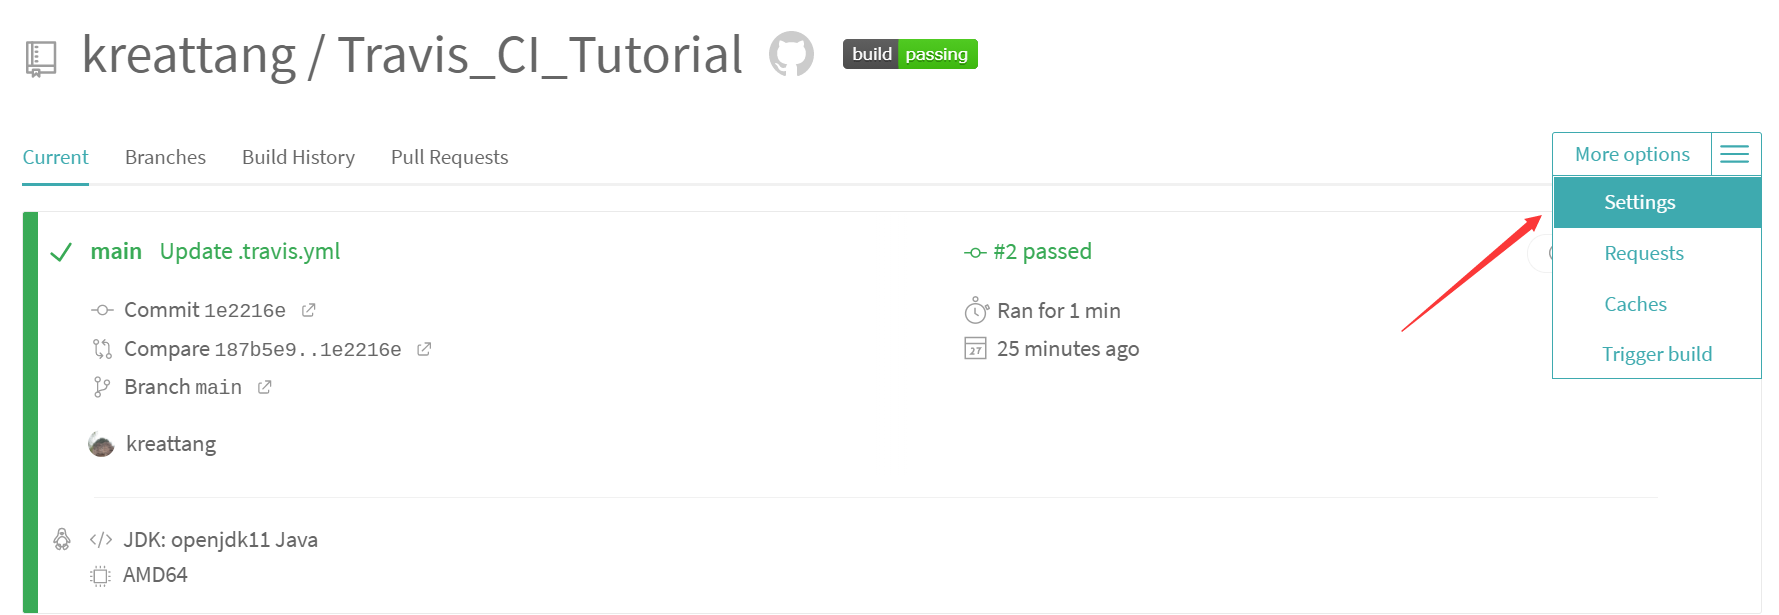
- If the build is passed, you will see as follows.
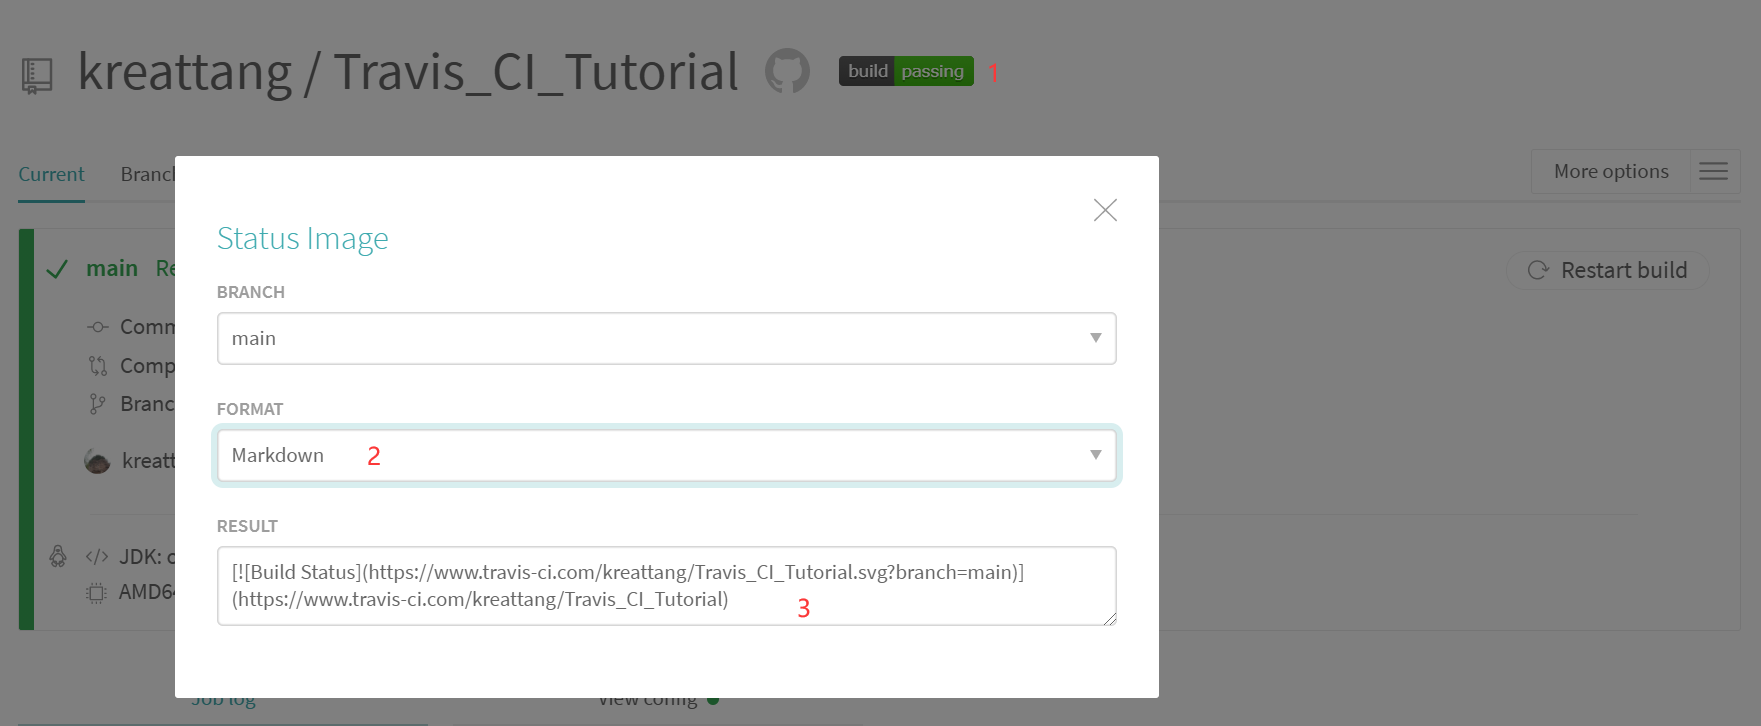
- Create the badge in README.md(copy the markdown code from Travis CI and paste in the top line of readme.md)
Travis CI => select your repository => click the build status image => select FORMAT as Markdown => Copy the code of RESULT => paste in the top line of readme.md
- You will see a badge like this in your repo of Github
This repo also integrates with Codecov to generate reports.
- Go to the Codecov website and Sign in with GitHub account.
- Accept the authorization of Codecov and add your repository
- Add the following code in the end of .travis.yml file
after_success:
  - bash <(curl -s https://codecov.io/bash)
- Commit and push the changes to your repo, which will trigger a new build in Travis CI. This is to enable CodeCov's coverage. If a build is successful, the code is submitted for coverage analysis
- Create the badge in README.md
Codecov =>select your repository => Setting => Bedge => Copy the contect of Markdown => paste in the second line of readme.md
- You will see the badge like this
- Travis CI can help you release to Github after a success build. You will need to provide a Github personal access token(Tutorial: https://docs.github.com/en/github/authenticating-to-github/keeping-your-account-and-data-secure/creating-a-personal-access-token).
- Now that we have a token go to the project you want to use it with on Travis CI. Then on your project page, go to More options => Settings.
- In the Environment Variables section, add variable named GITHUB_TOKEN and use the generated token from Github in previous step.
- Travis CI can automatically upload assets to git tags on your GitHub repo. So you need create a tag in a GitHub repo(Tutorial: https://stackoverflow.com/questions/18216991/create-a-tag-in-a-github-repository)
- Add the following to your .travis.yml(For more information about parameter configuration, please read https://docs.travis-ci.com/user/deployment-v2/providers/releases/)
deploy:
  provider: releases
  file_glob: true
  skip_cleanup: true
  api_key: $GITHUB_TOKEN
  file:
    - .travis.yml
  on:
    tags: true
    branch: tag
    repo: <your_github_username>/<your_repo_name>
- Commit and push to trigger a Travis CI build. If the build is successful, you will see .travis.yml in the Releases section of your repo like this
- Travis CI can notify you about your build results through email, IRC, chat or custom webhooks (https://docs.travis-ci.com/user/notifications/)
- Add the following to your .travis.yml, which will send the build result to your Email
notifications:
 email:
   - [email protected](replace by your e-mail)
- Modify line 61 of trityp.java(src/main/.../trityp.java) as follows
triOut = triOut + 2;
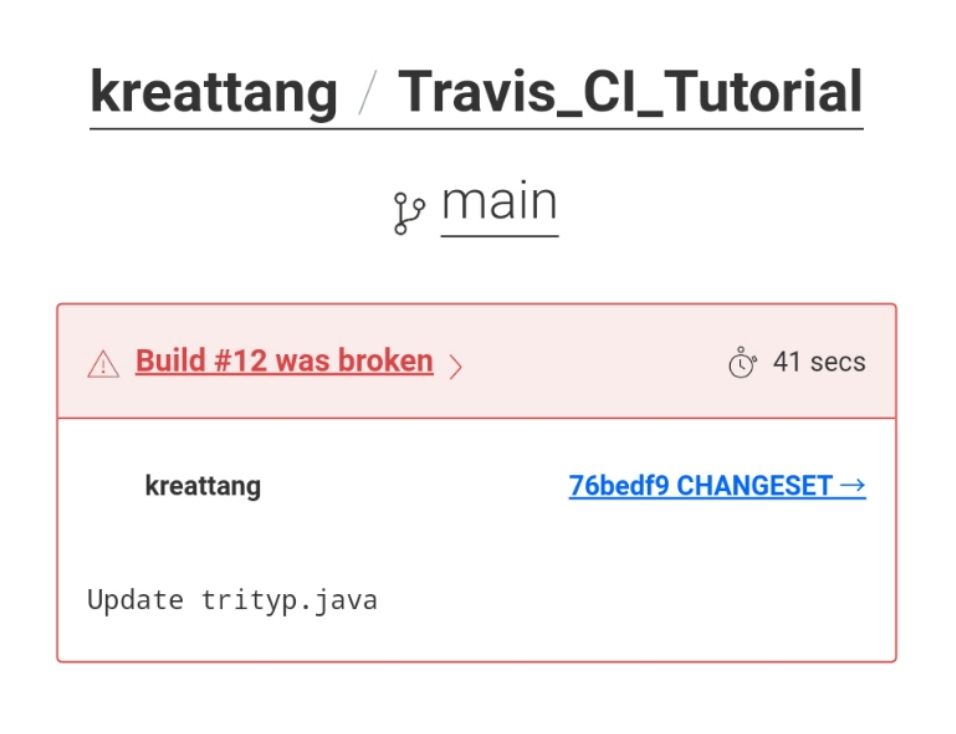
- Commit and push to trigger a Travis CI build. As expected, this build will failed and you will receive an Email like this
