#Behavioral Cloning
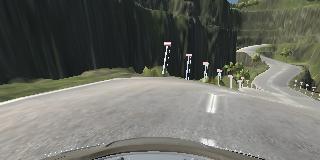
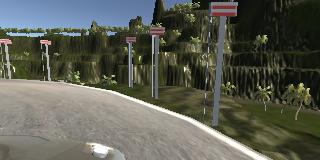
The car is able to drive autonomously on the much more complex 2nd track. The model predicts steering angle using a single camera image as input.
Behavioral Cloning Project
The goals of this project are the following:
- Use the simulator to collect data of good driving behavior by driving the car manually
- Build a convolution neural network in Keras that predicts steering angles from images
- Train and validate the model with a training and validation set
- Test that the model successfully drives around track one without leaving the road
- Summarize the results with a written report
Here I will consider the rubric points individually and describe how I addressed each point in my implementation.
###Files Submitted & Code Quality
####1. Submission includes all required files and can be used to run the simulator in autonomous mode
My project includes the following files:
- model.py containing the script to create and train the model
- other_models.py containing code for alternative models
- drive.py for driving the car in autonomous mode
- model.h5 containing a trained convolution neural network
- writeup_report.md (this file) summarizing the results
####2. Submission includes functional code Using the Udacity provided simulator and my drive.py file, the car can be driven autonomously around the track by executing
python drive.py model.h5####3. Submission code is usable and readable
The model.py file contains the code for training and saving the convolution neural network. The file shows the pipeline I used for training and validating the model, and it contains comments to explain how the code works.
###Model Architecture and Training Strategy
####1. An appropriate model architecture has been employed
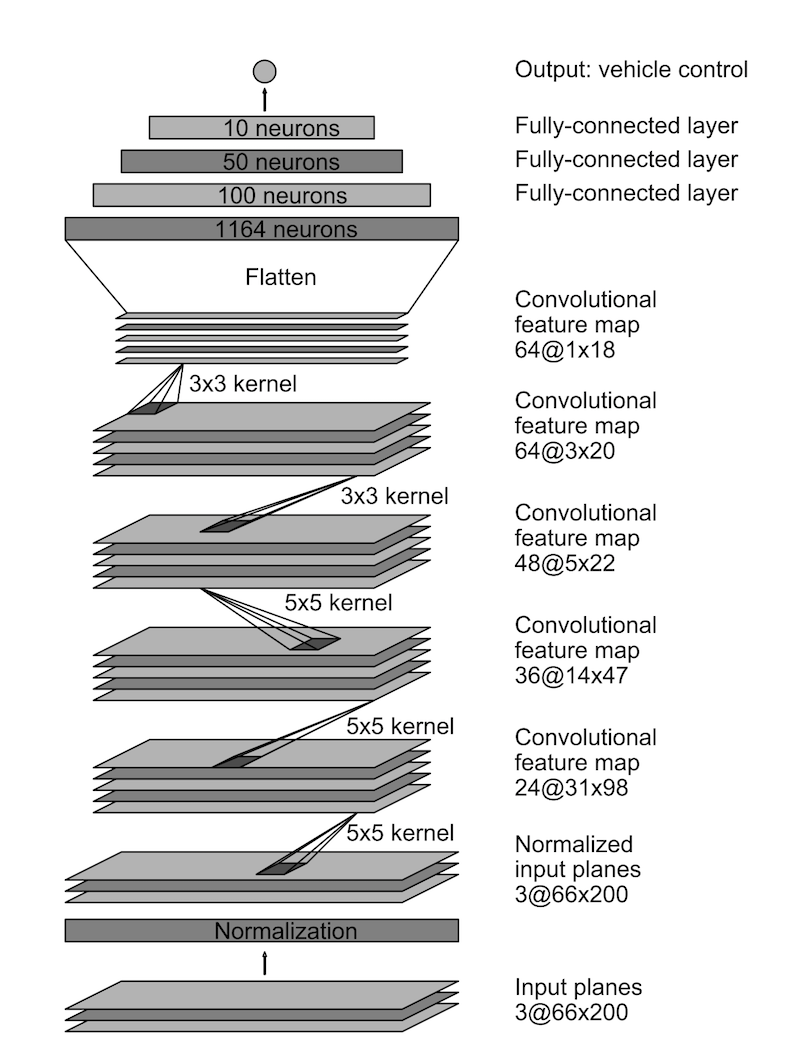
My model builds on the NVIDIA end-to-end CNN architecture. Source code can be found in model.py, L117-138. The full architecture, with my changes from the original architecture highlighted:
- Cropping layer to remove 35px from the top and 20px from the bottom of the image
- Layer resizing image to 66x200
- Normalization layer
- 3 convolutional layers with filter size 5x5, depths 24, 36, 48 and and stride (2,2)
- Dropout layer
- 2 convolutional layers with filter size 3x3, depth 64 and stride of (1,1)
- Dropout layer
- Flatten layer
- Fully-connected layer with output size 1164
- Dropout layer
- Fully-connected layers of size 100, 50, 10
- Output layer with 1 neuron.
While the original NVIDIA model uses ReLUs, my model uses Exponential Linear Unit or ELU. ELUs can have negative values with a non-zero gradient below 0 and have been shown to be more robust to noise and to speed up training.
####2. Attempts to reduce overfitting in the model
To reduce overfitting and get the model to generalize better I have modified the NVIDIA architecture by:
- introducing dropout layers after each convolution bank and the first fully-connected layer (L125, L129, L132)
- adding L2 regularization for all weights
I have also trained the model on data recorded from both tracks available in the simulator. In addition to the normal driving data I also recorded samples showing recovery from the left and right sides of the road, as well as additional data from sharp corners.
The data was split into training and validation sets (L161). The model was tested by running it through the simulator and ensuring that the vehicle could stay on the track.
####3. Model parameter tuning
The model used the Adam optimizer with a starting value of the learning rate of 1e-3. In the last stages of training the initial learning rate was reduced to 2e-4 to finetune the weights.
####4. Appropriate training data
The model was trained on the following data:
- Sample training data provided by Udacity
- Training data generated by manually driving on both tracks
- Data showing recovery from the left and right sides of the road
- Additional data for sharp corners on the second track
The training data was augmented with images from the left and right cameras with an angle adjustment of 0.25 and -0.25 respectively (L62).
For each input image the dataset was augmented with the horizontally flipped version of the image (L63).
All input images had their brightness scaled by a factor in the range [0.5, 1.5] (L42-L54)
###Model Architecture and Training Strategy
####1. Solution Design Approach
My strategy for deriving a model architecture was to try several different approaches:
- Train a small CNN model to establish pipeline and understand where any model would face difficulties
- Train a CNN from scratch that has been shown to perform well on this task and modify to help generalization
- Use bottleneck features from a well-known pre-trained model, training only the last few layers on the top
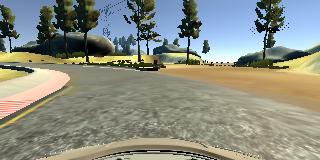
My first step was to use a very simple model consisting of two fully-connected layers to get my pipeline working with a very simple regression model. I then started growing this model by adding convolutional and fully-connected layers until the car was able to make some progress autonomously. Eventually, the car was able to drive without error until this point in the track where the paved road interesects a dirt road patch:
Then, I tried another small CNN model by comma.ai. Source code can be found in other_models.py (L96-114). The model was quick to train, but the overall result was similar to my custom CNN used above.
The mean squared error (MSE) remained high, particularly when data from the second track was included. I decided to try two higher capacity models:
- VGG16 model with pre-trained weights
- NVIDIA end-to-end model
The VGG model is a high capacity model which was a top performer in the ImageNet classification challenge in 2014:
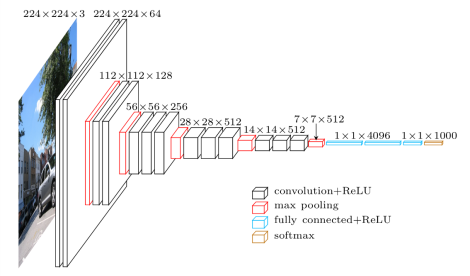 Image from: https://www.cs.toronto.edu/~frossard/post/vgg16/
I extracted bottleneck features from all layers but the last convolutional filter bank of size 512 (L69-84, other_models.py). I then added a custom top, connecting trainable 3x3x512 convolutional layers to smaller fully-connected layers (L38-L50, other_models.py). While this seemed to be a workable approach, I found that the need to repeatedly extract features after adding new data and then train a reasonably complex block on top led to slow iteration times and limits on data augmentation strategies, so I decided to first try a different approach and come back to VGG16 if necessary.
I implemented the NVIDIA model. It was quick to train and I was able to obtain a lower MSE than when using the simpler models described above. However, the gap between training and validation error increased, suggesting that the model was overfitting.
To combat the overfitting, I modified the model to include dropout layers and regularization. This improved the model performance when running in the simulator on the first track, but the model was not able drive on the second track at all. To help the model generalize I introduced random brightness adjustments, added left and right camera images to the data set, as well as horizonal flips of each input image. I also generated more data by driving on the second track, as well as additional data for problematic corners and showing recovery from the left and right sides of the road.
I trained the model on the full dataset with augmentation for 10 epochs and the model was already showing good performance on track 1. I finetuned the model by training for another 10 iterations, reducing the initial learning rate to 2e-4. Track 1 performance was now satisfactory, with the car being able to drive autonomously around the track without leaving the road. Track 2 performance had also dramatically improved, however there were still problematic corners. I added even more data, specifically around the problematic spots on track 2, as well as driving in the opposite direction. I then finetuned the model on the now increased datasets. I repeated this process a few times and the car is now able to drive on track 2 with only one problematic corner remaining.
At the end of the process, the vehicle is now able to drive autonomously around both tracks without leaving the road. There is a single problematic corner remaining on track 2, from which it is able to recover if the car is manually nudged. The car can drive multiple laps on track 1 without any intervention.
####2. Final Model Architecture
The final model architecture (model.py lines 18-24) consisted of a convolution neural network with the following layers and layer sizes (L117-138):
- Cropping layer to remove 35px from the top and 20px from the bottom of the image
- Layer resizing image to 66x200
- 3 convolutional layers with filter size 5x5, depths 24, 36, 48 and and stride (2,2)
- Dropout layer
- 2 convolutional layers with filter size 3x3, depth 64 and stride of (1,1)
- Dropout layer
- Flatten layer
- Fully-connected layer with output size 1164
- Dropout layer
- Fully-connected layers of size 100, 50, 10
- Output layer with 1 neuron.
####3. Creation of the Training Set & Training Process
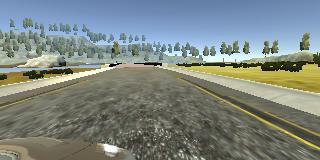
I started with the data provided by Udacity, which captures center lane driving on track 1:
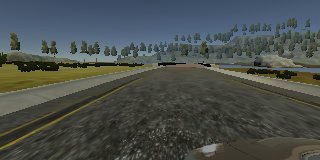
I then recorded additional center lane driving data, including extra images covering the problematic corner:
To help with recovery from the left and right sides of the track I added left and right camera images to the data set, using a fixed adjustment of 0.25 and -0.25 angles:
I also added a flipped version of each image:
For each input image the pipeline uses a random brightness adjustment factor between 50% and 150%:
I repeated this process on track 2 in order to get more data points and improve model generalization:
For both track 1 and track 2 I recorded data to help the model take sharp turns:
In total I have 70200 images, 46800 of which are from the left and right cameras. With horizontal flipping the total data set size is 140400. The data was too large to hold in memory, so I used a generator (L67-95) for training. I reserved 20% of the data for the validation set and randomly shuffled the data set after each epoch.
I initially trained for 10 epochs. I then iteratively finetuned the model after each change to the dataset. I used an Adam optimizer with 1e-3 learning rate for the initial training and 2e-4 for finetuning. No further changes to the learning rate were necessary.
