⭐️ If this repo helps you, a star is the biggest support for me and also helps you stay up-to-date
Warning
OpenAI added Cloudflare protections to their API in 2022-12-12, there are some differences in using it on server and desktop environment
/chat [message]Chat with ChatGPT!/privateChatGPT switch to private mode/publicChatGPT switch to public mode/resetChatGPT conversation history will be erased
-
public mode (default)the bot directly reply on the channel
-
private modethe bot's reply can only be seen by who use the command
-
pip install -r requirements.txt -
Run
playwright installorpython -m playwright install
-
Go to https://discord.com/developers/applications create an application
-
Build a Discord bot under the application
-
Get the token from bot setting

-
Change the file name of
config.dev.jsontoconfig.json -
Store the token to
config.jsonunder thediscord_bot_token
-
Turn MESSAGE CONTENT INTENT
ON
-
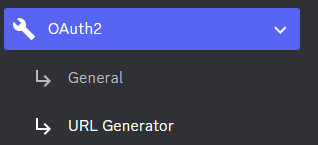
Invite your bot to your server via OAuth2 URL Generator
You do not need to fill out
session_tokeninconfig.json
- Open a terminal or command prompt
- Navigate to the directory where you installed the ChatGPT Discord bot
- Run
python3 main.pyto start the bot
- Wait for the Cloudflare checks to pass
- Reload if show
ChatGPT is at capacity right now - Log into OpenAI via the open browser (Your account)
- It should automatically redirect you to https://chat.openai.com/chat after logging in. If it doesn't, go to this link manually after logging in.
- The window should close automatically
You must fill the session token in
config.json
Go to https://chat.openai.com/chat log in
-
Open console with
F12 -
Open
Applicationtab > Cookies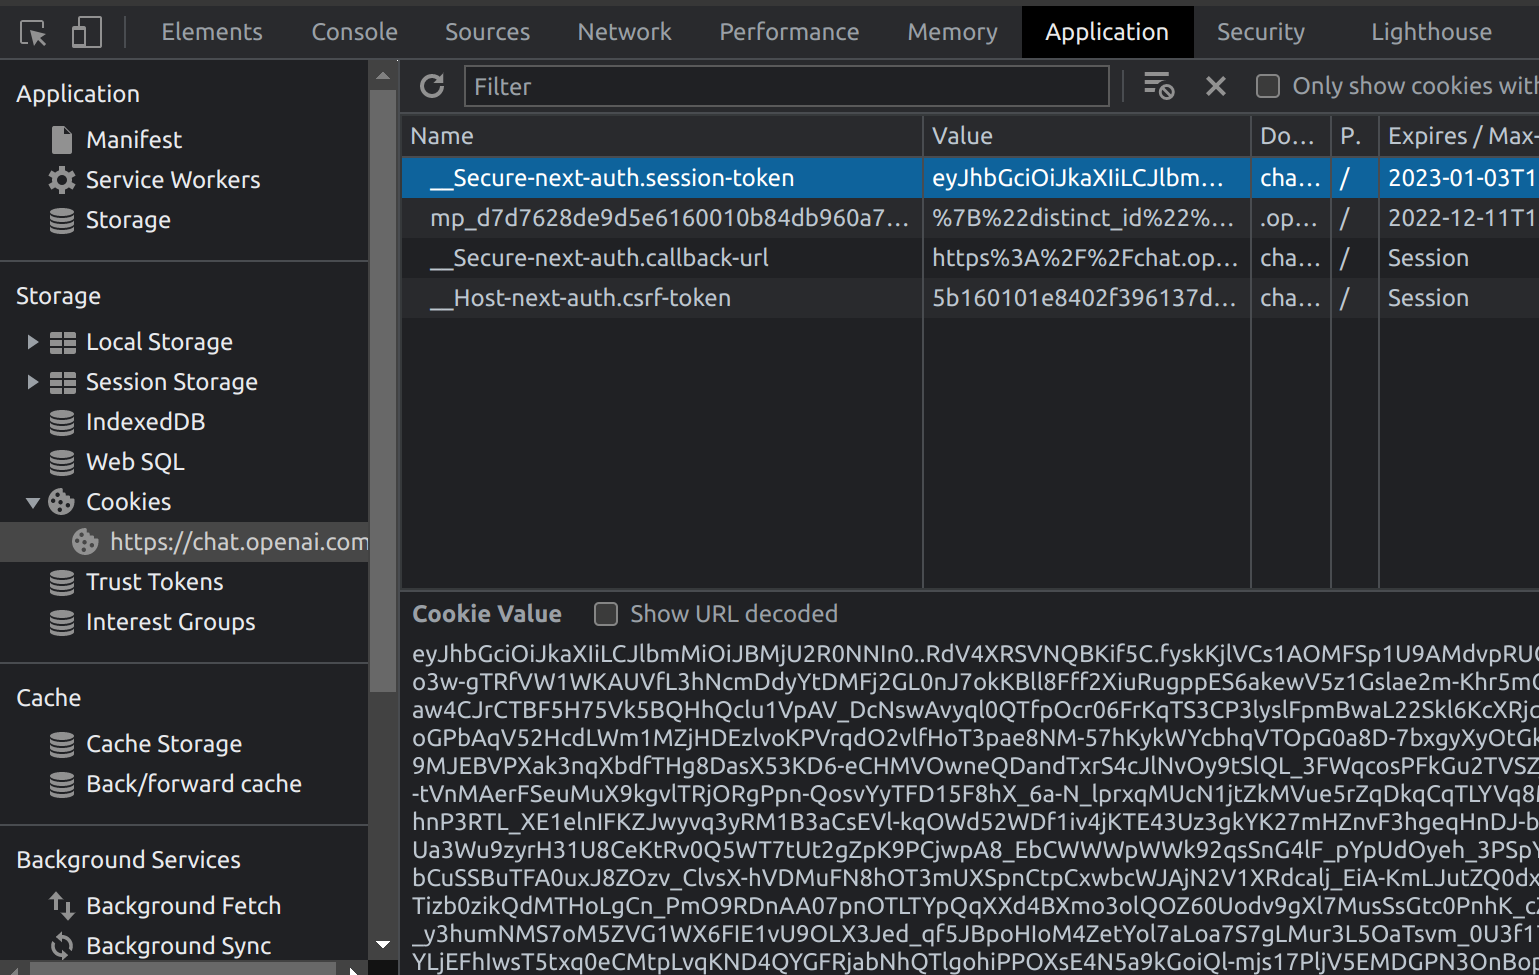
-
Copy the value for
__Secure-next-auth.session-tokenfrom cookies and paste it intoconfig.jsonundersession_token
I use
Xvfbto emulate a desktop environment. It should automatically get the cf_clearance given no captcha
-
Build the Docker image
docker build -t chatgpt-discord-bot . -
Run the Docker container
docker run -d chatgpt-discord-botdocker psto see the list of running servicesdocker stop <BOT CONTAINER ID>to stop the running bot
- A starting prompt would be invoked when the bot is first started or reset
- You can set it up by modifying the content in
starting-prompt.txt - All the text in the file will be fired as a prompt to the bot