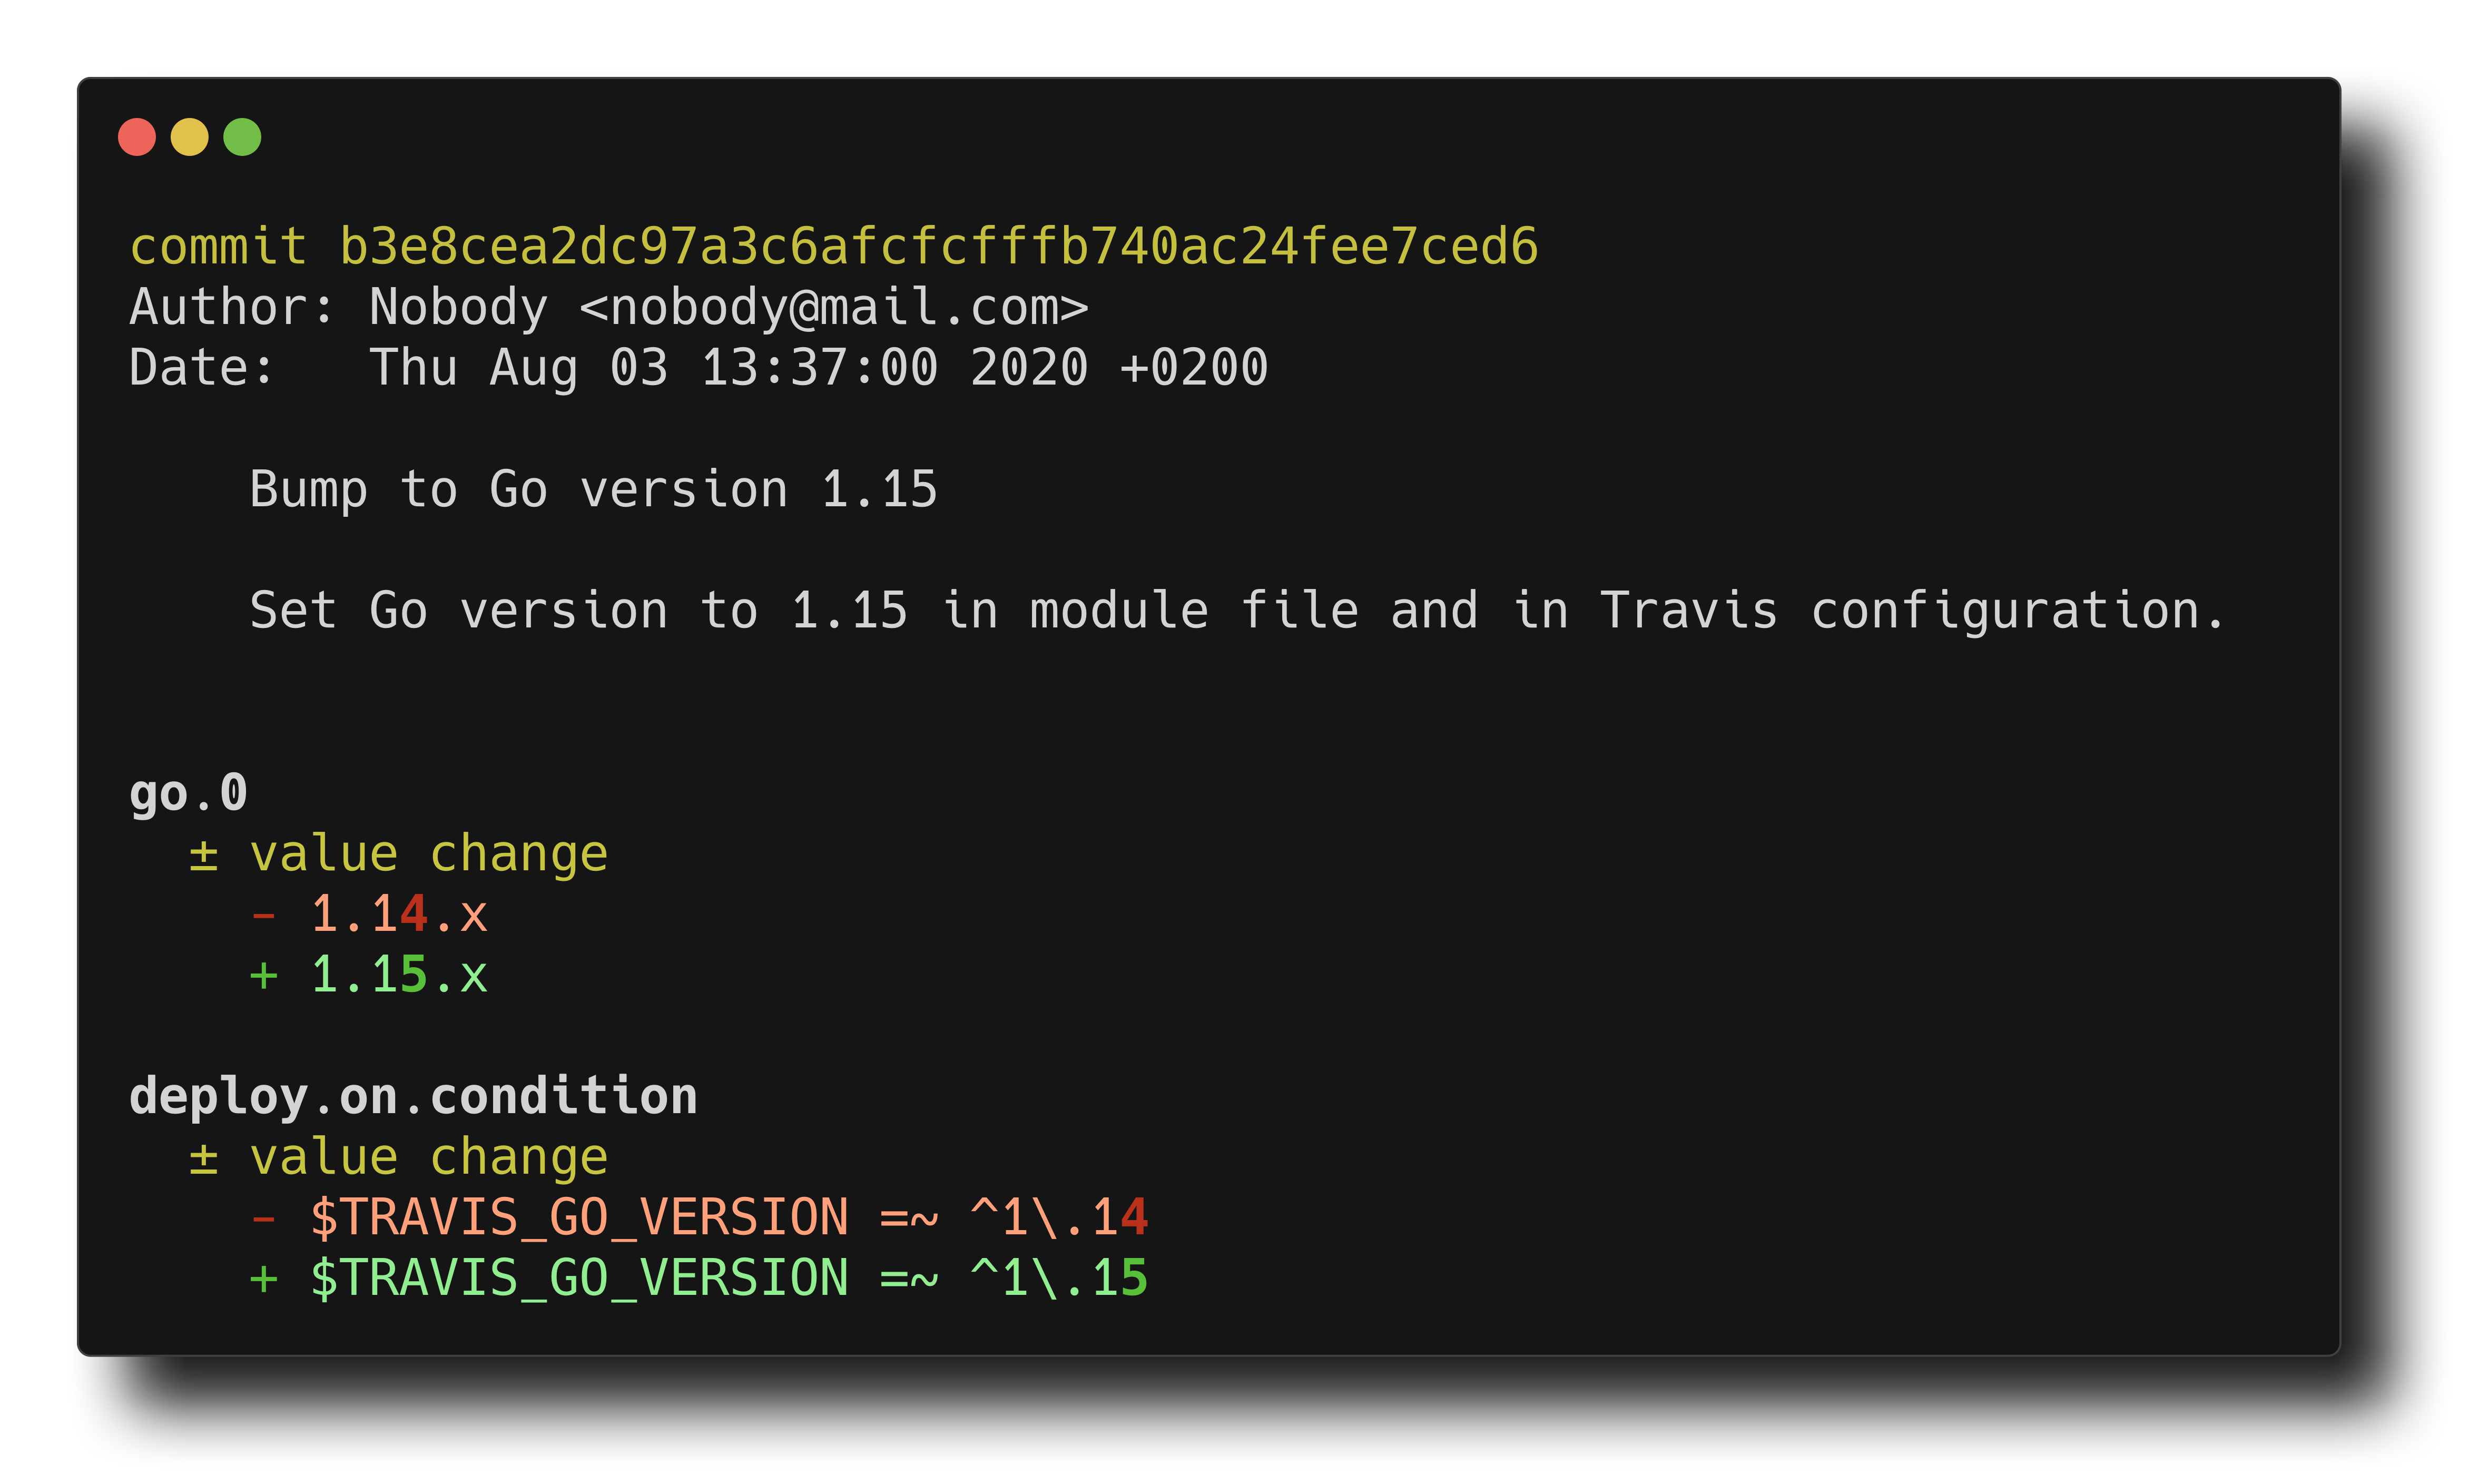
A diff tool for YAML files, and sometimes JSON.
dyff is inspired by the way the old BOSH v1 deployment output reported changes from one version to another by only showing the parts of a YAML file that change.
Each difference is referenced by its location in the YAML document by using either the Spruce dot-style syntax (some.path.in.the.file) or go-patch path syntax (/some/name=path/in/the/id=file). The output report aims to be as compact as possible to give a clear and simple overview of the change.
Similar to the standard diff tool, it follows the principle of describing the change by going from the from input file to the target to input file.
Input files can be local files (filesystem path), remote files (URI), or the standard input stream (using -).
All orders of keys in hashes are preserved during processing and output to the terminal, most notably in the sub-commands to convert YAML to JSON and vice versa.
-
Show differences between the live configuration of Kubernetes resources and what would be applied (
kubectlversion >=v1.20.0):# Setup export KUBECTL_EXTERNAL_DIFF="dyff between --omit-header --set-exit-code" # Usage kubectl diff [...]
The
--set-exit-codeflag is required so that thedyffexit code matcheskubectlexpectations. An exit code0refers to no differences,1in case differences are detected. Other exit codes are treated as program issues.Note: Versions of
kubectlolder thanv1.20.0did not split the environment variable into field, therefore you cannot use command arguments. In this case, you need to wrap thedyffcommand with its argument into a helper shell script and use this instead. -
Show the differences between two versions of
cf-deploymentYAMLs:dyff between \ https://raw.githubusercontent.com/cloudfoundry/cf-deployment/v1.10.0/cf-deployment.yml \ https://raw.githubusercontent.com/cloudfoundry/cf-deployment/v1.20.0/cf-deployment.yml
-
Embed
dyffinto Git for better understandable differences# Setup... git config --local diff.dyff.command 'dyff_between() { dyff --color on between --omit-header "$2" "$5"; }; dyff_between' echo '*.yml diff=dyff' >> .gitattributes # And have fun, e.g.: git log --ext-diff -u git show --ext-diff HEAD
-
Convert a JSON stream to YAML
sometool --json | jq --raw-output '.data' | dyff yaml -
-
Sometimes you end up with YAML or JSON files, where the order of the keys in maps was sorted alphabetically. With
dyffyou can restructure keys in maps to a more human appealing order:sometool --export --json | dyff yaml --restructure -Or, rewrite a file in place with the restructured order of keys.
dyff yaml --restructure --in-place somefile.yml
-
Just print a YAML (or JSON) file to the terminal to look at it. By default,
dyffwill use a neat output schema which includes different colors and indent helper lines to improve readability. The colors are roughly based on the default Atom schema and work best on dark terminal backgrounds. The neat output is disabled if the output ofdyffis redirected into a pipe, or you can disable it explicitly using the--plainflag.dyff yaml somefile.yml
-
Convert a YAML file to JSON and vice versa:
dyff json https://raw.githubusercontent.com/cloudfoundry/cf-deployment/v1.19.0/cf-deployment.yml
The
dyffsub-command (yaml, orjson) defines the output format, the tool automatically detects the input format itself.dyff yaml https://raw.githubusercontent.com/homeport/dyff/main/assets/bosh-yaml/manifest.json
The homeport/tap has macOS and GNU/Linux pre-built binaries available:
brew install homeport/tap/dyffOn macOS, dyff is also available via MacPorts:
sudo port install dyffIt is available in the snapcraft store in the Productivity section.
snap install dyffPlease note: Since dyff needs to use strict confinement due to otherwise manual clearance requirements, there are some limits to its usage. Most notably, users reported that in strict confinement reading files from the temporary directory does not work. This makes it impossible to use it in the kubectl diff use case. Consider using brew, or pre-built binaries instead.
Prebuilt binaries can be downloaded from the GitHub Releases section.
There is a convenience script to download the latest release for Linux or macOS if you want to need it simple (you need curl and jq installed on your machine):
curl --silent --location https://git.io/JYfAY | bashStarting with Go 1.17, you can install dyff from source using go install:
go install github.com/homeport/dyff/cmd/dyff@latestPlease note: This will install dyff based on the latest available code base. Even though the goal is that the latest commit on the main branch should always be a stable and usable version, this is not the recommended way to install and use dyff. If you find an issue with this version, please make sure to note the commit SHA or date in the GitHub issue to indcate that it is not based on a released version. The version output will show dyff version (development) for go install based builds.
We are happy to have other people contributing to the project. If you decide to do that, here's how to:
- get Go (
dyffrequires Go version 1.20 or greater) - fork the project
- create a new branch
- make your changes
- open a PR.
Git commit messages should be meaningful and follow the rules nicely written down by Chris Beams:
The seven rules of a great Git commit message
- Separate subject from body with a blank line
- Limit the subject line to 50 characters
- Capitalize the subject line
- Do not end the subject line with a period
- Use the imperative mood in the subject line
- Wrap the body at 72 characters
- Use the body to explain what and why vs. how
Run test cases:
ginkgo run ./...Create binaries:
goreleaser build --clean --snapshotLicensed under MIT License


