Superhot pepper growing tips & recipes
-Jiffy seed pods
-Jiffy seed trays
-Seed varieties you'd like to grow
-A sunny window
-Fertilizer in a 10-10-10 concentration
-Heating pad (optional)
-Grow tent (optional)
-UV grow light (optional)
Before you plant your seeds, there are a few things to consider. The next few sections will dive into some of the basic pre-start info you'll need to think about.
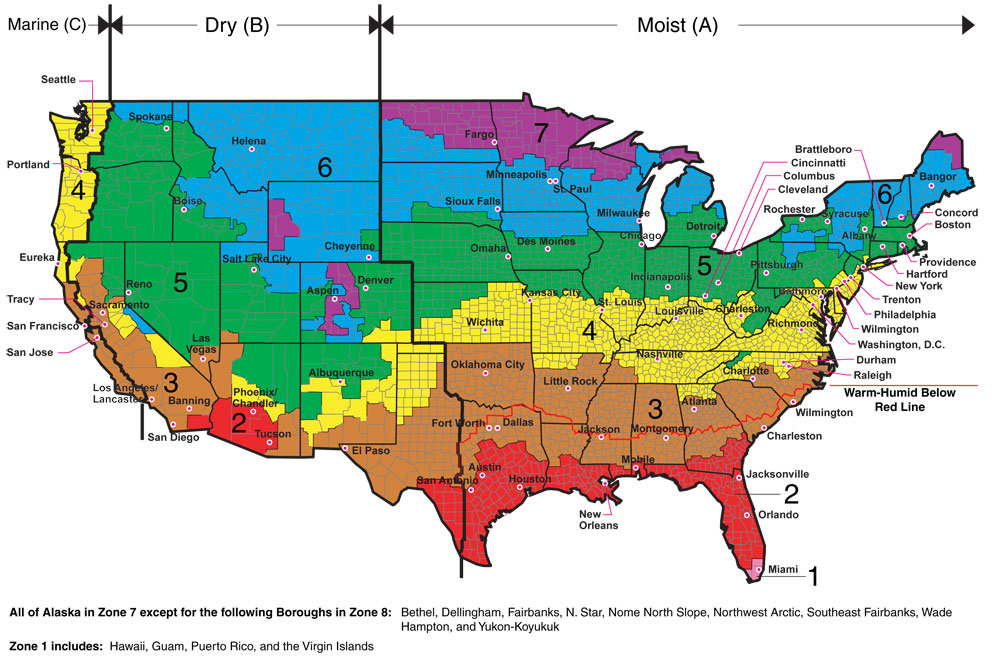
Look at a good climate map and figure out what "zone" you're in. Knowing what zone your in will help you make good
choices about what you'll need to do with your plants to best care for them.

Figure out what your "last frost" date is for your zip code. The last frost date is the final night where the overnight low drops below 32 degrees F. Knowing this date for your area will help you decide when it's okay for your plants to go outside permanently.
If you're new to growing peppers, buy what you like! Growing peppers from seed takes a lot of time and effort. Don't put all that work into something that you ultimately won't use (maybe because it's too hot, or not a flavor you can work with.) So do a little research before you buy your seeds and plan what you want to raise for the year.
If you want to grow superhots, be careful about buying seeds from inauthentic sources. There are some sellers who will sell mystery seeds and claim that they are superhots. They tend to be cheaper, but you'll be disappointed by what you end up getting when the plants are fully grown.
Jiffy seed pods and Jiffy seed trays are effective in getting seeds to germination. Give the seeds a sunny spot (a sunny window works great) and let them get as much sunlight as possible. The most important thing for germination is to make sure that the trays are kept warm. Once the seeds begin to sprout, they will need continuous sunlight.
Realistically, you shouldn't need to open up the trays much before the seedlings are ready to get re-potted.
Germination for superhot seeds takes a long time. Depending on many factors, you may not see growth for many months. Be patient while the seeds open, and don't assume the seeds are duds until they've been planted for at least 3 months with no progress.
Watering during germination isn't critical. The water used during the initial hydration of the seed starters should be enough to keep the soil healthy enough to sustain the seeds through to first sprouting.
Seed trays are also good for keeping track of what varieties you have planted. You may want to do this with short hand notation, or even a color coding system.
Once the seeds begin to sprout, they'll have a few more needs right. Make sure the clear plastic top stays on the top of the trays as much as possible. Peppers like sunlight and humidity, give them as much of both as you can.
It's important not to overewater the newly sprouted seeds. It'll be tempting to do this, but with the lid on, the water stays in as a closed system.
Your first sprout should come with two starter leaves. These two leaves help separate the stem from the seed casing and provide the first bit of photosynthesis for your beloved little death bringers. At a certain point, these leaves give less and less to the baby pepper plant as new leaves come in.
Keep track of the leaf count in your plants so that you can track where their maturity is.
Keeping the plants well watered is important throughout the lifecycle of your plants, but making sure that the water level is just right can be challenging for new growers. Your plants should be well drained so that you don't get water buildup around the roots. If this happens, you'll start to notice changes in the way your plant grows which may include some drooping or yellowing of the leaves.
After a few weeks, you should be watching your plants grow from sprouts to seedlings. The care routines in this stage will be a bit different. You should be paying attention to how many leaves your plant is starting to grow. The two main visible growth factors that you can use to judge the health of your plant are leaf count and nodes. You should be seeing your node count rising up between 4 and 5 nodes. If you're tracking this kind of growth, then you're right on track for a healthy growing season.
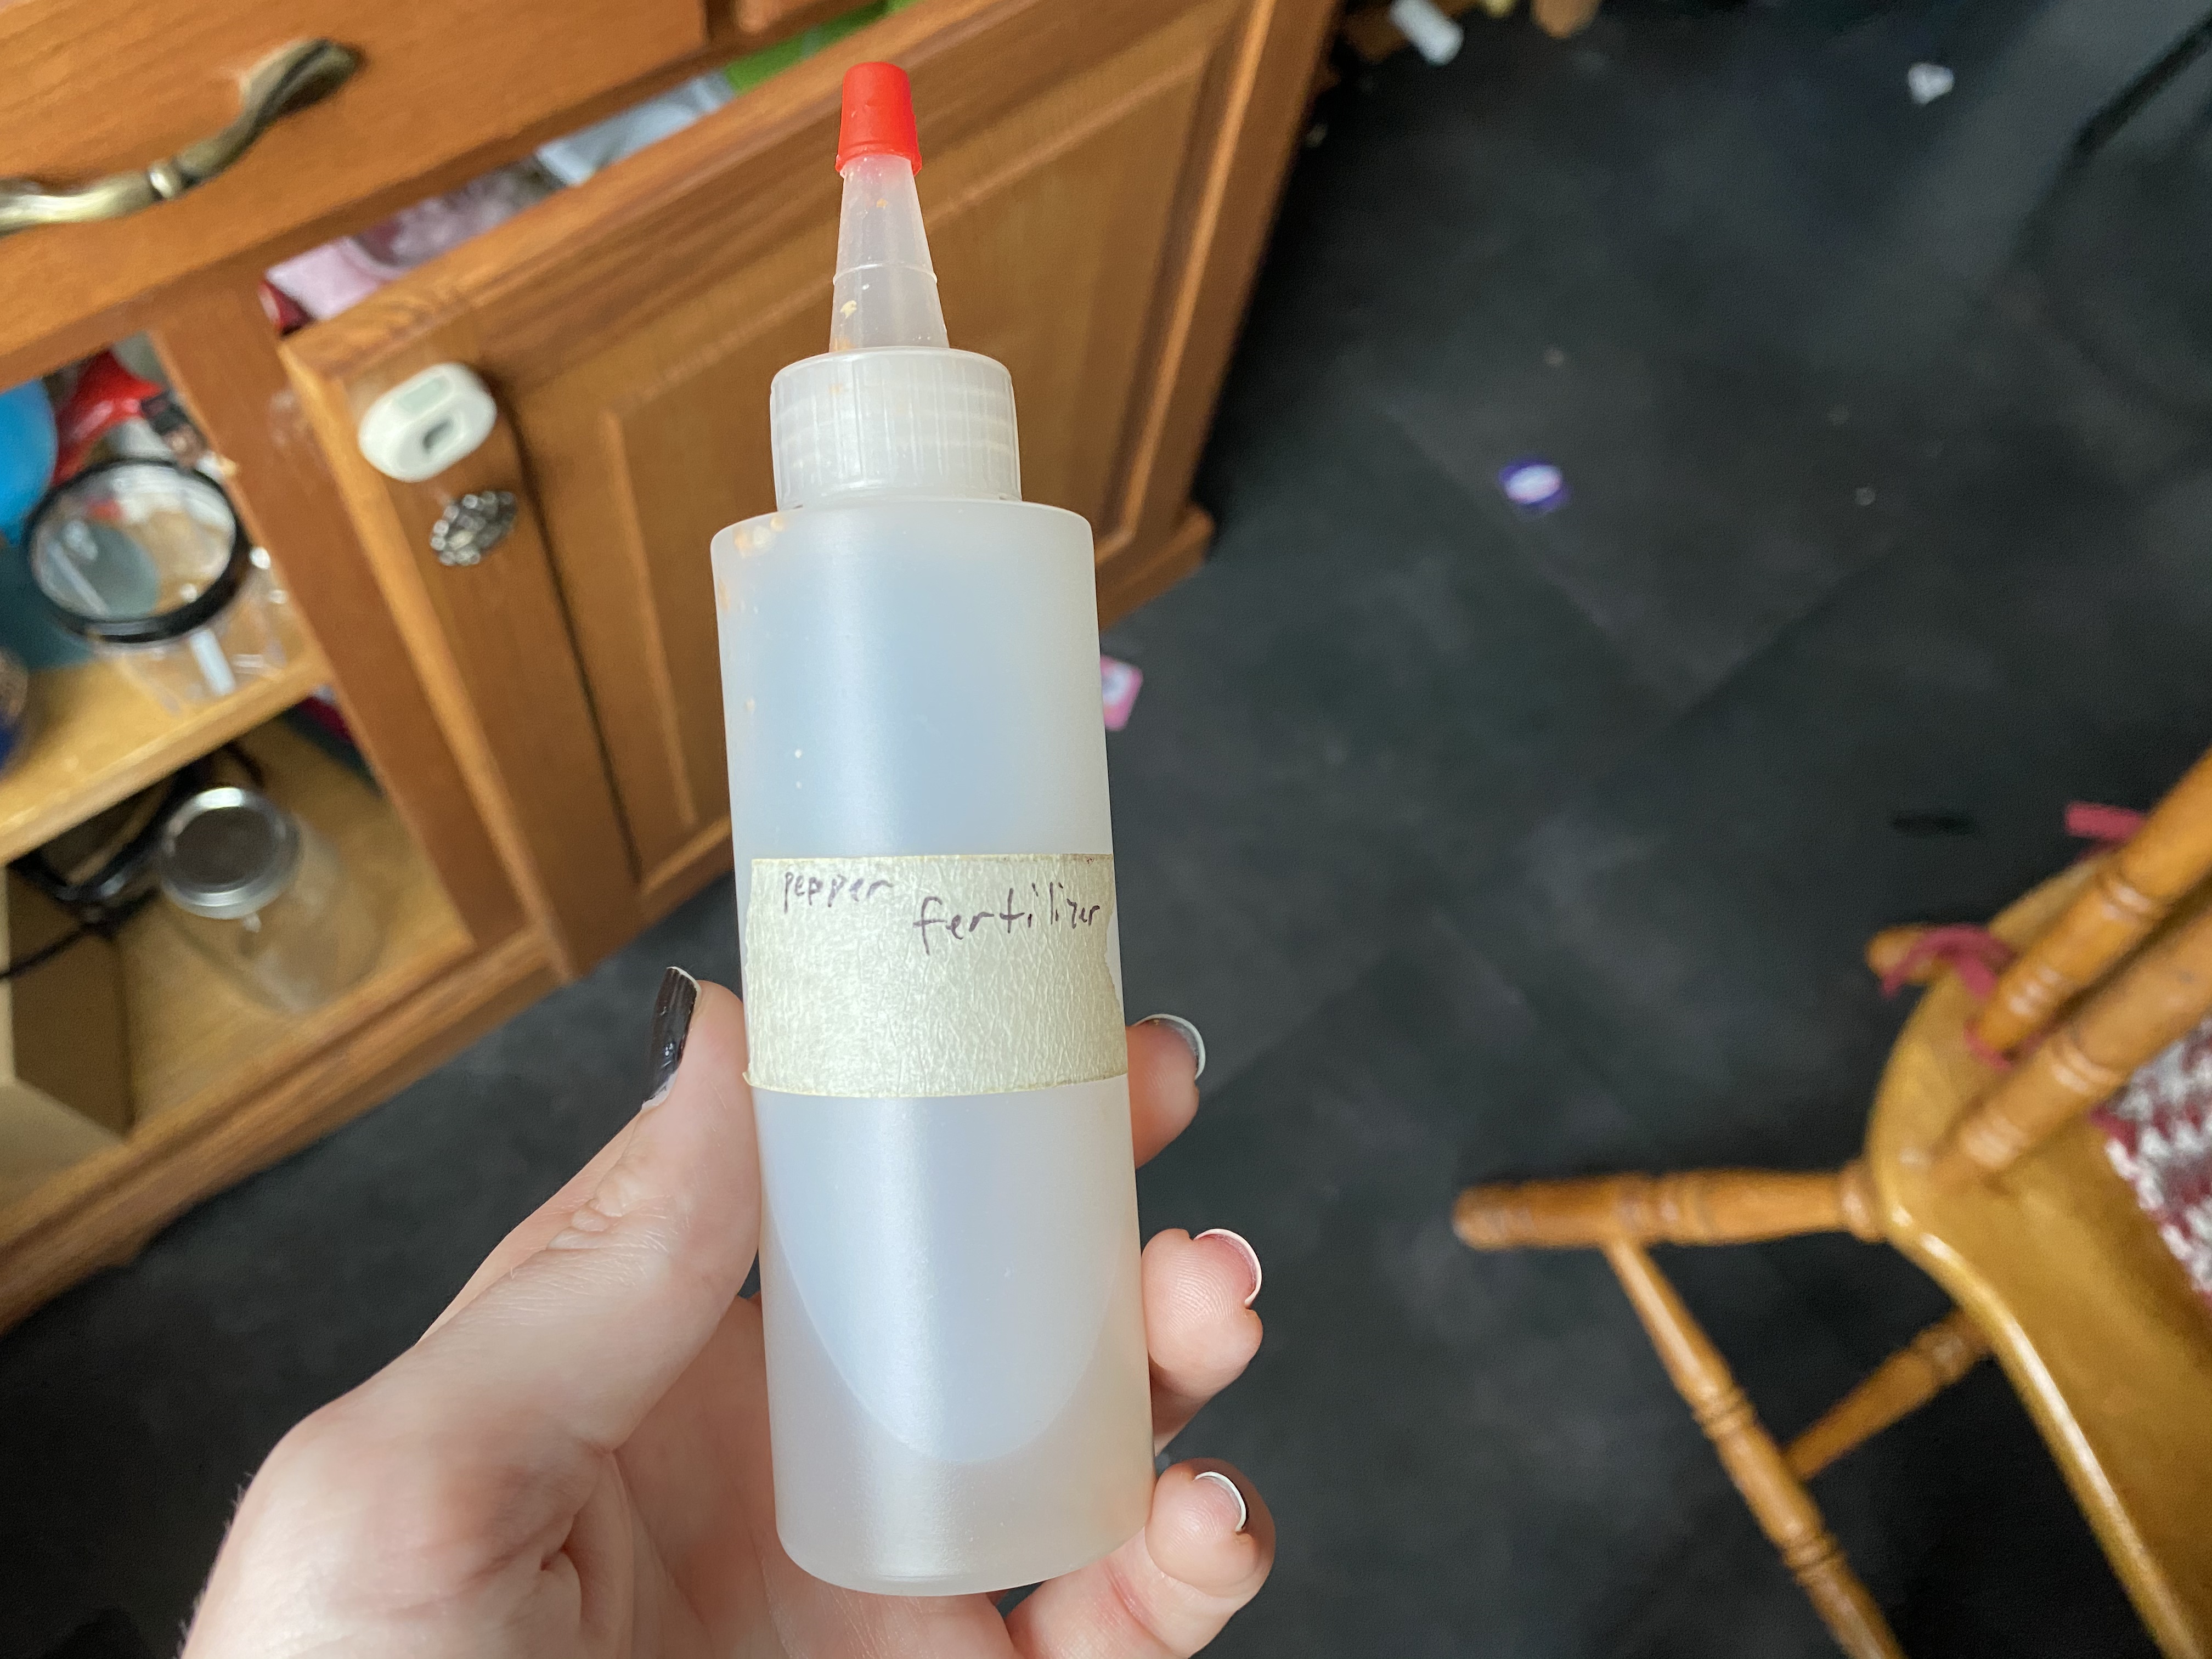
At a certain level of maturity, fertilizing your seedling will become an option. You shouldn't need to worry about this until your seedling has around 7 or 8 leaves. You may choose not to use fertilizer at this stage, and that's okay. If you do decide to go the fertilizer route in the seedling stage, you'll want a fertilizer that will promote well-rounded growth. 10-10-10 fertilizer is what you'll want for this. There are two different types to consider, solid and liquid. Both end up as liquid ultimately though.
If you decide to get solid fertilizer, mix 1tbsp of fertlizer in 1 cup of water. Let the mixture sit, and shake
it before you put it on your plants. Avoid getting any fertilizer on the leaves, and instead put a few drops into
the soil around the stem of the plant once every few days.

Avoid getting fertilizer anywhere near the leaves of your plant at all cost! Fertilizer can burn the leaves and set back your growth if you aren't careful with the concentrations. You'll know that something is wrong if after you've put the fertilizer into your soil, you start to see ill effects in the leaves. This should happen pretty quickly, maybe 1-3 days after the fertilizer went in.
One of the most common problems is caused by having too much fertilizer right on the top of the soil. If you see a pile of fertilizer crowded around the stem of your plant on top of the soil, that may be the culprit for burned leaves. If any leaves have fallen off in this process, you'll just have to call it a loss and do what you can to save the rest of the plant.
Your lovely little killers will outgrow its little seed starter home and need to be moved to a larger container. You'll be able to tell when this time comes by paying attention to root growth inside the seed starter pod. If you start to see roots growing out of the sides of the seed starter, your seedling is past due to be moved into a new home. At this point, you'll have more decisions to make.
Some growers choose to move through a graduated series of pots, while others choose to plant maturing seedlings directly into a larger container that will bring them into full maturity. (I use the graduated pot method because you never know how big your plants will get, or how fast, it makes them easier to move, and I don't mind the extra work involved in re-potting the plants every so-often.)
When you do move your plant into the first pot, be sure to remove any material that may be holding the seed pod together. All this netting or cloth will do is restrict your root growth and that will slow down the speed that you'll notice growth in your plants.
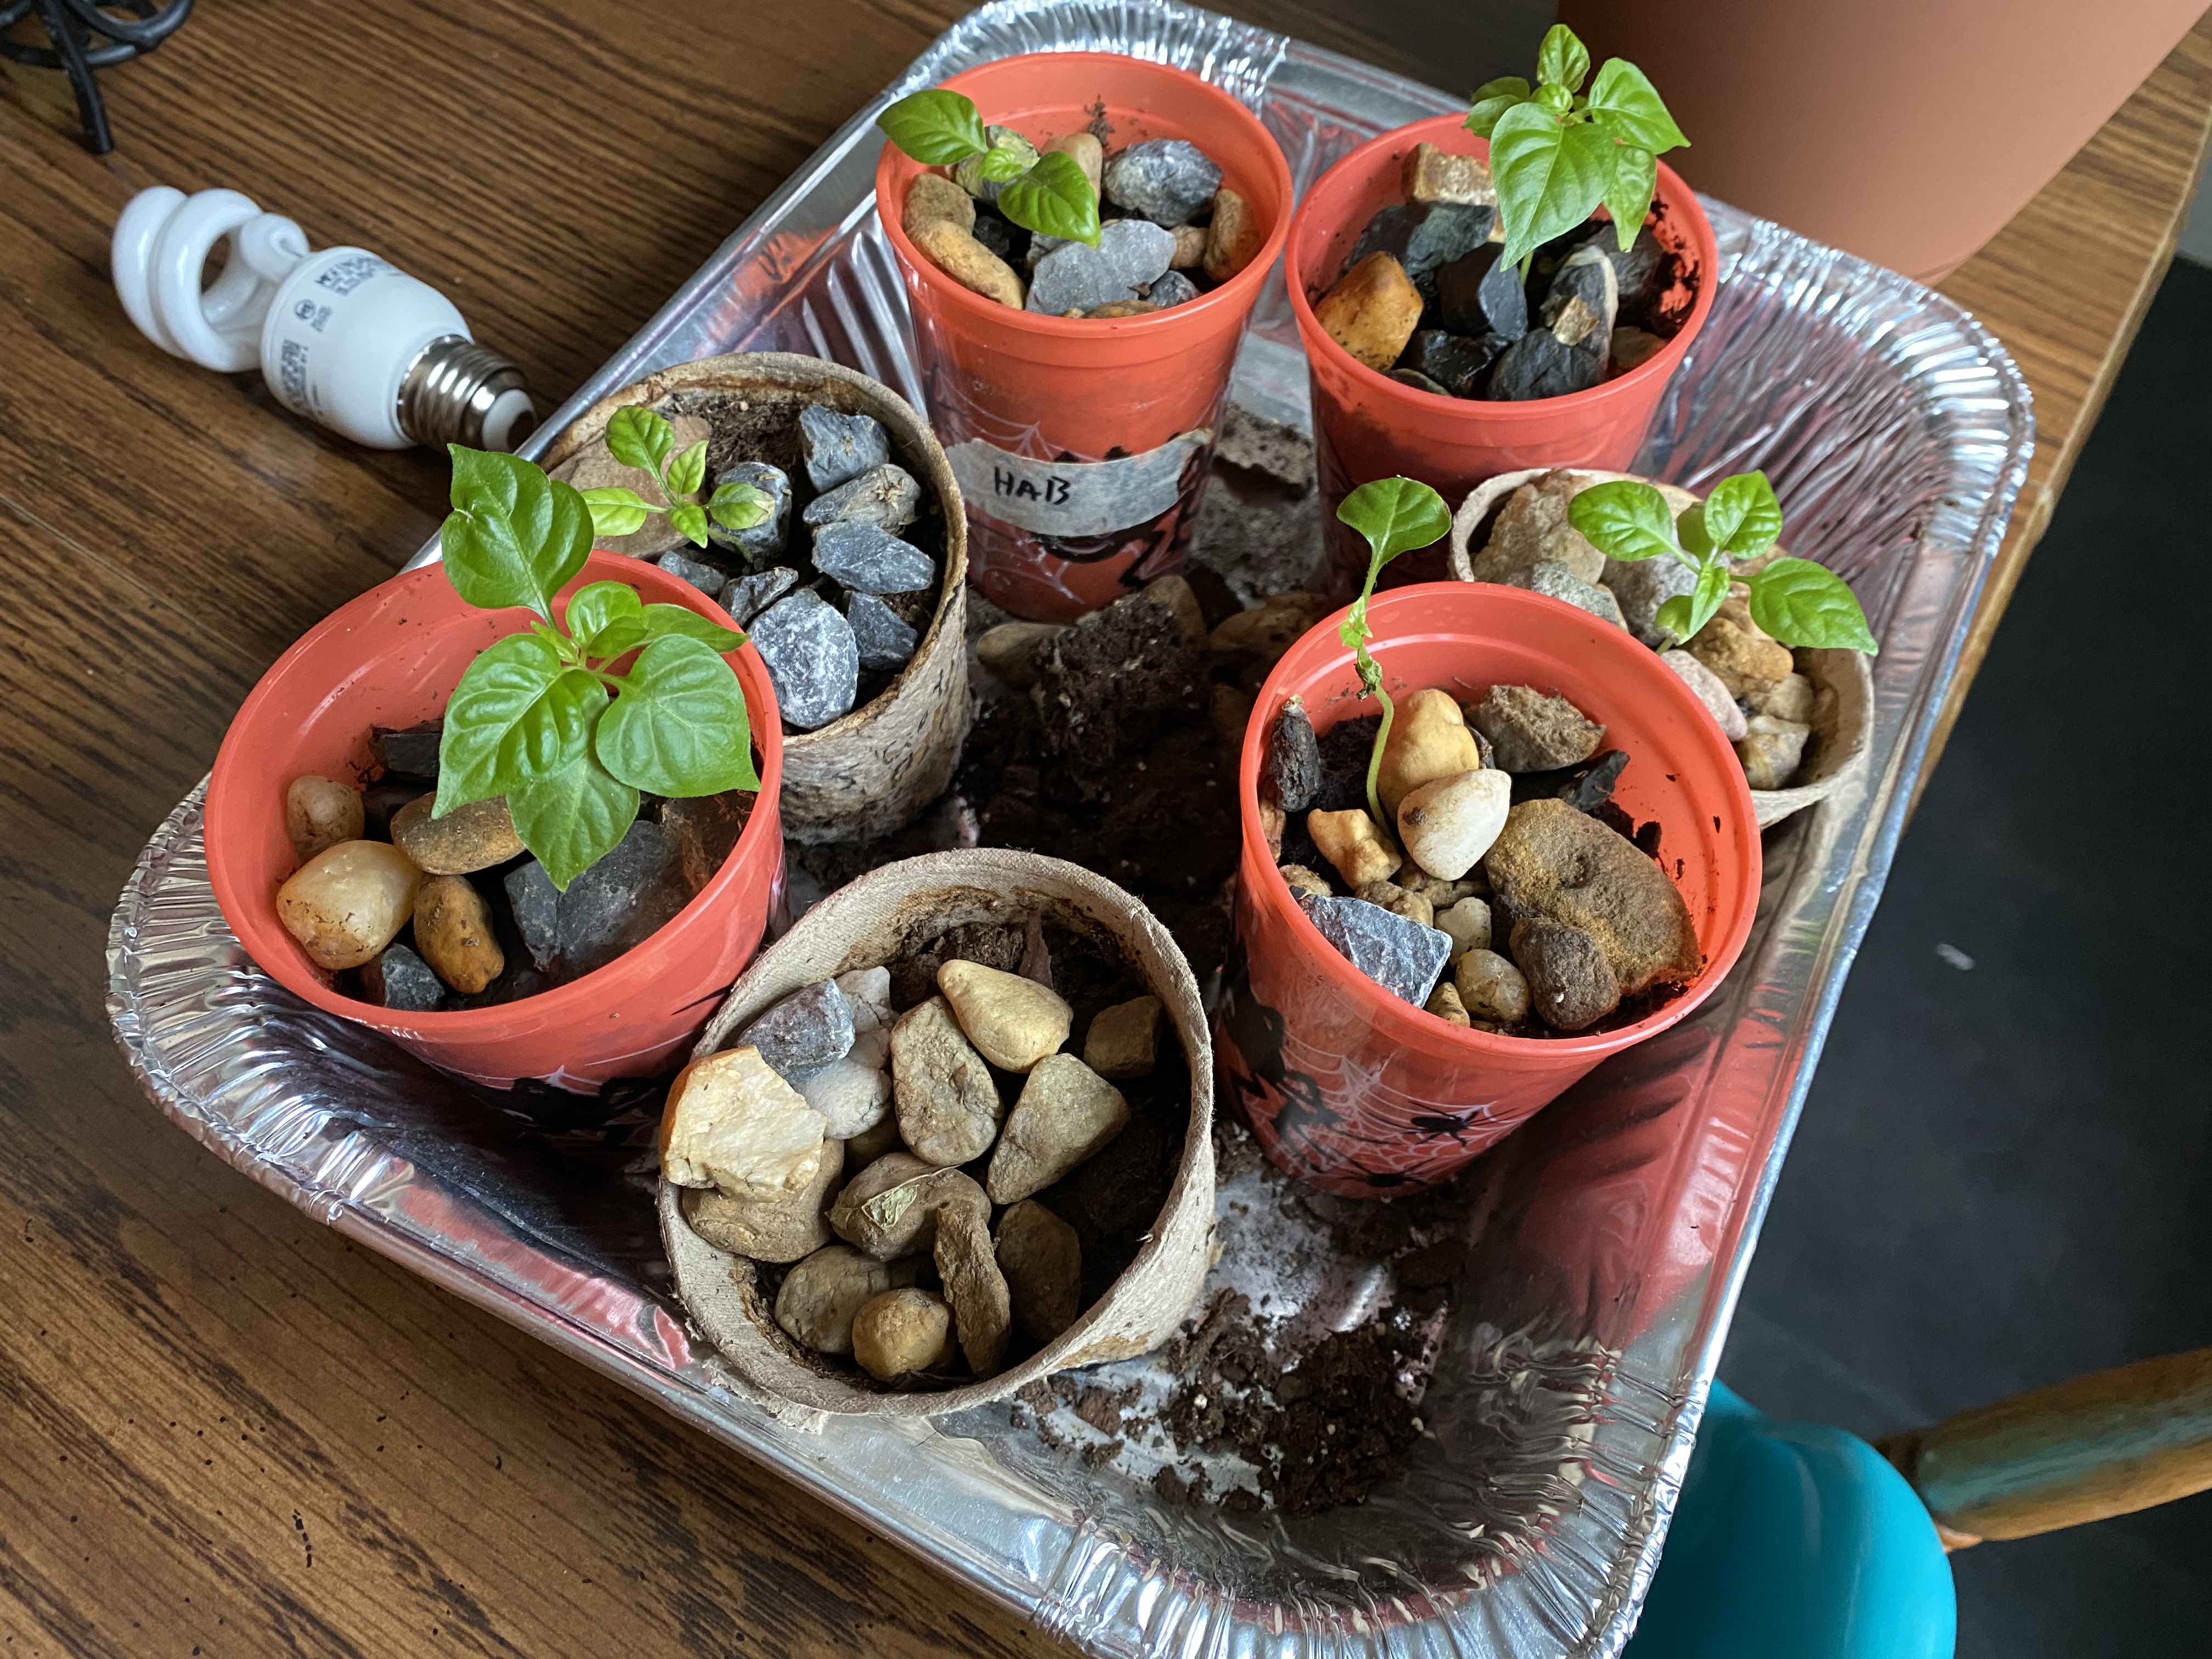
Depending on who you talk to, you'll hear people swear by one type of pot over another. I have used peat-based pots the last two years and have generally been pretty happy with the results. Other growers don't like peat pots because they have a tendency to leach moisture out of the soil. This is true, and keeping seedlings at the right water levels can be a bit challenging with them. I will also admit that they also tend to get soggy after a while and degrade quickly. I like them because they're biodegradeable and I can re-use them at later stages of growing.
Other growers use the "double cup" method of putting seedlings into a dirt-filled solo cup, poking holes in the bottom of the first cup, and then putting the first cup into a second cup. This helps control drainage, I've seen this approach be at least as effective as peat pots.
I'm sure there are other ways to approach the first pot, but these are two of the most effective I've personally seen. Find what works for you!
Once your seedlings are in their first pot, care becomes a bit more intensive. You should start to see more stem and leaf growth now that the plant has more space to grow.
Recognizing when it's time to move your plants up to larger pots can be difficult with the graduated pot method.
You want to move your pots to the next size up when the roots have "found their space" in the current pot. It can
be hard to tell when your plant has found its space without taking it out of its current pot. What this means is
that you'll need to judge the maturity of your plant and its readiness to move up in space by how the growth above
the soil.

At this stage in the grow-cycle, you'll be expecting your plants to grow up and out. If you've kept up with the liquid fertilizer, you should be seeing active growth. When your plants get mature, you'll probably want to move them outside to get natural sunlight and be out of your way.
Hardening off your plants will need to be done in order to successfully move them outside permanently. Some growers move their plants outside for a day and are surprised and sad to see that the plant which had been healthy and thriving the day before being moved outside is wilting and dying the day after. This is because plants that have been grown indoors aren't used to direct sunlight.
To overcome this issue, you should slowly introduce your plants to sunlight by leaving the plants in direct sun for one hour the fist day, and slowly increasing the amount of time day-after-day. If at any point the leaves start to wilt during hardening off, put them in a shady area and give them a break from the sun. You may also want to give them a bit of water to cool the leaves down, and they should be right as rain by the next day.
I've always found that pruning a plant properly helps maximize fruit outputs. By trimming each branch to have 2-3 leaves between nodes, this will help consolidate the plant's resources and keep it focused on growth in the areas that are beneficial for generating peppers.
For growing, we want lots of nodes because the nodes are where the plant begins to flower. Whenever we can encourage additional node growth over just plain leaves, we will likely see a better yield during harvest time.
If you pepper plant doesn't have much additional leaf growth down the stem, you may choose to "top" your plant. To top your plant, look at the newest node on your plant where the branches form a 'Y' shape, and carefully snip the branches forming the Y off the plant all together.
Topping encourages "out" growth instead of "up" growth and will help the plant produce more vegetation, whch in turn will help produce more peppers as the growing season goes on. Topping your plant is optional, and only needs to be done if you think there needs to be more growth further down the plant's stem.
Moving your plants outdoors comes with the risk of pest infestation. Depending on where you live, the pests may be different and may threaten different parts of your plants. Luckily, there are ways to deal with some common unwanted critters.
One of the most common pests in my zone (4a) are aphids. If you see a number of small insects crawling on the leaves, they may be small and green. Aphids tend to cluster on leaves and are noticable on the top of the leaf when you look at your plants. If you see one though, there's likely going to be a lot more. More than likely, many more will be found when you flip the leaf over and check underneith.
If you have aphids, don't worry. They aren't difficult to get rid of and a little neem oil or other natural pesticide will probably do the trick. This year I used a standard organic pest control oil that I got at my local ACE hardware store that cleared the aphid problem right up without being too chemically heavy-handed on the plants or their fruit.
Pollination is another step you'll need to be aware of if you want to maximize the yield of your plants. Natural pollination will be happening regularly to your plants as the growing year goes on, but it never hurts to help the process out a little. When your plant starts to show blooms (small flowers) dab a fingertip into the blossom to help mix the plant's pollen back into the bloom. This will fertilize the blossom and, a pepper will soon start to grow if all of the conditions remain right for fruiting.
We take pollination for granted if your plants are outside, but if you're growing your pepper plants inside, it's critically important that you artificially pollinate them. If you don't do this, you may end up watching your flowers fall off leading to "blossom drop" issues, or a general lack of fruiting.
Overwintering typically starts in the fall depending on your growing zone. For me, overwintering will begin at some point in September or October. It all depends on the overnight low temperatures. When it starts to get to be too cold for your plants over night, (around 40 degrees F will start to negatively impact the growth of the plant) it's time to consider what's worth saving and what's not.
Overwintering can be done by trimming the plant back to its main stalks and then removing it from the soil it's currently planted in. This might be a great time for you to try cloning a plant and seeing how it grows inside over the colder months, considering that the trimmed branches will be a total loss either way. Refill the pot with new, healthy soil and pack a top layer of dry leaves around the base of the plant.
When next year's growing season begins, you'll have a head-start on it with plants that have had a full year of previous growth to work from, which means more peppers earlier in the growing season!
Another option for saving plants is plant cloning. Don't worry! It's not as complicated as the name makes it sound. To clone a plant, find a healthy branch longer than 5 inches, and snip it at an angle to increase the surface area the stem has to soak in water. Snip all leaves except for 3 or 4 at the end of he branch, and make sure to pinch off any buds which may be growing. The Cloned branch should now be placed into a vase of water right away and kept out of direct sunlight.
After a few weeks, new roots should begin to grow on the branch from the end in the water. Wait until the roots are mature enough to be re-potted (maybe around 2 or 3 inches in root length) and continue to keep the trimming out of direct sunlight. This trimming will become a fully matured plant after some time and will likely bear a similar quality of fruit to the plant that it was trimmed from.
If you plan on growing the same peppers again at some point in the future, you may choose to harvest seeds from your peppers at the end of the growing season. You can only harvest seeds from fresh peppers, so before you do anything else (like freezing or drying them) you should plan on processing the peppers for seeds.
Seed harvesting is as easy as cutting the pepper in half (either vertically or horizontally) and using the tip of a knife, or gloved fingers to remove the seeds from the middle. Place the seeds on a paper towel and dry the oil off of them. I tend to leave the seeds out for at least an afternoon. Once the seeds are dry, place them in a room temperature, dry location for future use.
We may see loss of flowers or "blossom drop" for a lot of reasons, but one of the most common is that the flowers aren't being pollinated. If you're getting flowers, that's a great sign that your plant is healthy enough to produce peppers, but if you aren't pollinating the blossoms, then the flowers will eventually drop off without turning into peppers.