Group 2:
- Manish Kakarla
- Pradeep Gummidipundi
- Atiya Kailany
- Henry Lao

- Section 1: Installation
- Section 2: Project Files Overview
- Section 3: Testing & Development
- Comments
- PDF Documentation
The app can be run like any other Android app.
- Firstly, Download the source code from github repository
screen shot of github download

- the source code can be unzipped and the folder opened in Android Studio.
screenshot of unzipping and android studio working

- Download
.ptlfile from the Drive link and add it to the assests folder in android application
screenshot of android app assests folder

- After opening the app in Android Studio, select a suitable emulator or Android device connected to your local machine, and hit Run.
The structure of the code is shown below and it can be downloaded and run by following the steps shown below.
screen shot of the file directory

- first download the code from the github repository
screenshot of the code github

Several modifications must be made to file paths to ensure our program works on your local machine:
- In
preprocess.pyunderutils -> data, changeDATASET_ROOT = '/home/usr/github/mscg-agriculture-dataset/2021/supervised/Agriculture-Vision-2021'to the current location of your unzipped dataset. - In
model.pyunderutils -> model, changefilepath = "/home/usr/github/P3-SemanticSegmentation/checkpoints/MSCG-Rx101/Agriculture_NIR-RGB_kf-0-0-reproduce/MSCG-Rx101-epoch_4_loss_1.64719_acc_0.73877_acc-cls_0.47181_mean-iu_0.34377_fwavacc_0.59123_f1_0.48653_lr_0.0001245001.pth"to the current location of the unzipped project. NOTE: This path is hardcoded to the name of the custom model produced by our team, and your model name will vary. Perform this step after training has been completed and a model produced that you intend to use. - In
config.pyunderutils -> model, changeroot_path = Path("/home/usr/github/P3-SemanticSegmentation")to the root path of the project you’ve extracted/downloaded. - In both
train_R101.pyandtrain_R50.py, changecheckpoint_path = "/home/hanz/github/P3-SemanticSegmentation/checkpoints/MSCG-Rx101/Agriculture_NIR-RGB_kf-0-0-reproduce/MSCG-Rx101-epoch_10_loss_1.62912_acc_0.75860_acc-cls_0.54120_mean-iu_0.36020_fwavacc_0.61867_f1_0.50060_lr_0.0001175102.pth"to your appropriate checkpoint folder.
- Run
setup.pyto install all required packages for the program to function. This is a one-time function and does not need to be repeated on subsequent trainings. Alternatively, you can use Anaconda to install all packages manually, with the full list being found inrequirements.txt.
screenshot list of packages to be installed

- Two models are created by the backend. Either one can be trained and created by simply running the corresponding
.pyfile. To create a custom model using the pretrained modelSe_ResNext50_32x4d, just runtrain_R50.pyin PyCharm, or use the python command in CLI. To create a custom model using the pretrained modelSe_ResNext101_32x4d, simply runtrain_R101.pyusing the same methods.
screenshot of train_R50,train_R100

- Training using such a large dataset can take a while for those without dedicated machines, so we’ve provided custom trained models in the checkpoints folder that will be auto-created. Link to the checkpoints
screenshots of the checkpoints folder

- The project is divided into two parts: a frontend and a backend that can function almost independently from each other. The backend is used to create a custom PyTorch model that is then converted to a PyTorch Lite model for use in our Android app.
The driver function of every Android app. It houses buttons, calls, and calls our test images. It checks for permissions, determines the response to clicks, and finally calls our model to determine the prediction of the image it has called.
screenshot of mainactivity.java

Our camera driver utility, designed to request permissions for usage and start the camera. This was unused simply because the Android camera doesn’t present 4d channels as our model needs.
screenshot of AbstractCameraXActivity.java

Get the image provided by the camera and converts it to a bitmap object. This is then fed through a tensor and provided to PrePostProcessor utility functions, giving us our prediction with the highest level of accuracy.
screenshot of ObjectDetectionActivity.java

Detects those bounding boxes that overlap with each other and provides the windows with the highest probability of a correct answer and serves to reduce the number of windows presented on an image (avoid data saturation).
screenshot of PrepostProcessor.java

Monitors, creates, and destroys background threads.
screenshot of BaseModuleActivity.java

Draws a window over the image highlighting the defect and displaying the type of defect detected, using OnDraw.
screenshot of ResultView.java

Used to download and install the required packages for the project to run. This file isn’t strictly necessary if the interpreter has already been configured for usage per the requirements.txt file. This can be done fairly easily in Anaconda, or alternatively using PyCharm’s own native interpreter.
screenshot of setup.py

Define the parameters of the MSCG model with the difference being the ResNet model type. This uses the PyTorch nn.Module class, presets the initial layers to that of the se_resnext50_32x4d model, and the corresponding 101 model. Since this project uses a Graph Convolutional Network, we include a method to create GCNs and normalization of said GCN.
screenshot of mscg.py

Uses checkpoints to get an accurate prediction of several sample images and apply bounding boxes to the found errors. The model makes a prediction which is compared to the actual answer for the test image provided. This file also provides a Test-Time-Augmentation (tta_real_test) function to apply transformations to test images and averages the result predicted by the ResNet custom model.
screenshot of test_submission.py

Loads predefined checkpoints that can be readily replaced and provides helper functions for the test-submission file to use in testing by loading test images.
screenshot of checkpoint.py

Converts the .pth model file to a .ptl format for use in Android applications. Loads the checkpointed model and uses Torch JIT to convert the file. While this was an adequate method to receive model results, we also decided to implement a RESTful version of our app with an AWS, which was done to reduce computation on the mobile device in circumstances that don’t have that computational capacity.
screenshot of mobile.py

Returns information about the GPU usage of the machine, including available memory, available GPUs for training, and current GPU usage statistics.
screenshot of gpu.py

Evaluate the predictions of the model given the values provided by a set of ground truth images that support both train_ files.
screenshot of validate.py

Configure the parameters of training the model. If required, reduce values of train_batch and val_batch to reduce GPU load at the cost of increased training time. This class allows for resuming training of checkpointed models.
screenshot of config.py

Defines the parameter of the CVPR Agriculture Dataset and provides augmentation/normalization methods for training and validation.
screenshot of dataset.py

We define the root of the dataset here as a necessary first step and define the labels as provided by the dataset. This file provides functions for producing and populating the ground truth folder in both training and validation subdirectories.
screenshot of preprocess.py

Provides helper functions to scale images, read them, perform augmentations on the images as required.
screenshot of augmentations.py

This is the main training function that validates the model and sets up and updates checkpoints. As mentioned before, this file can be avoided in favor of train_r101.py based on the model you’re attempting to use. When running either file, please note that ADAM is used for the first 10 epochs, after which the optimizer must be switched manually to SGD. Thanks to our checkpointing system, the switch is extremely easy and only requires resuming training with the base_optimizer set to SGD. The number of epochs and batch sizes can be modified here quickly to suit your training purposes by modifying train_args.train_batch/train_args.val_batch, and epoch_current when using a partially trained model.
screenshot of train_r50.py/ train_r101.py

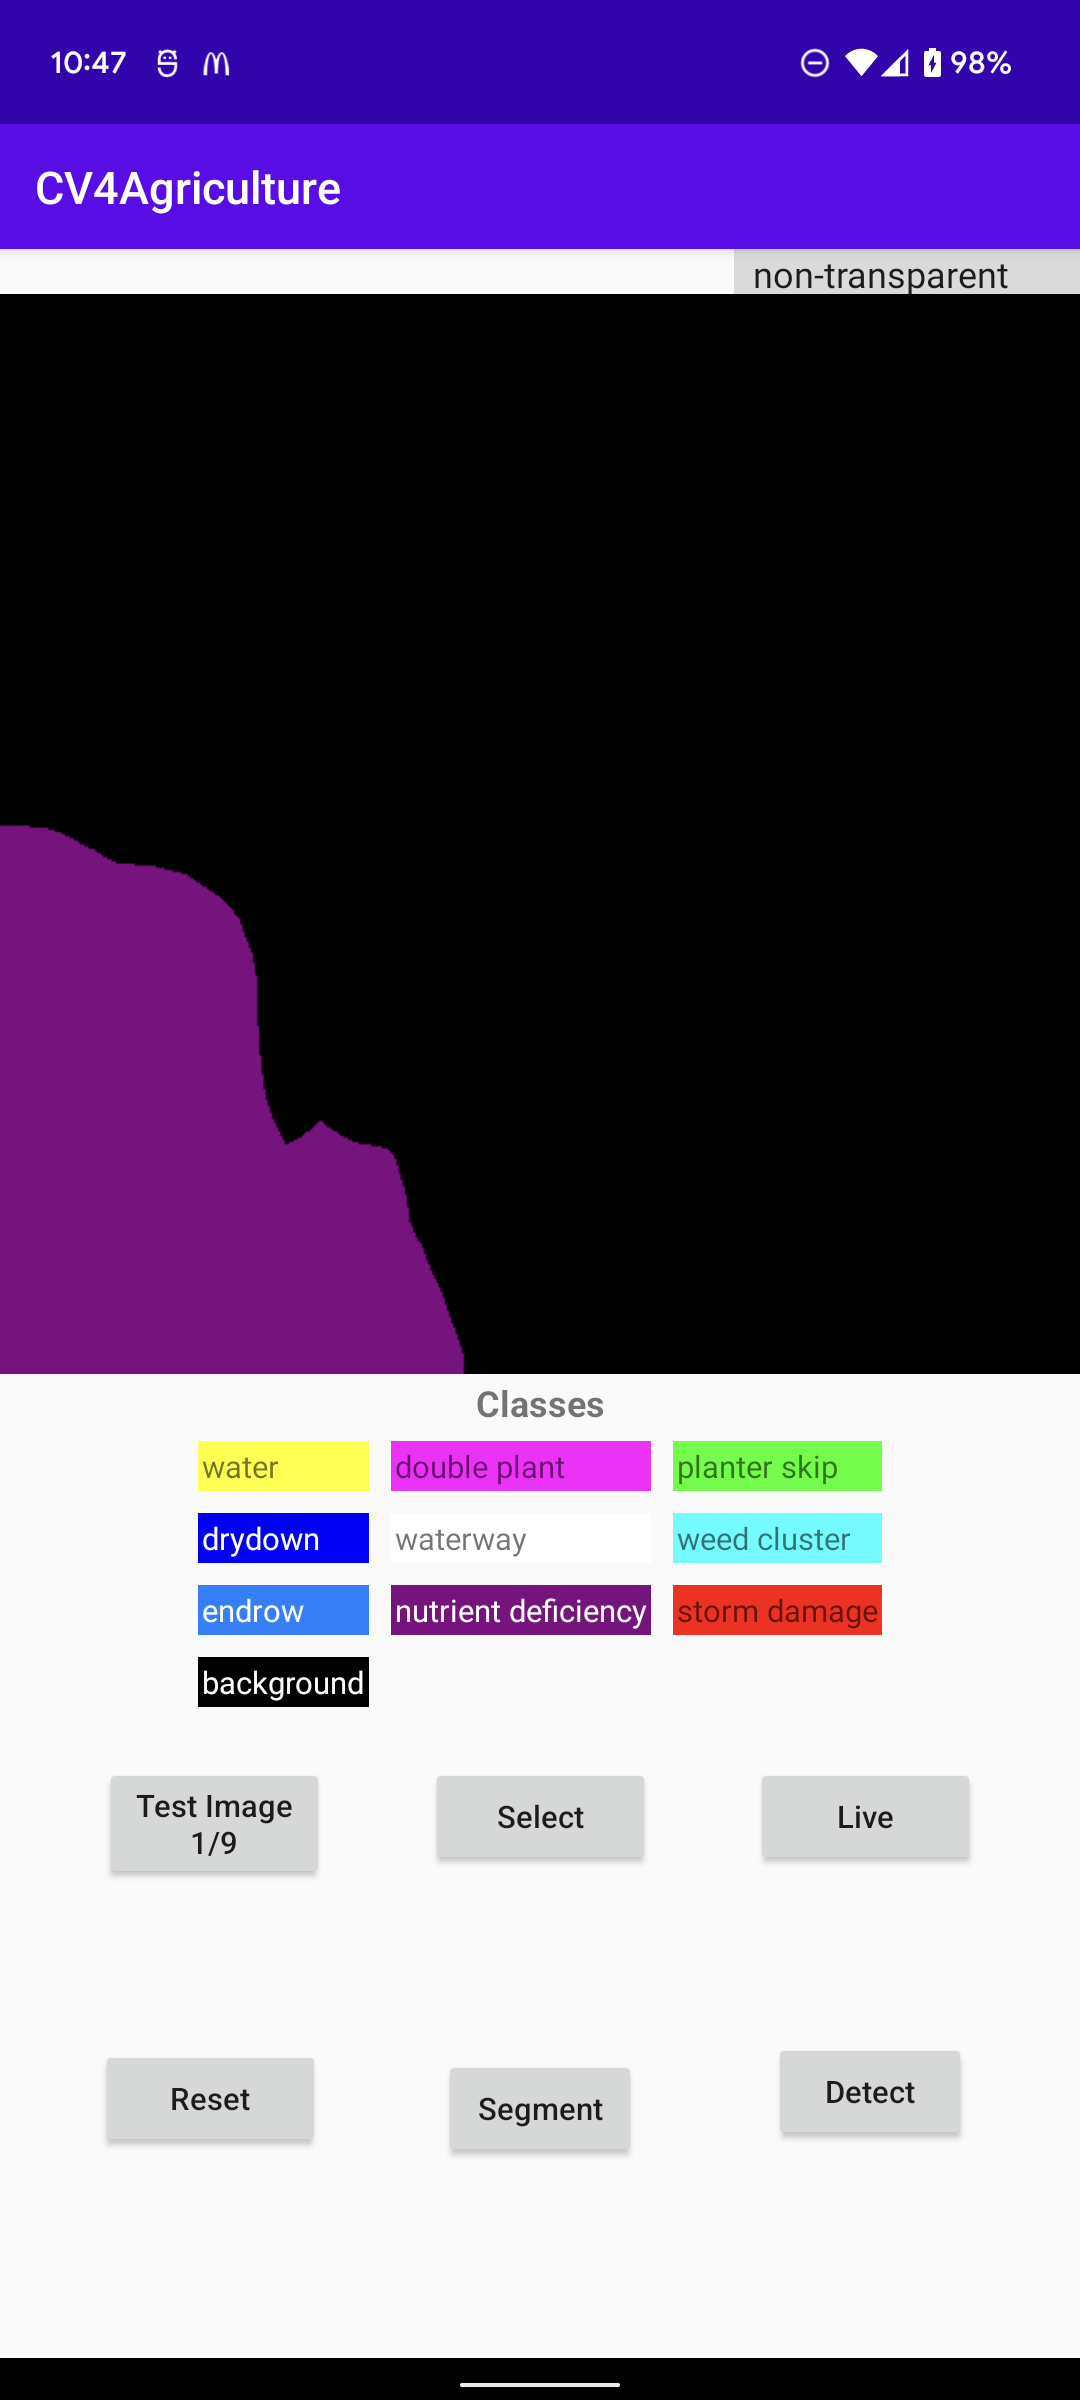
- Home page of the Application
screenshot of the application

- Running of the Application


- Before running the model

- After running the model

-
One of the biggest challenges was the depth of understanding of the codebase to refactor the code such that it was usable. Restructuring the code broke it in odd ways. Furthermore, while the project holders claimed they used a computing cluster, Google Colab was not viable due to issues with extracting the dataset resulting in missing data. Lots of breakages resulted from minor changes, and several packages needed to be updated as well that initially created some module import issues.
-
Training required resolution of many resource dependencies from the inherited codebase. The code required usage of CPU RAM greater than 100GB for a single model when performing validation. This was due to the persistence of data in hot storage instead of using generators. Although this was a known, issue there was hesitation to modify this particular portion of the codebase due to the tight coupling of modules in the training script. Fortunately, resolution of the memory issues was simple and was a matter of simply allocating more resources to allow for parallel training of Rx50 and Rx101 to extend the 126GB of CPU RAM through the usage of the hard-drive -- 300GB was allocated; however, peak CPU RAM usage during parallel training was ~250GB
-
Training on this model represented a significant time investment due to several factors: the massive size of the dataset and the limited computing capacity we had at our disposal. We initially thought we could train on Colab, but the dataset refused to extract properly (we were pushing the limits of free computing) so we resorted to local efforts to resolve our problems. Another issue was memory: the project implementation loaded the entire dataset into memory during the validation/checkpointing process of training. To avoid getting bogged down, more resources were allocated to resolve the issue with a full understanding/documentation of the particular issue. Training the models was carried out on 2 NVIDIA 2080 TI GPUs -- the next generation of GPUs following the researchers' reported 1080 TI. More work can be done to refactor the codebase.
-
Another factor was restructuring the code for readability and modification, which was necessary to get the project running. Several linkages broke with each modification, further slowing our progress as we debugged every corner of the project. The extreme lack of documentation required reading through the entire code base for a general understanding and stepping through each file with conservative changes to achieve stability.
-
Finally, we ran into issues with our Android app. Many Android devices similar to ours have RGB image capturing and do not have a NIR sensor. Naturally, this lead deployment of the model via REST API calls to an in-house server. Unfortunately, revamping of the crucial pre-/post-processing for single image input was not achieved despite deep-diving into the code base with what was understood to be appropriate modifications for inference on the backend. To address the issue of a lack of live-inference, RGB rendered outputs from the model performing inference on an entire input dataset was used resulting in an Android app that serves as a proof-of-concept BUT does not perform local nor web-based inference.
-
In conclusion, the model itself performs quite well and can be observed when looking at the initial training results. The architecture is robust in describing the structure of a given dataset and extends classical methods of applying graphs for modeling. Several changes still need to be made to our frontend and backend to get the app serviceable and ready for widespread usage.