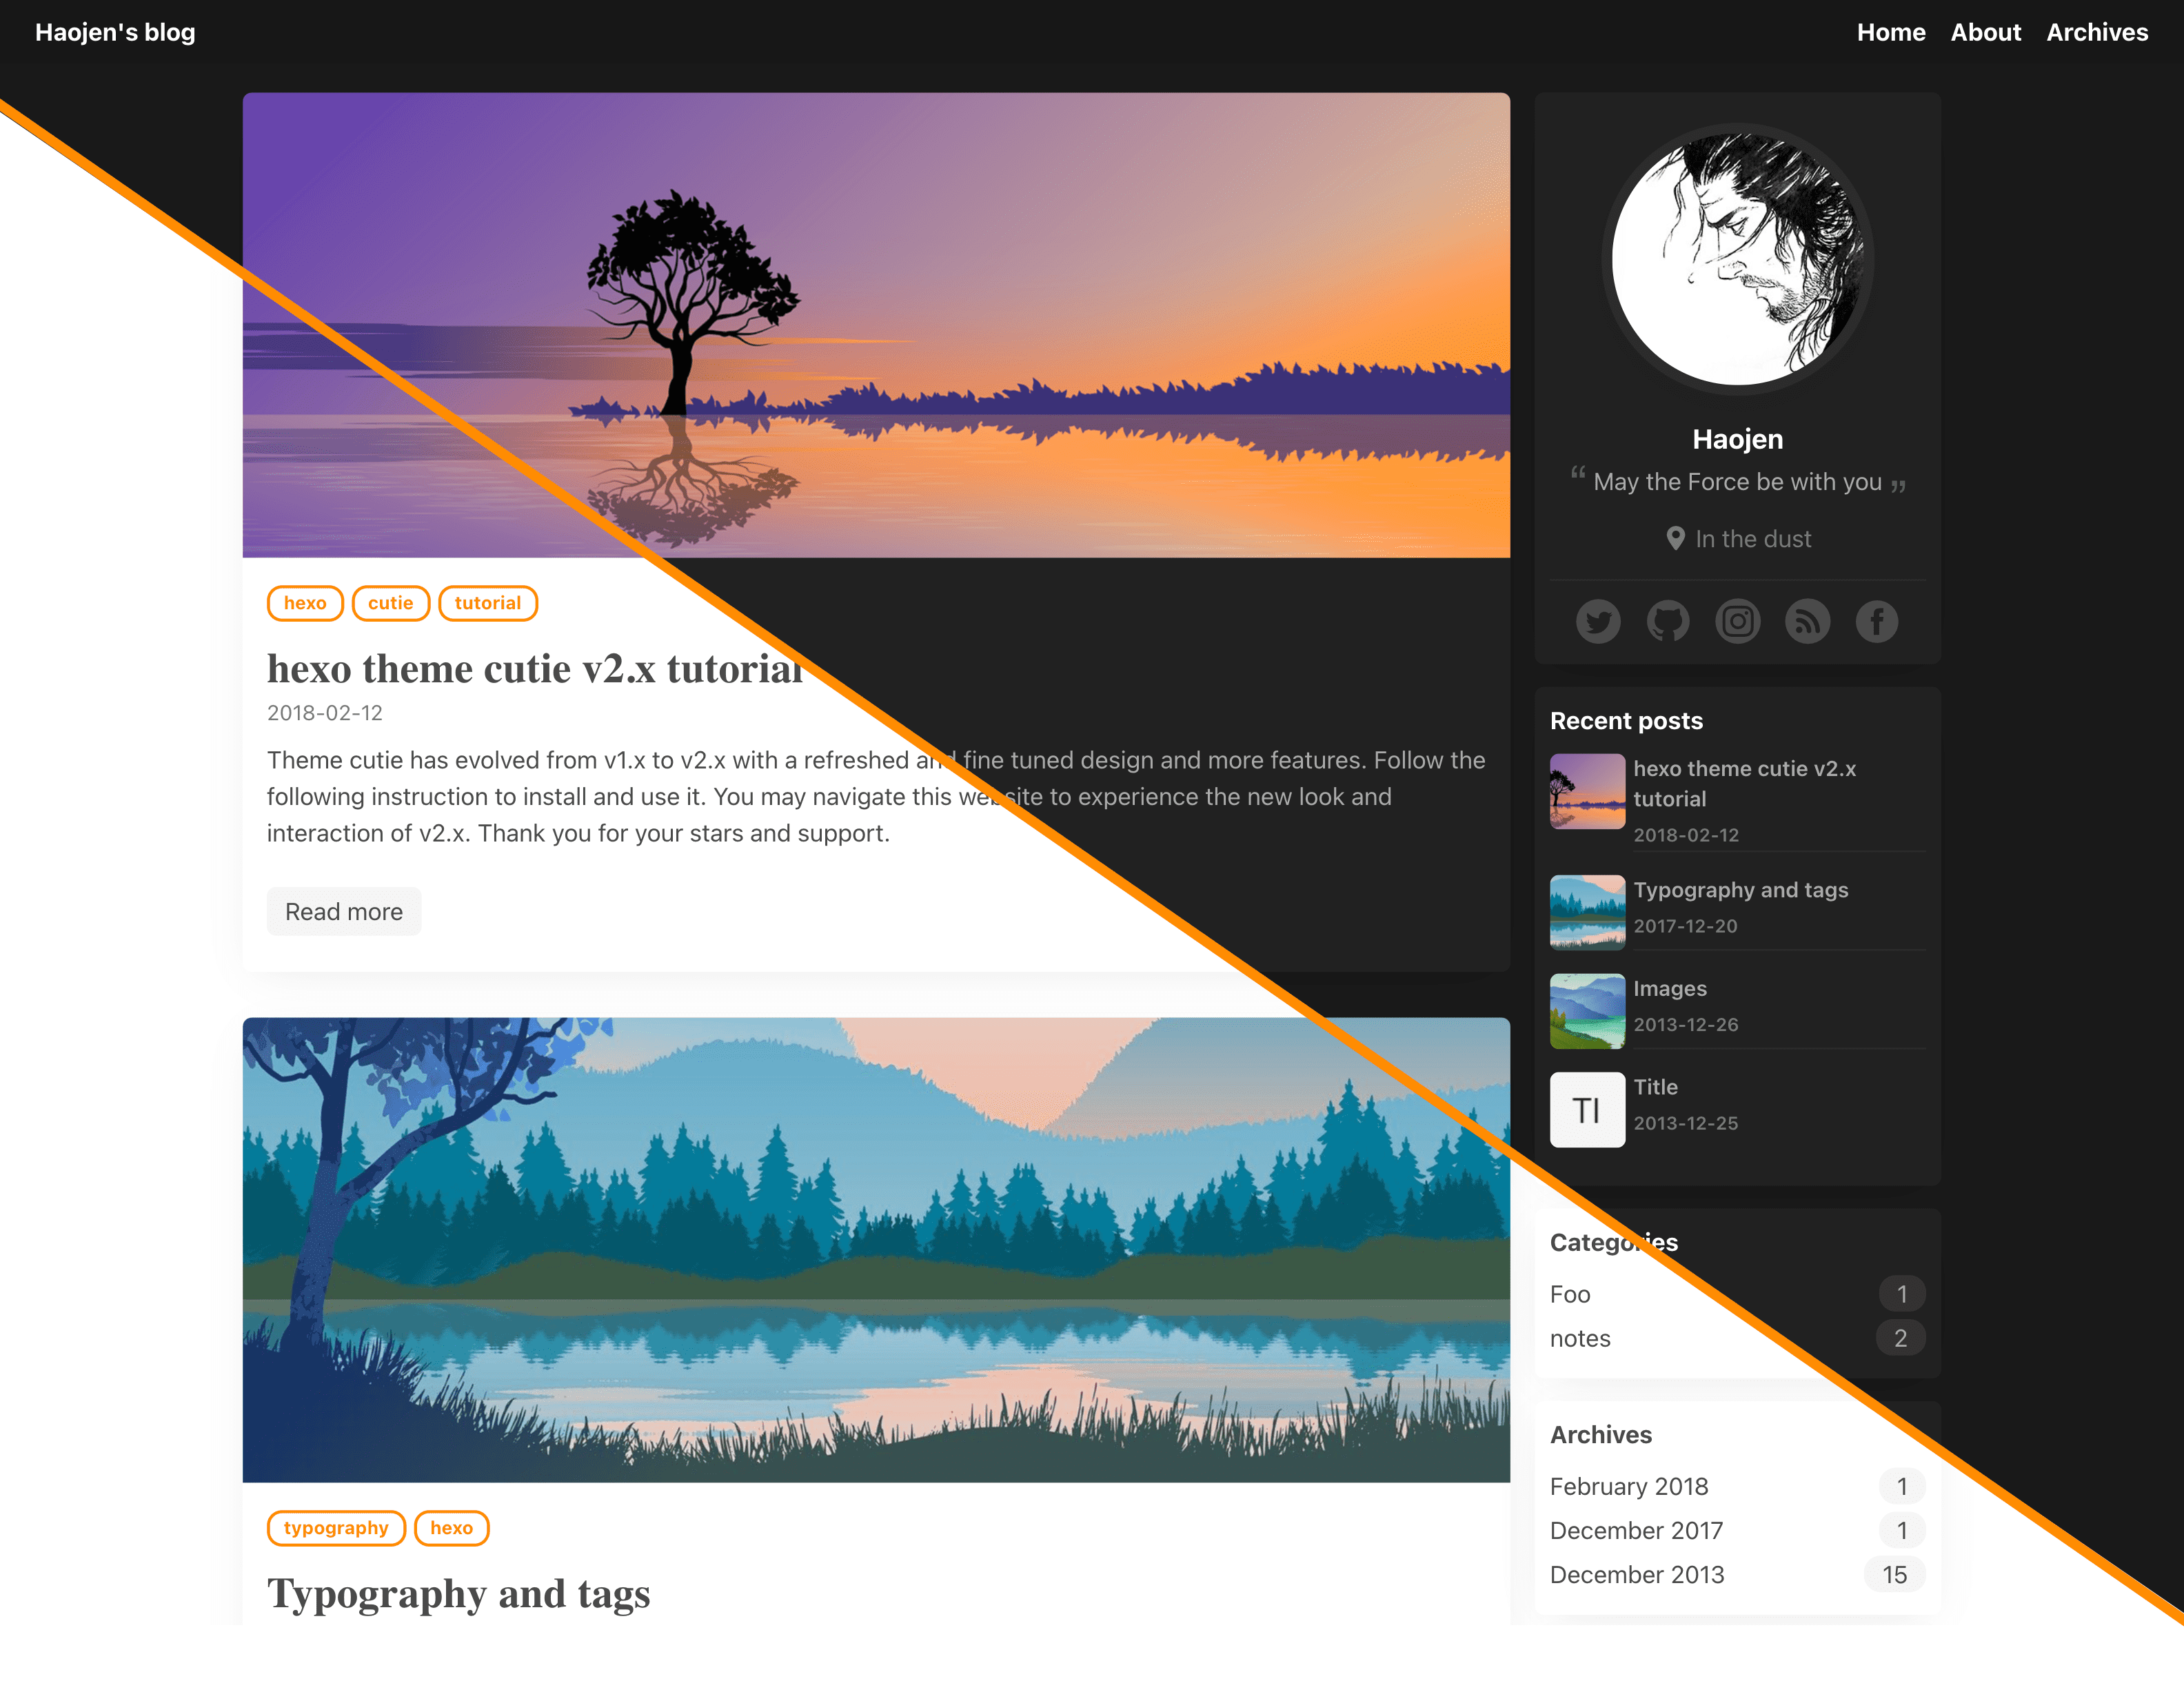
Concisely designed & easy to config, match device dark mode, 90+ Lighthouse scoring
English | 简体中文
Install to Hexo blog root directory, Not theme directory
npm install hexo-renderer-pug
npm install hexo-renderer-sass
npm install hexo-generator-search

# if you need RSS, you must be install this plugin
npm install hexo-generator-feedConfigure the file hexo-theme-claudia/_config.yml under the theme profile
user:
  name:
  avatar: /images/avatar.jpg
  location:
  description:
  footnotes:

# config you SNS
social:
  zhihu:
  twitter:
  facebook:
  linkedin:
  instagram:
  github: haojen
 # main menu navigation
 menu:
   Home: /
   About: /about
Archives: /archiveswidgets:
- tag
- archive
- category
- recent_postsDocuments: https://utteranc.es/
Project repo: https://github.com/utterance/utterances
comment_utteranc:
  enable: true
repo: Haojen/myBlogRepo # Change to your blog repoDocuments: https://valine.js.org/quickstart.html
comment_valine:
  enable: true
  appId:
appKey:# 1.light
# 2.dark
# 3.auto (default, match device appearance setting)
appearance: auto- Disable the default hexo highlight configuration(modify your
root/_config.ymlin root directory of hexo)
highlight:
enable: falseGoogle Analytics and Baidu Analytics simple config:
#Baidu Analytics**
ba_track_id:

#Google Analytics
ga_track_id:
ga_domain:
Create a new folder about under the source of hexo, and then, create a index.md file and copy the following content into it.
also you about.png put in about/ folder
---
title: about
date: 2017-05-31 10:05:56
layout: about
---https://github.com/Haojen/Claudia-theme-blog
This it Hexo-theme-Anisina, hope you like it!
MIT © haojen ma
