A Vue.js project
npm install
npm run dev
npm run build
npm run build --report
For a detailed explanation on how things work, check out the guide and docs for vue-loader.
移动端一般都会准备 2x/3x的图片 以适应不同DPR(设备像素比)的手机 该值与屏幕密度有关虽然之前应该是常用精灵图来减少图片的请求, 但是在使用vue + webpack构建项目的时候, 可以使用单张图, 因为webpack会做图片打包工作, 转换成base64, 可能最后连图片请求都不会有。
关于SVG图片, 都是使用图标字体引入(icon-font)
在 https://icomoon.io/app/#/select 选择左上角 import Icons 导入自己的SVG 选择右下角 Generate Font 生成图标字体
生成后左上角有 preferences 可以对该字体库进行设置 之后便可以Download
把压缩包解压, 需要放入项目中的是 fonts文件夹 和 style.css
如果使用的是stylus 还需要把 style.css 改成stylus语法
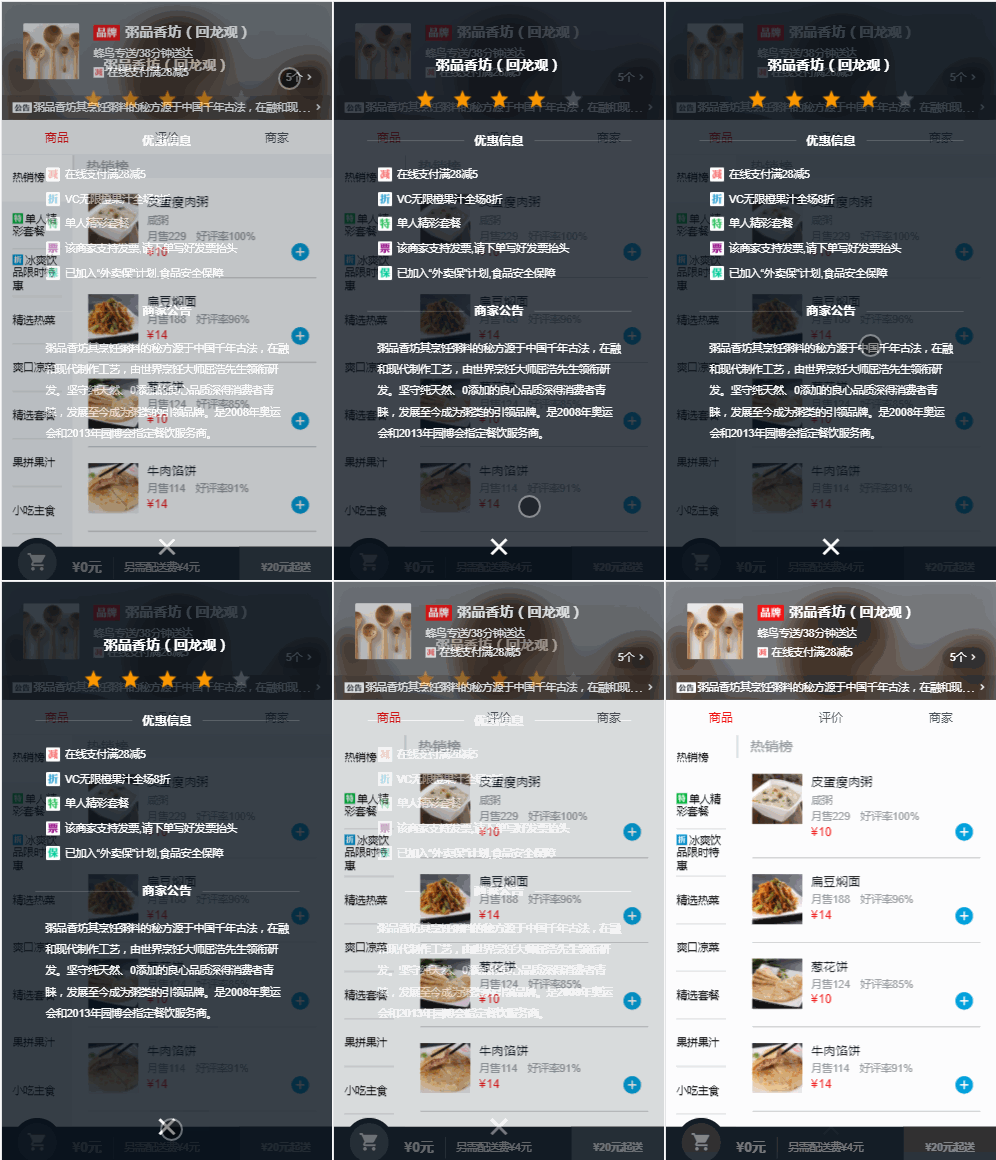
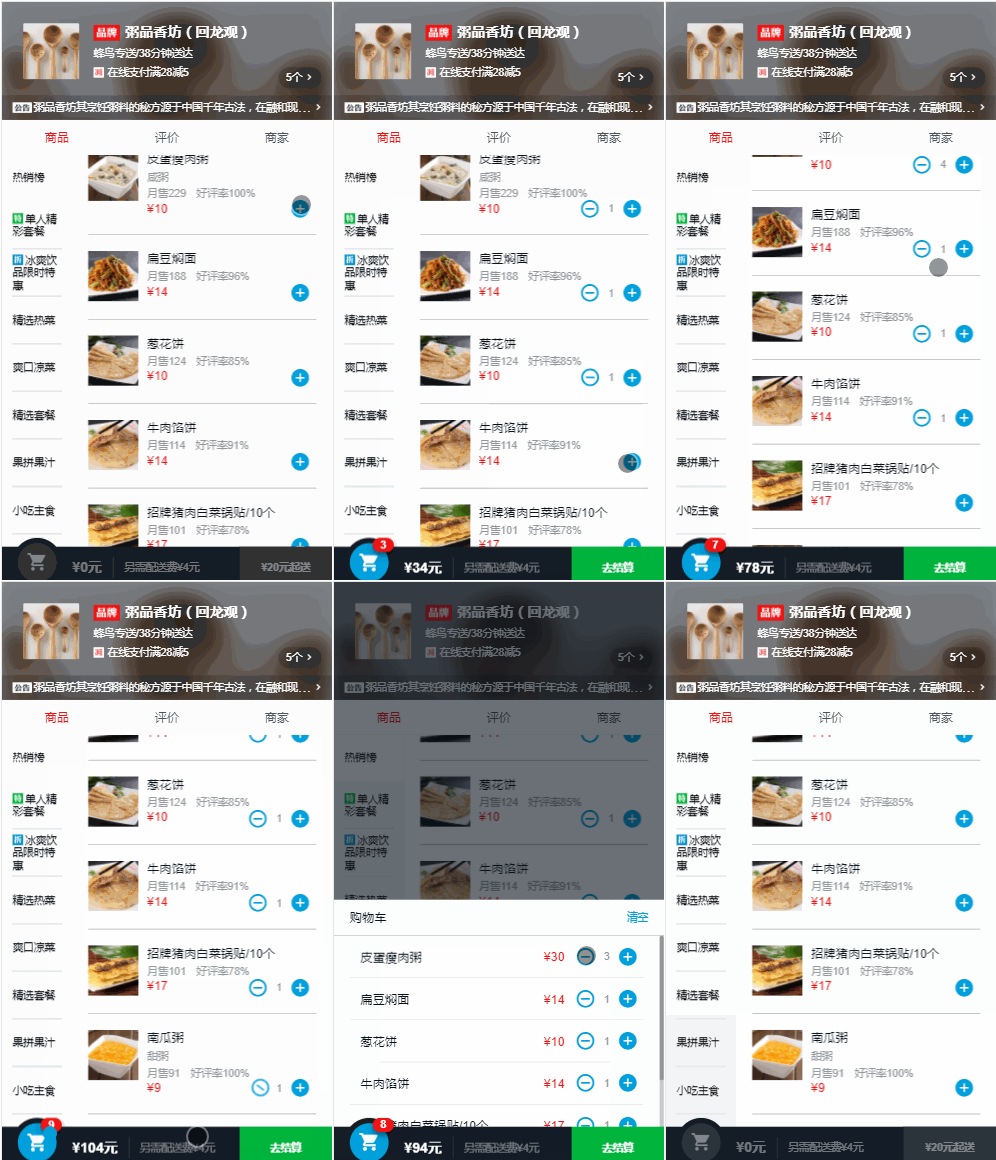
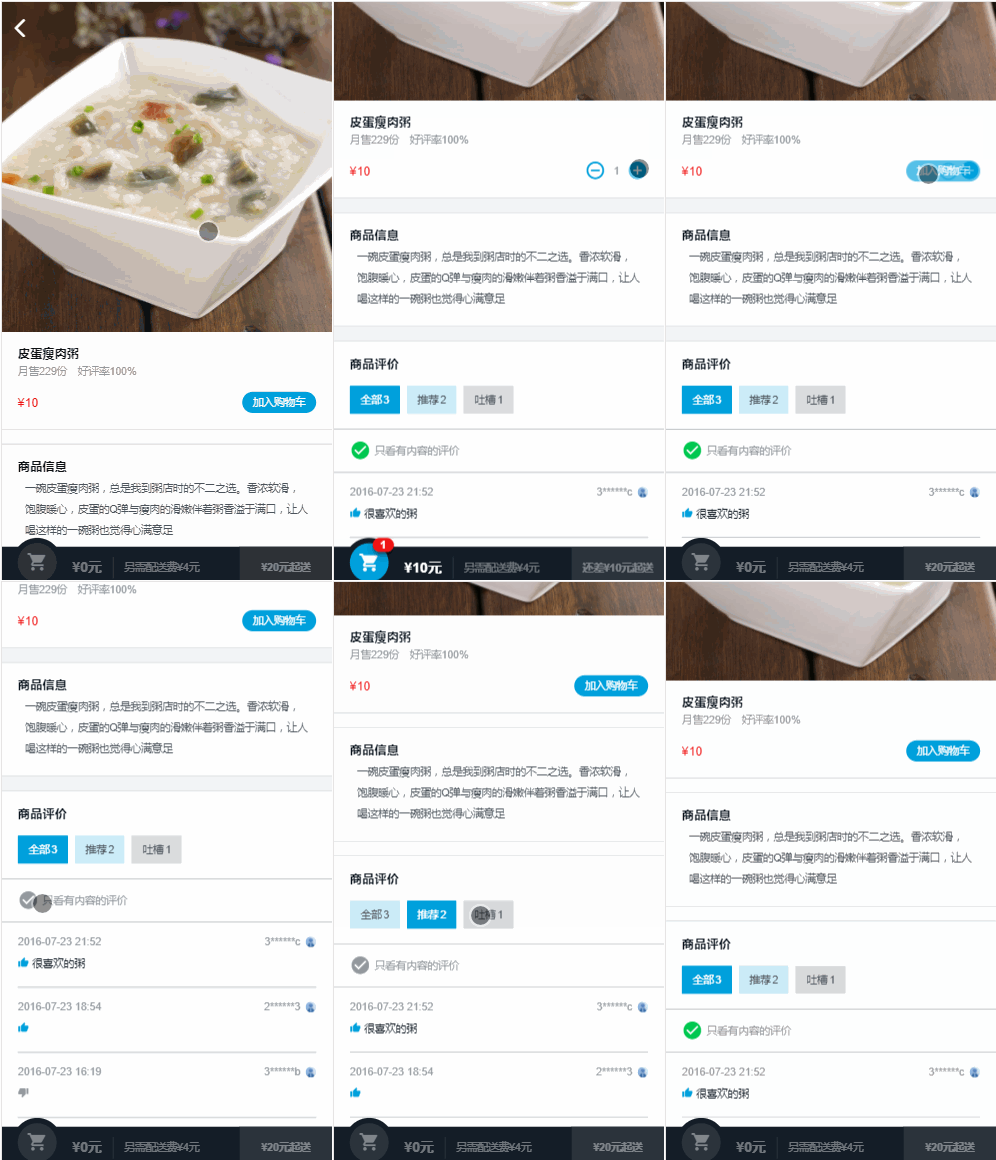
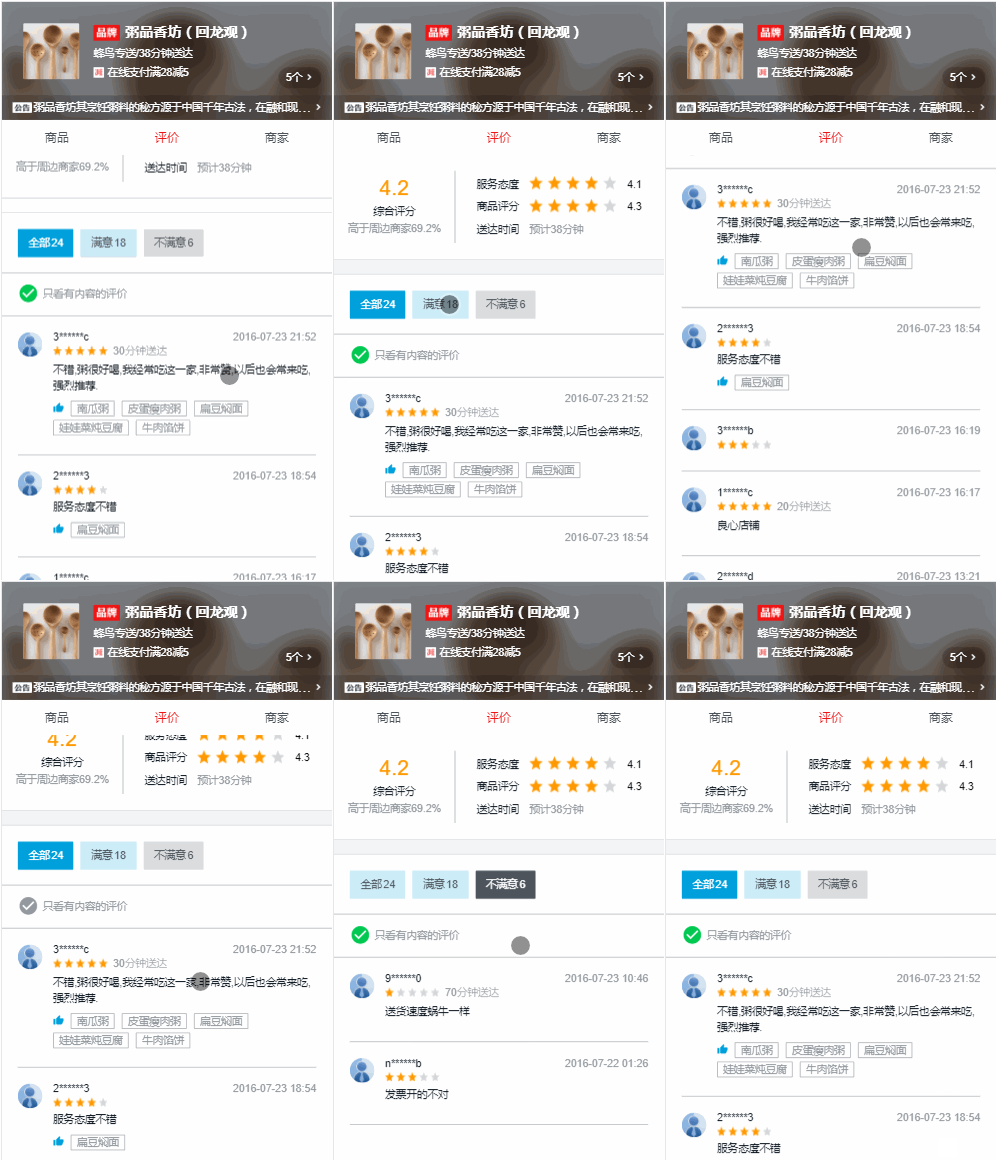
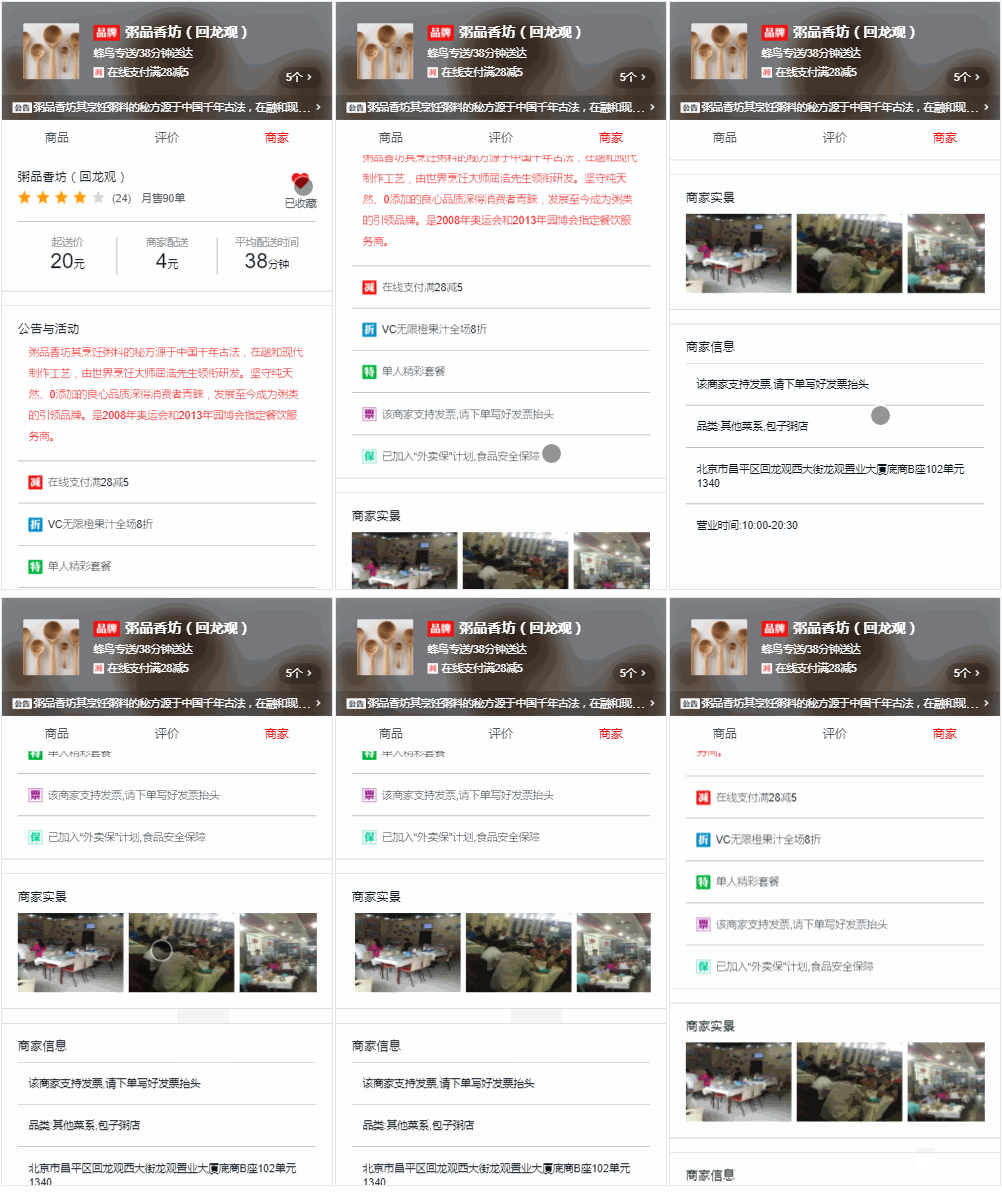
PS: 移动端记得添加视口 header + 导航区 + 内容区(goods + ratings + seller) 内容区的切换基于 vue-router 来实现 因为内容区(goods + ratings + seller)的三个组件都使用到了 seller数据, 所以统一在APP页获取后经 router-view来进行对子组件的传递(由 props 获取), 避免重复请求数据
使用了 axios 从之前定义的api获取了seller的数据, api为: /api/seller 并在其中加入了Promise 总共划分了四个部分: content-wrapper商家信息部分 / board-wrapper公告部分 / background背景模糊区域 / detail详细信息层部分
