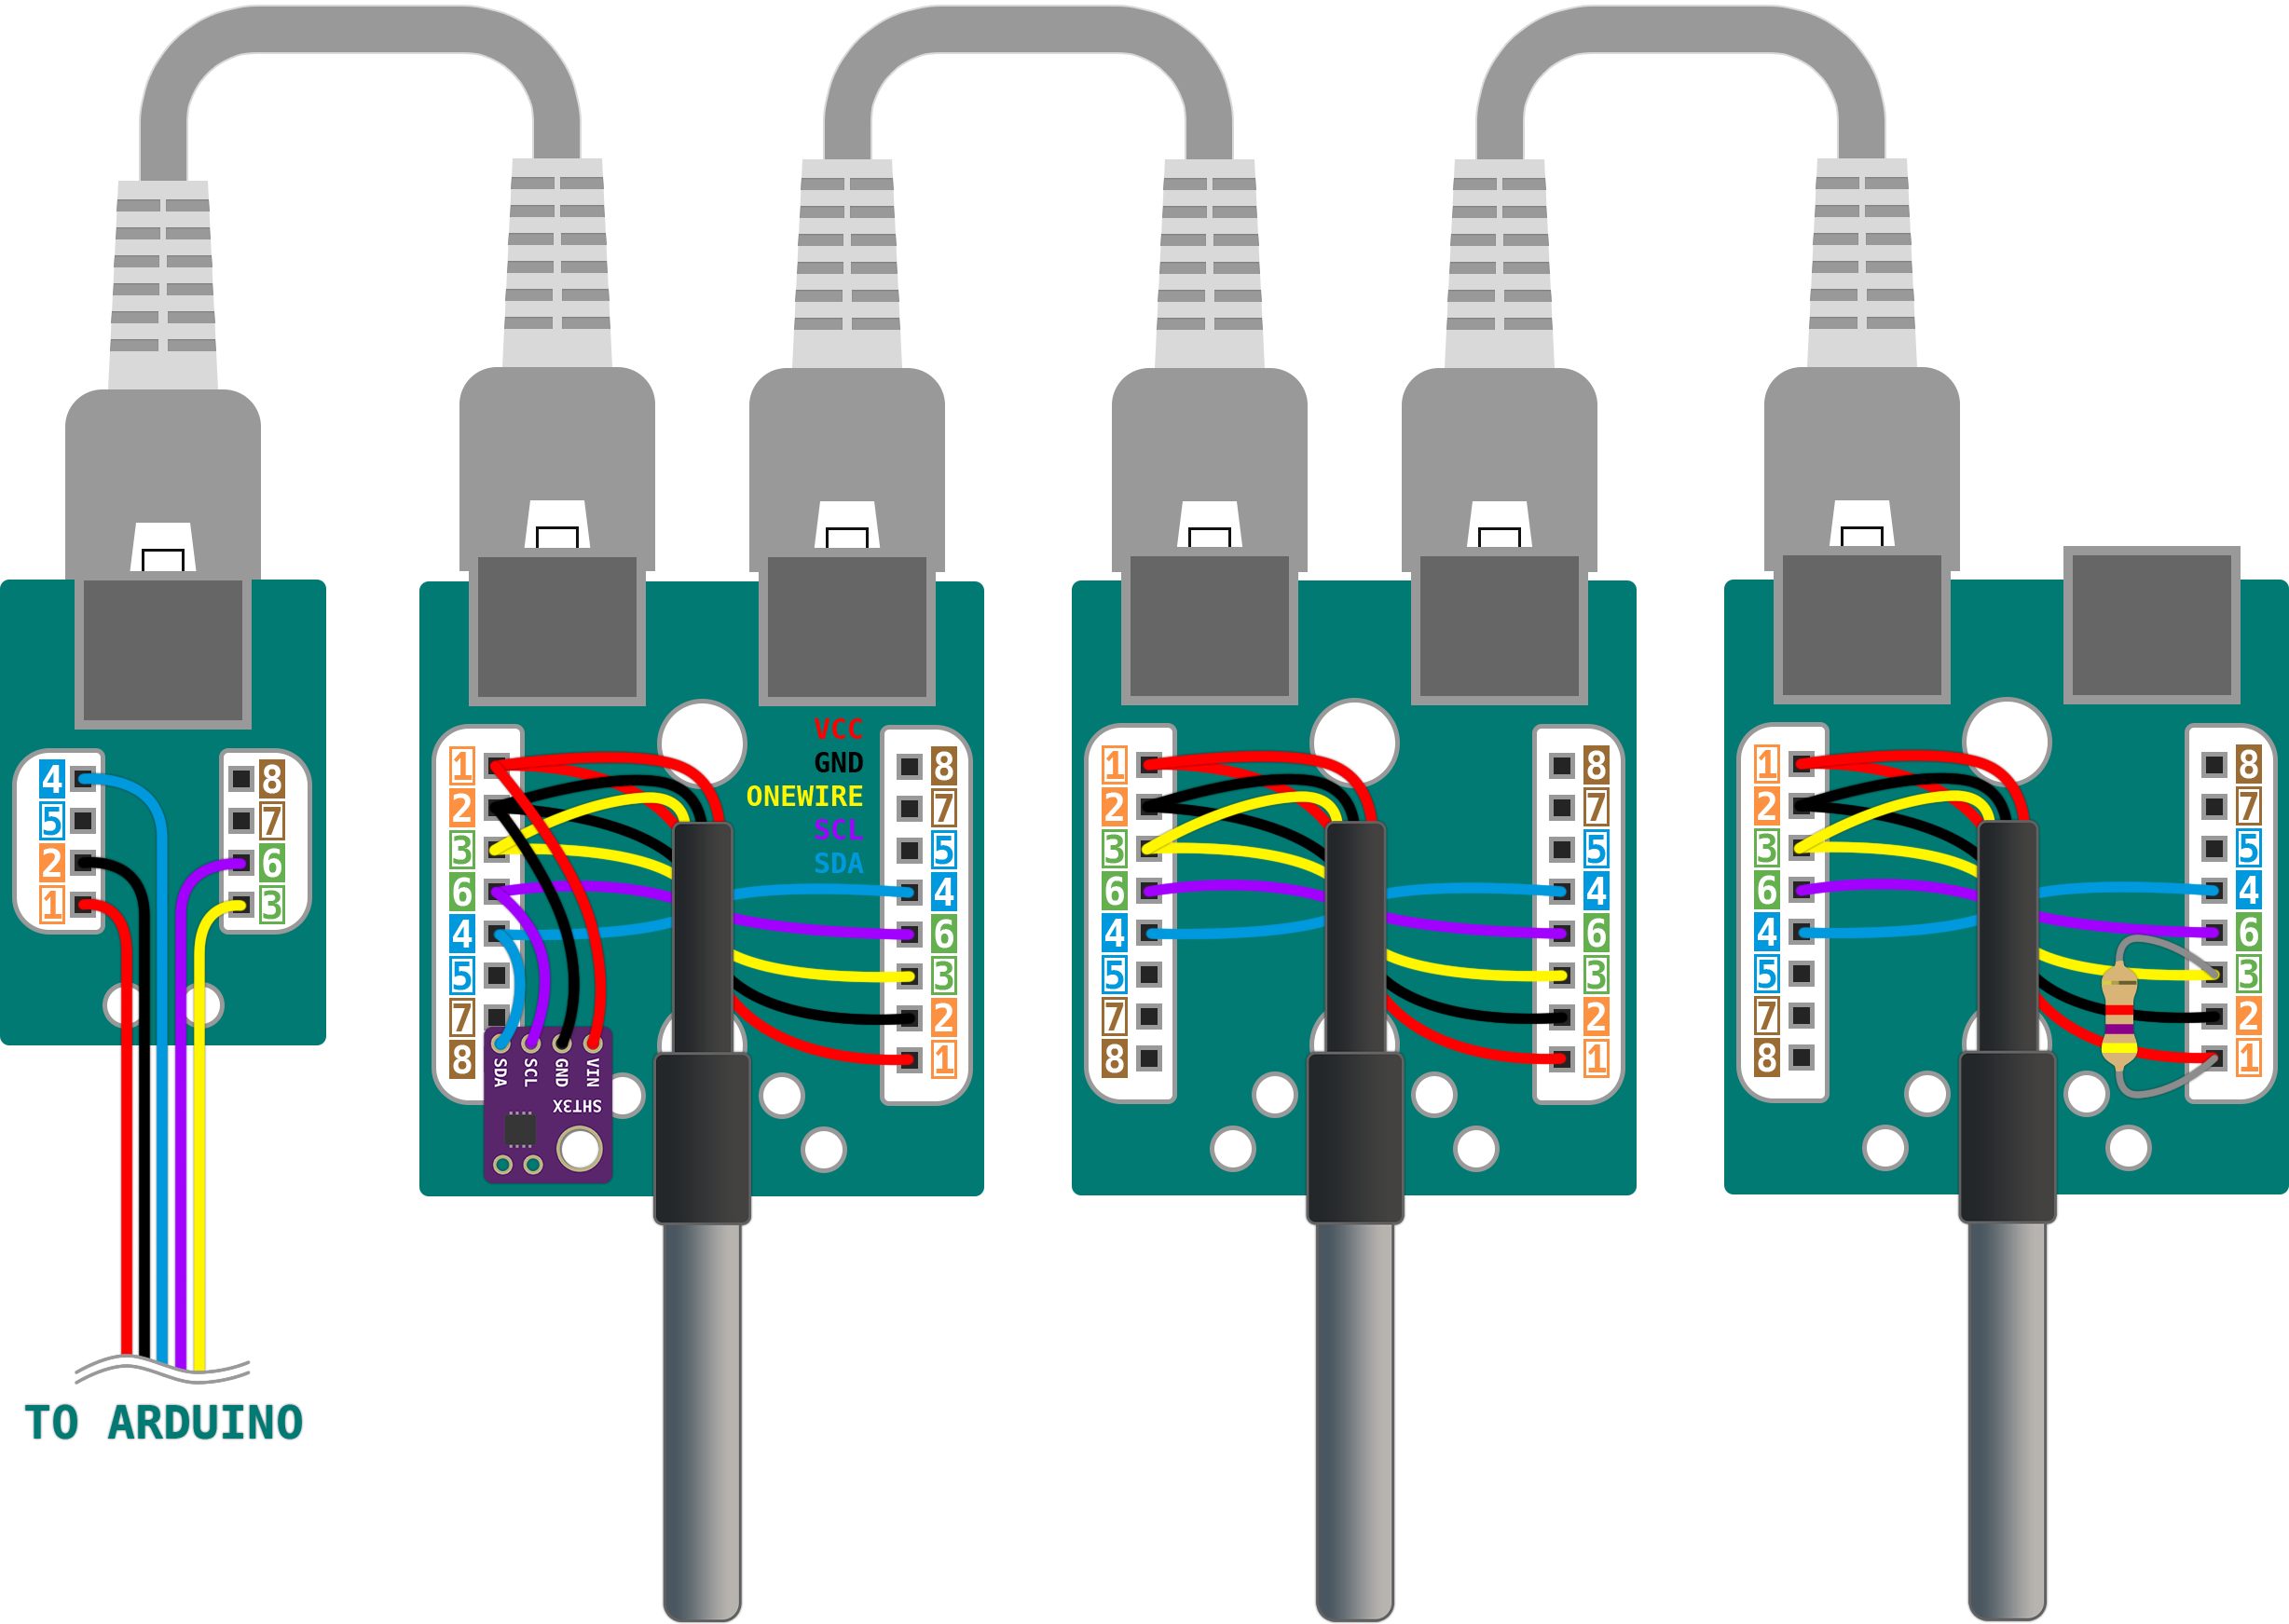
Server Room Monitoring - a device for monitoring temperature and humidity of servers, server rooms and just for rooms where environmental control is needed.
The differences between this system and Zabbuino in open source for the Arduino IDE. Anyone can customize the device to suit their needs.
You can remove the display if display control is not needed, or change it to any other display by rewriting the code a bit.
You can add or remove any sensor, for example, you can control the content of carbon dioxide or dust particles in the air, everything that you can implement on Arduino.
Server Room Monitoring works as a passive zabbix agent. The Zabbix server polls the agent on a schedule, the agent generates data and sends it to the Zabbix server.
#define LCD_ADDRESS 0x3F          // i2c address of display
#define LCD_H 16                  // number of horizontal screen characters
#define LCD_V 2 // number of vertical screen characters#define SHT31_ADDRESS 0x44 // i2c address of SHT3XYou'll need a Scanner I2C to find the display and sht31 addresses
#define ONE_WIRE_BUS 2 // Pin Onewire (DT18B20) bus#define MEASUREMENTDELTA 10000 // Sensor polling interval
#define LCDINTERVAL 5000 // Display refresh interval// OneWire sensor address array(you need to change the address to yours)
DeviceAddress addrsensdt[] = {
{ 0x00, 0x00, 0x00, 0x00, 0x00, 0x00, 0x00, 0x00 }, // Must be emty (0x00)
{ 0x28, 0x66, 0x66, 0x83, 0x18, 0x20, 0x01, 0x43 }, // Address of the first sensor
{ 0x28, 0xC0, 0x69, 0x8C, 0x18, 0x20, 0x01, 0x58 }, // Address of the second sensor
{ 0x28, 0x2C, 0xBA, 0xC3, 0x18, 0x20, 0x01, 0x66 }, // Address of the third sensor
{ 0x28, 0x09, 0x0F, 0xA9, 0x18, 0x20, 0x01, 0x2D }, // Address of the fourth sensor
{ 0x28, 0x7E, 0x30, 0x83, 0x18, 0x20, 0x01, 0xB0 }, // Address of the fifth sensor
};You'll need Scanner OneWire to find ds18b20 addresses
String ItemKey = "GetData" //Item key of zabbix hostRead more about item key here
byte mac[] = { 0x00, 0x00, 0x00, 0x00, 0x00, 0x00 };  // Important! Change MAC address!
                                                      // MAC address must be unique on your local network.
IPAddress ip(192, 168, 0, 100);                       // Change IP address if you need.
IPAddress gateway(192, 168, 0, 1);                    // Change GW if you need.
IPAddress subnet(255, 255, 255, 0);                   // Change MASK if you need.
EthernetServer server(10050); // Change port if you need.- Create host with parameters:
- Name: Server Room Monitoring
- Interface:
- Type: Agent
- IP: IP address Server Room Monitoring
- Create item with parameters:
- Name: "Data"
- Type: "Zabbix agent"
- Key: "GetData"
- Type of information: "text"
- Update interval: 10m
Ok, now you can turn on the device and get data from Server Room Monitoring. The data of all sensor will come in a text format with a "," delimiter.
Dependent item and regular expressions are used to separate the parameters and pass each parameter to an individual item.
- Create dependents items with parameters:
-
Item#1:
- Name: 'Air humidity in server room'
- Type: 'DEPENDENT'
- Key: 'humidity'
- Delay: '0'
- Units: '%'
- Description: 'Data from sensor SHT3X'
-
Preprocessing:
- Type: REGEX
- Parameters: '(\d+),(\d+),(\d+),(\d+),(\d+),(\d+),(\d+)' '\7'
-
Item#2:
- Name: 'Air temperature in server room'
- Type: 'DEPENDENT'
- Key: 'temperature.0'
- Delay: '0'
- Units: 'C'
- Description: 'Data from sensor SHT3X'
-
Preprocessing:
- Type: REGEX
- Parameters: '(\d+),(\d+),(\d+),(\d+),(\d+),(\d+),(\d+)' '\1'
-
Item#3:
- Name: 'Air temperature in server room'
- Type: 'DEPENDENT'
- Key: 'temperature.1'
- Delay: '0'
- Units: 'C'
- Description: 'Data from sensor DS18B20'
-
Preprocessing:
- Type: REGEX
- Parameters: '(\d+),(\d+),(\d+),(\d+),(\d+),(\d+),(\d+)' '\2'


