WordPress Plugin for Descope Authentication
- PHP 8.0.2+
- Most recent version of WordPress
- Database credentials with table creation permissions
Installation is very straight-forward. Since the app uses Composer to manage the packages, it will handle the entire build process for you.
Either search for the Descope plugin in the WordPress Plugin Store, or zip up this entire repo and then import it into WordPress on your WordPress Dashboard. You can follow the instructions here.
After installation, you must activate the plugin within your WordPress site:
- Open your WordPress Dashboard.
- Select Plugins from the sidebar, and then Installed Plugins.
- Choose Activate underneath the plugin's name.
Once you have installed and activated your plugin, you must go to the new Descope Config menu in the left-hand sidebar and input the following:
Project ID- this is your Descope Project ID you can get from the settings page here.Redirect URL- the slug of the page you would like to redirect to, if the login is unsuccessful. You can find the slug of the page you would like to redirect to, by going to thePagesmenu in WordPress and selecting Quick Edit underneath the page you want.
Now that you've set everything up in the background, let's integrate the plugin features in your actual website. To add any of these tags, you'll need to use shortcode blocks. If you're unfamiliar with WordPress, you can add a shortcode block by following these steps here.
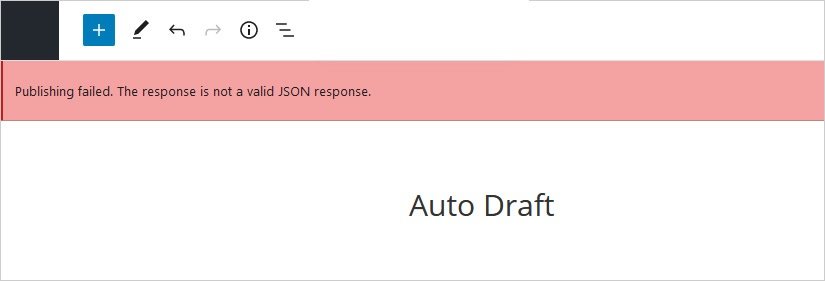
NOTE:: Before adding shortcodes, make sure that you're using
Post Names(or slugs) for your website's permalink structure. You can find instructions on how to change your permalink structures here. If this is not configured, you might see this error message when adding shortcode:
First, you're going to want to add the Descope flows tag to one of your pages (this will be where the user signs in). To add the Descope flow page to your website, just add a shortcode block to the main text area of any page, and add the shortcode [descope-wc id="login" redirect_url="about" flow_id="sign-up-or-in" /].
- The id is the HTML component tag for the Descope login flows screen.
- The redirect_url is where you would like Descope to redirect the client, after the login is successful.
- The flow_id is the id of the Descope flow that you want to implement in your page. You can edit your flows here, as well as fetch its ID.
The final step to adding Descope to any of your website pages, is to add the session tag to the top of each page. The Descope WordPress plugin supports RBAC authorization for each of the pages.
Simply add the shortcode [descope-session] to a shortcode block in any of the pages you wish to require authentication for, and Descope will require authentication for any user that visits the page.
If you wish to protect the page with a specific role, you can just add that role after descope-session, like this:
[descope-session role="admin"]
NOTE:: You will need to make sure that your WordPress hosting service is not page caching and preventing the plugin from being able to read the
DS_SESSIONcookie from the browser's localStorage. If you're using a hosting service like WPEngine, you will need to contact their support team to disable page caching when detecting a cookie with the nameDS_SESSIONso that it can be read by the PHP code. After that, this plugin should work seamlessly.
The cookie itself is:
httponly = true
secure = true
samesite = Strict
You will notice a new logout page that is created when you activate the plugin in your WordPress website. This page will automatically clear all cookies and invalid your refresh tokens using the WebJS SDK.
From that page, you can link any button or text to that page (https://<your wordpress website base url>/descope-logout) and it will automatically log your user out and invalidate all of the cookies.
And you're done! You can refer to the step-by-step installation/usage tutorial here if you are having trouble with any of the installation steps.
If you have any questions about Descope, feel free to reach out!