- Node >= v14+
- Clone this project and install all dependencies.
- Go openweathermap and get your current weather API key
- Create a file named
keys.jsin root folder and paste this
module.exports  =  {
	weather_api:  "your weather api key"
}
- Enter
npm run serveto run the extension on localhost.
To test the app as extension -
- Enter
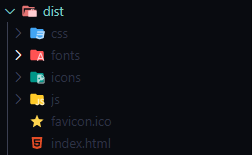
npm run build. It will create a dist folder. - Inside dist folder create a
manifest.jsonand paste following code
{
	"manifest_version":  2,
	"name":  "Penumbra - Newtab Minified",
	"version":  "0.8",
	"chrome_url_overrides":  {
	"newtab":  "./index.html"
	},
	"description":  "A minified home screen.",
}
- After creating manifest file, zip the dist folder.
- Open chrome,
click on three dots > more tools > extensions - Enable developer mode from top right.
- Click on Load unpacked and select the zip file you created.
- Open the new tab.
Penumbra is a new tab replacement for chrome in the form of an extension. It overrides the existing new tab to give some very minimal add-ons or features.
The main problem that I have with default new tab is that it is little too simple. It limits users to only eight shortcuts and it uses favicons of those websites for the preview. The favicons are usually very small (16×16px) and when they are used anywhere other than the tab they look blurry. This pet peeve forced me to create my own Chrome extension with subtle traits that I like.
There’s plethora of new tab replacements out there. But they either try to have prolific features that it becomes nuisance to use or so little that I start wondering what’s the point.

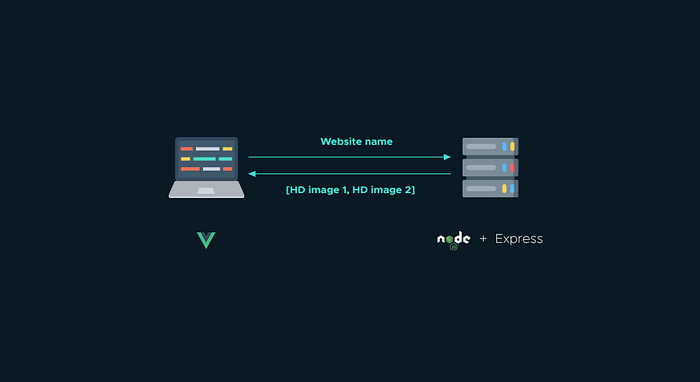
Now let’s talk about how this extension works. Penumbra, like most of the web apps have two parts— frontend and backend. The front end is where user can interact with extension and the back-end which sends high quality icons of the website.
On the client, I’m using VueJs to create UI. VueJs is a JavaScript framework used to create reactive and modular UIs for the web.
The UI of penumbra is quite minimal and similar to the default one with few exemptions. It lets you add websites (more than 8), it displays weather and a random quote on each request. You can also change background color if you wish.
On the back-end side, I’m using Node with express to create API endpoints and a logo-scraping NPM package to fetch the icons of the websites. Node is a JavaScript runtime that lets you execute JavaScript on your system instead executing inside browser. ExpressJs lets you easily create API endpoints. You can also create API endpoints with vanilla Node but its HTTP module is little ugly to use. Using express can save a lot of time.
The back-end for penumbra is quite simple. I’m creating an API endpoint where user can send the URL of the website he/she wants to add. Then there’s a NPM package logo-scrape which scrapes the icons of that website and returns an array of objects containing address of the images. There’s also a JSON file that I created containing image addresses of some popular websites. Then I’m merging both arrays — one from JSON file and the other fetched using logo-scrape package and sending it back to the client.
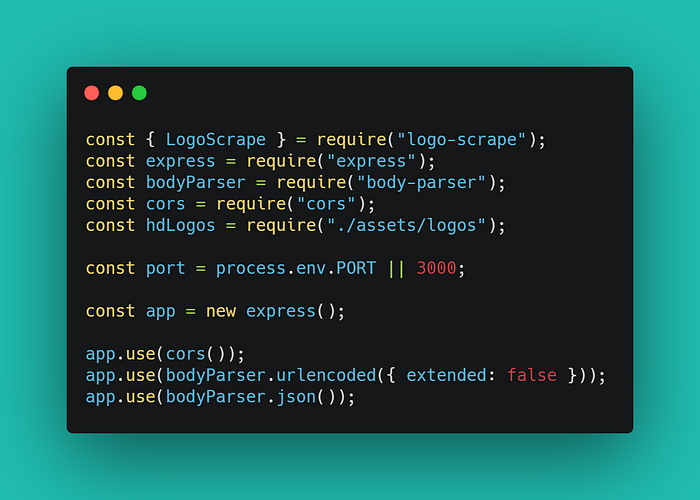
After importing necessary packages I’m creating a port constant which stores the value of port available in the system or 3000 if there’s none. When hosting most of the time the host provider system have a port for our app stored in the PORT environment variable, and we can use that port to connect to internet.
Then I’m creating a new instance of express and storing it in app constant. Just after that there’s three app.use() functions. These functions allow us to run some function after receiving each request and before sending each response. These functions which run after every request are known as middlewares. So there’s three middleware functions that are executing after every request. The first one is cors(). It is a NPM package that deals with the CORS policies. It basically allows cross domain information interchange with REST. For more information regarding CORS you can visit MDN docs. The second and third middlewares deals with the parsing body of a REST request.
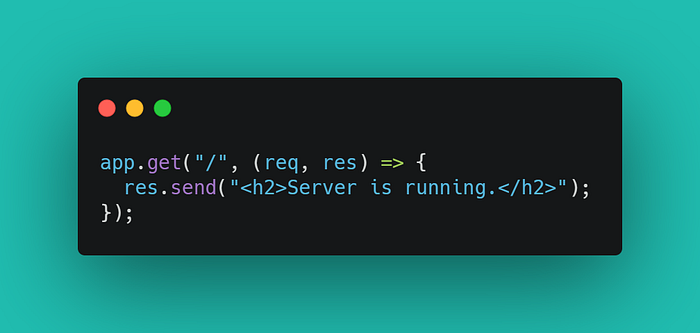
app.get() takes two arguments, first is the path and the second is a callback function that will execute on every GET request hit on the provided path.
In our case the first argument is a “/” which means the root domain. So if this site is hosted on www.example.com then the callback function that we provided as a second argument will run every time user visits this page.
Our callback function takes two parameters — req and res. The first parameter is an object which contains all the information regarding that particular request. So header details, body if it's a post request and a lot more. The second parameter is also an object which contains methods dealing with sending response to the user. Here we are using res.send() method and inside it, we are sending an HTML element.
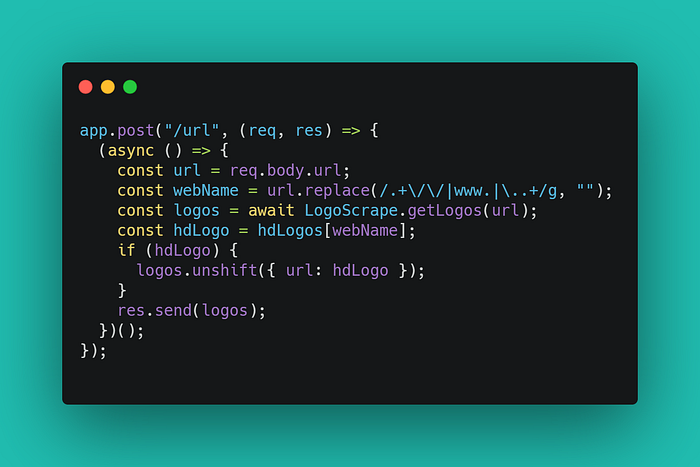
app.post() is where our main objective of fetching image is executed. Like app.get() method it takes two arguments, one path and other a callback function. In this case path is “/url”, so it will yield into www.example.com/url. The callback function will execute on every post request made on this path. Inside our callback function there’s an async IIFE (Immediately Invoked Function Expression). IIFE is just a fancy name for a function that is immediately invoked/executed. You just put the whole function declaration inside parenthesis followed by another set of parenthesis. Inside our async function we are storing url sent from client. Then we are using LogoScrape.getLogos() function and passing the URL, after that we get an array of objects containing image address which we are stored inside logos.
There’s an if block which adds the image address from JSON file (hdLogo) on first index of the logos array. In the end we are sending the logos array containing the image’s address from most relevant to the least relevant. For sending the array back to user we are using res.send() method.
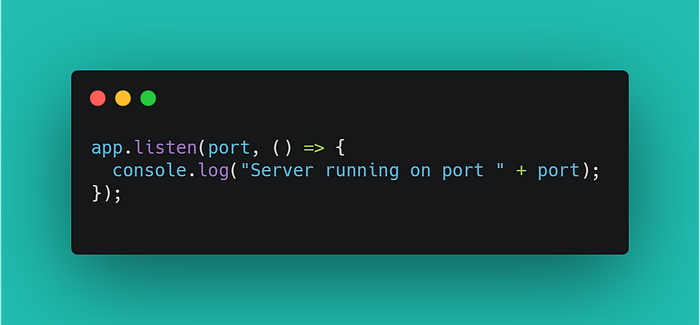
app.listen() is the last method we are using. This function is pretty self-explanatory. Here we are listening to the port and executing a callback function. This function basically starts our server.
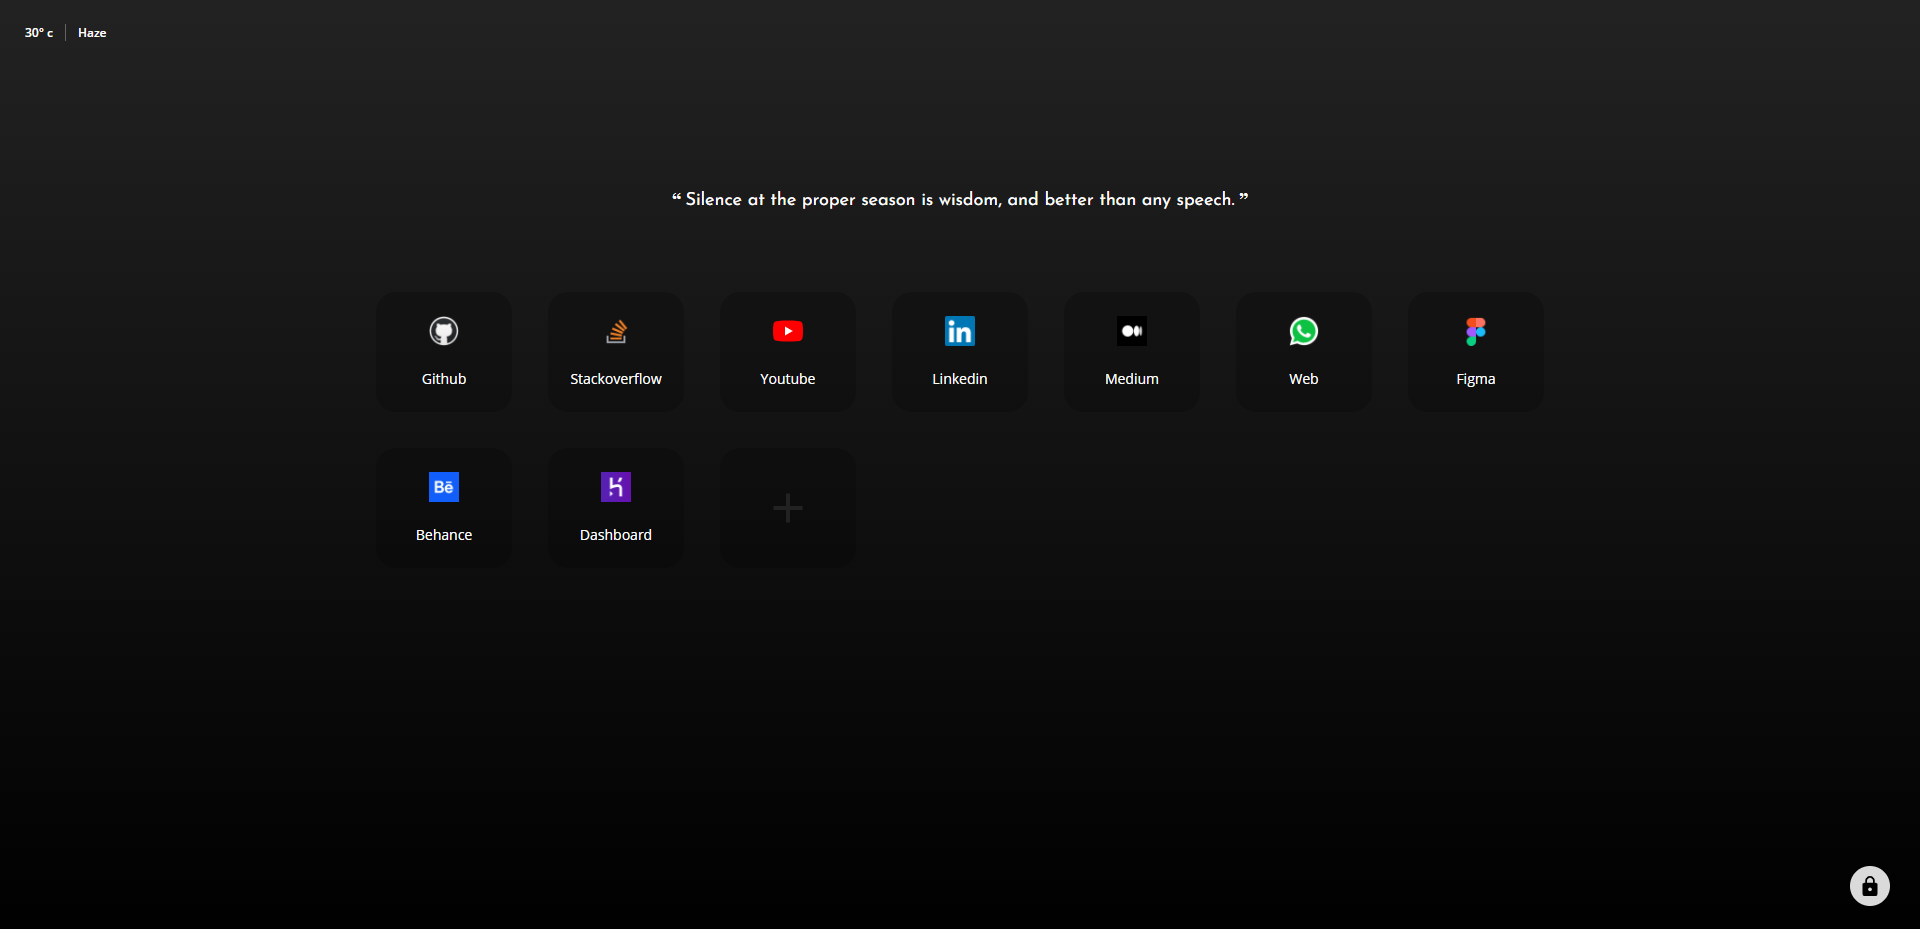
The client-side UI is pretty straightforward. We have a weather notification on top left. In the middle there’s a random quote, below that there’s your website shortcuts. On the bottom right there’s a lock button which locks/unlocks all settings like prompting use website delete while hovering on cards, changing temperature unit from Celsius to Fahrenheit and vice-verse and also changing background color. There’s also a container at the bottom which appears when you hover near it and it contains several themes you can pick from.
Let’s diversify each UI feature into separate component.
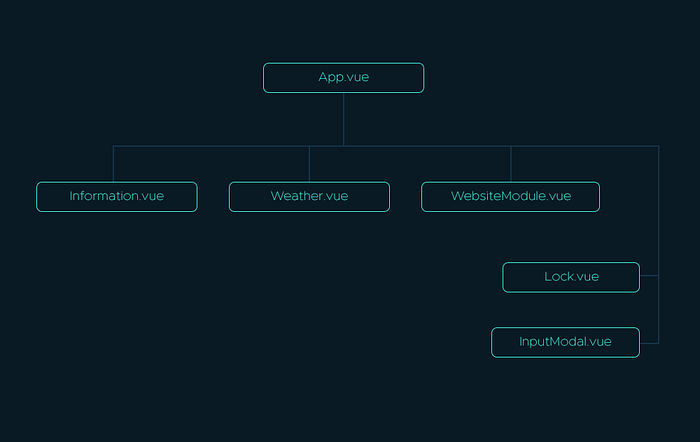
Weather — Inside our main App.vue we have a weather component. I’m using an IP address API here to get the location of the user. I could’ve used JavaScript built in Geolocation web API to get the user’s location which could’ve been more precise and faster, but that would open a prompt where user have to give the permission to use Geolocation. This would add another layer of user interaction. So I opted to get user address with IP address API and use that location to get the weather data from weather API. This is little slower as we are using two APIs back to back, but the good thing is that user don’t have to do anything. Weather will be displayed without user have to click anywhere.
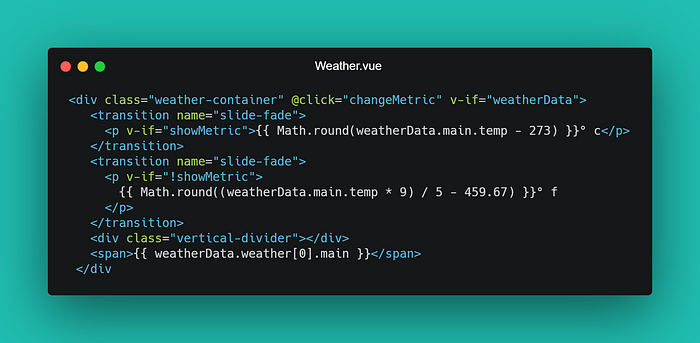
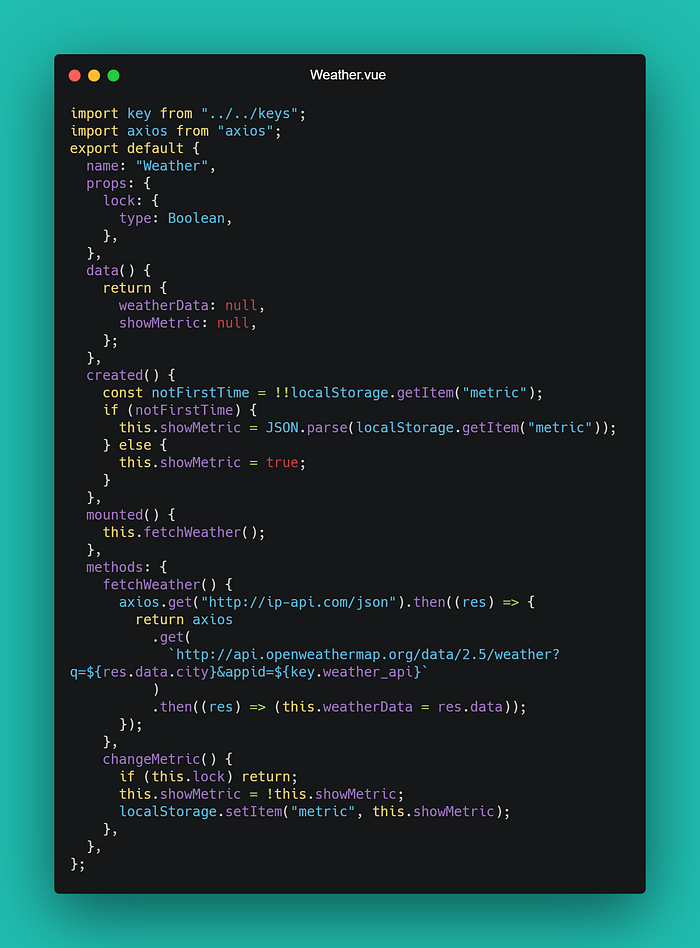
In this component, we have a prop type which determines whether user will be able to change temperature unit. Then we have two variables in this local state. weatherData and showMetric, weatherData will be used to store weather data and showMetric will determine the type of unit.
We are not using any database to store the user’s preference, instead we are using localStorage. So inside created hook, we are checking whether there’s user preference is stored in localStorage, if there’s something use that if not then use metric unit.
Then when our component is mounted, we are executing fetchWeather function. This function first gets user’s location from IP address API, then I’m using that data to fetch the weather which I’m storing in weatherData variable.
We also have a changeMetric function which will be executed every time user clicks on the weather component. It changes the showMetric variable and store the new one in localStorage.
Information — This is another simple component which displays a new quote on each request.
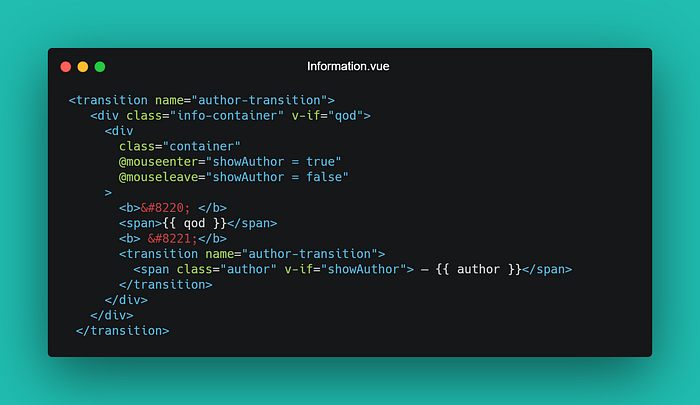
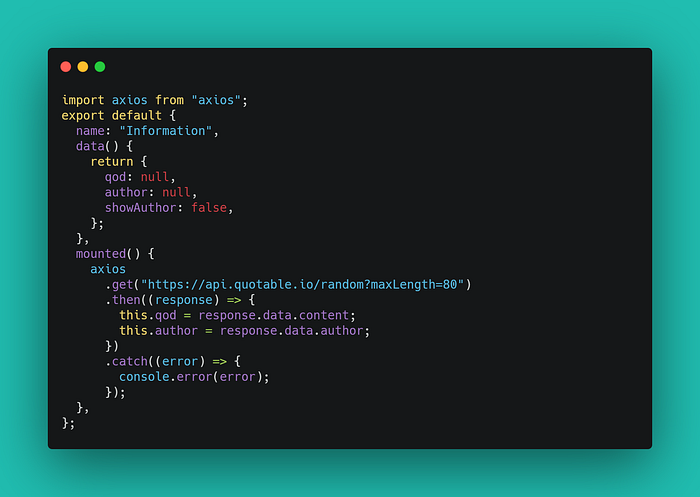
Here we have three variables in local state — qod, author and showAuthor. qod is where I’m storing the random quote, author stores the author name and showAuthor is a Boolean which determines whether to show the author or not.
Inside mounted hook we are fetching the random quote with a constraint of maximum length being 80.
WebsiteModule — This component is responsible for displaying the websites to the user and let user delete, change icon, refresh etc.
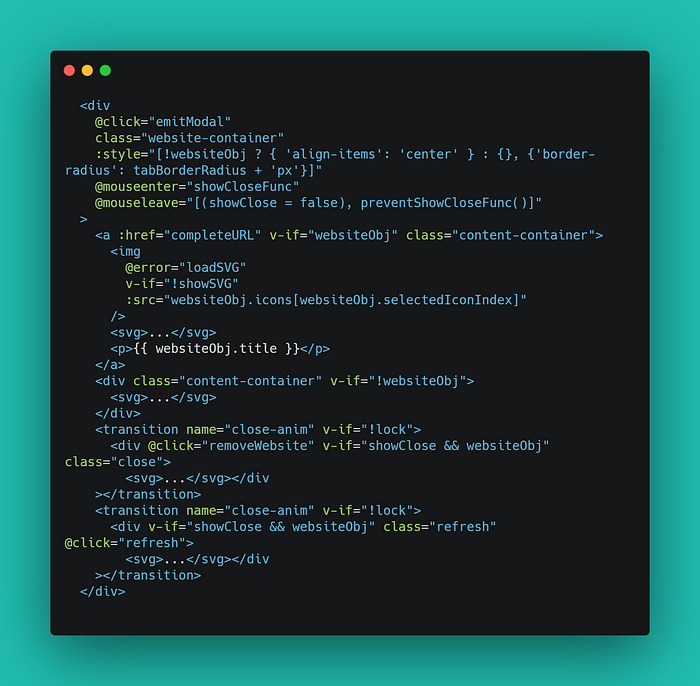
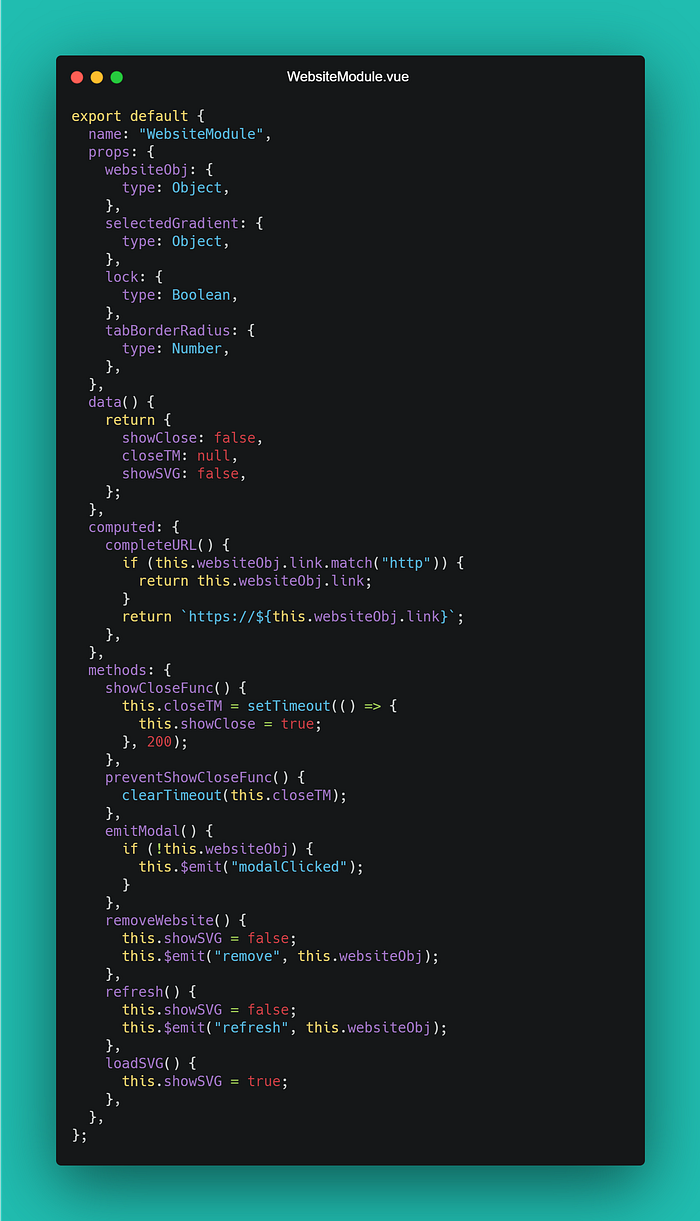
This component receives websiteObj as a prop which includes website name and array of icons which user can switch through. If the prop of lock is true it will prevent any changes, otherwise it will emit events of deletion, changing icons etc. Then these events are handled in App.vue.
There’s few other components like BackgroundColor, Lock etc. There’s also a component InputModal where I create the POST request to the get the HD icons from the back-end that we created.
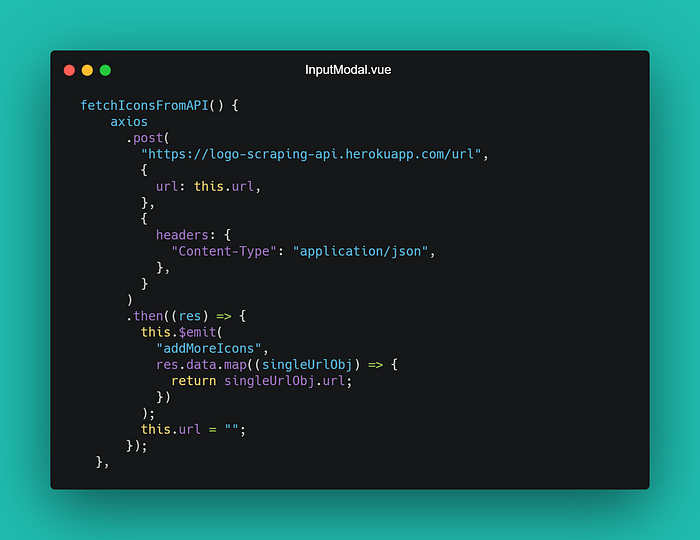
The fetchIconsFromAPI creates a post request which contains URL user has entered (after being validated). Then I’m emitting an event when new icons have been received.
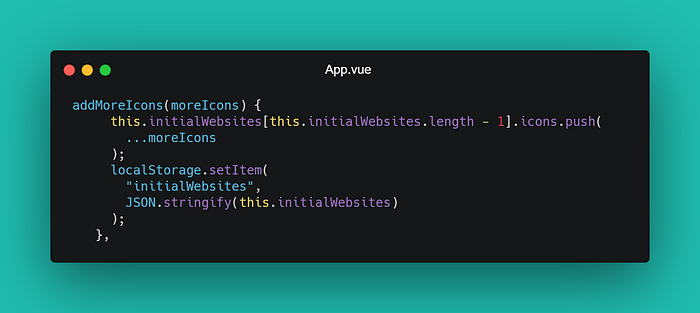
Then inside App.vue, I’m catching that emit and executing a function addMoreIcons with icons received from post request as argument. During execution, it stores the new icons inside the initialWebsites array. This array contains objects of websites user has added and stores them in localStorage if any change is made inside it.
For publishing it on chrome’s web store, first we need to make some changes in our new tab. Currently, it is only a website not an extension. To make is an extension we would need a manifest.json file inside the root directory of the build.
First we need to build our vue app, for that we need to run npm run build. It will build our app and give us a dist folder.
Inside this dist folder we will create our manifest file. This manifest file will tell chrome about our extension.
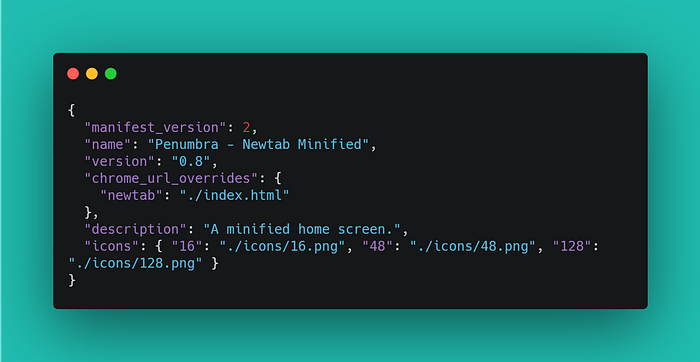
Here we will give our extension name, version, description etc. Two important things for our extension is chrome_url_overrides and icons. The chrome_url_overrides is an object which overrides the existing URLs, in our case it's the new tab and it should point to our main index file.
The icons also is an object, here we declare the icons of our extension of different sizes.
Different types of extension requires different parameters inside manifest. You can look at official documentation here.
Now for hosting you will have to go to Chrome developer console and pay a one-time fee of $5. Once done, click on add item and attach the zip file of the dist folder here. Then you’ll need to submit some details about your extension and publish. It takes some time for review, after some time your extension will be deployed for others to use.
Penumbra was a little side-project that I created to have a new tab that works for me. The whole experience of building this new tab was pretty straightforward, I didn’t try to do anything extreme. But it doesn’t mean that I didn’t learn anything new. I figured out how to create an API endpoint and what problems arise while creating one. On the front-end I tried to keep the whole structure DRY and simple. Finally, learned how chrome extensions really work and harness chrome features using manifest. I’ll be building some more complex extensions in the future. You can try this extension yourself from here or go through codes in GitHub repo.