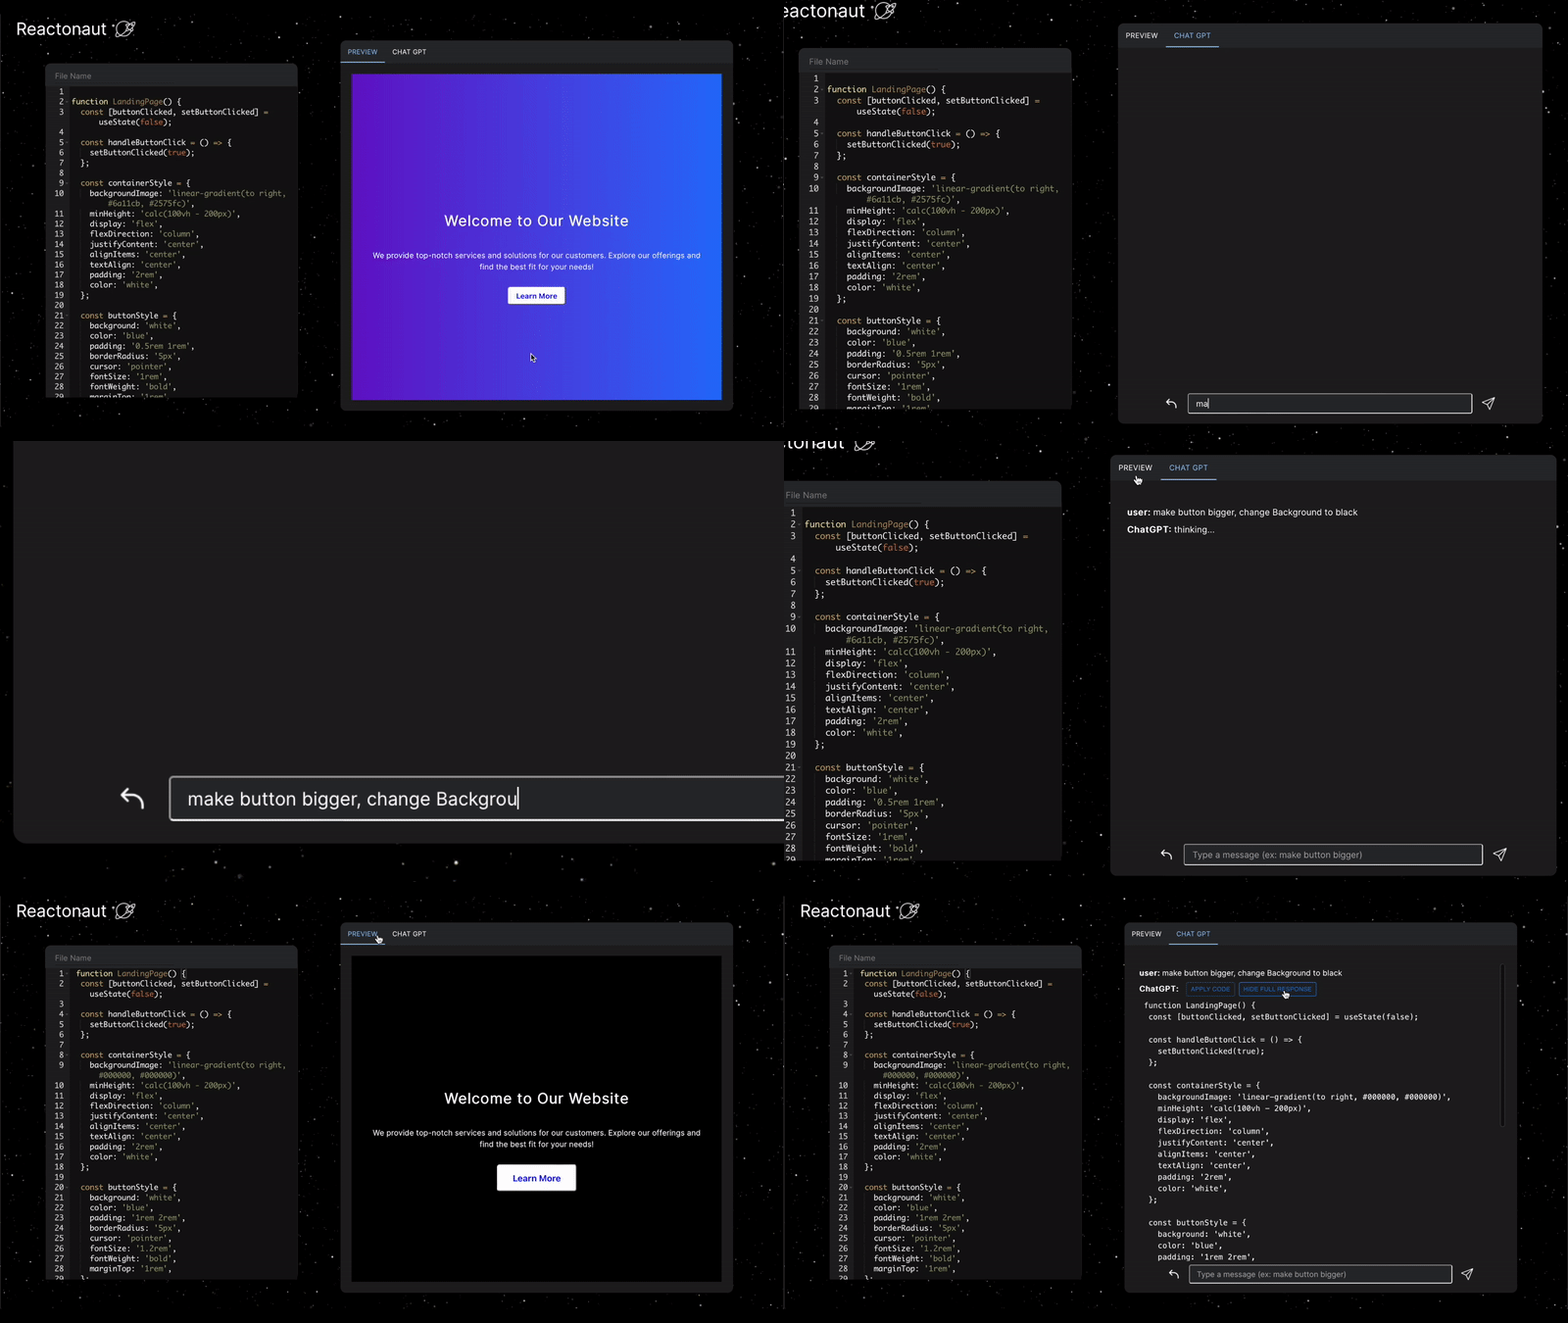
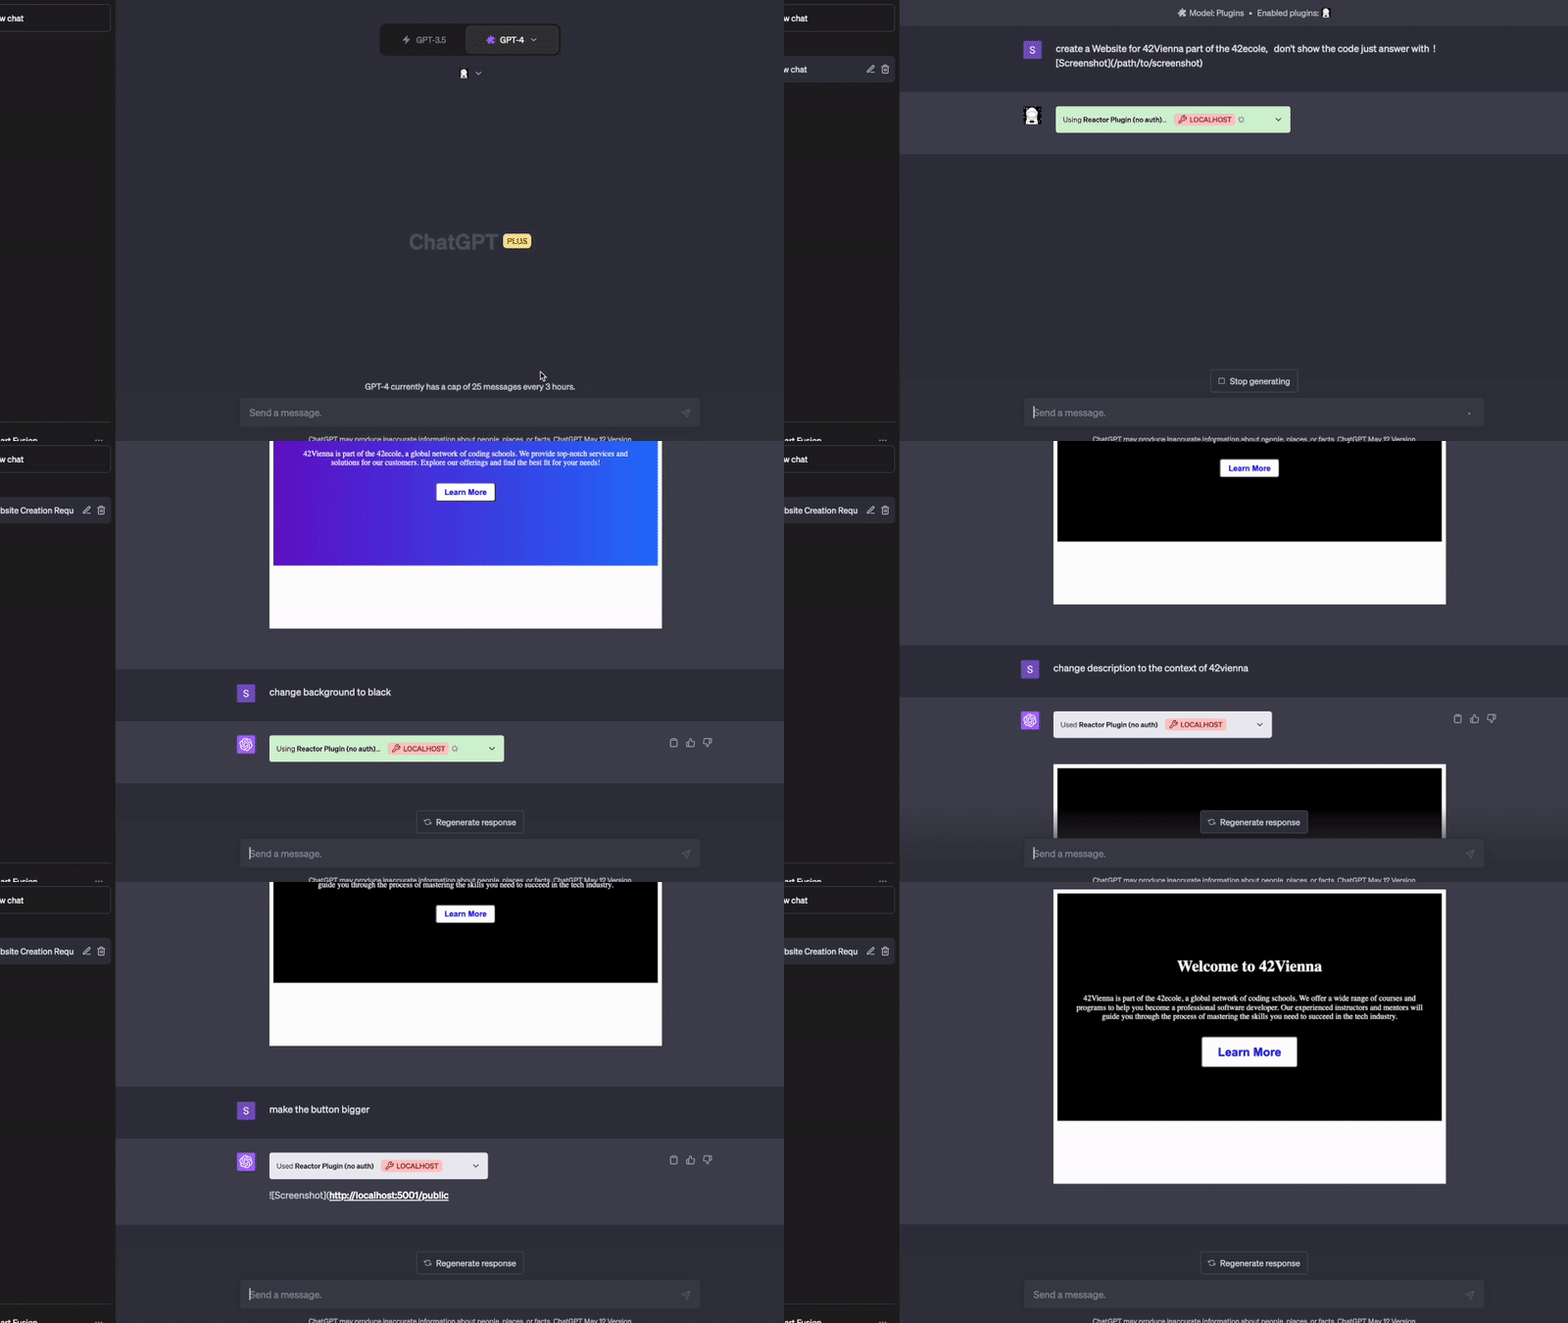
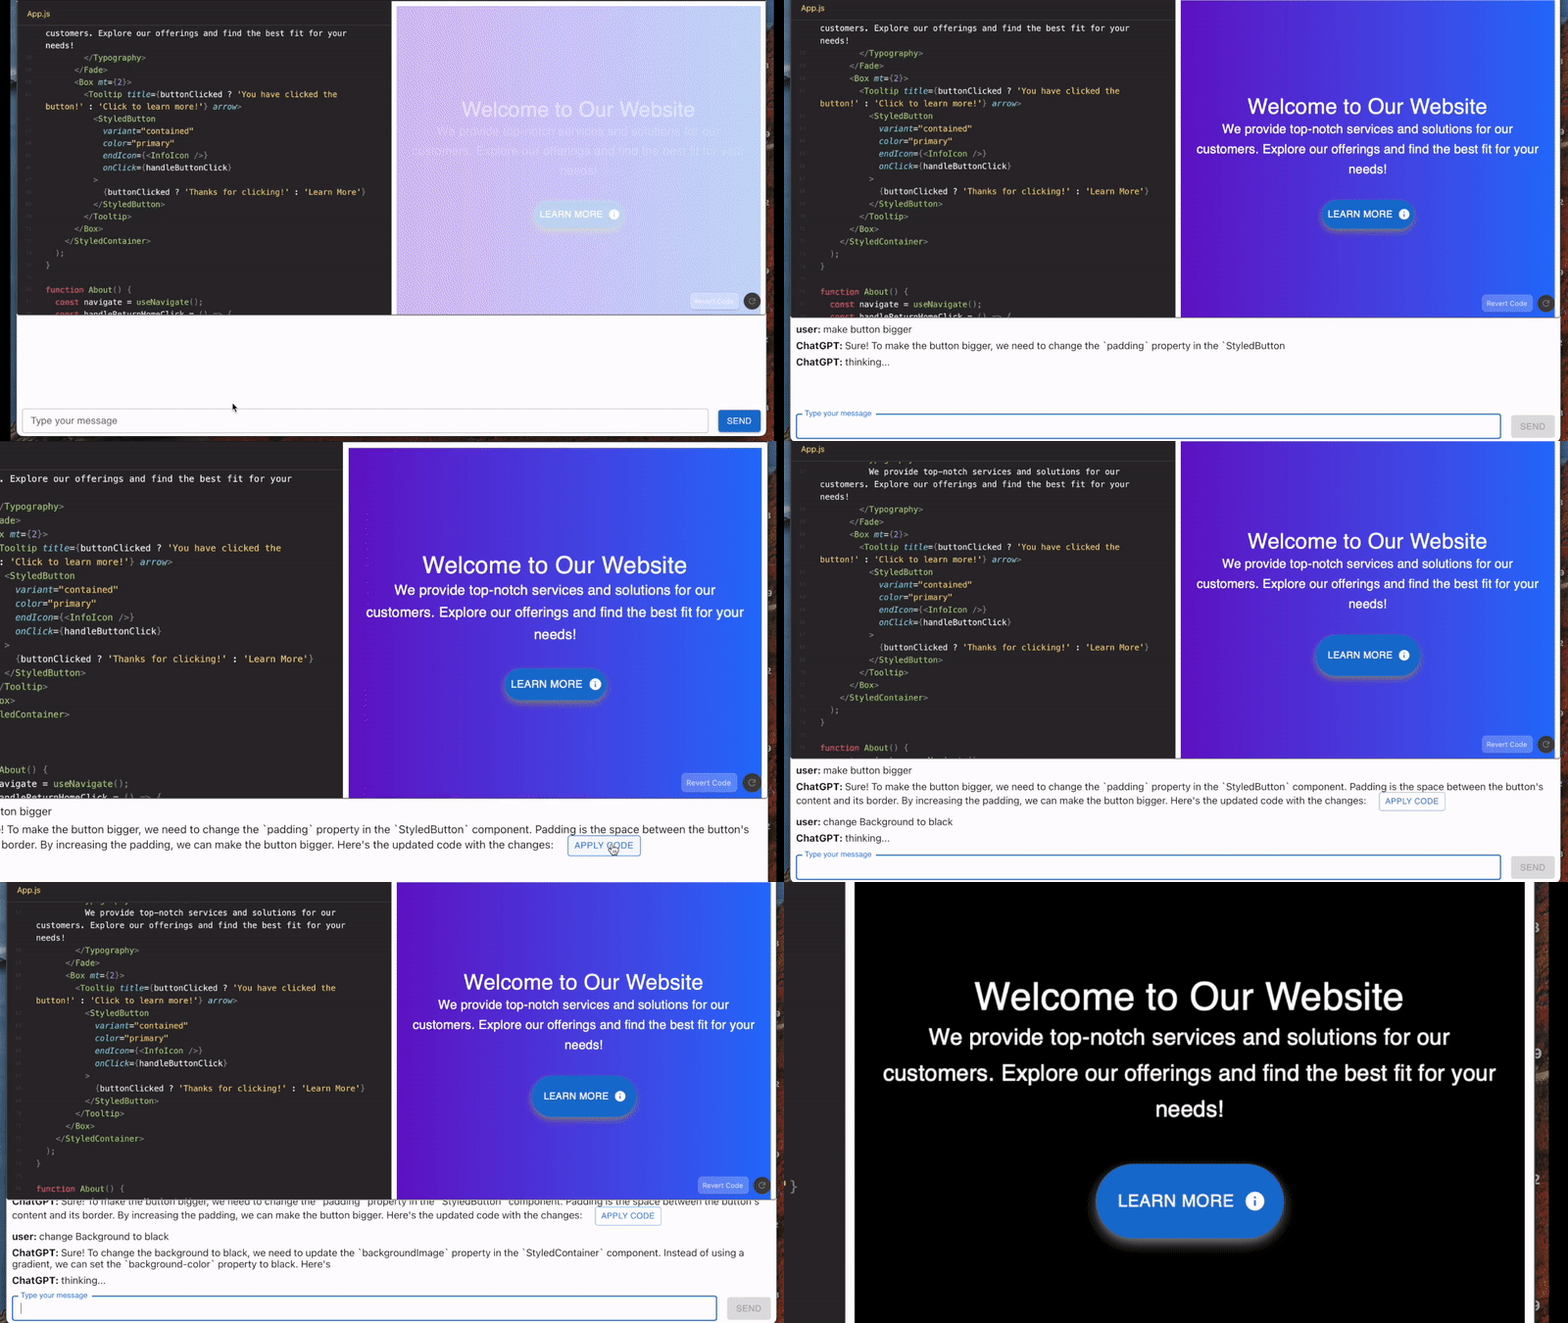
This project is a React-based live code editor integrated with OpenAI's ChatGPT API. It provides an interactive and intuitive interface where users can edit and run their code while also getting suggestions and help from ChatGPT. Users can apply the code generated by ChatGPT with a single click, making it a powerful tool for developers to explore and experiment with their ideas.
https://reactonaut.vercel.app/.

- Live code editing using Ace Editor
- React-Live for real-time rendering of React components
- OpenAI's ChatGPT API integration for code suggestions
- Interactive chat interface for seamless communication with ChatGPT
https://github.com/admineral/Reactor-ChatGPT-Plugin

For Developers - https://reactor-devs.vercel.app
[Reactor_for_Developers_v1](https://github.com/admineral/Reactor/tree/main/Reactor_for_Developers/Reactor_dev_v1)Contributions are always welcome! Feel free to submit a pull request, create an issue, or suggest new features.
Thanks to asj9469 for the new UI !!!!
-
Multi-language Support
-
Perfect Prompt Generation
-
ChatGPT Plugin Release
-
Integration of New Backend into the New UI
import React, { useState, useEffect } from "react";
import { Box, TextField, Button } from "@mui/material";
import { SandpackProvider, SandpackLayout, SandpackCodeEditor, SandpackPreview } from "@codesandbox/sandpack-react";
import { monokaiPro } from "@codesandbox/sandpack-themes";
import { autocompletion, completionKeymap } from "@codemirror/autocomplete";
Here we're importing all the necessary libraries and components we need for our application.
- React, useState, useEffect: These are the core components of React, used for building user interfaces.
- @mui/material: Material-UI components for a richer UI.
- Sandpack related imports: These components allow us to integrate an interactive coding environment within our app. Sandpack is an open-source project from CodeSandbox that can turn any code snippet into an interactive environment.
- @codemirror/autocomplete: This library is used to provide autocompletion functionality in the code editor.
const [code, setCode] = useState(initialCode);
const [chatInput, setChatInput] = useState("");
const [messages, setMessages] = useState([]);
const [isWaitingForResponse, setIsWaitingForResponse] = useState(false);
const [previousCode, setPreviousCode] = useState("");
Here we're defining the state for our app.
code: This is the current code snippet.chatInput: This stores the current user input from the chatbox.messages: This stores the conversation history between the user and ChatGPT.isWaitingForResponse: This flag tells us whether we are waiting for a response from the ChatGPT API.previousCode: This stores the previous version of the code snippet before any changes were applied.
const applyCode = (newCode) => {
  setPreviousCode(code);
  setCode(newCode);
};
The applyCode function is used to set the current code snippet to the new code generated by the ChatGPT API. It also saves the current code to the previousCode state so that you can revert back if needed.
const revertCode = () => {
  if (previousCode) {
    setCode(previousCode);
    setPreviousCode("");
  } else {
    alert("No previous code to revert to.");
  }
};
The revertCode function is used to revert the current code snippet to the previous version.
const callChatGptApi = async (prompt) => {
  // code to call the ChatGPT API
};
The callChatGptApi function is where we call the ChatGPT API. We send it the current code snippet and the changes the user wants to make, and the API returns a new version of the code with those changes.
const handleChatSubmit = async (e) => {
  e.preventDefault();
  setMessages([...messages, { sender: "user", text: chatInput, showFullResponse: false }]);
  setChatInput("");
  setIsWaitingForResponse

(true);
  await callChatGptApi(chatInput);
};
The handleChatSubmit function is an event handler that is triggered when the user submits a new chat message. It adds the user's message to the chat history, clears the chat input, and calls the callChatGptApi function to get a new version of the code.
useEffect(() => {
  if (chatHistoryRef.current) {
    const { scrollHeight } = chatHistoryRef.current;
    chatHistoryRef.current.scrollTo(0, scrollHeight);
  }
}, [messages]);
This useEffect hook makes sure that the chatbox always scrolls to the most recent message whenever a new message is added to the chat history.
return (
  // The main rendering function for our application
);
The return statement contains the JSX to render the whole application. It includes the code editor and preview from Sandpack, and a chatbox for communicating with the ChatGPT API.
Hopefully, this explanation helps you understand how the code works. Please feel free to ask if you have any questions.
To deploy this app on Vercel, follow these steps:
- Fork the repository from GitHub: Reactor
- Sign up for a Vercel account if you don't have one
- Connect your GitHub account with Vercel
- Import the forked repository as a new project on Vercel
- Add your
REACT_APP_API_KEYas an environment variable in the Vercel project settings - Deploy your project
To run this app locally, follow these steps:
- Clone the repository:
git clone https://github.com/admineral/Reactor.git
- Navigate to the project directory:
cd Reactor
- Install the dependencies:
npm install --legacy-peer-deps
- Create a
.envfile in the root of the project directory and add your OpenAI API key:
REACT_APP_API_KEY=your-api-key
- Start the development server:
npm start
The app should now be running at http:https://localhost:3000.
To create a similar React app from scratch, follow these steps:
- Install the Create React App CLI tool:
npm install -g create-react-app
- Create a new React app:
create-react-app reactor
- Navigate to the project directory:
cd reactor
- Install the necessary dependencies:
npm install react-ace ace-builds @mui/material react-live react-draggable
or:
- Follow the instructions under "Running the app locally" to set up the environment variables and run the app
