An open-source, zero-cost accommodation management solution
View Demo · Report Bug · Request FeatureStay Manager is an open-source, zero-cost accommodation management solution crafted for small and medium businesses venturing into the accommodation sector. Built on Supabase, it offers a reliable and scalable platform to effortlessly manage reservations, guest check-ins/check-outs, room assignments, and more. With its intuitive interface and user-friendly design, Stay Manager streamlines your operations, enabling you to provide exceptional guest experiences.
Tech stack of Stay Manager(v-1.0.0)
Before you begin, make sure you have the following prerequisites:
- Clone the repository by running the following command in your terminal or command prompt:
git clone https://github.com/TusharGaonkar/Stay-Manager.git2.Navigate to the cloned repository
cd Stay-Manager3.Install the dependencies
npm install- Copy the project key and URL from the console
- Open the
.env.txtfile in the root directory of the project. - Replace the placeholder values in the file:
VITE_SUPABASE_KEY = 'YOUR_SUPABASE_KEY'

VITE_SUPABASE_URL = 'YOUR_SUPABASE_URL'

VITE_CURRENCY_LOCALE = "en-IN"

VITE_CURRENCY = "INR"
To view all the supported VITE_CURRENCY_FORMAT values, check here
To view all the supported VITE_CURRENCY values, check here
- Rename the
.env.txtfile to.env - Important: Do not share your
.envfile with anyone as it contains sensitive information.
- Creating Storage Bucket
- Click on
Storagefrom the sidebar. - Create a new Supabase storage with the name
rooms
- Navigate to the SQL Editor in the sidebar.
- Create two queries named
FunctionsandTables - Copy the queries from Functions.sql and paste it into the
Functionsquery editor. - Copy the content of the Tables.sql and paste it into the
Tablesquery editor. - Click on the
Runbutton to execute the queries
- From the sidebar, select
Authentication - Click on
Add user
- Provide an admin
emailandpassword
- Follow any additional steps or prompts to complete the authentication setup
- Click on the
Email Templatestab in the sidebar inAuthentication - Move to
Reset passwordtab - Replace the
Sourcewith with the following message body and save it
<h2>Reset Your Stay Manager Password</h2>
<p>This is a one-time sign-in link for your account. Follow this URL to reset the password:</p>
<p>
  Go to <strong>Settings</strong>, then in the <strong>Account Settings</strong>, update your
  password!
</p>
<p><a href="{{ .ConfirmationURL }}">Reset Password</a></p>In order to enable Row Level Security (RLS), to prevent unauthorized access to data, you need to create policies for each of the methods
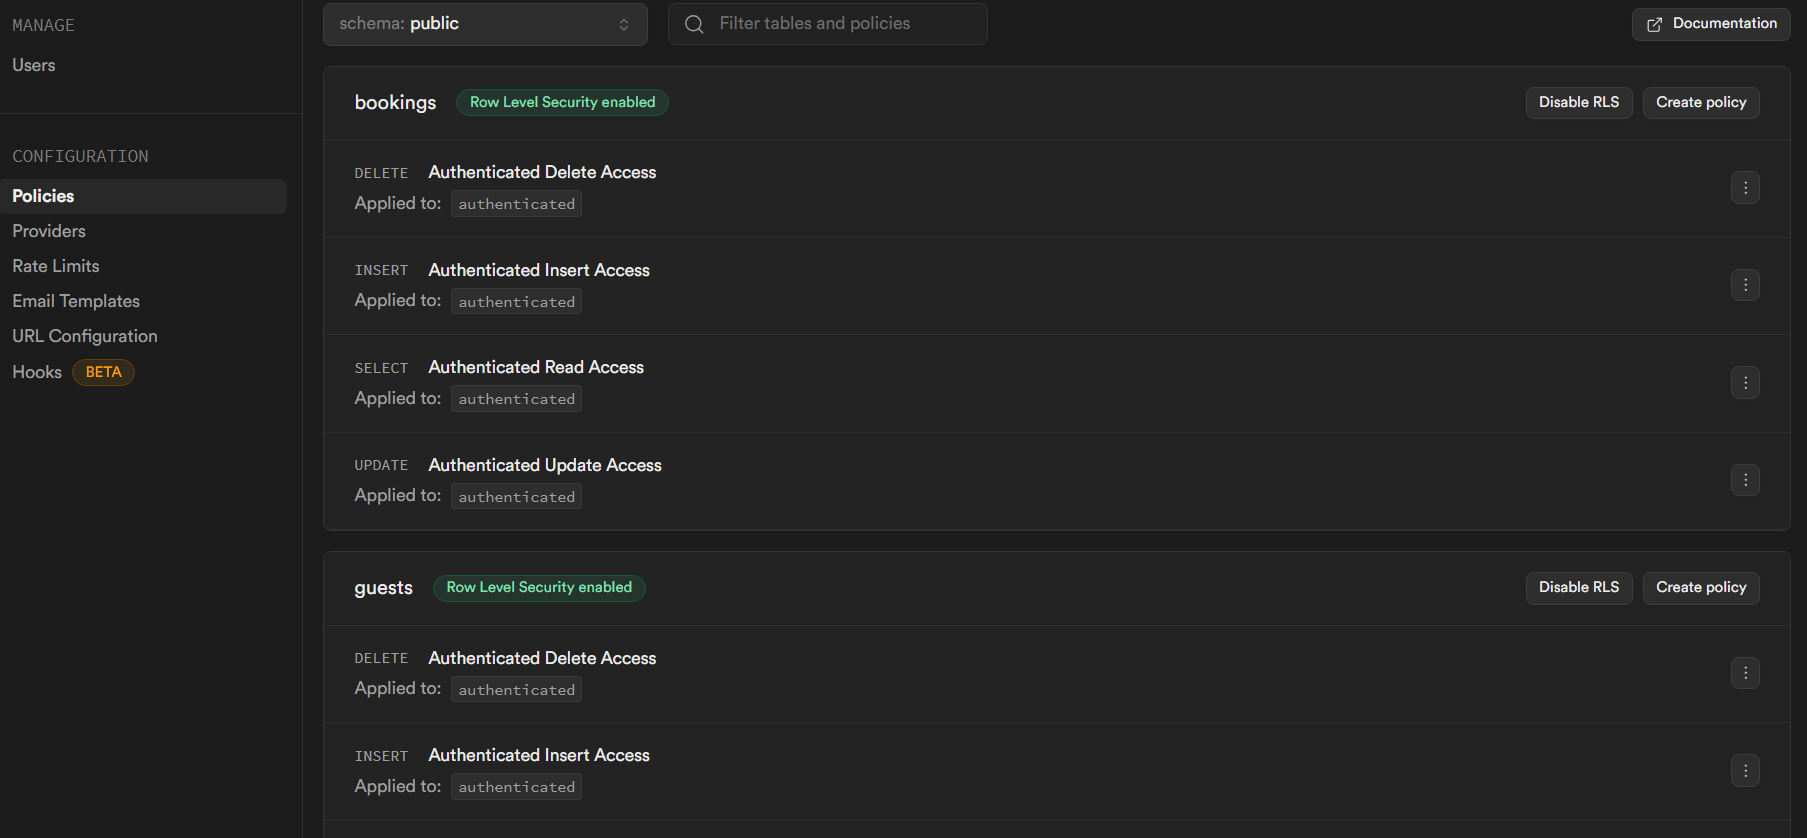
- Navigate to
Authentication - Go to
Policies - Click on
Create policyon the table - For each of the methods
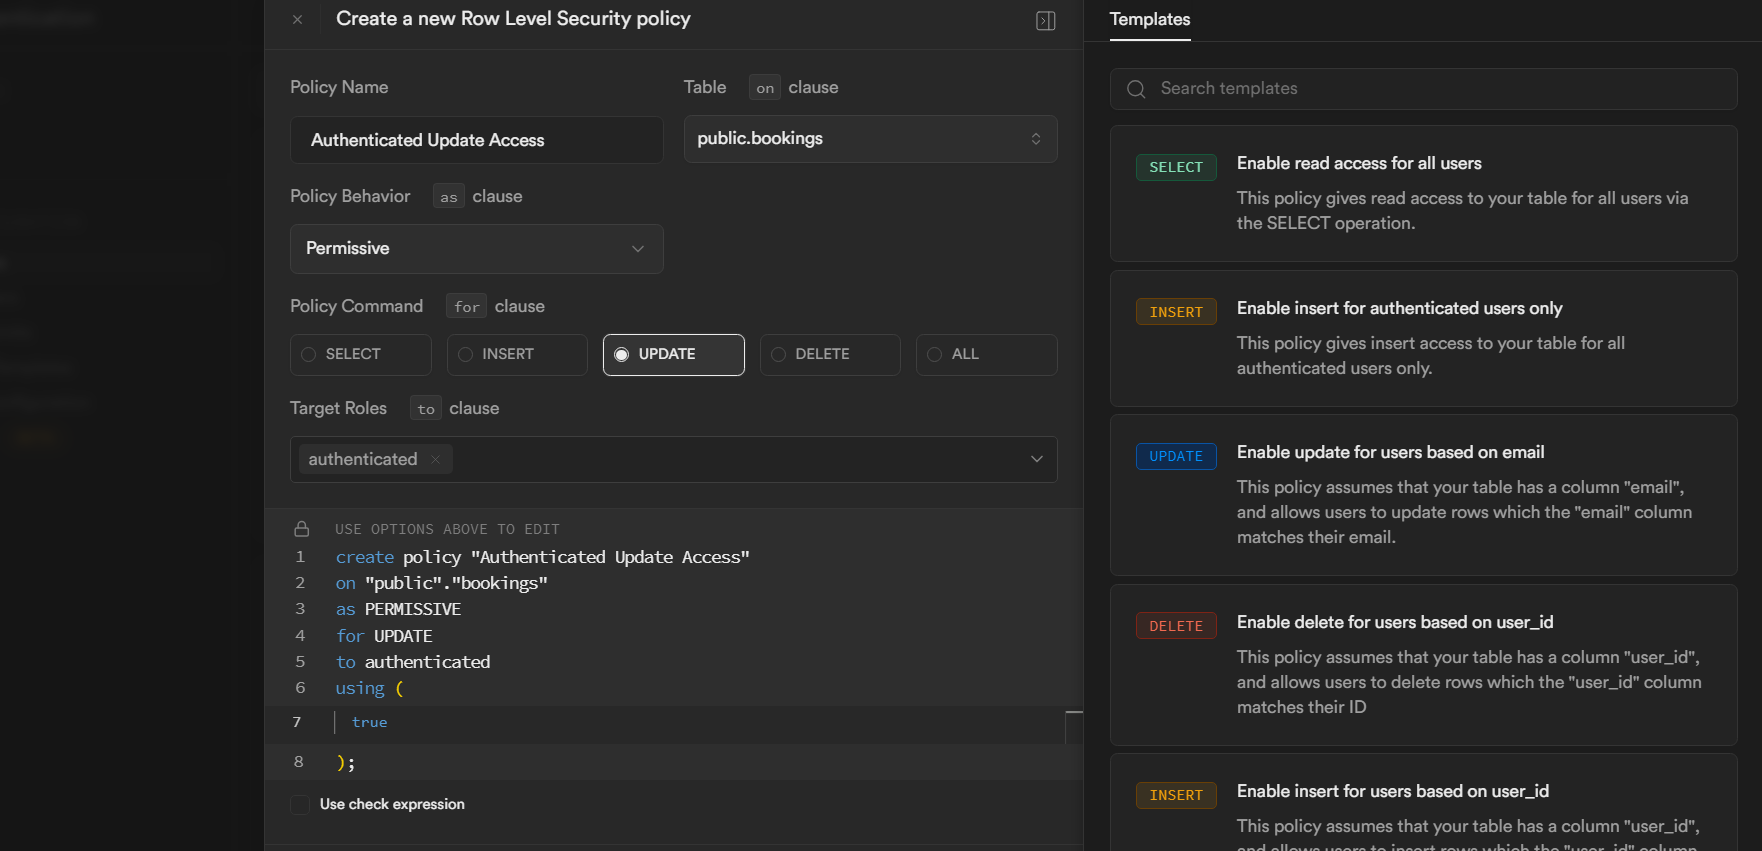
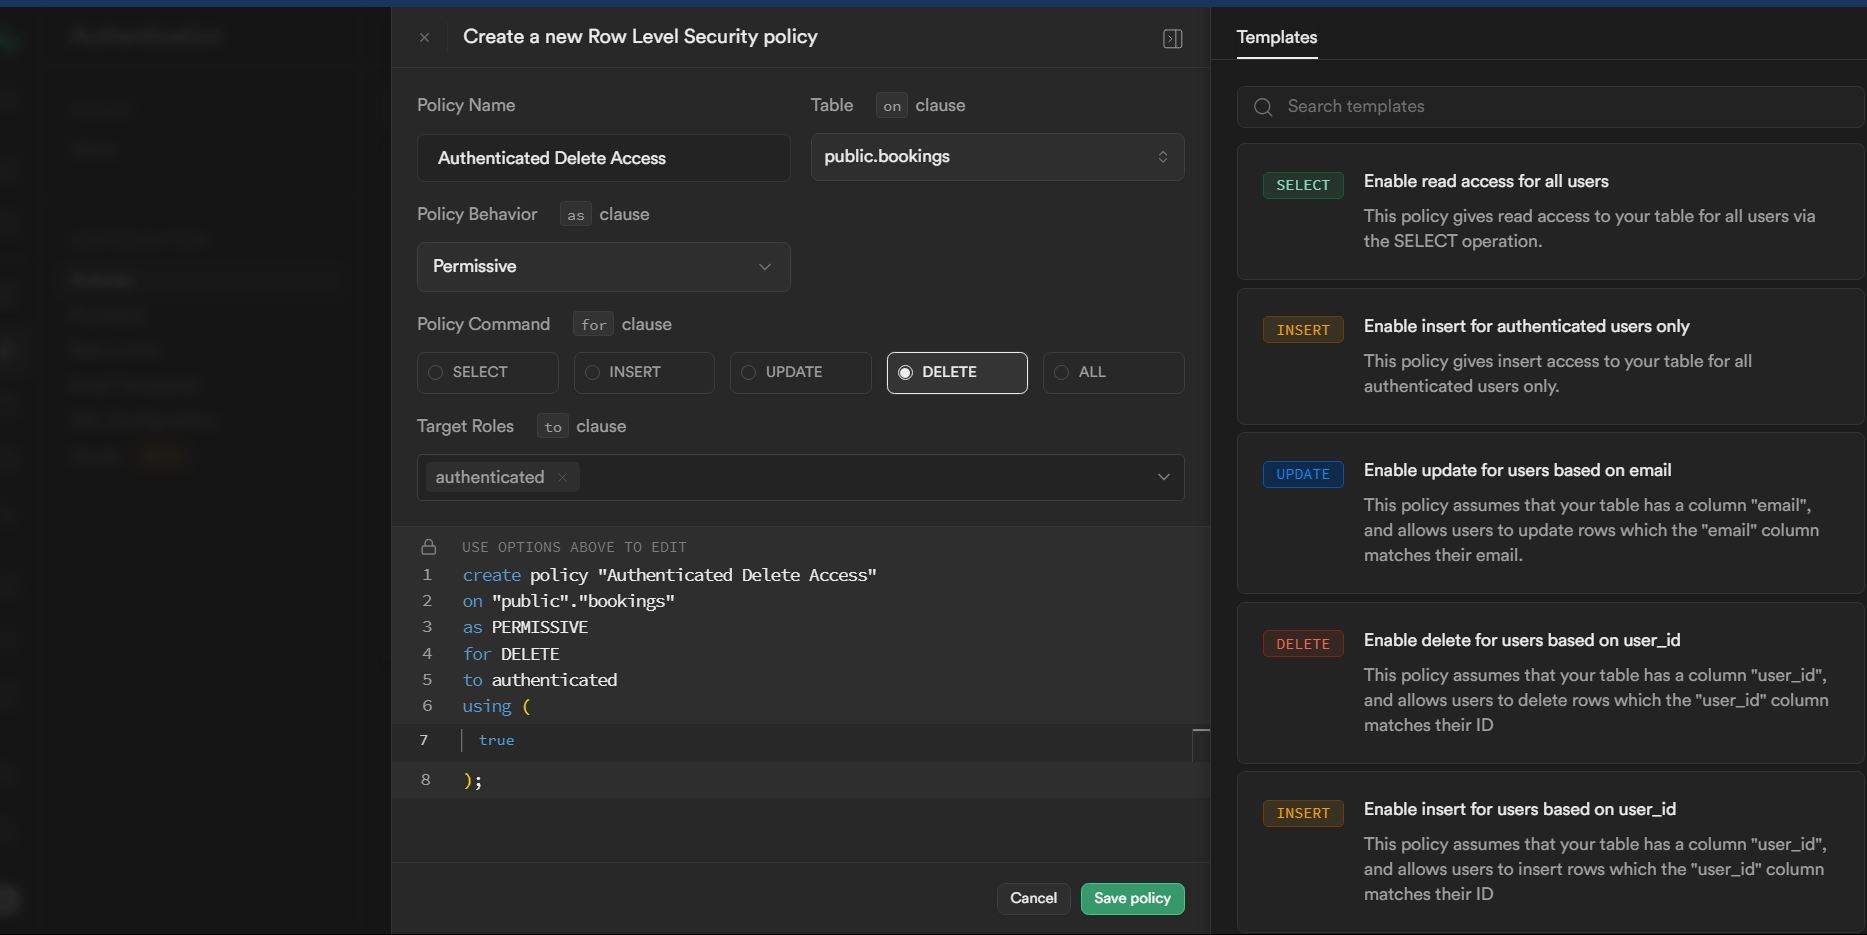
SELECT,INSERT,UPDATE,DELETE, create the policies for the target role ofauthenticatedas shown below and save the policies individually
SELECT Policy
INSERT Policy
UPDATE Policy
DELETE Policy
- Once all the policies are created, click on
Enable RLS
- Repeat the steps for all the tables
To run the server locally, follow these steps:
-
Navigate to the root directory of the project.
-
Run the following command:
npm run dev
-
You can access Stay Manager at
localhost:5173 -
Login with your admin credentials, try adding a new room and new booking for yourself and see the changes live in real-time
-
Once you have verified the setup is working, it's time to deploy the project
- To build manually and preview use
npm run build && npm run previewThe build files will be located in the /dist folder, and the app will be live at localhost:4173
Create a remote Github repository for your local Stay Manager setup
- To deploy to Netlify from Github please refer this doc
- Remember to add entries for all the environment variables in your build configuration settings
-
To deploy to Vercel please refer this doc
-
Rename the
/apifolder tosupabase-apior similar other thanapiif you get the following error message
Error: No more than 12 Serverless Functions can be added to a Deployment on the Hobby plan. Create a team (Pro plan) to deploy more.
as Vercel treats all the files inside the /api folder as Serverless Functions.
-
After renaming, enable your IDE to automatically update the paths in the current files importing functions from the
/apifolder -
Remember to add entries for all the environment variables in your build configuration settings
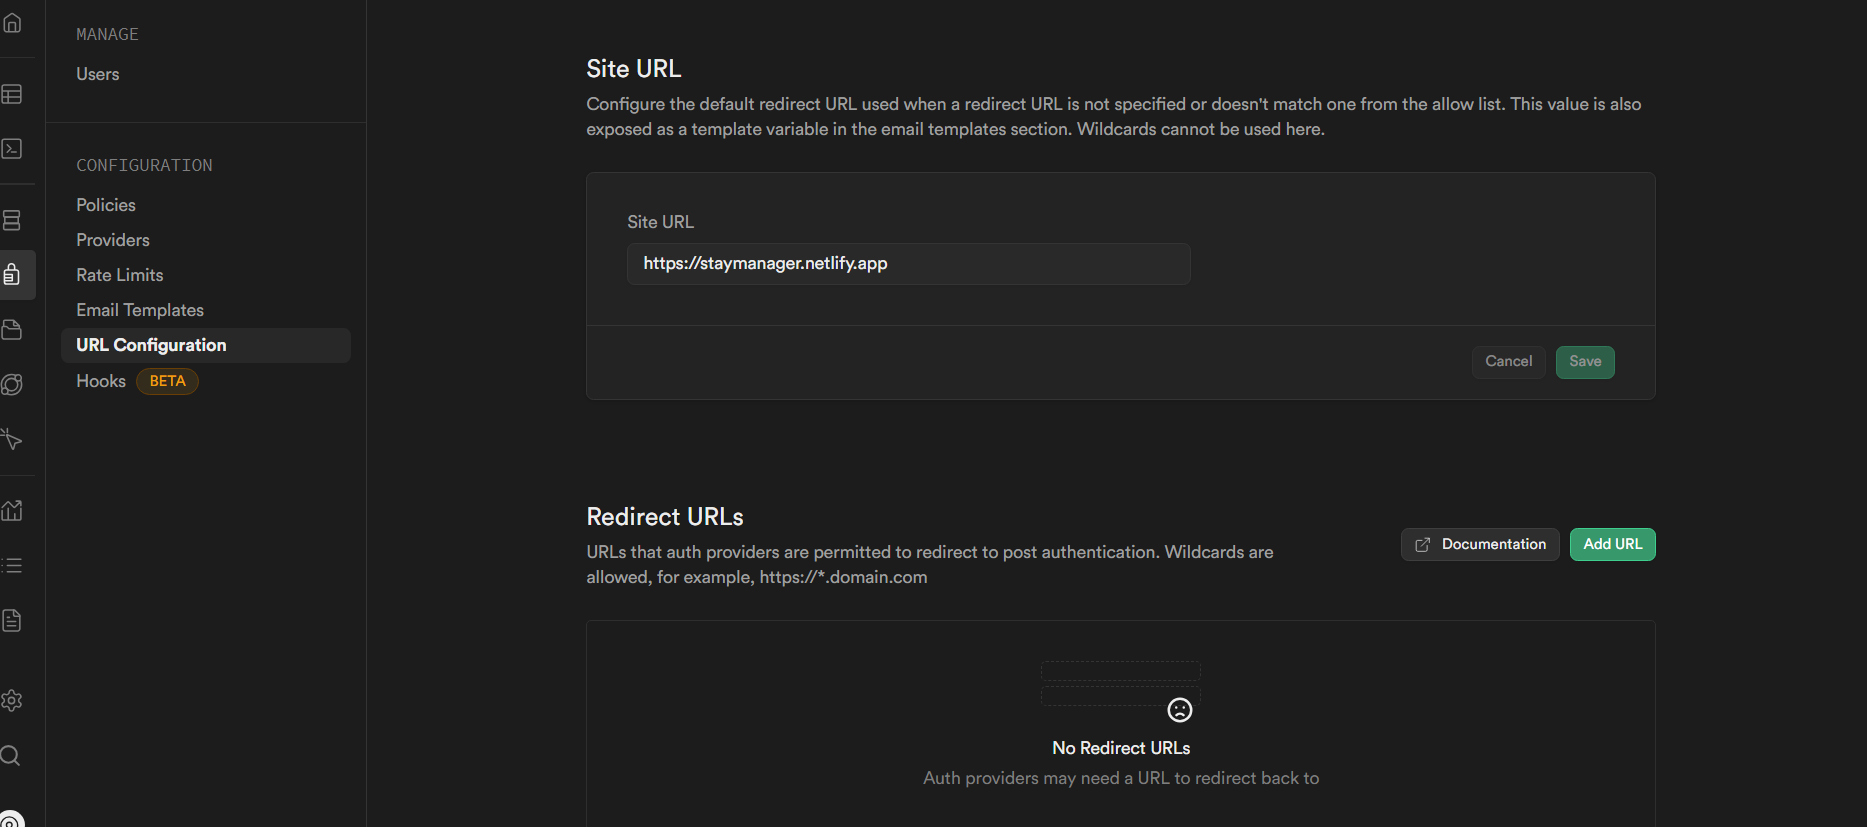
- Navigate to
Authenticationin your Supabase project - From the sidebar, select
URL Configuration - Enter your domain name in the
Site URLfield, here our domain isstaymanager.netlify.app
Done! you have successfully deployed your own Stay Manager instance ⚡👏.
If you have a suggestion that would make this better, please fork the repo and create a pull request.
- Fork the Project
- Create your Feature Branch (
git checkout -b feature/AmazingFeature) - Commit your Changes (
git commit -m 'Add some AmazingFeature') - Push to the Branch (
git push origin feature/AmazingFeature) - Open a Pull Request
Feel free to reach out if you have any queries or suggestions to improve👍
Tushar Gaonkar - [email protected]


