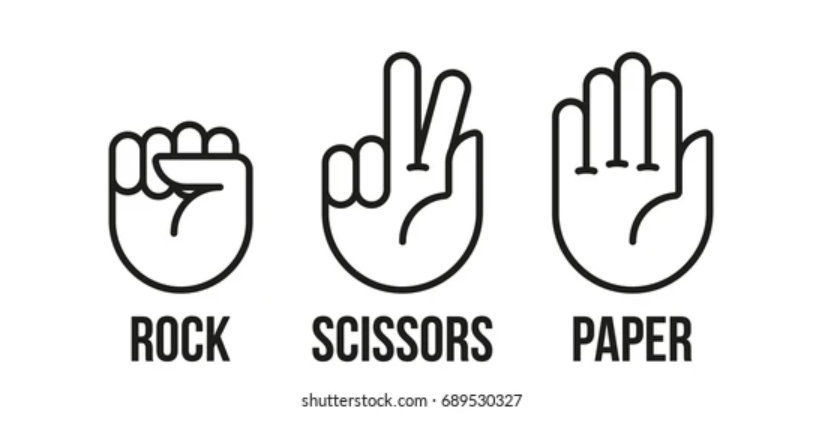
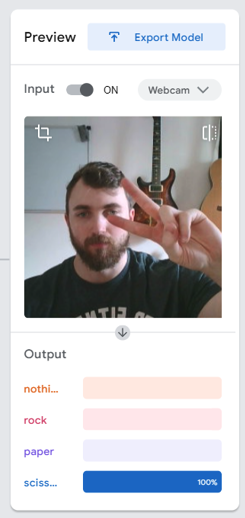
- This is an implementation of an interactive "Rock Paper Scissors" game in which the user can play with the computer using a webcam to record the user's selection.
- The Model used can be accessed from Teachable-Machine and the download is shown in the repository under the file named keras_model.h5 with the corresponding labels in the labels.txt file.
- To create a (small) image database for computer vision tasks.
- To set up a virtual environment and understand the installation of all required packages.
- A tool to practice intermediate Python programming - 'if-else' statements, 'while' loops, and object oriented programming.
- Create the dataset (images) to be used in training the model
- Create the model using Teachable Machine.
- Create the conda virtual environment
- Package Installation
- Get users choice and randomly generate computer's choice
- Determine the winner
- Get user prediction with model
- Initiate countdown
- Other additions
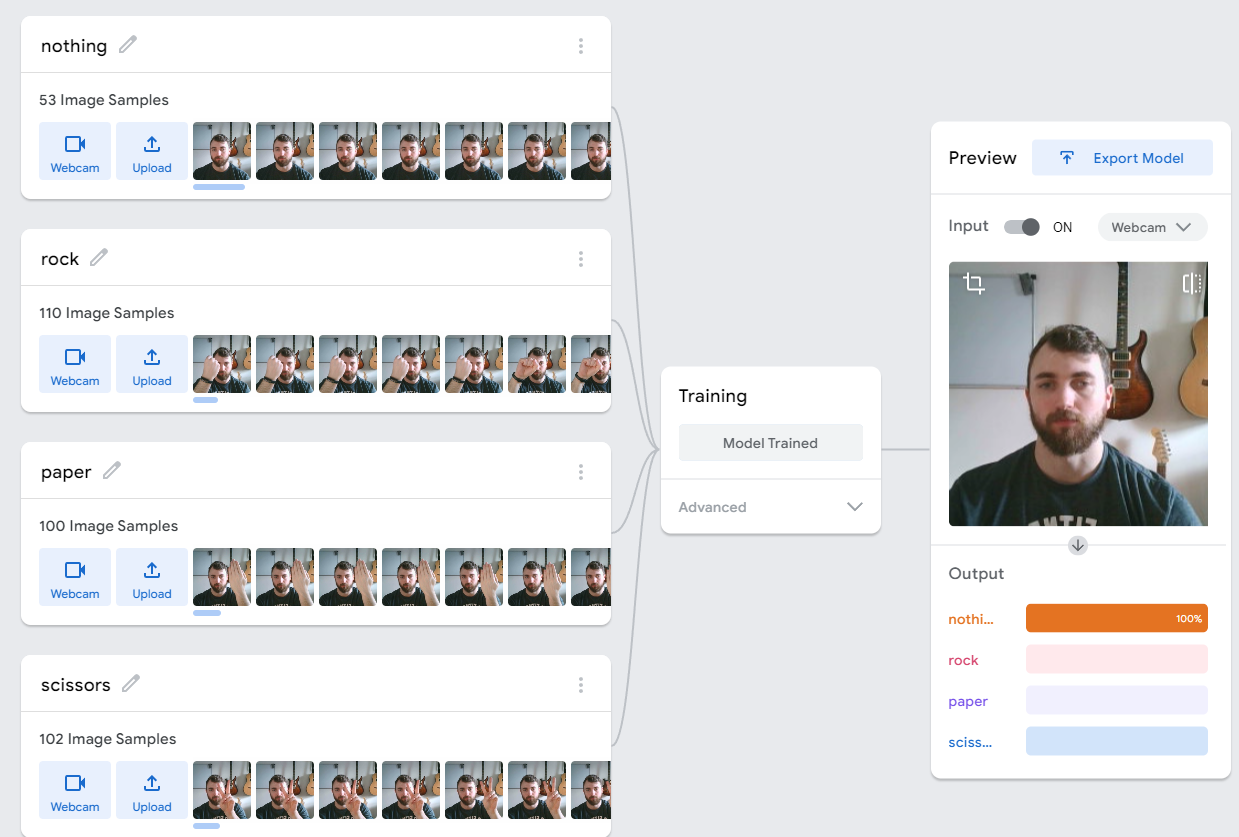
To create our vision system we must first distinguish between the 4 different types of inputs that the system is required to differentiate. Rock, Paper, Scissors and None. It is important to note that none is simply the lack of any input by the user and is itself an input because of this.
Although the dataset can be of just hands showering 1 of the 3 possible inputs, it was required that the model was to be trained with the user half in shot. It is also possible, and often advised, to train models using a large database of resources (in our case images) so that the model has a larger scope, this does often lead to overtraining and subsequently overfitting. To minimise this risk, various backgrounds can be paired with each input in order to limit this issue.
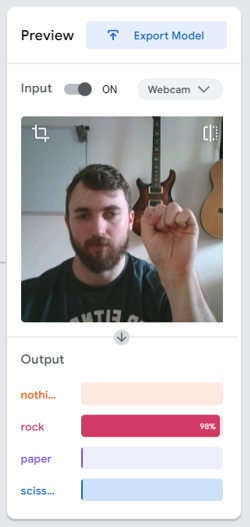
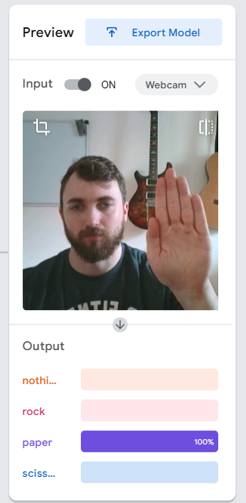
With the images as our dataset, they can be uploaded to Teachable Machine, which fortunately handles the class distinction and training procedure for us. The classes are given on the left, providing as much or as little data as you wish and assigning it to the corresponding class. After the model is trained it is simple to test due to the webcam output which will highlight where there is underfitting and overfitting. Once the model works optimally we can download the file, one for the model and the other for the labels.
To begin coding the project it is first neccessary to create a virtual environment. Fortunately, this is simple and can be done ussing the following lines of code:
conda create -n "environment name" python=3.8

conda activate "environment name"

conda install pip

pip install "package name"The packages required are listed below however they are also all listed within the requirements.txt file. It is important to note that in the case of some packages, these may be included when pip is installed as shown above.
- tensorflow
- opencv
- ipykernel
- time
- numpy
- random
This milestone, which is essentially a hard coded rock-paper-scissors game is within the manual_rps.py file. It acts as a shell that we will use and modify once it is ready to be merged with the model. Please note that the exception here is the function play(), which we will get to later.
Fortunately the code to generate a computer choice is fairly simple, only requiring the random module. We provide the list of options (excluding none for obvious reasons) and we return a random element from the list.
def get_computer_choice():
    options = ["rock", "paper", "scissors"]
    computer_selected = random.choice(options)
    return computer_selected
The code to grab a users input is not perfect as we are creating the list again however as the list is only 3 elements long, this is not detrimental. This will be changed in later refinements however at the time of writing this, this is the case. It is important to notice the use of the .lower() function as we must make sure we standardise our inputs.
def get_user_choice():
    options = ["rock", "paper", "scissors"]
    while True:
        user_selected = input("Input: ").lower()
        if user_selected not in options:
            print("invalid input")
        else:
            break
return user_selectedThe get_winner() function takes in the outputs of both the computer's and user's choice and determines who won and lost. This can be done in various ways and is a point to come back to when refining the manual code. An interesting method I have yet to try is whether this can be done with a hashmap of user input keys to computer input values, as this would reduce the computation time although for a few simple conditions, this is likely more for good code practise than real practicality.
def get_winner(computer_choice, user_choice):
    if user_choice == computer_choice:
        print("It is a tie!")
    elif user_choice == "rock" and computer_choice == "scissors":
        print("You won!")
    elif user_choice == "paper" and computer_choice == "rock":
        print("You won!")
    elif user_choice == "scissors" and computer_choice == "paper":
        print("You won!")
    else:
print("You lost")This milestone will aim to replace the hard coded user input in the previous section with the model prediction. The code for this is contained within the camera_rps.py file.
Unlike the simple nature of the manual input, the prediction carries various conditions to be met one of which is that the image from the webcam must be captured and normalised. The prediction made by the model is an output of type list[list] in the form [[x,y,z,n]]. Each value representing the weighting the model places for which it thinks that it is seeing either rock, paper, scissors or nothing respectively. We can then use numpy's argmax() function to find the maximum of this output list[list] type and a hashmap to grab the corresponding string (rpsn).
Originally the code used a while loop which the user would quit and produce the output corresponding to the last iteration of the loop. However a more accurate representation of the game is a countdown. This can be achieved using the time library.
timeout = 3
    time_start = time.time()
    while time.time() <= time_start + timeout:
This code will set a coundown before which the user has a chance to give an answer to the camera, more inline with the nature of the game: "rock...paper...scissors...shoot!"
Here the project ends however, to add extra functionality to this project, an additional step was made to show a countdown on the webcam so that the user knows when to project an input. This is also more inline with the nature of the game (Rock...Paper...Scissors...Shoot!).
ctd = (str((time_start + timeout) - time.time()))[:4]
cv2.putText(frame, ctd, (50, 50), cv2.FONT_HERSHEY_SIMPLEX, 1, (0, 255, 0), 3)
By coverting the countdown into a string and only taking the first few digits, we can input this into the putText() function from the opencv-python library. This creates a basic countdown while still providing the functionality needed.

