
This template could be used for deploying your course from Notion to GitHub pages with a custom domain in minutes.
Under the hood:
- You create a site of your course in Notion.
- The loconotion tool is used to turn a Notion page into a static website.
- Some modification of python script by @aahnik is used to clean the output directory.
- Some modification of Github action is used to automatically deploy your site from Notion to Github Pages.
- notocourse.fmin.xyz - This repo.
- sber21.fmin.xyz
I will demonstrate the whole workflow with my template (you can clone it in Notion)
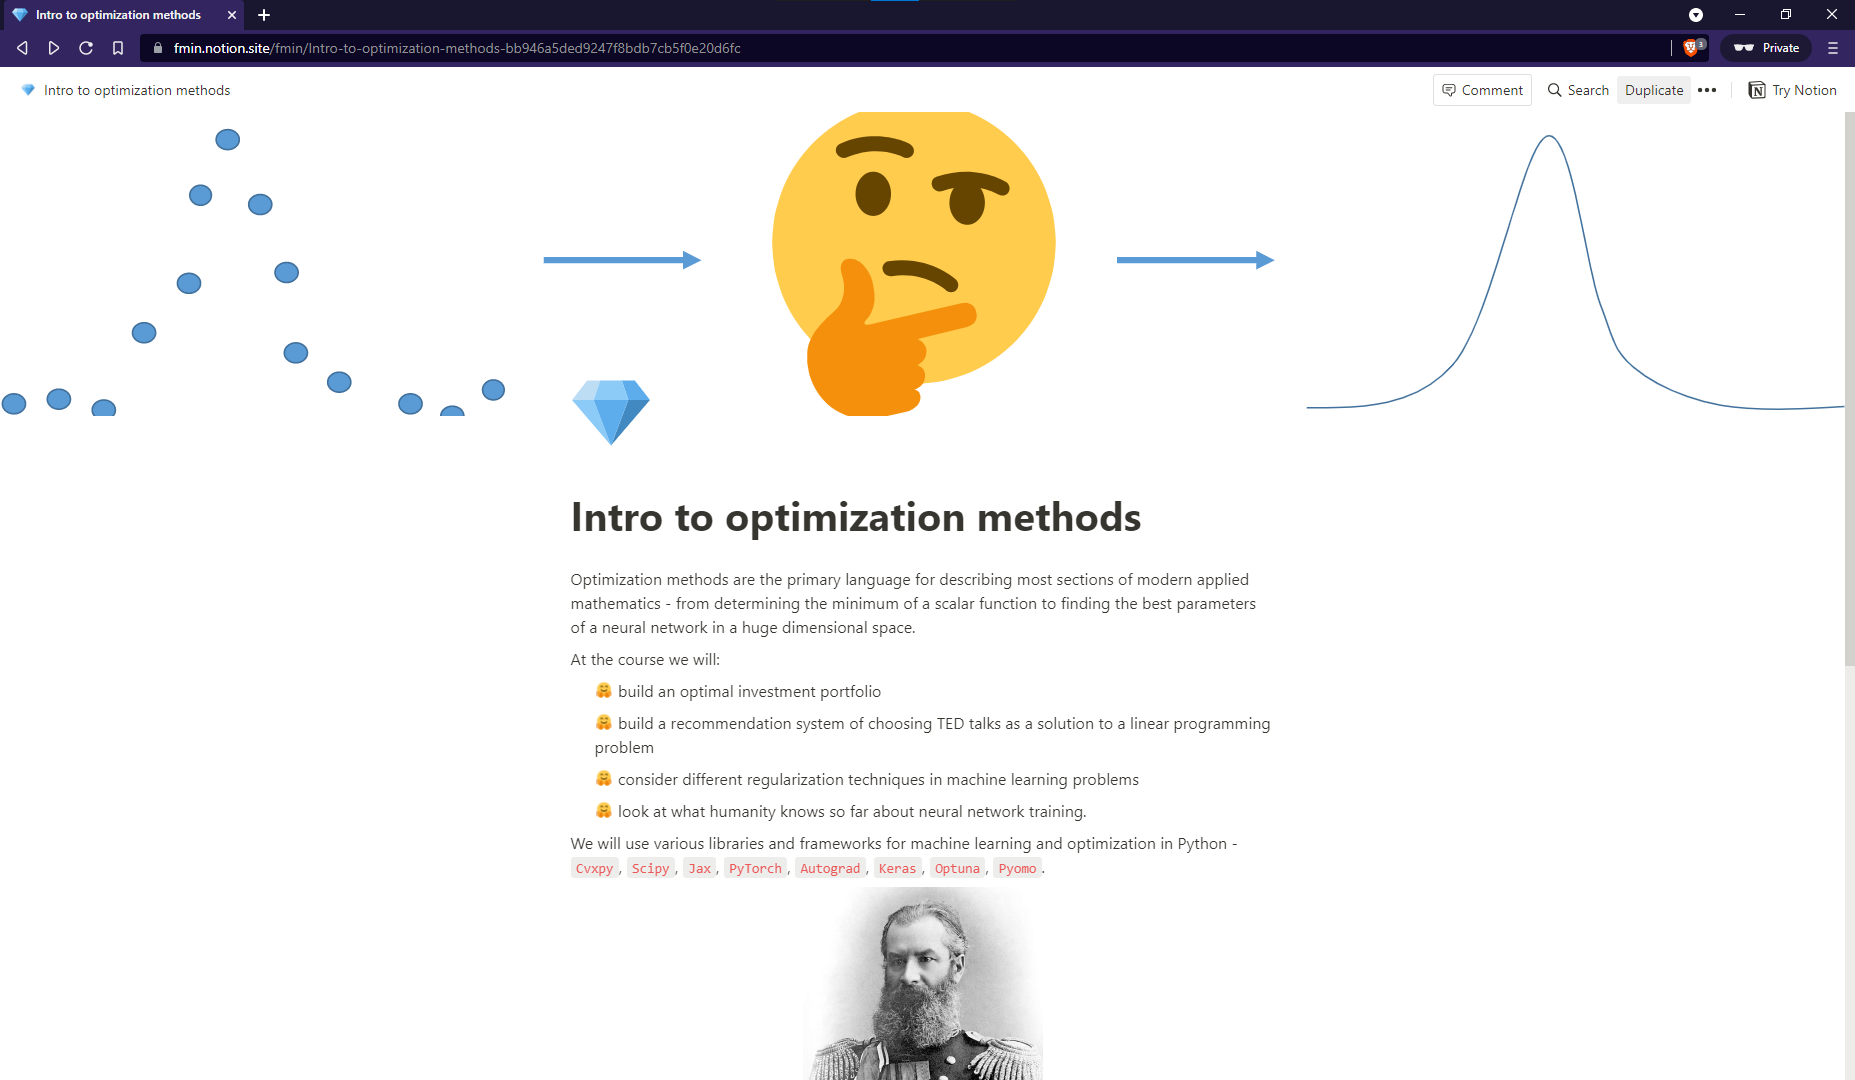
Here you can modify all the pages in almost any way you want. But the general advice is to keep it simpler. Because the loconotion (which does most of the work here) is a non-profit project, and there may be some problem with renderings some complicated formatting from Notion.
You can clone\fork this repository to your account or create a new one. This repository will contain the site. Also, you can use the different branch to store some files, which will be used during your course - presentations, datasets, or other materials because the main branch will be generated automatically and contain almost only the front-end.
Here you need to specify your site settings in a Github action secret. Jump to the Settings -> Secrets -> Actions -> New repository secret
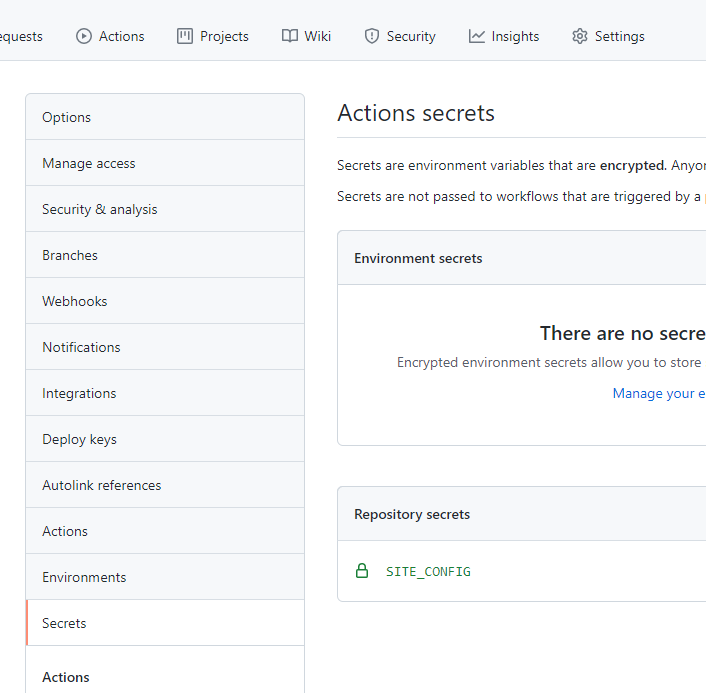
And create a new repository secret with the name SITE_CONFIG. The value of this secret is just the loconotion config file. You can leave it with any value for now and update it later.
Here is the basic loconotion config file for the example:
## Loconotion Site Configuration File ##
# full .toml configuration example file to showcase all of Loconotion's available settings
# check out https://github.com/toml-lang/toml for more info on the toml format. For the
# advanced customization, see https://github.com/leoncvlt/loconotion#advanced-usage

# name of the folder that the site will be generated in
name = "output"

# the Notion.so page to being parsing from. This page will become the index.html
# of the generated site, and loconotion will parse all subpages present on the page
page = "https://fmin.notion.site/Intro-to-optimization-methods-bb946a5ded9247f8bdb7cb5f0e20d6fc"

## Global Site Settings ##
# this [site] table defines override settings for the whole site
# later on we will see how to define settings for a single page
[site]
  ## Custom Meta Tags ##
  # defined as an array of tables (double square brackets)
  # each key in the table maps to an atttribute in the tag
  # the following adds the tag <meta name="title" content="Loconotion Test Site"/>
  [[site.meta]]
  name = "title"
  content = "Intro to optimization methods."
  [[site.meta]]
  name = "description"
  content = "An example of how NotoCourse works."

  ## Individual Page Settings ##
  # the [pages] table defines override settings for individual pages, by defining
  # a sub-table named after the page url (or part of the url, but careful about
  # not using a string that appears in multiple page urls)
  [pages]
    [pages.51e0277db94346b089d9599361702c73]
    ## custom slugs ##
    # inside page settings, you can change the url for that page with the 'slug' key # e.g. page "/d2fa06f244e64f66880bb0491f58223d" will now map to "/games-list"
    slug = "program"

    [pages.9b8a1927f3324cf496e11f7876088ce3]
    slug = "test"

    [pages.0c8774a8e8df4f34bc25c034369770d0]
    slug = "students"
    no-links = true
You have to change the following values to complete the quest.
- Here, you should replace the page value with the public link to your notion page.
  # the Notion.so page to being parsing from. This page will become the index.html
  # of the generated site, and loconotion will parse all sub-pages present on the page
page = "https://fmin.notion.site/Intro-to-optimization-methods-bb946a5ded9247f8bdb7cb5f0e20d6fc" - Here, you can replace it with your own data or just comment it with
#.
  [[site.meta]]
  name = "title"
  content = "Intro to optimization methods."
  [[site.meta]]
  name = "description"
content = "An example of how NotoCourse works." - In order to make your site namespace nicer, you have to replace ugly default notion links with the shortcuts:
[pages]
[pages.51e0277db94346b089d9599361702c73]
## custom slugs ##
# inside page settings, you can change the url for that page with the 'slug' key # e.g. page "/d2fa06f244e64f66880bb0491f58223d" will now map to "/games-list"
slug = "program"
[pages.9b8a1927f3324cf496e11f7876088ce3]
slug = "test"
[pages.0c8774a8e8df4f34bc25c034369770d0]
slug = "students"
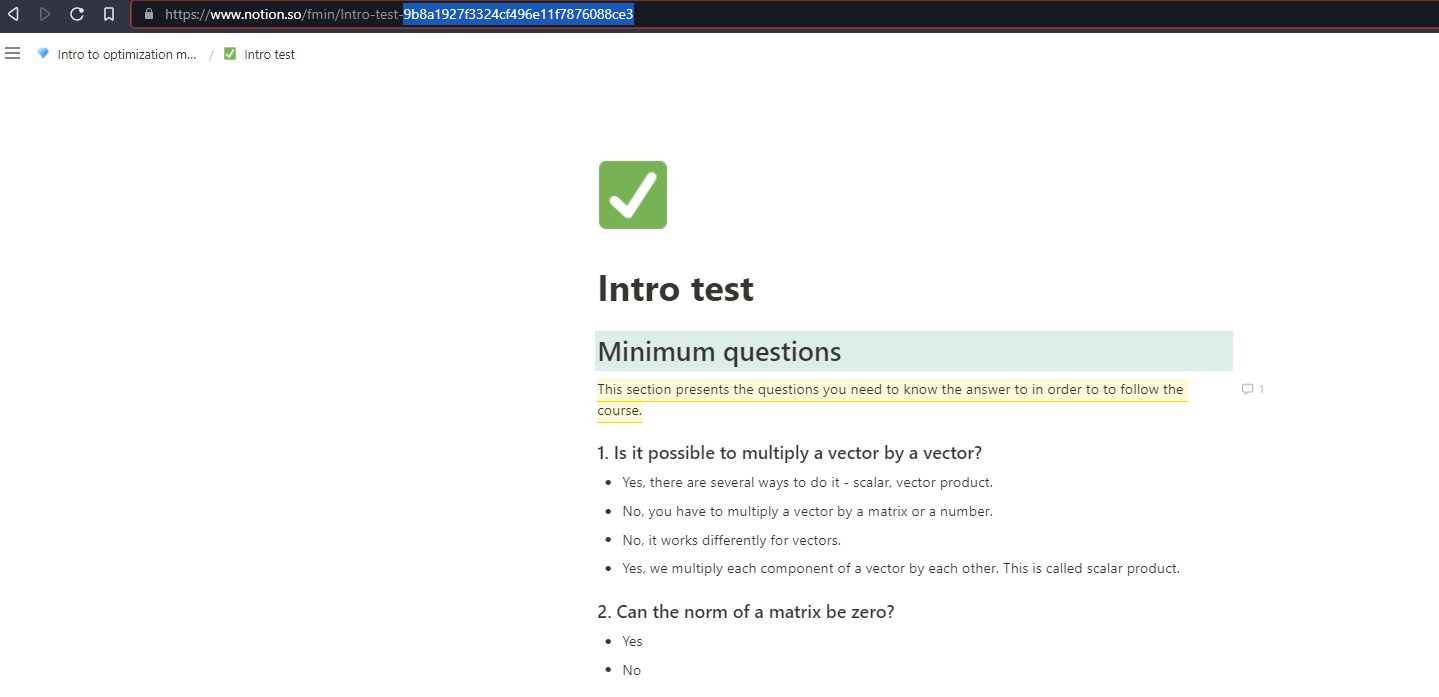
no-links = trueIn order to do this, you need to know the links to all the subpages, which you want to prettify: take a look at the example of how to find these values.
- As soon as you replace all these values in the config with your own, don't forget to update the
SITE_CONFIGsecret in the repo settings.
Go to NotoCourse/.github/workflows/ and create or update file main.yml with the following content:
name: Deploy to Pages

on: [workflow_dispatch]
#  schedule:
#    - cron: "*/20 * * * *"

jobs:
  generate-restruct-update:
    runs-on: ubuntu-latest

    steps:
        # Download packages
      - name: Submodule Update
        run: |
          wget https://dl.google.com/linux/direct/google-chrome-stable_current_amd64.deb
          sudo apt install ./google-chrome-stable_current_amd64.deb
          sudo apt-get update
      - name: Set up Python
        uses: actions/setup-python@v2
        with:
          python-version: 3.8
      - name: Download loconotion
        uses: actions/checkout@v2
        with:
          repository: 'leoncvlt/loconotion'
      - name: Install loconotion
        run: pip install -r requirements.txt
      - name: Configuration File
        run: |
          cat >  ${GITHUB_WORKSPACE}/config.toml  << EOF
          ${{ secrets.SITE_CONFIG }}
          EOF
      - name: Run loconotion
        run: python loconotion ${GITHUB_WORKSPACE}/config.toml
      - name: Copy structuring script
        run: wget -O ${GITHUB_WORKSPACE}/dist/output/struct.py "https://gist.githubusercontent.com/MerkulovDaniil/f4f785450db53e412d6c61c8af9ca2b6/raw/6fed3666e340bf98162b5ce66da99e09842ac4c0/loconotion_struct.py"
      - name: Clean structuring
        run: |
            cd ${GITHUB_WORKSPACE}/dist/output/
            python struct.py
      - name: List files in the repository
        run: ls ${GITHUB_WORKSPACE}/dist/output

      - name: Deploy to Pages
        uses: JamesIves/[email protected]
        with:
          GITHUB_TOKEN: ${{ secrets.GITHUB_TOKEN }}
          BRANCH: main
          FOLDER: dist/output
          CLEAN: true
If you are a PRO user (not like me), you can schedule running this action with cron every 30 minutes, but I prefer to do it manually after each big update of the notion site (it is eco-friendly).
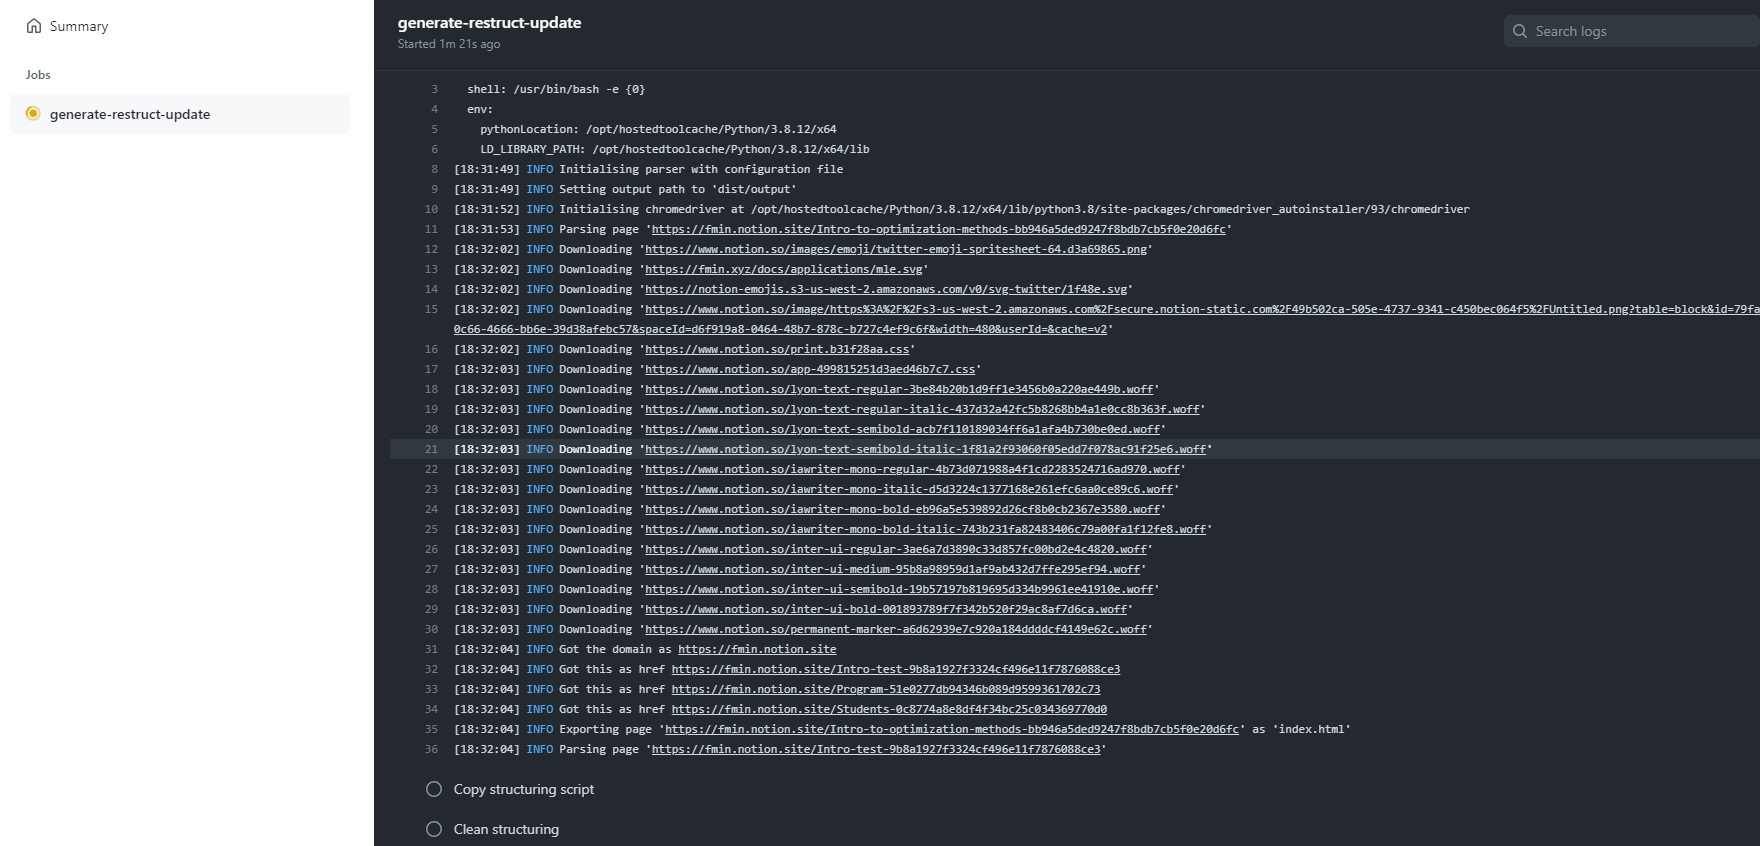
Now you can see the action if you go to Actions menu.
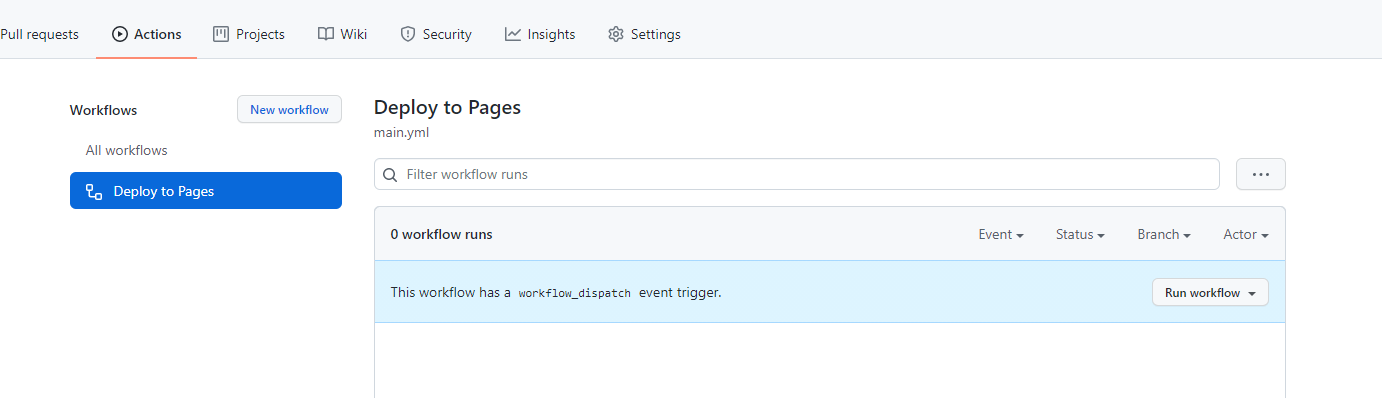
Press the Run Workflow button.
It may take a while (for the example page, it is about 2 minutes). If everything is OK, you will see something like this:
You can see the results of your work if you'll go to the Settings -> Pages and select the main branch for the Github Pages. Press save.
Now the site will be immediately available at <yourgithubusername>.github.io/<repository_name>. For example, I had merkulovdaniil.github.io/NotoCourse.
I want to set up a nice subdomain for this site. For example, notocourse.fmin.xyz.
- Go to your domain registrator menu. Create subdomain
notocourse.<your_owned_domain>with a CNAME record that points to the root of your Github Pages domain<yourgithubusername>.github.io

- Go to the main branch of your repository and create/update a 'CNAME' file at the root folder with the target address of your site. I have the single line 'notocourse.fmin.xyz'
Go again to the Settings -> Pages and check if everything is OK. the example was made using the detailed instructions above and already published at notocourse.fmin.xyz
Congratulations 🤗!