xnec2c-optimize is an optimization framework to tune antenna geometries with xnec2c.
Why tune our antenna? High gain and low VSWR, of course!
From the 2m dipole example:
use lib 'lib';

use NEC2;

my $nec = NEC2->new(comment => "half-wave 2-meter dipole");

my $ns = 21; # number of segments

$nec->add(
        GW( tag => 1, ns => $ns, z2 => 1),
        EX( ex_tag => 1, ex_seg => int($ns/2) ),
        RP,
        NH,
        NE,
        FR(mhz_min => 140, mhz_max => 148, n_freq => 10),
        );

$nec->save('dipole-2m.nec');

print $nec;-
Install the latest version of xnec2c from here: https://www.xnec2c.org/
- xnec2c v4.4.12 or later is recommended.
-
Install the following perl modules with
cpanmusing these commands:- Ubuntu:
sudo apt install cpanminus build-essential - CentOS:
yum install perl-App-cpanminus
yum groupinstall "Development tools"
- Ubuntu:
-
Install the dependencies with this command:
cpanm PDL::Opt::Simplex::Simple PDL::IO::CSV Linux::Inotify2 Time::HiRes Math::Vector::Real Math::Matrix Math::Trig -
See
yagi.conffor an example to get started. Just run this:./xnec2c-simplex.pl ./examples/yagi.conf
Now xnec2c-simplex does most of the work below automatically, so here is more information if you need it:
Open xnec2c -j NN examples/yagi.nec where NN is the number of CPUs you
have available on your system.
- From the main window: select View->Frequency Plots
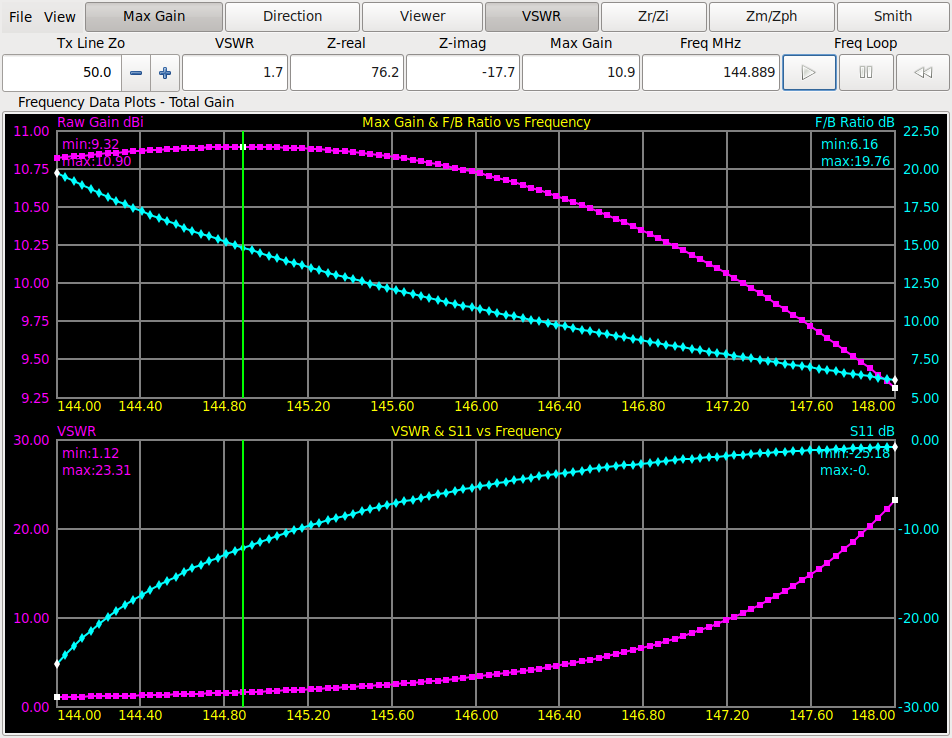
- From the Frequency Data Plots window: Enable a graph, like VSWR. Configure whatever you would like to see during optimization.
- Click the triangular "Play" button to run a frequency sweep. This setting must be active in order for the optimizer loop to function.
- From the main window:
- Click "File->Optimization Settings->After calculation, write <file>.csv".
- Click "File->Optimization Settings->Reload and write data on .NEC file changes".
- Optimization will then begin!
See also: https://www.xnec2c.org/#Optimization
-Eric, KJ7LNW

