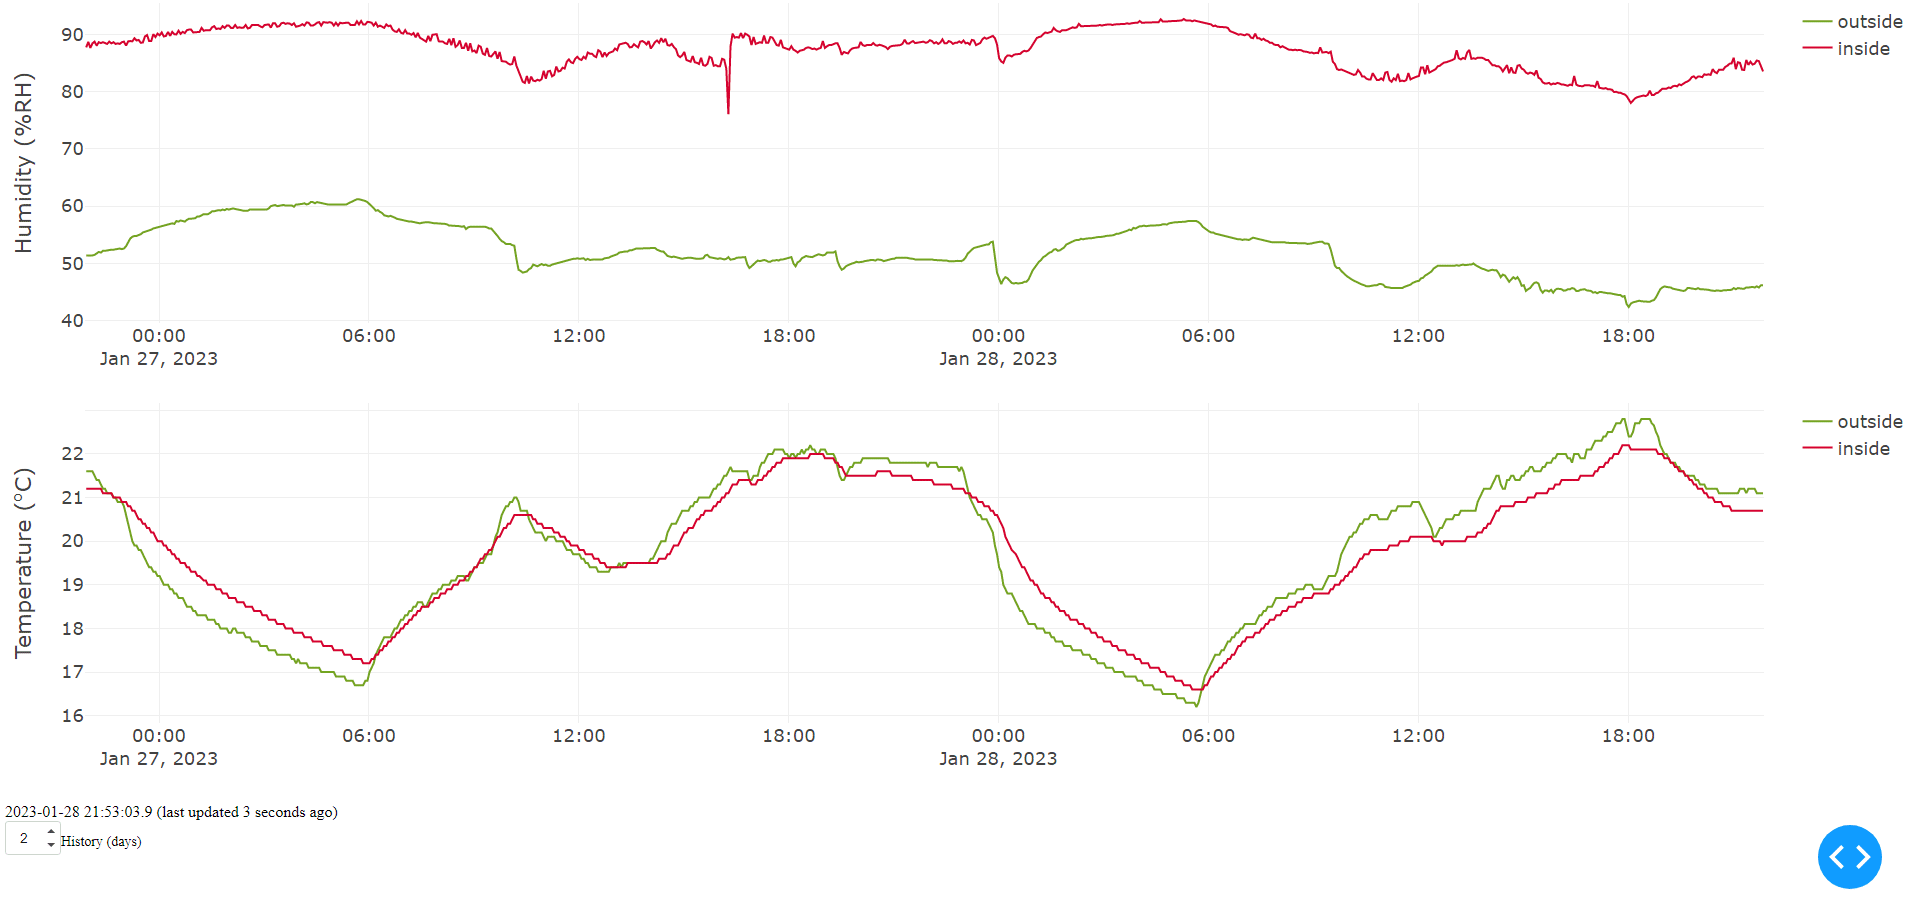
Tool for humidity and temperature logging/visualisation using multiple Adafruit DHT22 sensors, hosted on a Raspberry Pi.
See the install guide for instructions on the setup process.
Version 2.2
- Add non-interactive graphs on website subpages for simple/quick access (e.g. from smartphone widget)
Version 2.1
- Upgrade production system to use Gunicorn WSGI
- Use thread-safe caching and database calls with multiple worker threads for snappier responses
- Add in-browser configuration options for the graphs
Version 2.0
- Upgrade to a docker-based implementation for simple install (tested on a Raspberry Pi 4)
- Use TimescaleDB (time series optimised database, extension of PostgreSQL)
- Improve webpage using the Dash Plotly framework to visualise real-time data
- Generalised to multiple DHT22 sensors
- Automatic SSL certificate generation
Version 1.0
- Very lightweight (for use on a low-power Raspberry Pi Zero) implementation which outputs the temperature and humidity graphs as a static image.
- Works with two DHT22 sensors
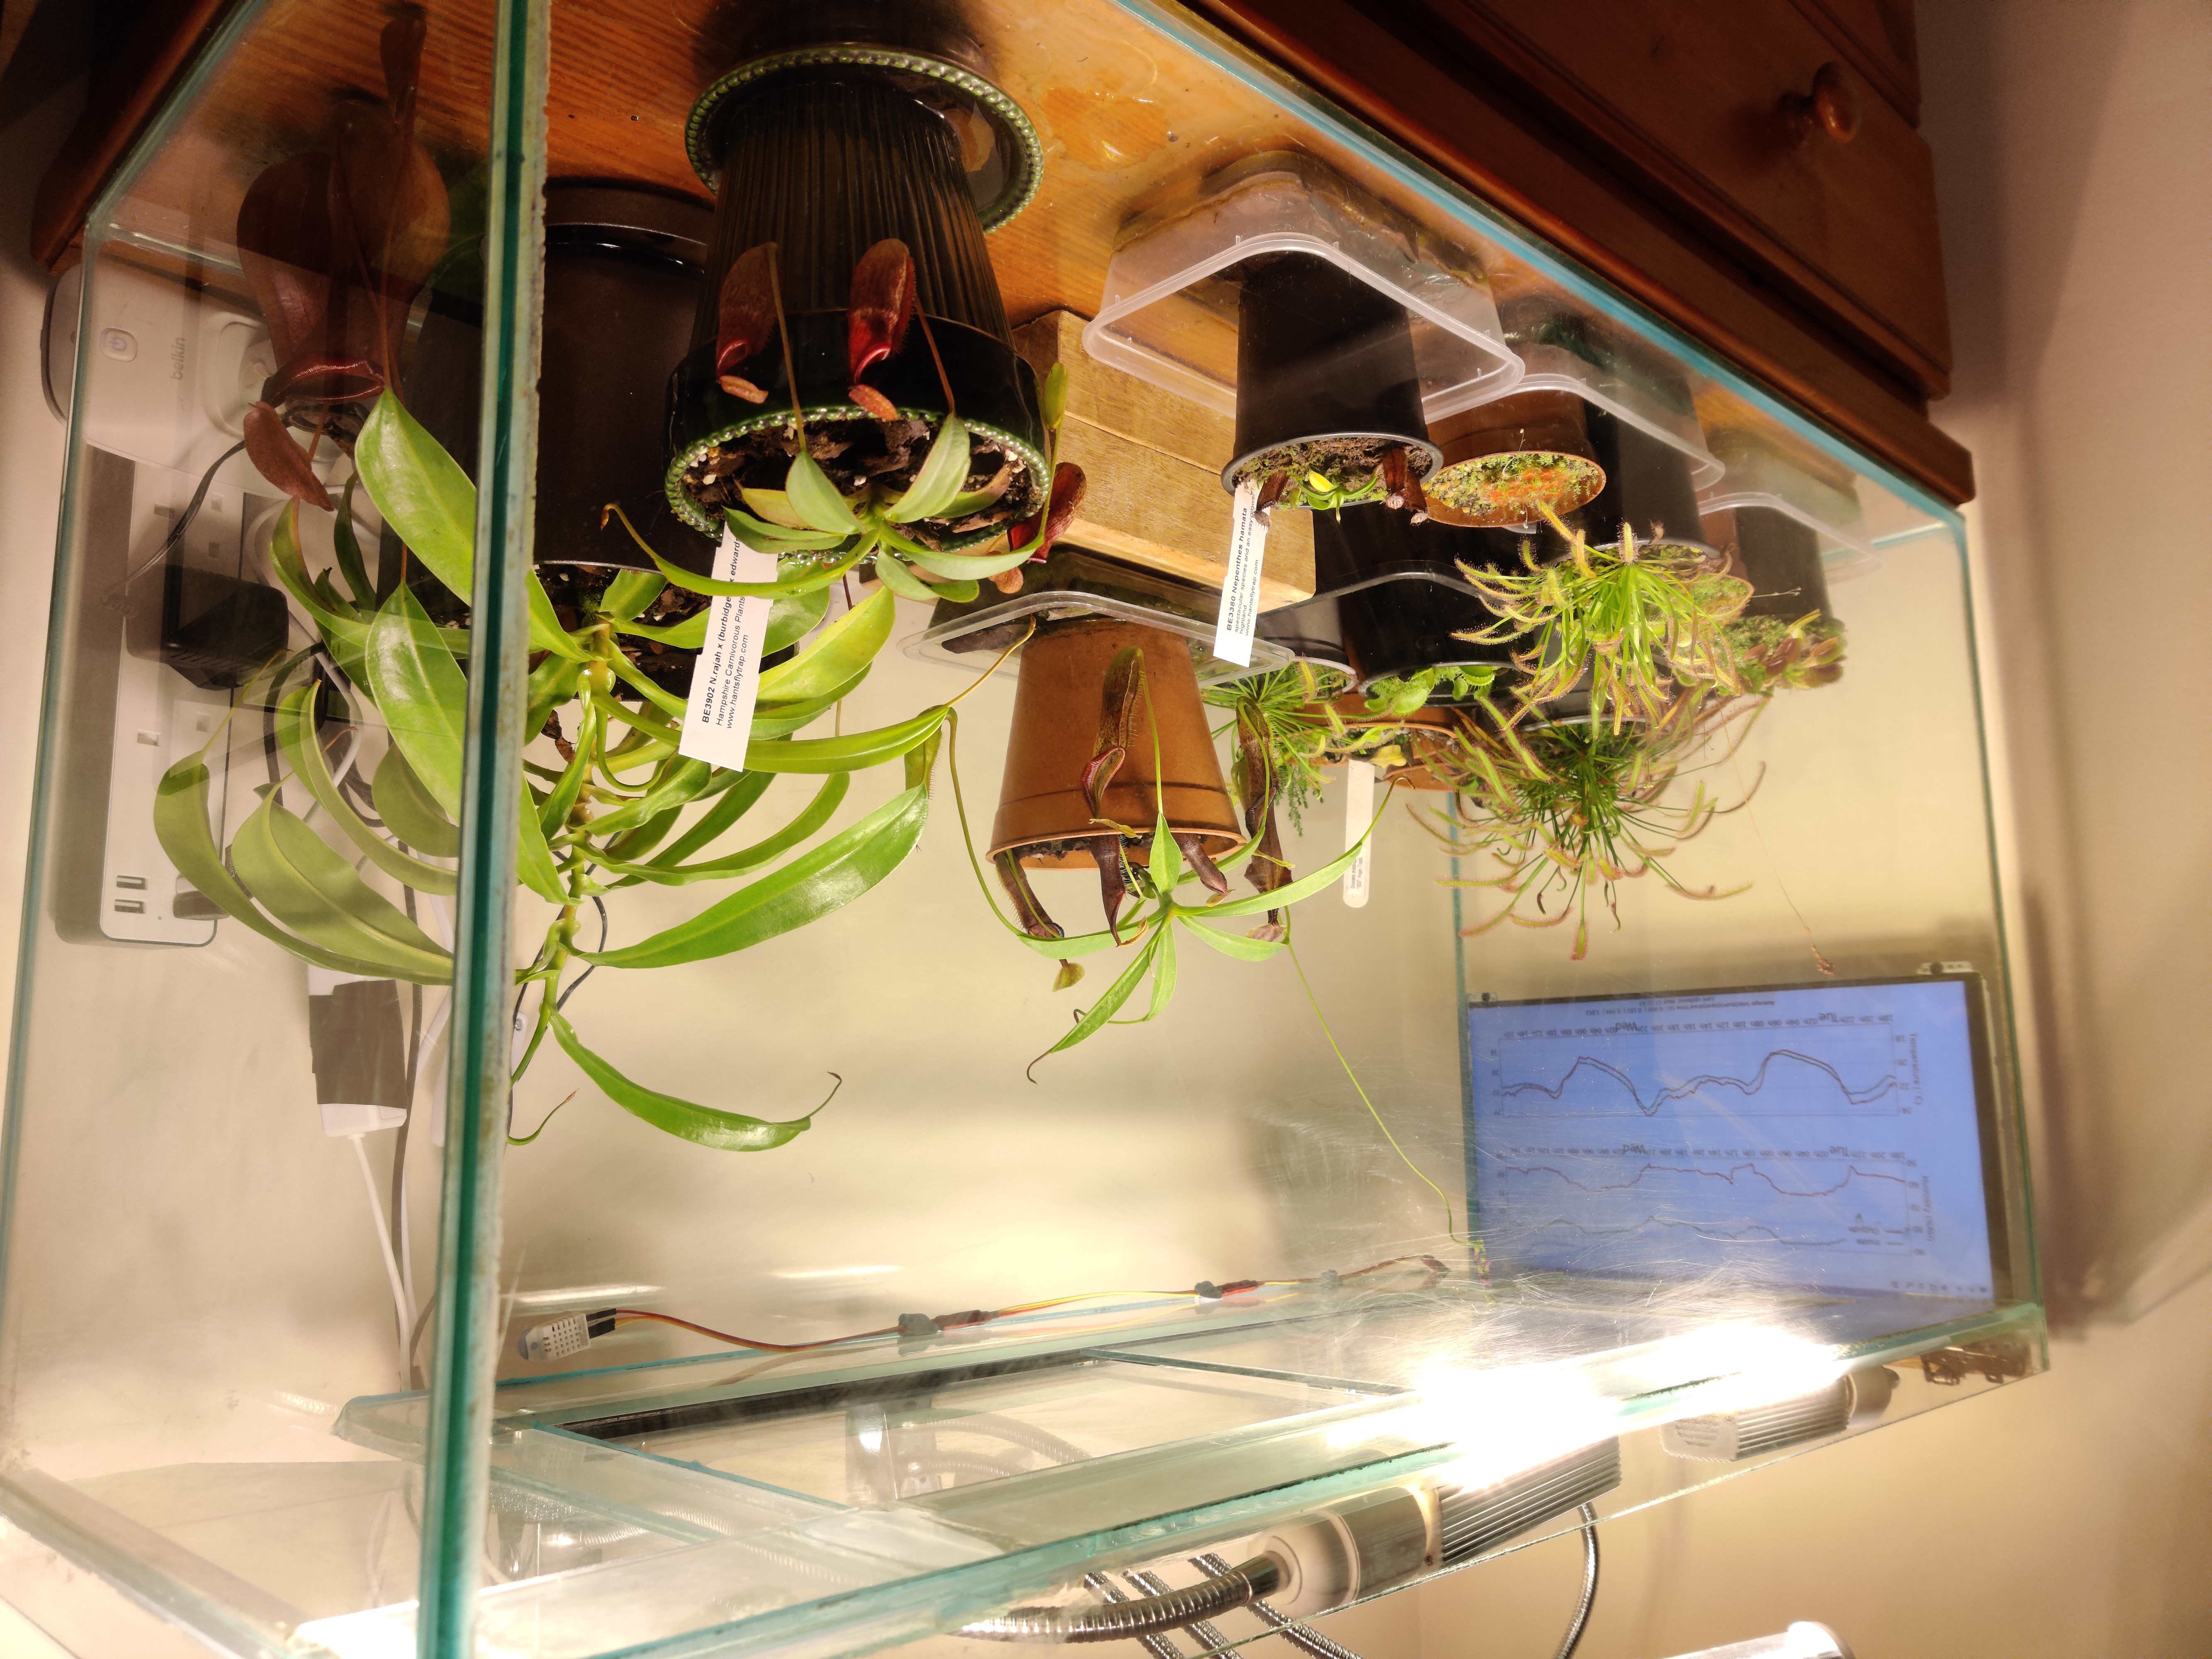
Logging and plotting the inside and outside humidity/temperature of an indoor terrarium that houses environment sensitive Nepenthes plants.
The locally hosted webpage is shown on the Raspberry Pi GUI connected to a screen and accessible remotely on the internet.
Connect Adafruit DHT22 sensors to the Raspberry Pi's GPIO pins (see tutorial on pimylifeup.com).
Note the GPIO pin numbers that the data pins of the DHT22 sensors are connected to for use in the software installation.
Update
sudo apt-get update
Install docker
sudo apt-get remove docker docker-engine docker.io containerd runc
curl -fsSL https://get.docker.com -o get-docker.sh
sudo sh get-docker.sh
Clone and cd into this repository
git clone [email protected]:Haydeni0/pi-humidity.git
cd pi-humidity
Run ./setup.bash to
- Set the database password
- Set up initial configuration (including DHT22 sensor names and their corresponding GPIO pins)
- Write default configuration parameters (sensor update)
- Write webserver hostname and email address
- This is optional, and used to generate an SSL certificate for the website if hosted.
This writes to ./password.env, ./shared/config.yaml ./webserver.env respectively, which can be also edited by hand to change parameters.
./setup.bash
Run Docker
Development notes
To build the container use the docker file
./python.DockerfileThe build may take a long time on a Raspberry Pi, due to many python precompiled wheels not being available for
arm/v7.docker build -f python.Dockerfile . -t haydeni0/pi-humidity:python docker push haydeni0/pi-humidity:pythonIt is recommended to use a faster computer using
docker buildx buildto build forlinux/arm/v7, and optionally forlinux/amd64to use in development from an amd64 based computer.docker buildx create --name mybuilder --driver docker-container --bootstrap docker buildx use mybuilder docker buildx build -f python.Dockerfile . -t haydeni0/pi-humidity:python --platform linux/arm/v7,linux/amd64
Use images available on docker hub, specified in the compose file. Run the command:
docker compose up -d
Now, if the GPIO pins are set correctly, this will display the temperature and humidity graphs to port 80 (using http) of the Raspberry Pi, or port 443 (using https) if there is a valid website hostname specified in webserver.env that points to the Pi.
This can be seen by entering in the local ip of the Pi into a web browser from a computer on the same LAN, e.g. https://192.168.1.123, https://192.168.1.123 (or localhost on a browser in the GUI of the Raspberry Pi).
The TimescaleDB database containing the sensor data is accessible on port 5432 of the Raspberry Pi (Username postgres and password set in ./password.env). This also can be accessed through the Raspberry Pi command line with docker (schema and table names defined in ./config.yaml)
docker exec -it pi-humidity-timescaledb /bin/bash -c 'psql -U postgres -d ${POSTGRES_DB}'

SELECT * FROM dht ORDER BY dtime DESC LIMIT 10;
The TimescaleDB database (see TimescaleDB docs) can be dumped to a file by running the script dump_db.bash
./db_backups/dump_db.bash
For more information on how to restore a database from this dump or set up automated backups to Google Drive, read this.

