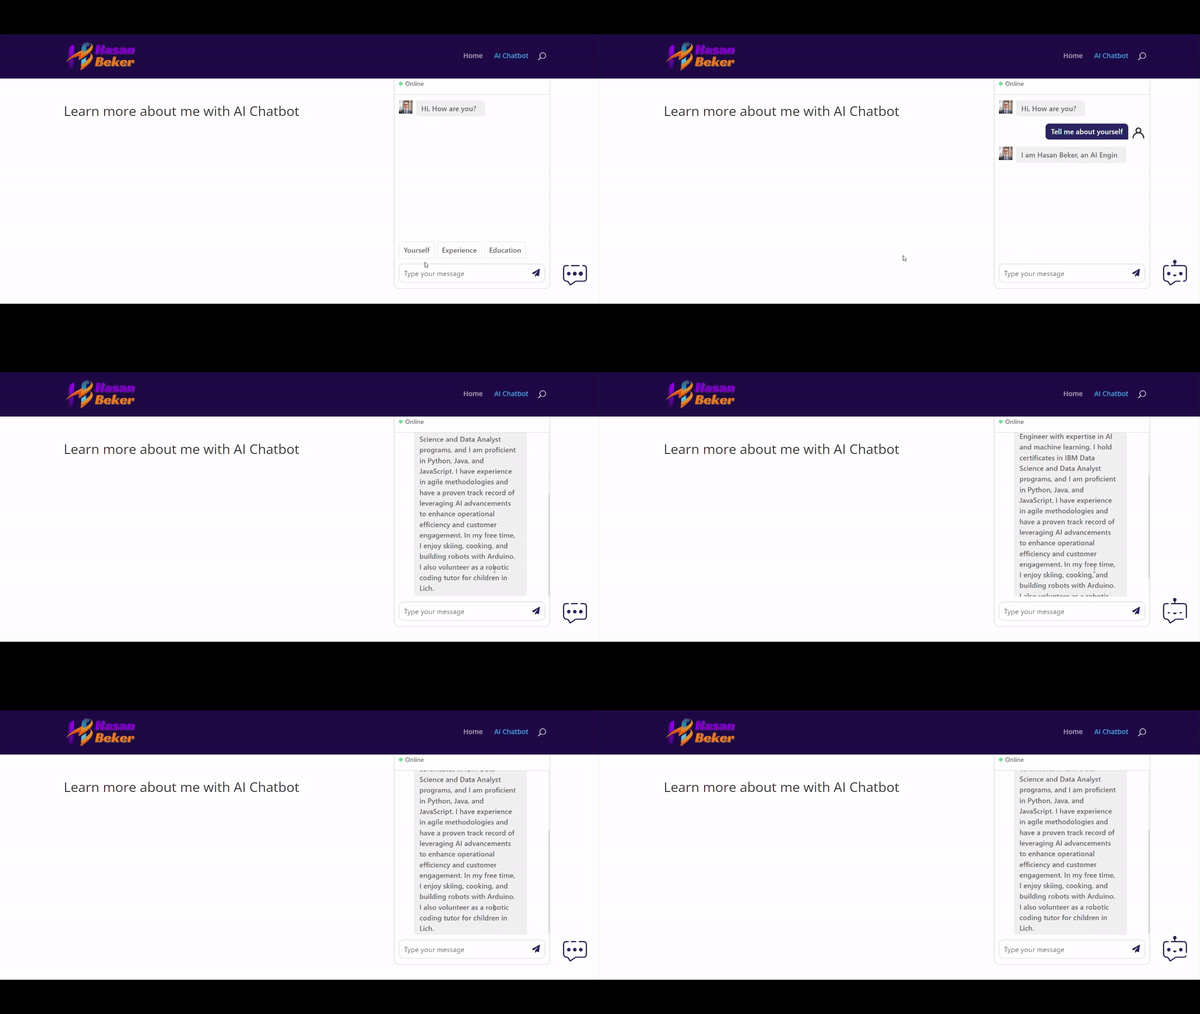
In this project, I generated an AI-powered chatbot on WordPress like the one on my portfolio website, hasanbeker.com. This chatbot is designed to provide information about me, Hasan Beker, and it is built from scratch without using any third-party services or plugins.
- Online Status: Displays the chatbot's availability.
- System Message: A customizable initial greeting message.
- Avatar Image: Customizable user and bot avatars.
- Memory: The chatbot remembers past conversations.
- Custom Commands: Predefined prompts to assist users quickly.
- Create the UI Files:
index.html: The main HTML file for the chatbot interface.styles.css: The CSS file for styling the chatbot.scripts.js: The JavaScript file to handle chatbot interactions.config.php: php file for backend
- Test Locally:
- Open the
index.htmlfile in a browser to ensure the chatbot loads and functions correctly.
- Open the
-
Install WP Code Snippet Plugin:
- Go to your WordPress dashboard, navigate to Plugins, and install the "WP Code Snippet" plugin.
-
Create Code Snippet:
- Paste the PHP code snippet config in the plugin to handle AI responses, dummy responses for testing, and chatbot requests.
- Customize the bot's base configurations (status, startup message, avatar URL, and commands).
- System Prompt Configuration:
- In the backend code snippet, add a system prompt to provide specific information about Hasan Beker.
- Example prompt: "Provide information about Hasan Beker, including his background, skills, and experience as detailed in his CV."
-
Update the URLs:
- Modify the URLs in the
scripts.jsfile to point to your WordPress site.
- Modify the URLs in the
-
Test the Connection:
- Open the
index.htmlfile again and verify that the chatbot communicates with the backend correctly.
- Open the
-
Create a New Page:
- In your WordPress dashboard, create a new page for the chatbot.
-
Add Custom HTML Block:
- Paste the contents of
index.htmlinto a custom HTML block. - Include the CSS and JavaScript code directly within the page using the
<style>and<script>tags.
- Paste the contents of
-
Customize Appearance and Commands:
- Modify the chatbot's configurations in the code snippet as needed.
-
Advanced Features:
- Implement advanced features like system prompts to restrict topics, integrate the chatbot with specific documents using RAG (Retrieval-Augmented Generation), and create AI agents that perform tasks.
By following these steps, you can create a fully functional, customizable AI chatbot for your WordPress site that provides detailed information about Hasan Beker. This project showcases the potential of AI in enhancing customer interactions and automating support tasks. If you found this guide helpful, please star this repository and follow my channel for more AI and automation tutorials.
If you have any questions or need further assistance, feel free to reach out. You can test the chatbot link below.
