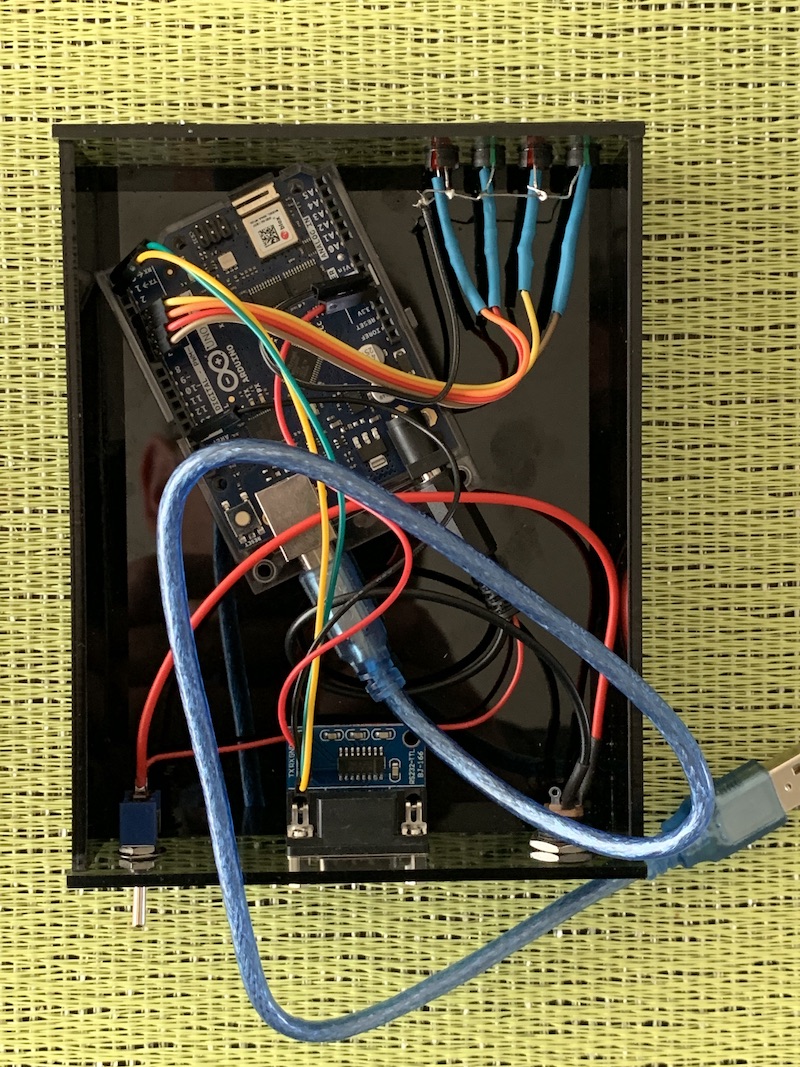
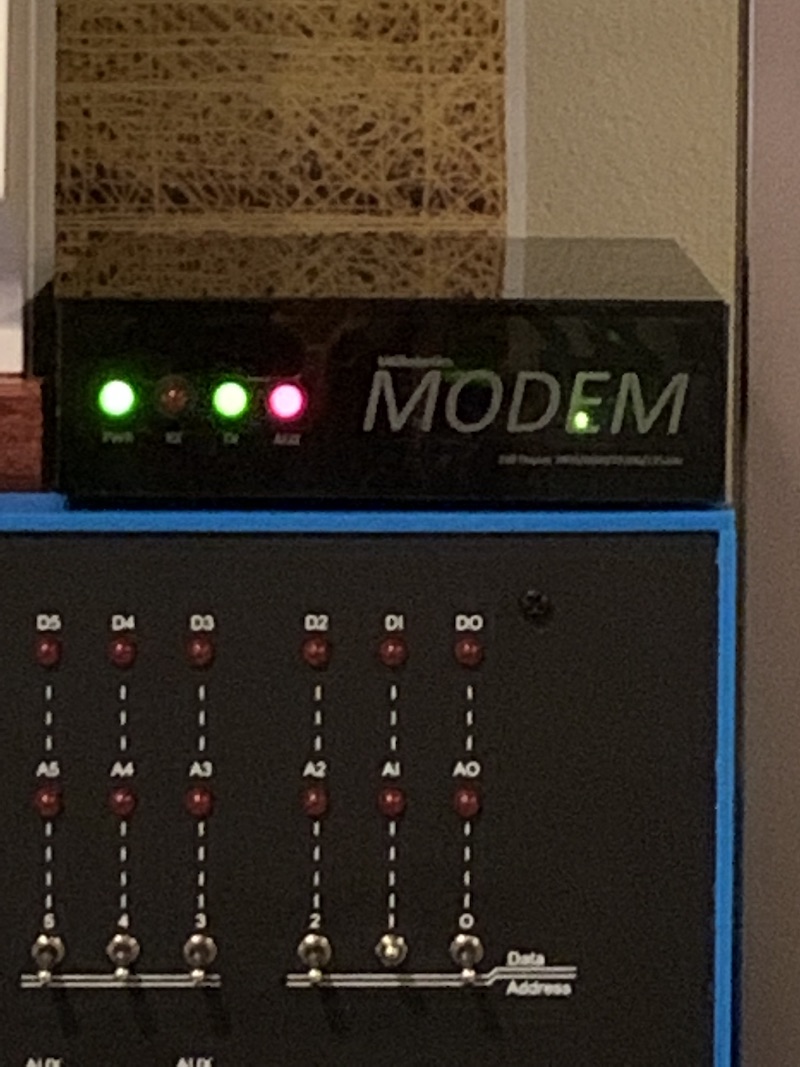
This repo contains the source code for an Arduino-based "fake modem" that can connect older RS232-only computers to the internet over WiFi. It runs on an Arduino UNO WiFi Rev 2 connected to a cheap MAX3232-based TTL-to-RS232 Serial port card on its TX/RX pins.
Using the fMODEM connected to a RS232 port - and running an app such as KERMIT under CP/M - allows vintage computers (or their modern recreations) to experience the horror of the modern internet like the rest of us. In practice this means using Telnet servers, so you're spared the worst parts.
Once the Arduino is turned on, it communicates over the serial port with the computer and displays a welcome message on whatever terminal program is running. For old time's sake, the project uses "AT" codes - the way in which old Hayes compatible modems were controlled. For example, typing ATI will return a status message.
Typically you would assign the WiFi hotspot details using AT SSID= and AT password= and save those: AT SAVE. You would then either type AT WIFI or restart. Once connected to the local WiFi, you would use AT TELNET=A.SERVER.COM to start the fun.
Here's the list of commands:
- AT ssid=Your WiFI Name e.g. AT ssid=MYHOTSPOT
- AT password=Your Wifi password e.g. AT passowrd=SecretPW
- AT SAVE
- AT WIFI (Once you have done an AT SAVE it will store details in EEPROM and use them next power up automatically, so you shouldn't need to enter AT WIFI).
- AT TELNET=telnet.server.address e.g. AT TELNET=towel.blinkenlights.nl
- AT TELNET=telnet.server.address,port e.g. AT TELNET=towel.blinkenlights.nl,23
- AT LOGOUT to cancel connection
- AT DROP to drop WiFi connection
- AT LIST to list available access points
- ATI for a status message
- AT HELP to see this text
- towel.blinkenlights.nl
- FreeChess.org
- More at http:https://mewbies.com/acute_terminal_fun_telnet_public_servers_watch_star_wars_play_games_etc.htm
The hardware consists of:
- An Arduino UNO Wifi Rev2
- A MAX3232 based RS232 to TTL adaptor, e.g. Anmbest 2PCS MAX3232 3.3V to 5V DB9 Male RS232 Serial
- Four LEDs
- Four 330Ohm resisters
Connect the Arduino TX/RX to the TX/RX pins on the RS232/TTL adaptor (TX to TX, RX to RX). Connect the power and GND pins on the adaptor to GND and 5V on the Arduino.
The LEDs connect to pins 4,5,6 and 7 on the Arduino. I put a resistor in-line with each LED, and connected them all to a common ground.
When testing, define the DEBUG lable in the source code, and this will use the USB serial connection - you can open the Serial Monitor and try it out on your desktop PC. Remember to build it without the DEBUG label to use the actual RS232 serial port.
-
No hardware flow control is even attempted never mind supported. There are, however, four LEDs to distract you.
-
After starting work on this project, I found other solutions such as Bo Zimmerman's Zimodem, which is a decidedly more comprehensive solution. As Bo's modem runs on the ESP8266/ESP, it can be built on a single circuit board - see 8-Bit Bruno's WiFiModem - and so my project really makes sense only if you have an Arduno UNO WiFi Rev2 lying around, or just want to do things in a different way.

