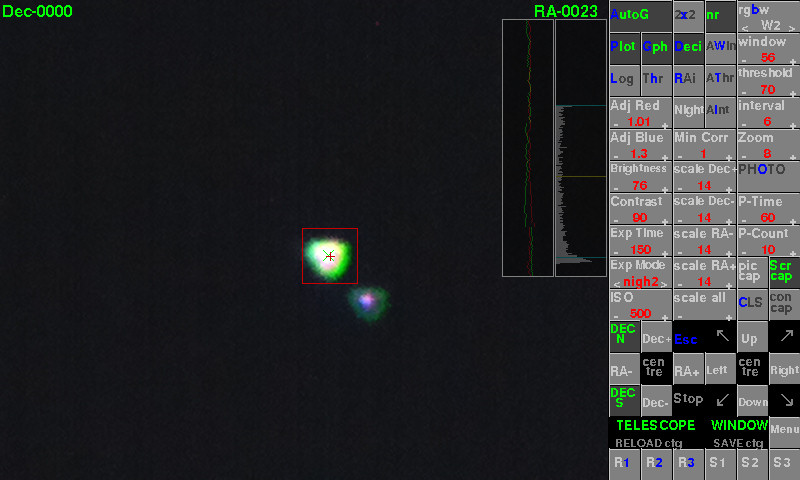
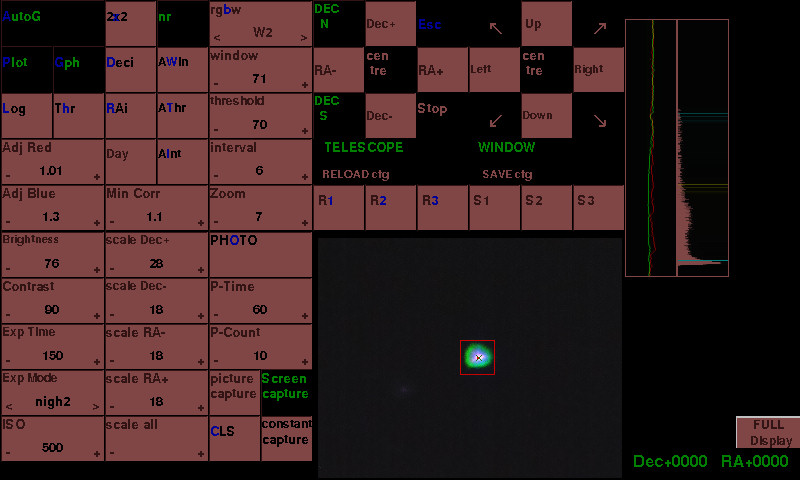
AutoGuider for a telescope using a Raspberry Pi, with RPi camera (v1 or v2) or suitable webcam.
Note this will NOT work with Bullseye or Bookworm, alternative version available at https://github.com/Gordon999/Pi-LC-Autoguider
(Beta version of simpler PiAG_Lite at https://github.com/Gordon999/Pi-AG_Lite) - NOT for BULLSEYE !!
This script was developed to auto guide a telescope through a ST-4 port using a Raspberry Pi (Pi2B/Pi3B/Pi3B+/Pi4 recommended) and a suitable interface.
The interface can be an opto-isolator, relay card available for the Pi, eg Seeed Raspberry PI card, PiFace Relay Plus card, Sainsmart USB 4 relay card or any 4 relay card you interface.
The relay cards can also be modified, different wiring to scope, to auto-guide other scopes eg Meade LX-10.
It can also be interfaced to scopes via an Arduino Uno, via USB. The Arduino Uno can also be controlled by a PC using software such as PHD. Details can be found under the Arduino-Uno-AutoGuider repository.
The Pi can also control a Canon DSLR, via an interface, to allow long exposure photographs.
Sony A6000* can also be used for long exposure photographs and controlled by 3 methods...
*Note although A6000 is tested I have also tested on a A7R4 so should work on several Sony models. Note you can't use the Electronic shutter with BULB.
If you want to try your camera download my https://github.com/Gordon999/Pi-Sony-A6000-remote and try them. Connect an IR led to gpio pin number 36.
- Modifying Sony RM-SPR1 remote button (See Sony.txt and related photos) with extra FOCUS control gpio added (pin 23).
- Use of Infra Red diode to a gpio and Sony RMT-VP1 receiver..
- Use of Infra Red diode to a gpio directly to camera (limited camera battery life !!)
Please take care when interfacing your telescope or camera. At your own risk.
History...
10f2 USB webcam Auto_Gain added
10f3 I found an issue with the webcam display and zoom, needs more work but OK with the 2 cameras above.
10f4 Issue with USB webcam CAL, hopefully fixed
10f5 Hist (stretch histogram) added for noisy images, main use webcams. Note still only supports webcams named above.
10f6 one more option to Hist added, some bug fixes
10f7 Control of Logitech C270 added. Set USE_PI_CAM = 0, WEBCAM = 1, USB_MAX_RES = 4.
10f8 minor bug fix to user config
10f9 control of Sainsmart USB 4 relay card added (you need to install crelay http:https://ondrej1024.github.io/crelay/ )
See here for help installing crelay if required. https://www.raspberrypi.org/forums/viewtopic.php?t=216670#p1336648
11a1 minor fixes, Pi Camera added as webcam, set use_Pi_Cam = 0, Webcam = 2. Note NO zoom
(You'll need to install imutils, sudo pip3 install imutils)
12e minor fixes, Pi Camera added as webcam, set use_Pi_Cam = 0, Webcam = 3. Note NO zoom
(You'll need to install opencv). ConfigX.txt changed format.
12f Control of Sony A6000 camera using modified RMT-SPR1 button and interface
12g Control of Sony A6000 camera using IR diode, directly or using RMT-VP1 receiver.

