Control an addressable RGB LED strip with an ESP8266 via a WEB browser.
⚠⚠⚠ Do not update ESP core to 3.0.0 and above. Only works with ESP core 2.7.4 and below due to timing issues! ⚠⚠⚠
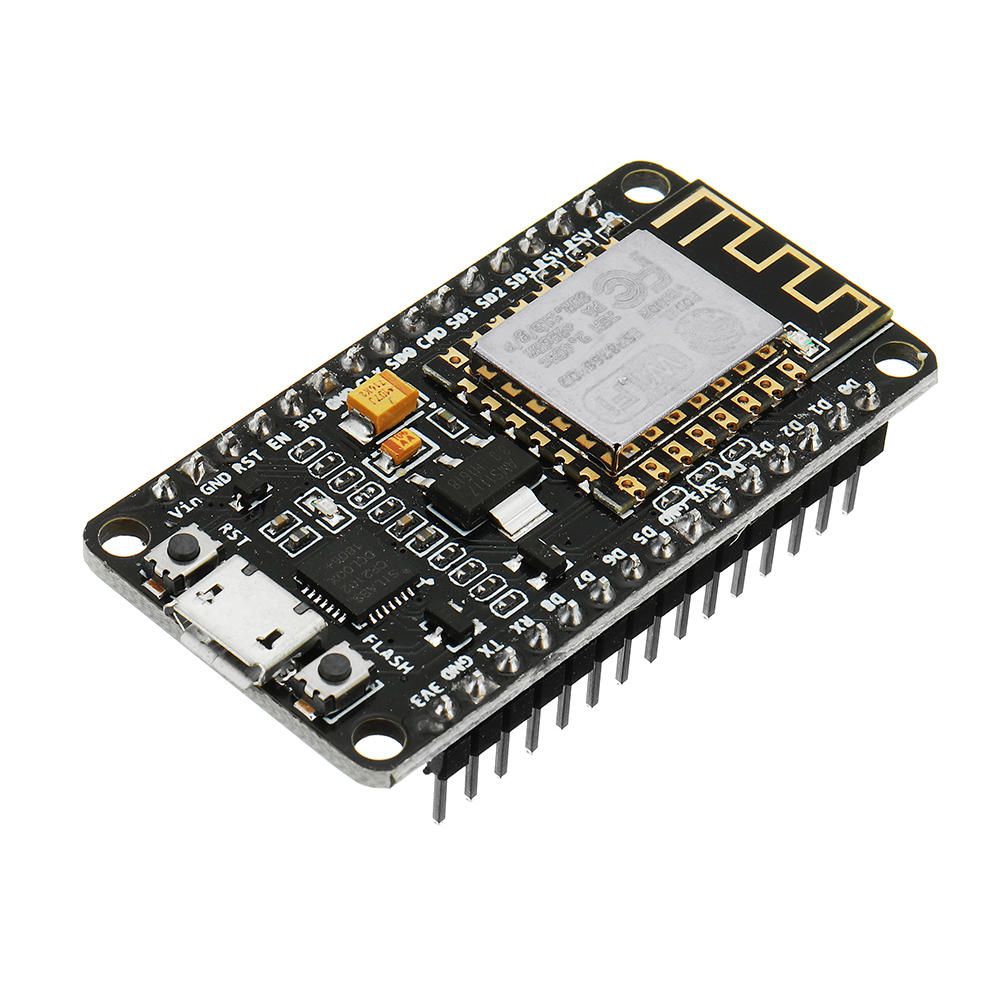
- ESP8266 NodeMCU V3 developement board
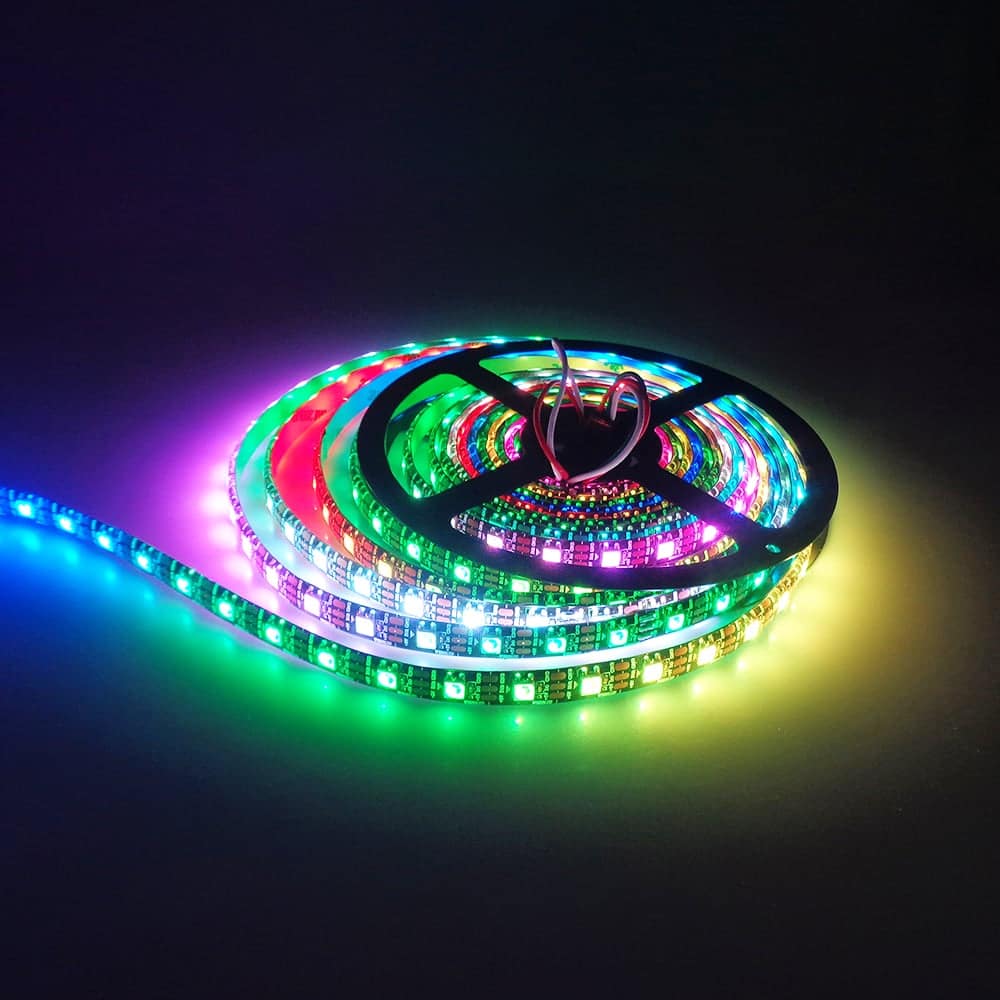
- WS2812b or other addressable RGB LED strip (personally using 5 meters with 300 LEDs total)
- Turn LED strip on or off
- Adjust the brightness
- Enable automatic pattern switching
- Adjust pattern speed and intensity
- Sweep built-in gradients
- Set autoplay duration
- Change the pattern
- Adjust the color
- Use full or simple control mode
- Directly edit SPIFFS file system contents (HTML, JS, CSS, fonts)
- Upload new firmware via OTA
- Many, many more!
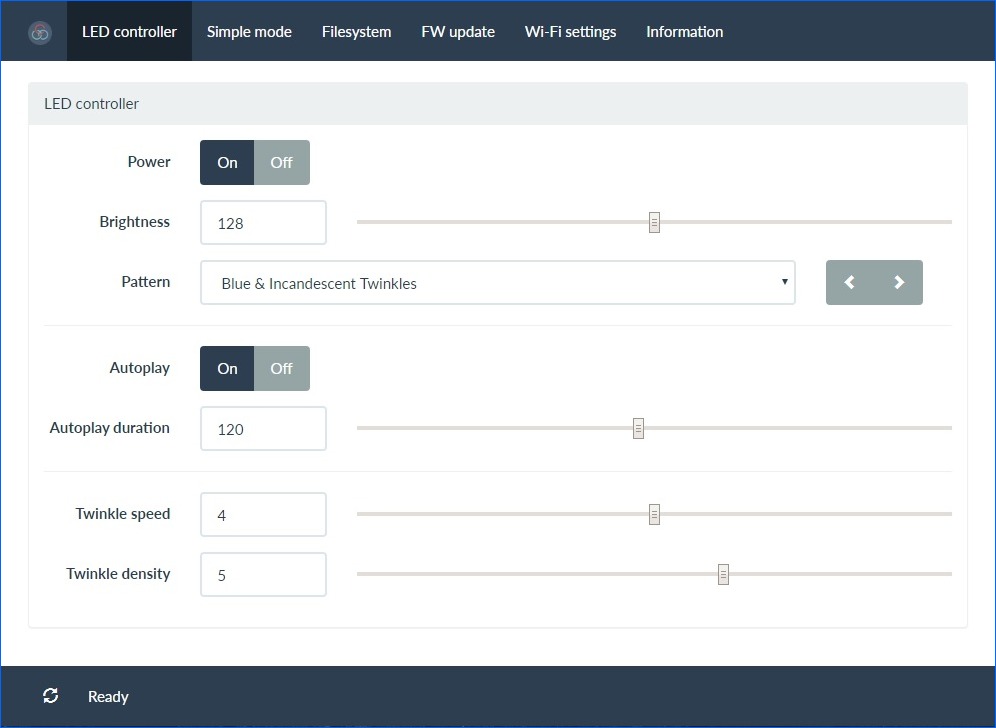
The WEB App is a single page app that uses jQuery and Bootstrap. It has buttons for On/Off, a slider for brightness, a pattern selector, and a color picker (powered by jQuery MiniColors). Event handlers for the controls are used, so you don't have to click a 'Send' button after making changes to the LED strip parameters. The brightness slider and the color picker use a delayed event handler, to prevent from flooding the ESP8266 WEB server with too many requests. As web app is stored in SPIFFS (on-board flash memory).
- Main page provides access to all features related to controlling RGB LED strip parameters and features
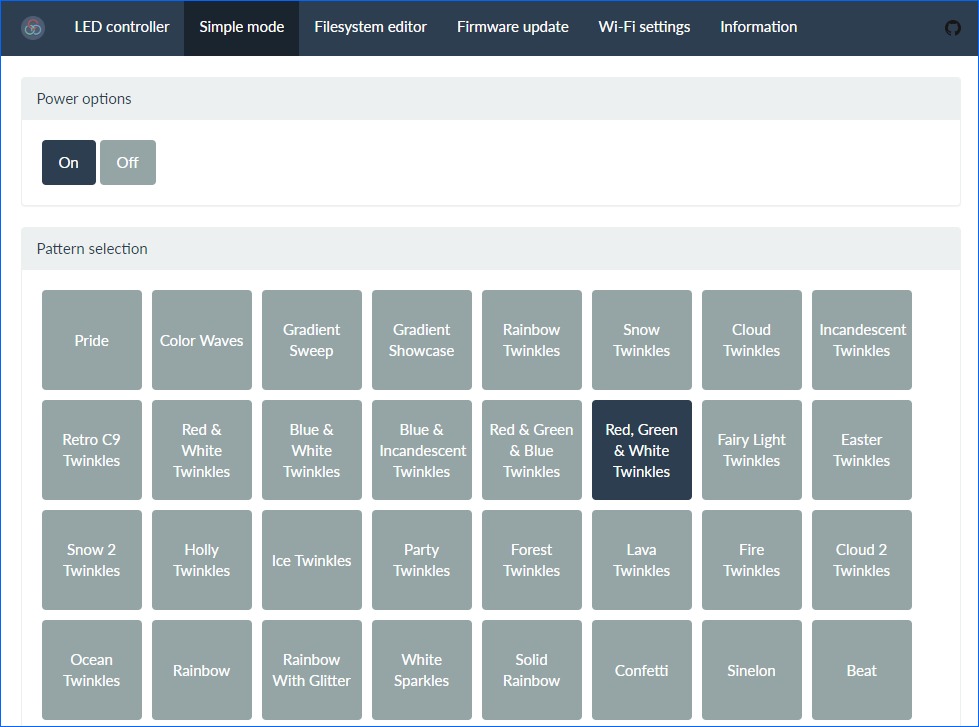
- Simple mode allows to control power state, change active mode or set static color of RGB LED strip
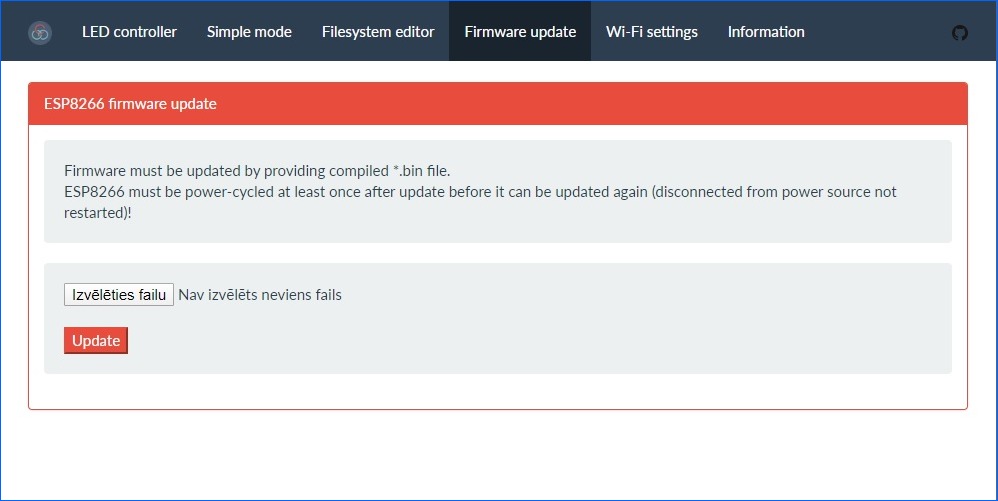
- Firmware update page allows to upload precompiled firmware to ESP8266 in order to update it without connecting to PC
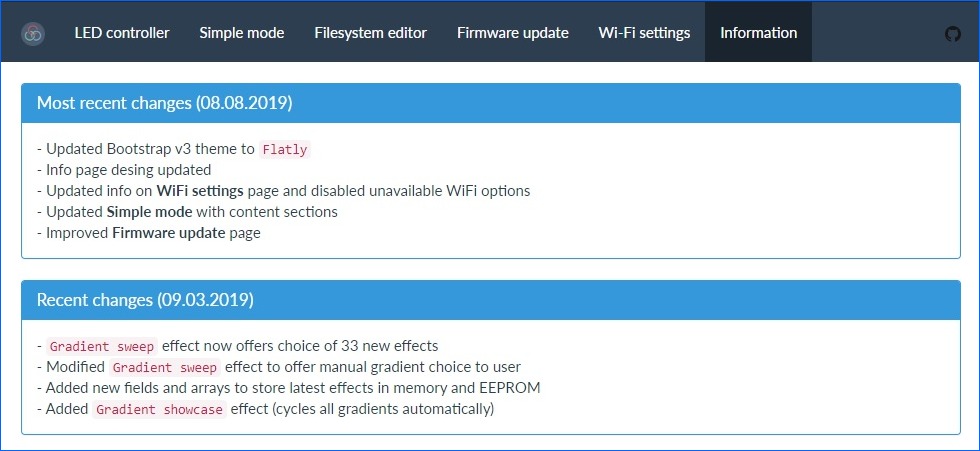
- Information page lists recent changes to this project and latest feature updates available to it
The app is installed via the Arduino IDE which can be downloaded here. The ESP8266 boards will need to be added to the Arduino IDE which is achieved as follows:
- Click
File>Preferences - Copy and paste the URL
http:https://arduino.esp8266.com/stable/package_esp8266com_index.jsoninto theAdditional Boards Manager URLsfield - Click
OK - Click
Tools>Boards: ...>Boards Manager - Find and click on
ESP8266(using the Search function may make this proccess quicker) - Click on
Install(version 2.7.4 works fine) - After installation, click on
Close - Select your
ESP8266orNodeMCU 1.0 (ESP12E)board from theTools>Board: ...menu according to your board specifications
The app depends on the following libraries, which must either be downloaded from GitHub and placed in the Arduino 'libraries' folder, or installed as described here by using the Arduino library manager (working versions of all required libraries are included in this projects libraries folder too):
Download the app code from GitHub using the green Clone or Download button from the GitHub project main page and click Download ZIP. Decompress the ZIP file after downloading it.
The web app needs to be uploaded to the ESP8266's SPIFFS memory. You can do this within the Arduino IDE after installing the Arduino ESP8266FS tool. On Windows, you may need to install Python from Microsoft Store or other sources for this tool to work. Or you can use older version of the tool (it is included in this projects tools folder).
With ESP8266FS installed, upload the WEB App using ESP8266 Sketch Data Upload command in the Arduino Tools menu.
Wi-Fi hotspot with name ESP-**** will be started after code upload. You need to connect to it and set up your Wi-Fi network by providing your router's network name (SSID) and password, then click Connect. After connecting to your home Wi-Fi, the hotspot is disabled and you can see the assigned IP adress of the LED controller in serial output via USB or look in your router settings for DHCP lease assigned to ESP-****.
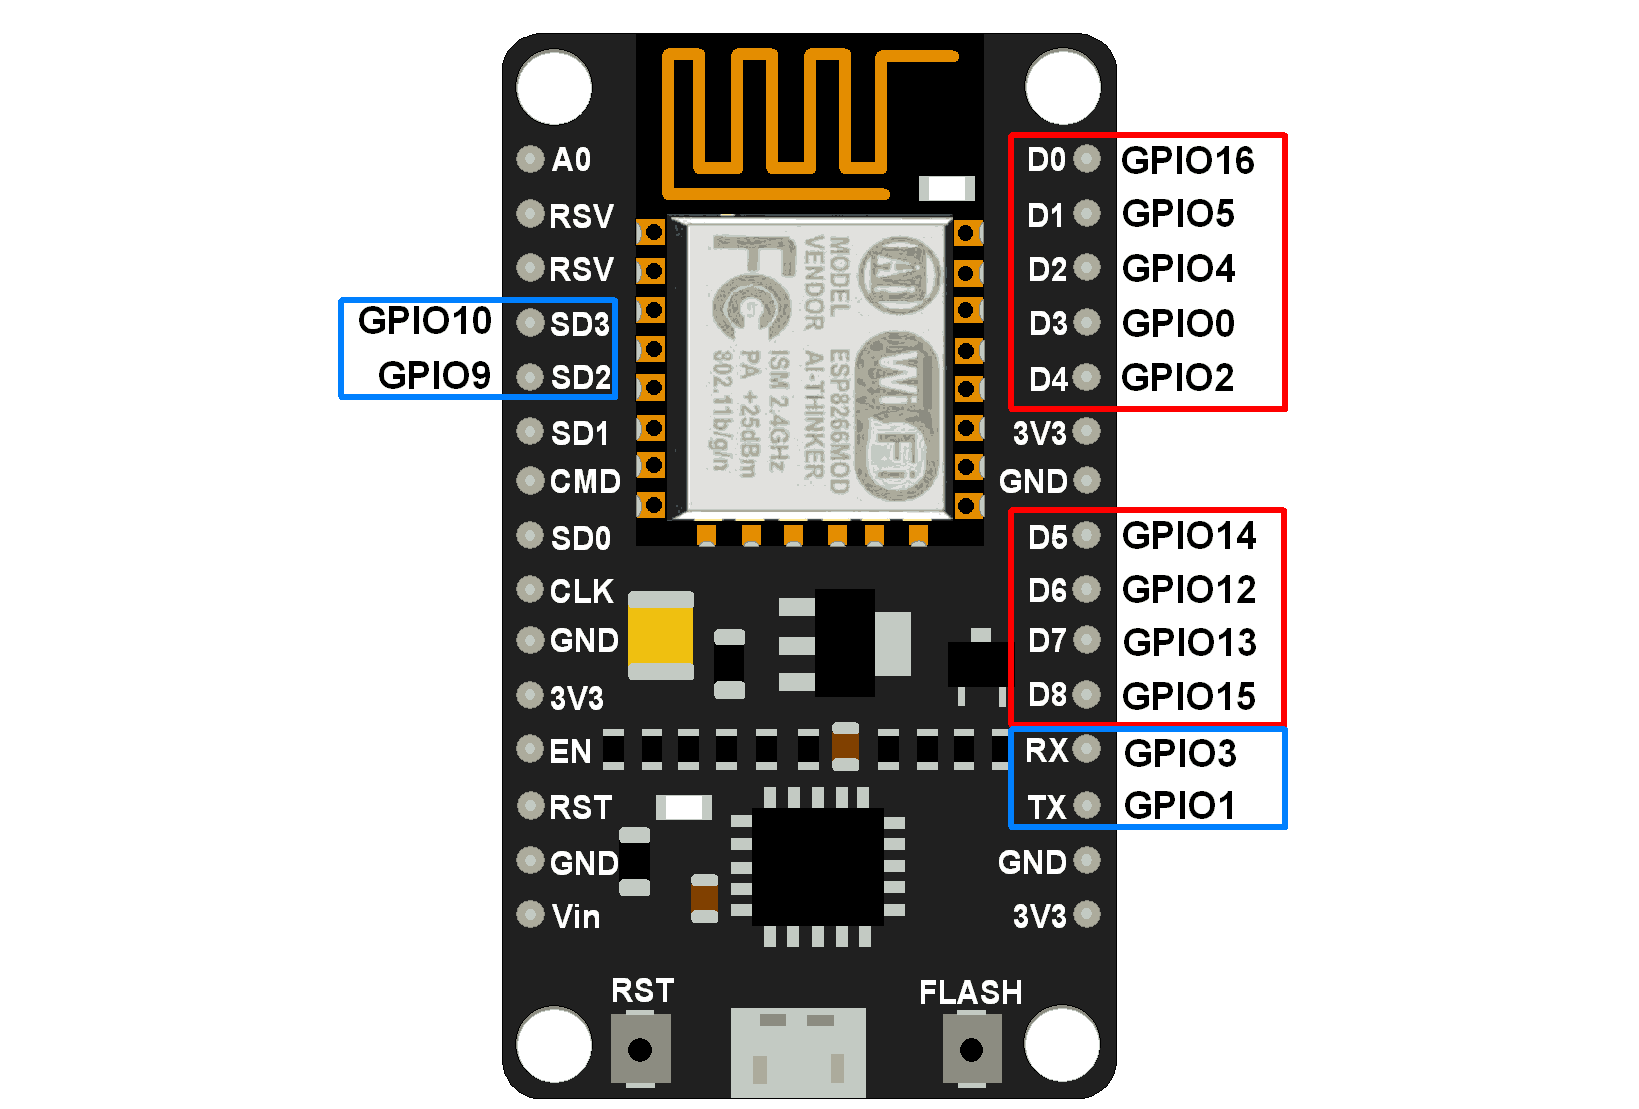
Set communication pin for your ESP8266 module in the sketch before uploading it. You can see the ESP8266 NodeMCU pin mappings in the image below. Look for the following code fragment in the sketch's .ino file and change data pin if needed. Example: D2 physically on board > D4 in code for NodeMCU module.
#define DATA_PIN D4
The firmware implements basic RESTful web services using the ESP8266WebServer library. Current values are requested with HTTP GETs, and values are set with HTTP POSTs using query string parameters.
