This GitHub repository is designed to help you setup and configure Power BI Embedded in your Azure subscription. The process of setting up Power BI Embedded can be confusing since it requires configuring several resource correctly (e.g. Azure Service Principal, Azure Security, Power BI, creating Embedded capacity, etc.) and you must tie them together correctly. The below steps will walk you through the entire process. I recorded a video to show you how to perform the process.
Power BI Embedded is a great tool, but most report developers have issues when setting up and configuring Power BI Embedded since it requires help from IT.
This will walk you through each and every step.
The goal of this is:
- Configure the Azure resources
- Configure the Power BI resources
- Deploy a report and test it using a simple HTML page with some JavaScript
- You should then be able to embeded any report in any application
This process will walk through the following
- Create an Azure tenant. This step can be skipped unless you are doing a test configuration (like I performed in this sample). I show it since some users might want to test in an Azure subscription where they are not an Admin.
- Create an Azure Service Principal. A Service Principal is analogous to a user. Service Principals should be used for automated processes in Azure and in this case we are using a service principal as the "unattended user" who will run the embedded reports.
- Create a Power BI Account. You can use a free trial account for Power BI if you do not own a license. If you need a licence you need to contact your Office 365 admin (someone in your organization) and they can assign you a license.
- Purchase a license: https://docs.microsoft.com/en-us/power-bi/service-admin-purchasing-power-bi-pro
- Create a Power BI Workspace. This is where we will deploy your reports.
- Configure Power BI to use the service principal created above
- Deploy a sample report
- Walk through the C# code in the PowerBI-Developer-Samples sample project provided by Microsoft and explain each element used in embedded (e.g. report token, report url and report id).
- Deploy an Azure Function which will run the C# code from the PowerBI-Developer-Samples and return back a report token, url and id. The Azure Function means we can then call this from any system, web page or JavaScript code and have our reports easily embedded into any application. You do not want to author this code everytime you want to quickly embed a report. Embedding should take 2 minutes.
- Create a simple HTML page with minimal JavaScript to show you how to embed a report. This allows you to the minimal code required to embed a report on a web page or single page application.
- I will not use the Power BI online wizard (https://app.powerbi.com/embedsetup/appownsdata) to create the Power BI setup.
- Sometimes the wizard does not work due to how companies have configured their Azure Subscription. If you use the wizard, you must use it as a Global Azure Admin and that Admin must have a Power BI Pro account and they must have logged into https://app.powerbi.com/ before using the wizard. You also must go generate a key by hand.
- This is for an App Owns Data example. This is typically used for deploying reports to external users. If you want to see an User Owns Data example please click here
- An Azure Subscription (you can get a free one for testing)
- A Power BI Pro license (you can create free account for testing)
- You will need to be a global Azure Admin or have an Admin that can help you through the process. The Admin should also be a Power BI Admin. Go find this person in your company and make friends with them. You should watch and understand the video and then work with them to setup the Azure and Power BI resources. You will need about 30 minutes of their time.
- You will need to install on your machine (make sure you can install items on your machine)
- Visual Studio Community (or higher edition): https://visualstudio.microsoft.com/vs/community/
- Azure Function local development tools (require Node.js to be installed). Details are below.
- A resource group in Azure that you can deploy to. In an enterprise, typically an Admin will create the resource group and grant your Microsoft account Contributor access to the resource group. This is where we will create the Power BI capacity and Azure Function App.
You can skip these steps if you are doing this in your company's Azure subscription. Since this is a test I will show you in a test tenant. I am not a Global Azure AD admin at Microsoft so I use a test tenant to perform Power BI Embedded work.
- Open the Azure Portal https://portal.azure.com
- Click the menu in the top left and select Create a Resource
- Search for Azure Active Directory
- Click Create
- Enter:
- Organization name: Paternostro Embedded Test
- Initial Domain Name: paternostroembeddedtest
- Click Create (and wait)
You can skip this step if you did not perform the step above since you will use your real email (or Azure account) as the user.
- Click on Manage new Directory
- Click on Users
- Click New User (e.g. [email protected])
- Enter their information
- Set their Role to Global Admin
- Go to Azure Active Directory
- Create a new service principal
- App Registrations
- New Registration
- Call it PowerBIEmbeddedSP
- Web | https://PowerBIEmbeddedSP
- Grant Permissions for the Service Principle to PowerBI
- Click on API Permissions
- Click on Add a Permission
- Click on PowerBI Service
- Click on Delegated Permissions
- App.Read.All
- Capacity.Read.All
- Capacity.ReadWrite.All
- Content.Create
- Dashboard.Read.All
- Dashboard.ReadWrite.All
- Dataflow.Read.All
- Dataflow.ReadWrite.All
- Dataset.Read.All
- Dataset.ReadWrite.All
- Gateway.Read.All
- Gateway.ReadWrite.All
- Report.Read.All
- Report.ReadWrite.All
- StorageAccount.Read.All
- StorageAccount.ReadWrite.All
- Workspace.Read.All
- Workspace.ReadWrite.All
- Click on Add Permissions
- Go to Azure Active Directory
- Click on Groups
- Create a new Group
- Group Type: Security
- Group Name: PowerBIEmbeddedGroup
- Members: Add PowerBIEmbeddedSP
- Click Create
If you have a license you can skip this step
- Login to https://app.powerbi.com/
- Click on Workspaces
- Click Create a Workspace
- Click Free Trial
- Login to https://app.powerbi.com/
- Click the gear icon on the top right
- Click Admin portal
- Click Tenant Settings
- Scroll to "Allow Service principals to use Power BI APIs"
- Click Enabled
- Click "Specific Security Groups"
- Add PowerBIEmbeddedGroup
- Click Apply
- Login to https://app.powerbi.com/
- Create a workspace
- Click on Workspaces
- Click Create a Workspace
- Name it: EmbeddedReports
- Click Save
- Add security to the workspace
- Click on Workspaces
- Click on the "..." of the EmbeddedReport workspace
- Select Workspace Access
- Add PowerBIEmbeddedSP as an Admin
- Click Add
- Click on Workspaces
- Click on EmbeddedReports
- Click Create | DataSets
- Click Files
- Click Samples
- Click IT Spend Sample
- Copy the Workspace ID and Report ID from the URL
- Download sample from here (Zip file) https://github.com/Microsoft/PowerBI-Developer-Samples
- Open in Visual Studio
- Unblock Zip
- Unzip the file
- Go into AppOwnsData folder
- Restore NuGet
- Rebuild
- Update web.config (set these values)
     <add key="AuthenticationType" value="ServicePrincipal"/>
     <add key="applicationId" value="SET-THIS-VALUE"/>
     <add key="workspaceId" value="SET-THIS-VALUE"/>
     <add key="reportId" value="SET-THIS-VALUE"/>
     <add key="applicationSecret" value="SET-THIS-VALUE"/>
     <add key="tenant" value="SET-THIS-VALUE"/>
- Run it and click on Embed Report
- Make sure you have the Azure Function Tools installed
- https://docs.microsoft.com/en-us/azure/azure-functions/functions-run-local
- You will need Node.js installed and then install a Node package
- Open PowerBI-Embedded-Sample.sln
- Open local.settings.json and replace
- applicationId
- workspaceId
- applicationSecret
- tenant
- Run the applicatoin
- Copy the URL
- Pass in the reportId to the URL
- Open https://portal.azure.com
- Create a Resource Group
- Create a Function App
- Name it what you like
- Runtime Stack: .NET Core
- Click Review and Create
- Open Visual Studio
- Open PowerBI-Embedded-Sample.sln
- Right click on ReportToken
- Click on Publish
- In Azure Portal
- Click on Function App
- Click on Configuration
- Add each of the values from the local.settings.json
- Click on the Function App in Azure
- Click the Run button
- In the test window add a Parmeter
- reportId and your Power BI Report Id (Guid)
- Go to the Resource Group your Function App
- Click on the storage account
- Click on Containers
- Create new Container (name it "powerbi")
- Click on the Container
- Upload the powerbi.min.js
- Click Generate SAS token
- Set the Start Date in the past
- Set the Expiry Date in the future
- Copy the Blob SAS token
- Back in Visual Studio
- Open the folder "PowerBI-Embedded-JavaScript"
- Open index.html
- Paste he SAS Token on line 28
- Set the Function Name on line 34
- Set the Function Code on line 35
- Set the Report Id on line 14
- Back in the Azure Portal
- Upload the index.html to the same storage account and container
- Generate a SAS token
- Paste the SAS token in a browser (you might need to wait a minute for the SAS token to work)
- Click the "Click to Run Report" button
- Copy the storage account name
- Go back to your Function App
- Click on Platform Features
- Click on CORS
- Add your storage account (e.g. https://storageaccountadamp9397.blob.core.windows.net)
- Click Save
- Rerun the index.html report in your browser
Currently, you have been testing using Power BI resources. In order to distribute reports using Power BI embedded you must use your Premium Capacity or create Embedded capacity to ensure you in compliance with licensing.
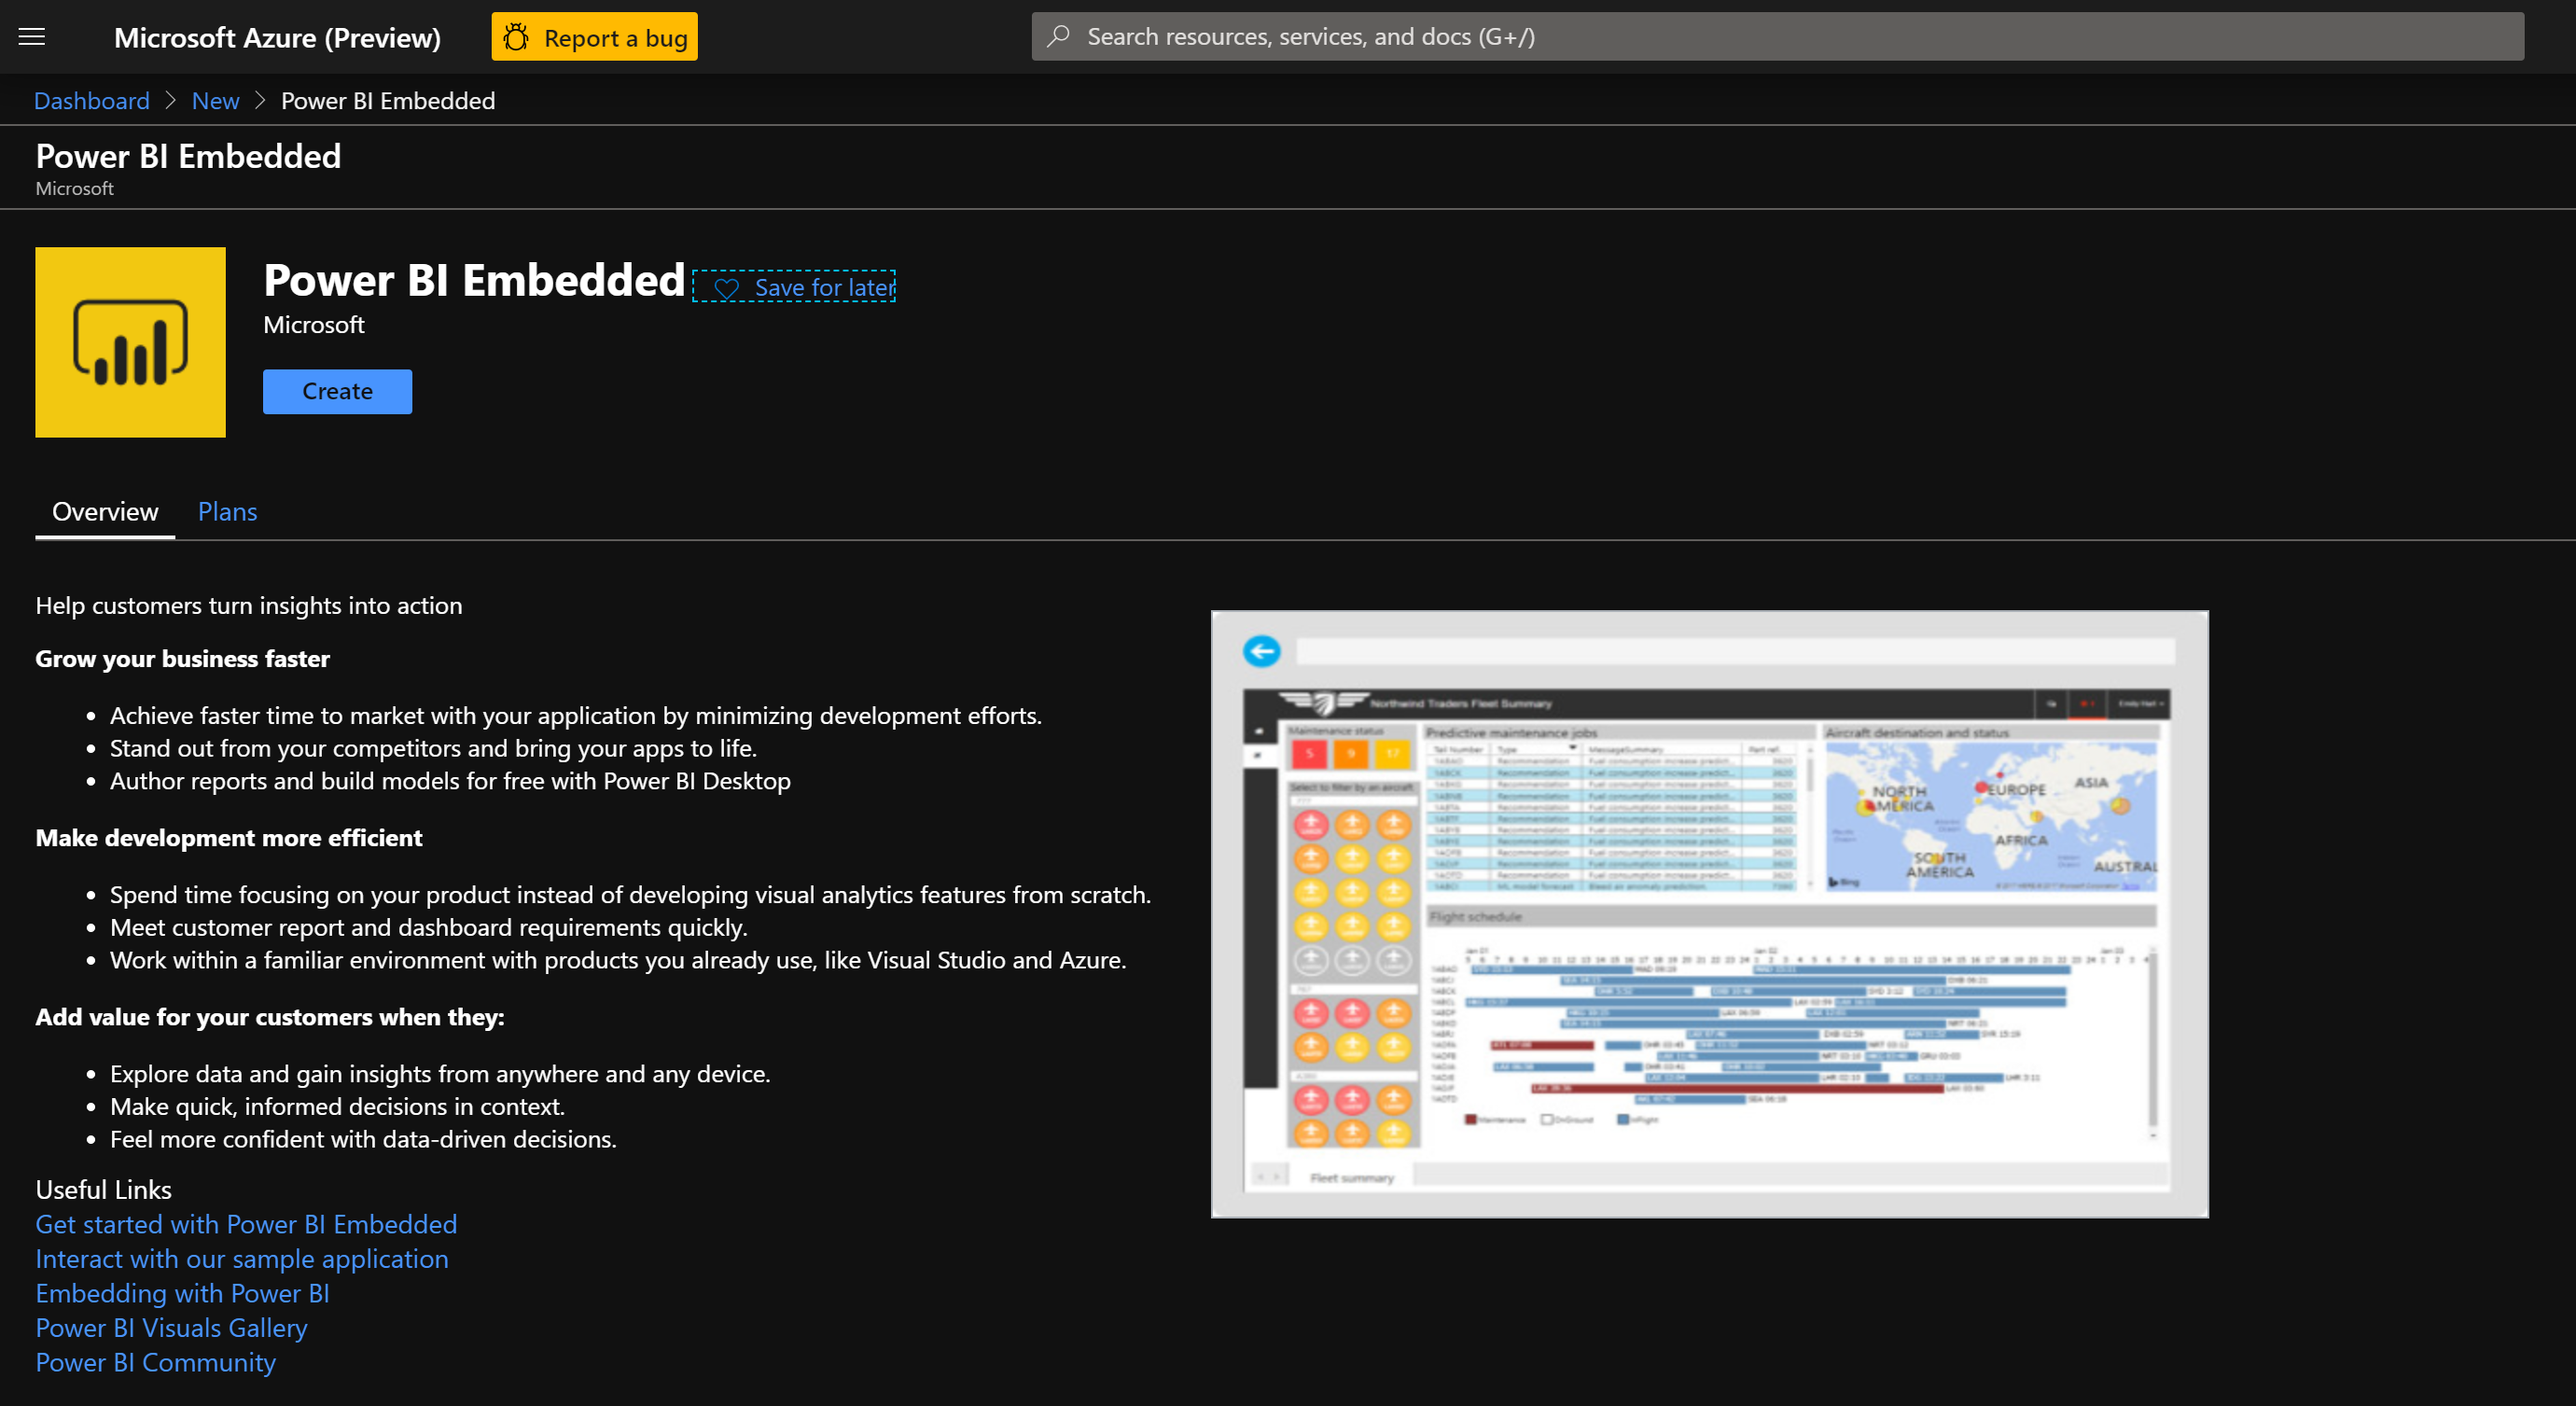
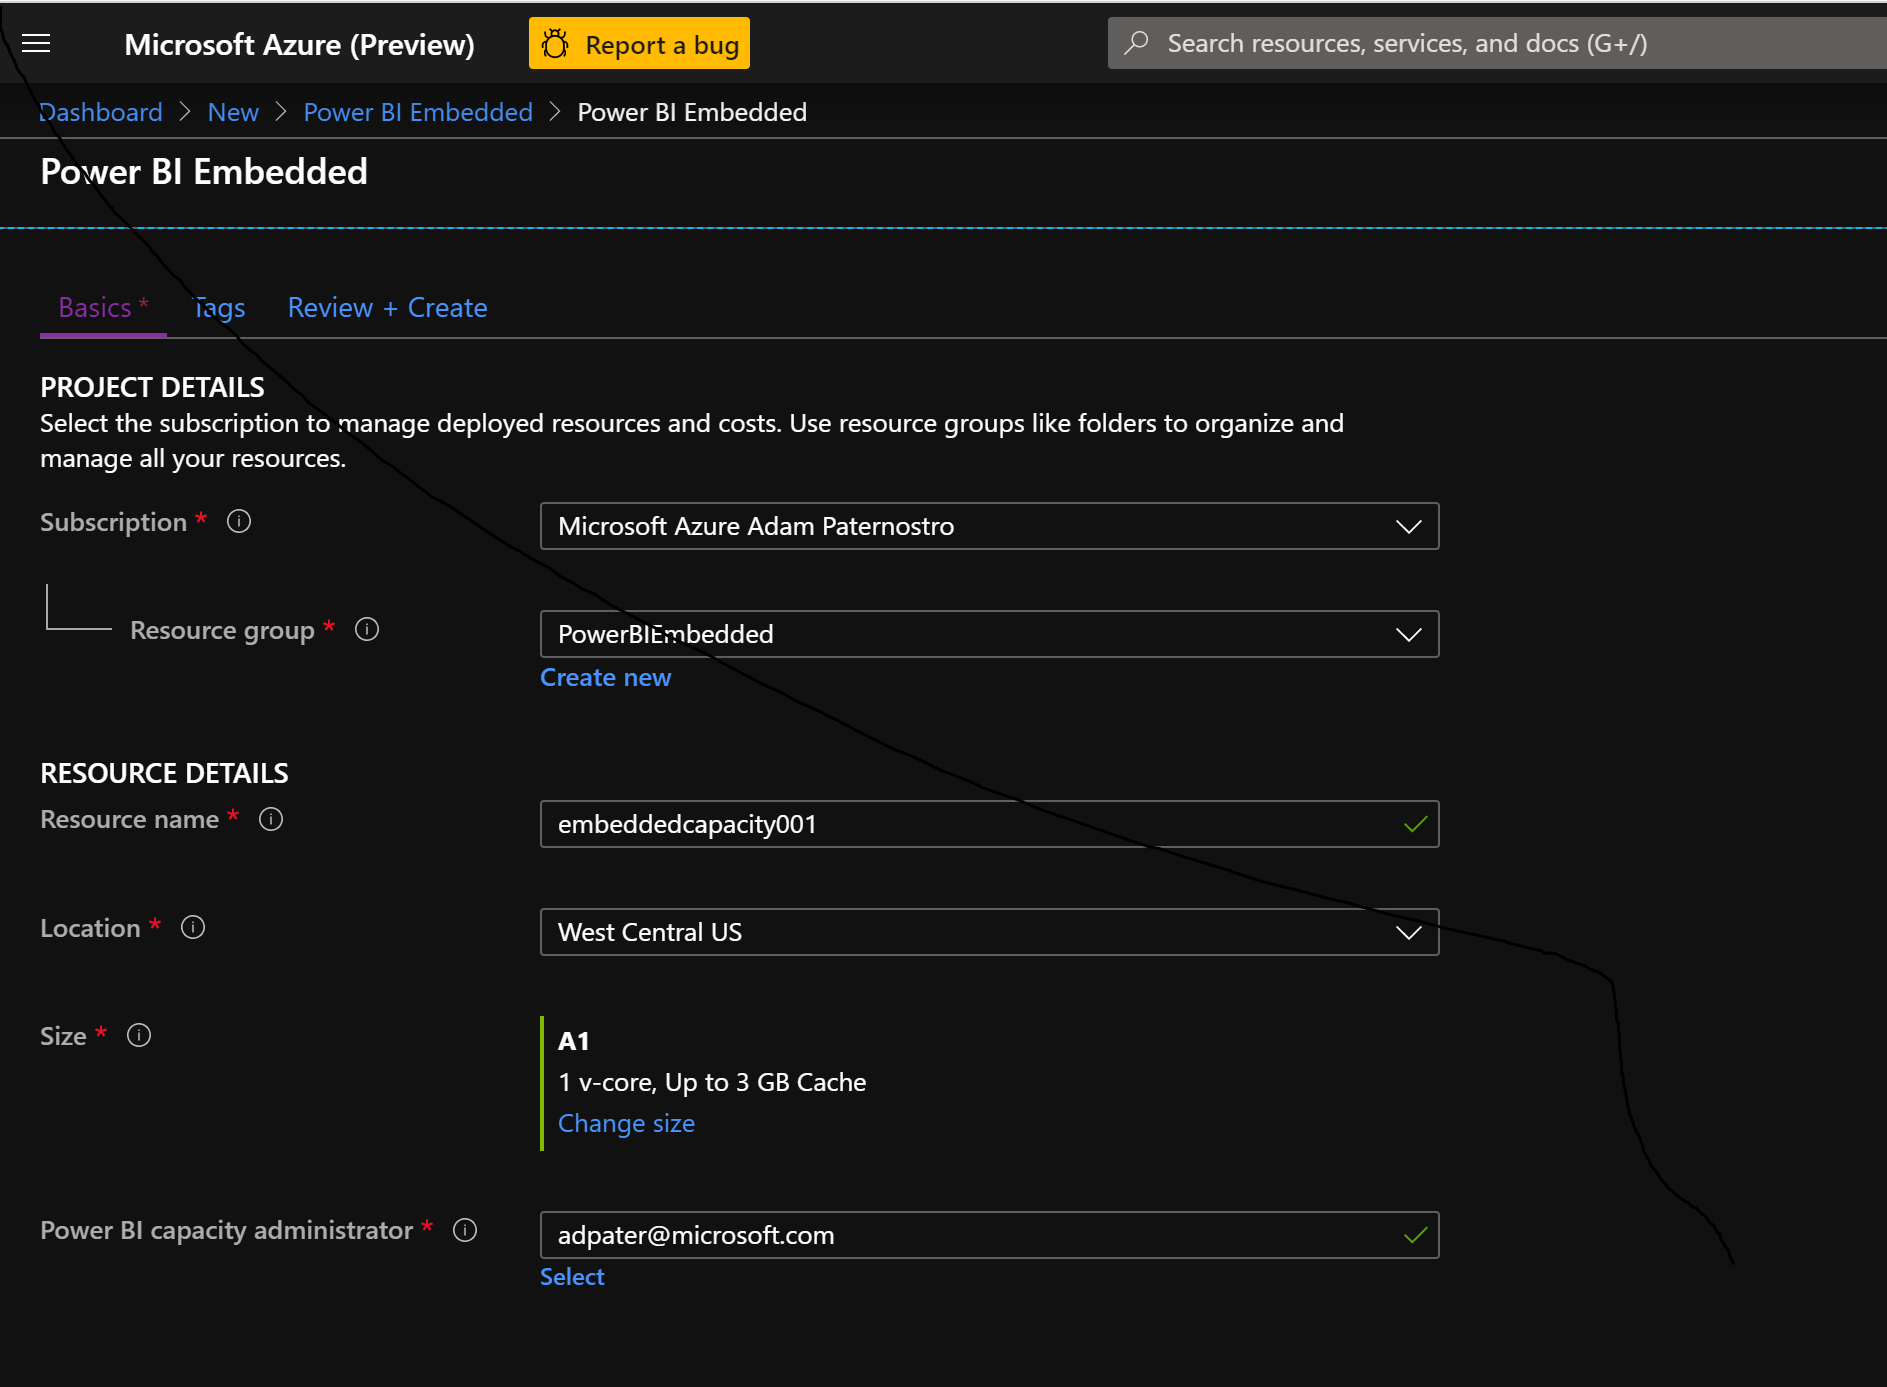
- Open the Azure Portal
- Create a new resource Power BI Embedded
- Open https://app.powerbi.com
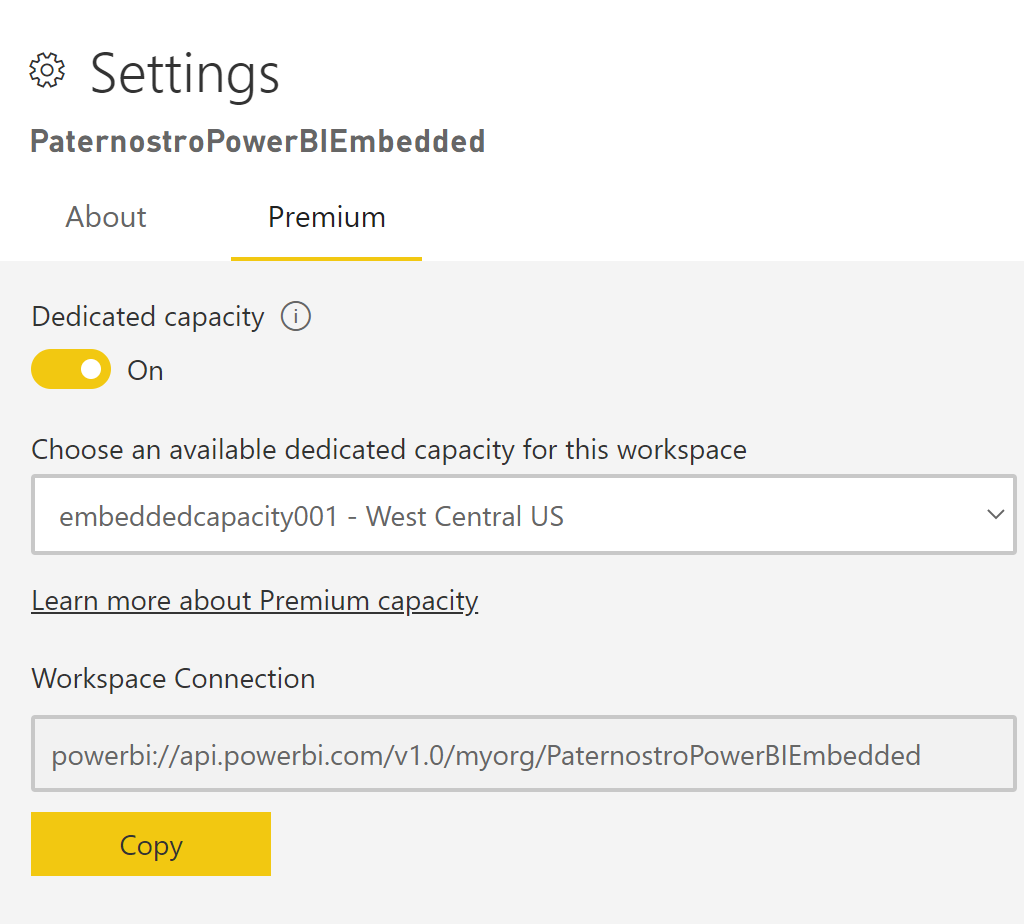
- Click on Workspaces
- On your workspaces click the "..." and select Workspace settings
- Click on Premium
- Assoicate your capacity
- In the Azure Portal you can pause/un-pause your Power BI Embedded Capacity for your development and QA testing.
- If you notice the index.html page has the Azure Function Key placed in the JavaScript. You should protect this Key and only place the key in pages that are secure (meaning the user went through a login page).
- If there is no login page, then you should create a second Azure Function called RunReport"ABC" and have RunReport"ABC" function call the Power BI Function App which can protect pass the Power BI Function App key and the report id.
- Even if there is a login page and you share this Power BI workspace with other reports that have sensitive data you should be aware a rogue user could start calling your Function App and passing in every Guid in existance (it will take them a long time).
- My perferred option is to add a parameter to the Power BI Function App.
- Option 1: The user id is securely passed and the user is verified having access to the report.
- Option 2: Add a JWT token. A JWT is a signed token and the Function App would verify it was signed/generated by your organization. The token could contain the report id value (or other elements) and as long as the token is verified that it was not tampered with you would run the report (provided the user has access to the requested report). Now you do not need to worry about someone trying to guess report ids or trying to access reports they do not have access.
- Playground: https://microsoft.github.io/PowerBI-JavaScript/demo/v2-demo/index.html
- Start / Stop: https://docs.microsoft.com/en-us/power-bi/developer/azure-pbie-pause-start. You could author a Azure Function or Azure Automation to schedule a suspend and resume of your Embedded capacity.
- Sample: https://docs.microsoft.com/en-us/power-bi/developer/embed-sample-for-customers
- https://github.com/Microsoft/PowerBI-JavaScript/wiki/Embedding-Basics