- Hardware: any hardware can run ubuntu 18.04
- OS: ubuntu 18.04 (Server edition is recommended)
- Software:
- nginx
- php
- certbot
- mariadb
- ghostscript
- fail2ban
- portsentry
- supervisor
- rsync
- docker
- ufw
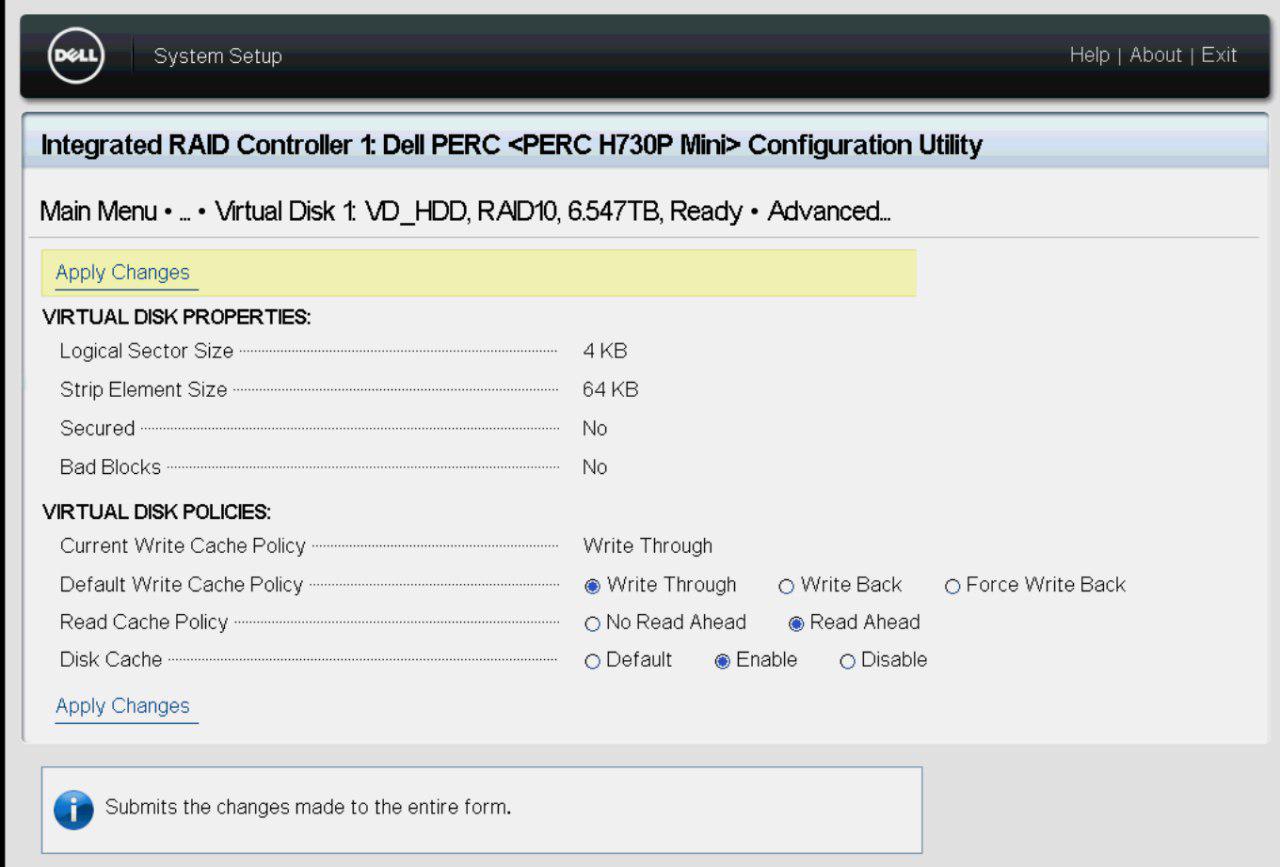
- Storage:
-
physical: HDD * 8, SSD * 2

-
virtual (RAID): VD_HDD(HDD * 8), VD_SSD(SSD * 2)


-


-
Set language to
Englishto avoid font issues -
Set Location to
Asia/Taiwan -
Set Locale to
en_US.UTF-8 -
Set keyboard to
English (US)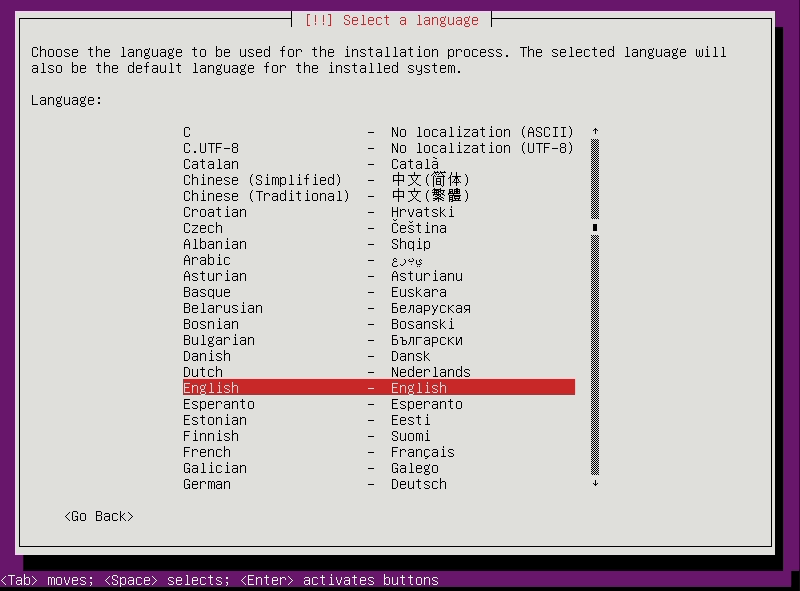
-
Check timezone is
Asis/Taipei -
system install on disk
VD_HDD -
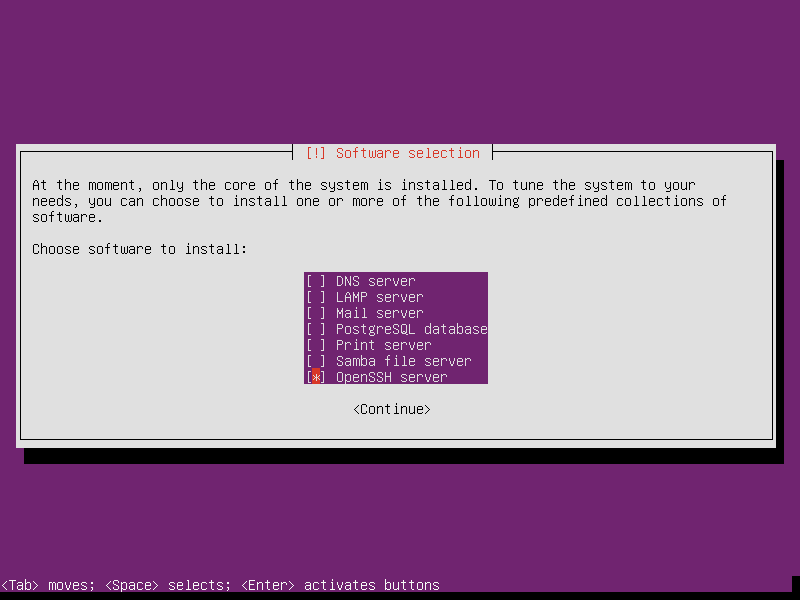
Install OpenSSH Server in predefined software


-
The traditional way
- certbot:
- Get certificates use webroot
- Nginx:
SSL Configuration Generator by Mozilla (modern profile is recommended)
- certbot:
-
The modern way
-
Add config below to
/etc/crontabfor autorenew certificates30 2 * * 1 root /usr/bin/certbot renew 35 2 * * 1 root /etc/init.d/nginx reload
Install for Laravel Queue Worker
- MariaDB Audit plugin
add config below to/etc/mysql/mariadb.conf.d/50-server.cnf# for server / query audit plugin_load=server_audit=server_audit.so # # * MariaDB Audit Plugin # # https://mariadb.com/kb/en/library/mariadb-audit-plugin-log-settings/ # # for server / query audit server_audit_logging=on # to log all queries, or to log only connect and table changes? # https://mariadb.com/kb/en/library/mariadb-audit-plugin-log-settings/#logging-query-events server_audit_events=CONNECT,QUERY,TABLE server_audit_file_path=/var/log/mysql/server_audit.log # log file size 1G=1000000000 # now set to 100M server_audit_file_rotate_size=100000000 # set to 0 means never rotate (0-999) # now set 999, size will be 100M*999=100G server_audit_file_rotations=999 # set max logging query length to 10M per query server_audit_query_log_limit=10485760 - fd limit(open files limit)
-
add config below to
/etc/mysql/mariadb.conf.d/50-server.cnf# # Open File Limit # open_files_limit = 65535 -
add config below to
/etc/security/limits.confmysql soft nofile 65535 mysql hard nofile 65535
-
- automysqlbackup
apt install automysqlbackup- Review settings in
/etc/default/automysqlbackup.DBNAMESBACKUPDIRMDBNAMESDBEXCLUDE
apt install fail2ban- it's ok to use default settings
apt install portsentry- Review settings in
/etc/portsentry/portsentry.confTCP_PORTS/UDP_PORTSADVANCED_EXCLUDE_TCP/ADVANCED_EXCLUDE_UDP
- Make sure settings below are enabled
BLOCK_UDP="1"/BLOCK_TCP="1"SCAN_TRIGGER="1"to reduce false alarm
- Use better
KILL_ROUTE. Find this line and enable to use iptables setting instead of default ruleKILL_ROUTE="/sbin/iptables -I INPUT -s $TARGET$ -j DROP && /sbin/iptables -I INPUT -s $TARGET$ -m limit --limit 3/minute --limit-burst 5 -j LOG --log-level DEBUG --log-prefix 'Portsentry: dropping: '"
- make sure VD_SSD is formatted in ext4 disk format
- create directory at
/mnt/VD_SSD sudo fdisk -lcheck what device path is for VD_SSDblkid (VD_SSD's device path with partition number)to get UUID of VD_SSD's partition- add
UUID=(UUID get from previous step) /mnt/VD_SSD ext4 errors=remount-ro 0 1to/etc/fstab
add below to /etc/crontab
*/5 * * * * root rsync --archive --delete --delete-delay --delay-updates /mnt/VD_SSD /data/
- Ubuntu has built-in ufw. You can use
sudo ufw statusto check status and rule of ufw. - To make sure your connection after enabling ufw,
sudo ufw allow sshis necessary. sudo ufw allow 80,sudo ufw allow 443and any rule you need.- If setting is ready, you can type in
sudo ufw enable.
all examples are in config-examples folder