Pryv.io web pages for app authorization, user registration and password reset.
You can take a look at the demo here.
This is a Template App developed with Vue.js to be adapted for each Pryv.io platform. It also serves as a reference if you prefer to use another framework.
These web pages are the "popup frame" that opens during the app authorization process, as well as registration and password reset.
| Registration | Change-Password | Consent | Reset-Password |
|---|---|---|---|
 |
 |
 |
 |
After you have forked the repository on GitHub, you must adapt the upload script so it pushes to the gh-pages branch of your repository by modifying the following line as following:
git clone [email protected]:{YOUR-GITHUB-ACCOUNT}/app-web-auth3.git dist && cd dist && git checkout gh-pagesIn order for GitHub to build the GH pages once, you must make a commit in the gh-pages branch. An easy way to achieve this is to do a commit that adds an extra space or line at the end of a file.
In this section, we explain how the 3 main functions of app-web-auth3 are implemented; namely authorizing client applications, registering new Pryv.io users and resetting forgotten passwords. We first present the logic flow and then provide additional details about the operations they perform.
- (This step is happening outside app-web-auth3) The client application performs an auth request call, as explained here: API doc - Authorizing your app. As a response, the app receives an URL to open (e.g as a popup), which actually targets the app-web-auth3 auth page. This URL carries as query parameters the requesting permissions and requesting app id from the auth request, see API doc - Auth request
This step can be tested with:
- App web access on Github pages.
- Simple web app on code pen.
-
The app-web-auth3 auth page prompts the user to enter his Pryv.io username and password.
-
Clicking on Sign-in triggers a login (login operation) returning a personal token for this user.
-
Using the personal token, the app verifies the format of the requested permissions against the requesting app id to see if such a request was already accepted, if the permissions are different to one already provided for such an app id or if it is a new one (see checkAccess operation).
-
The requested permissions are shown to the user, who can decide to Accept (acceptAccess operation) or Refuse (refuseAccess operation) granting access to the app by clicking on the corresponding button. If accepted, it creates a new app access.
-
The authorization flow ends by returning (closeOrRedirect operation) the result of this flow: the new app access token or a message in case of error/refuse/cancelation to the requesting app.
It follows the account creation flows: API doc - account creation
-
Upon loading, a list of available Pryv.io hostings is loaded (See API doc - Get hostings).
-
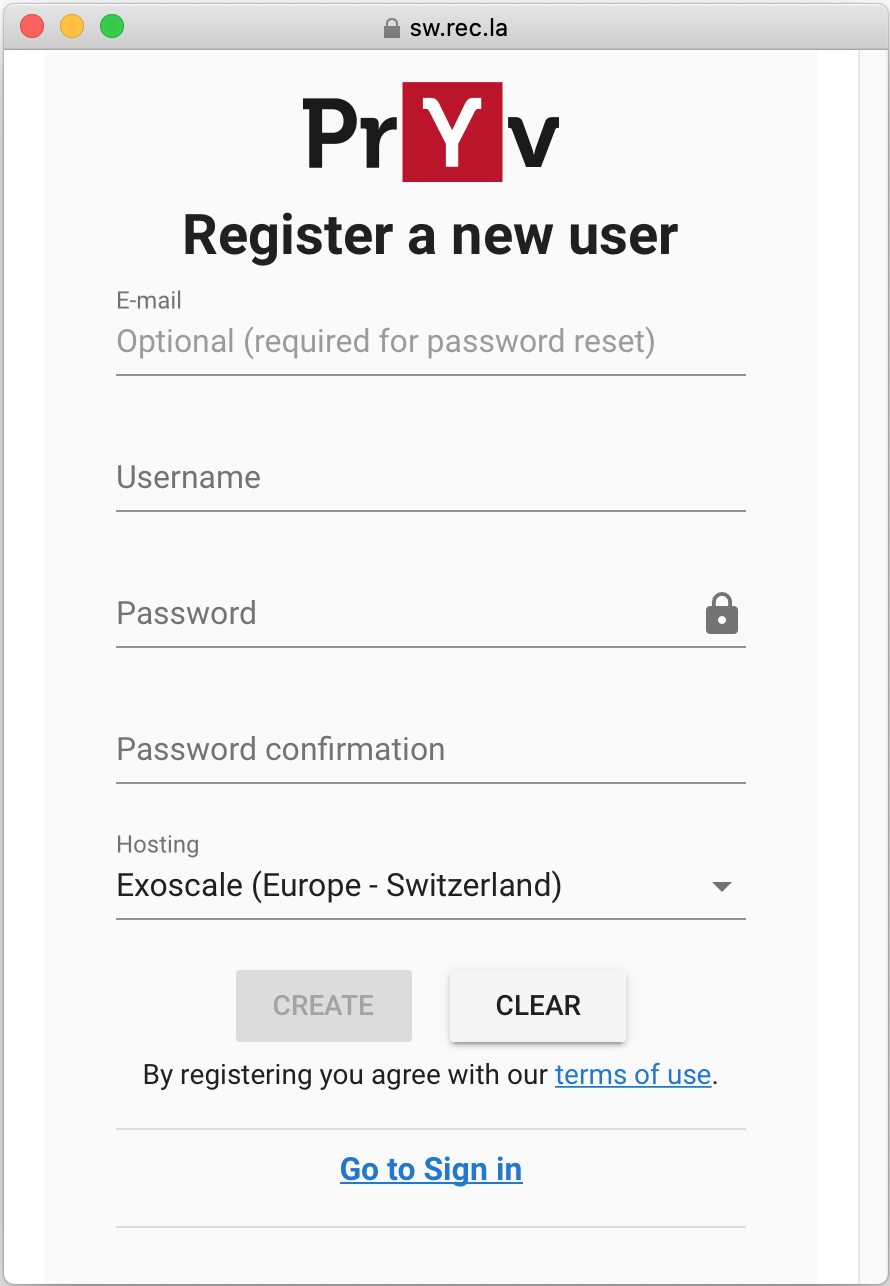
A form asks for information about the new user: email, username, password, choice of hosting.
-
Clicking on Create triggers the user creation.
-
The registration flow ends and the new user is redirected to the demo dashboard.
-
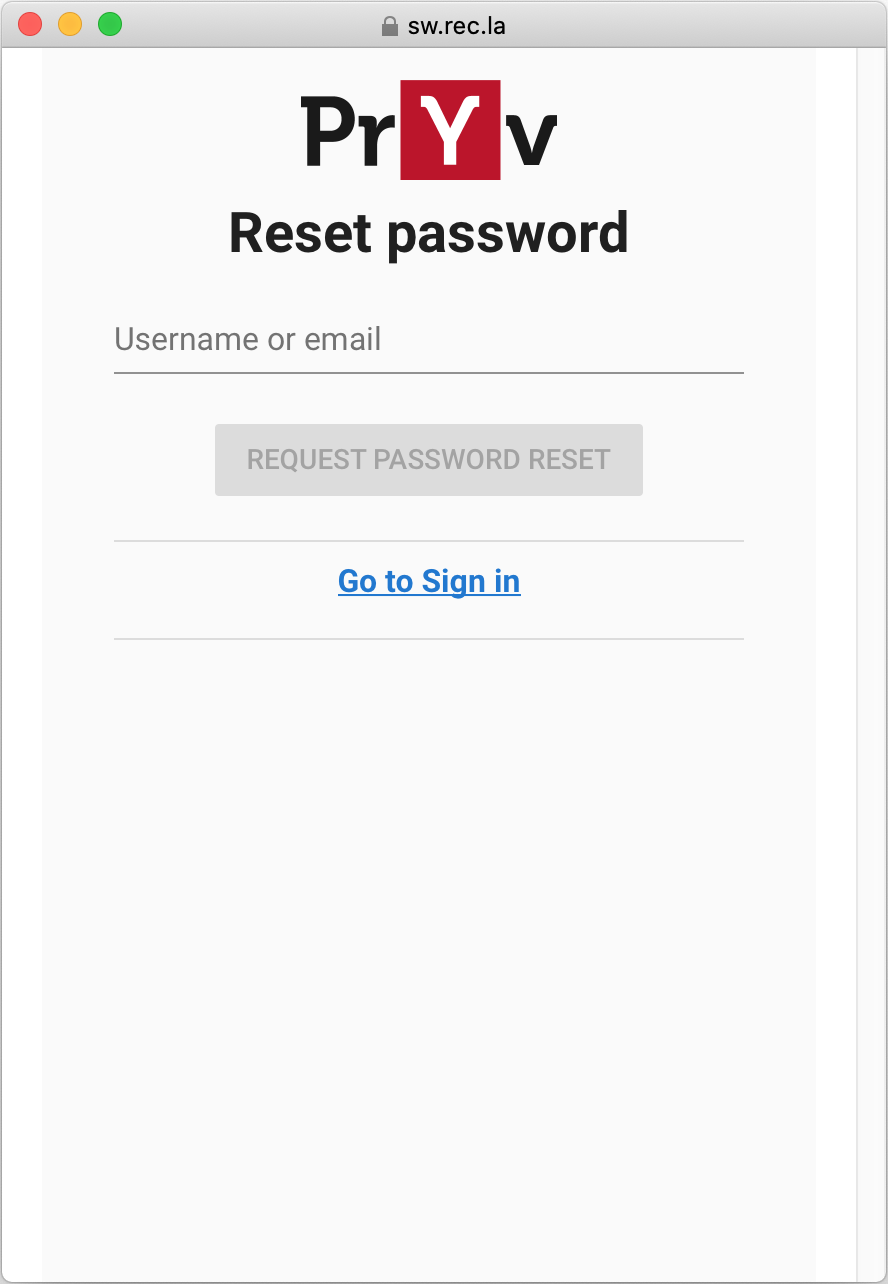
A form asks for a Pryv.io username or email.
-
Clicking on Request password reset triggers the sending of a reset password email to the user (sent from the Pryv.io server/core) (See API doc - Reset password request).
-
The user opens the email and clicks on the reset link. The link targets the password reset page, but this time provides a reset token as query string.
-
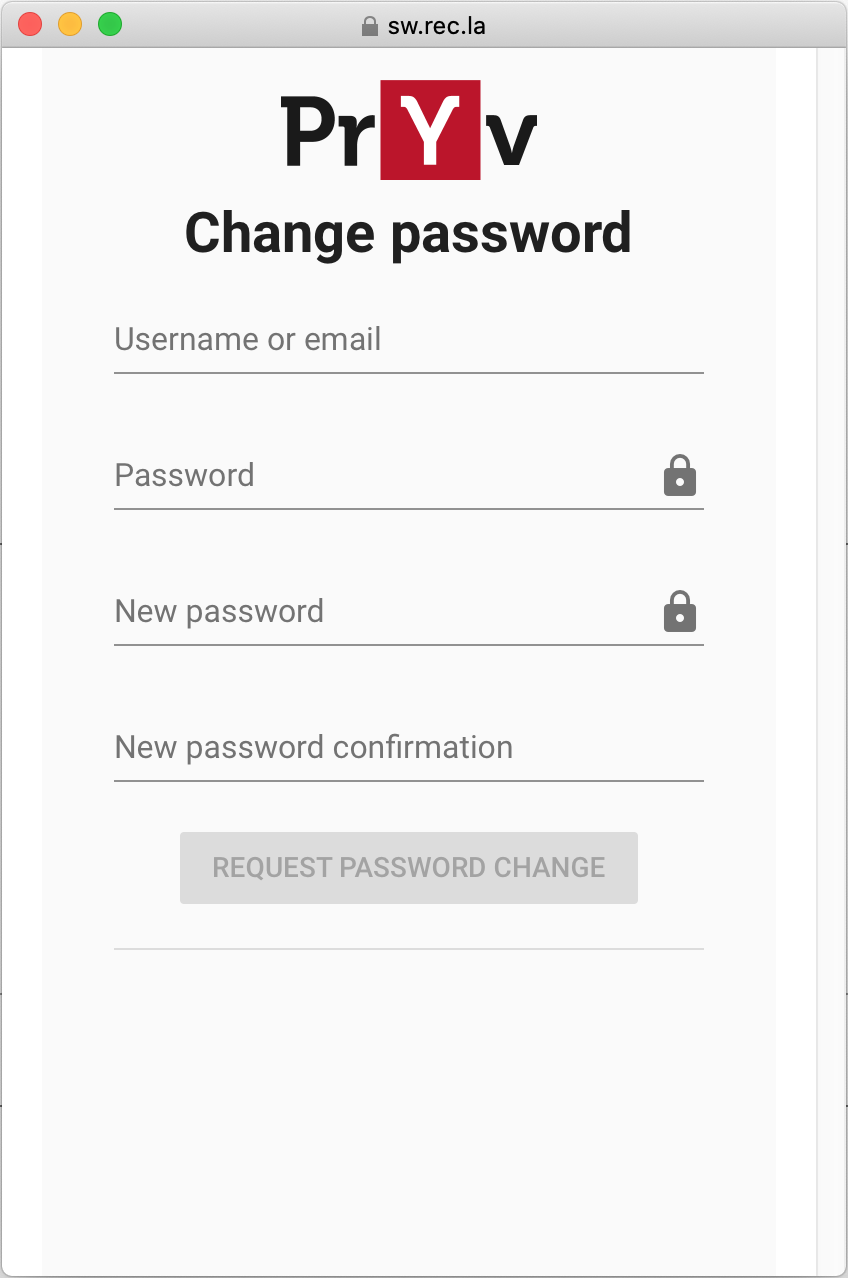
A new form is presented to the user asking for his username or email and a new password.
-
Clicking on Change password will update the password with the new one, using the reset token (See API doc - Reset password).
Resolves the username if an email is provided, verifies the username existence then uses the provided Pryv.io credentials (username, password) to login with the Pryv.io API (See API doc login).
Checks the requested app access (especially the permissions it contains) and compares it with eventually existing ones (only accesses of type 'app' are considered here).
Reference: API doc CheckApp Access
The API response will contain the following fields:
- in any case, checkedPermissions will contain the set of requested permissions that has been checked and corrected (for example to ensure that stream names stay unique using provided defaultNames).
- if a similar app access already exists and its permissions match the requested permissions, matchingAccess will contain the existing ,matching access.
- if a similar app access already exists but its permissions do not match the requested permissions, mismatchingAccess will contain the mismatching access.
Knowing that, this operation continues as follow:
If a matchingAccess exists, the Pryv.io register is notified by sending an AcceptedAccessState (which contains the username and the app access token) to the poll endpoint so that the app access token can further be retrieved by the app doing the polling (See auth flow, step 5).
Otherwise, we first replace the permissions list with the checkedPermissions and then show them to the user so that he can consent (or not) to the creation of the new app access (auth flow, step 4).
If a mismatchingAccess exists, we still show the checkedPermissions to the user, but instead of creating a new access upon user consent (auth flow, step 4), we just update the existing one with the new permissions. Updating an access is a two step process delete then create to preserve history.
Triggered when the user accepts to consent to the new app access.
- (optional) Delete if it's an update, first delete the existing one. API doc Access delete
- Create the access according to provided username, personalToken and permissionsList (or updates an existing mismatchingAccess using its access id). API doc Access create
- Notify requestee by sending an AcceptedAccessState (which contains the pryvApiEndpoint) to the poll endpoint (so that the app token can further be retrieved by the app doing polling) and the auth flow ends (closeOrRedirect operation).
POST {poll url}
API doc - Auth request - result accepted
{
	"status": "ACCEPTED",
	"pryvApiEndpoint": "https://{token}@{apiEndpoint}",
	"username": "..will be deprecated..",
	"token": "..will be deprecated..",
}
Triggered when the user refuses to consent to the new app access, it notifies the Pryv.io register by sending a RefusedAccessState (which contains nothing more than a refusal message) and ends the auth flow (closeOrRedirect operation).
POST {poll url}
API doc - Auth request - result refused
{
	"status": "REFUSED",
	"reasonID": "...",
	"message": "...."
}If the requesting app specified a returnUrl within the auth request, the current url is redirected to the returnUrl and the result of the auth flow (app token within AcceptedAccessState or message within RefusedAccessState) will be present as query parameters.
Otherwise, the auth page is just closed and the requesting app will be able to retrieve the result of the auth flow by calling the polling endpoint on register (since it has been notified about AcceptedAccessState/RefusedAccessState).
Node v12, yarn v1
| Task | Command |
|---|---|
| Setup dev environment | yarn setup |
| Install dependencies | yarn install |
| Create distribution in dist/ | yarn build |
| Run the app locally in dev mode | yarn start |
| Serve dist/ content with rec-la SSL cert | yarn webserver |
| To manually test the auth flow | yarn webserver-test |
| Run unit tests (-u to updates snapshots) | yarn unit |
| Run E2E tests | yarn e2e |
| Run E2E tests with snapshots | yarn e2eS |
| Run eslint | yarn lint |
| Publish to gh-pages | yarn upload ${commit-message} |
rec-la Provides a Webserver and SSL certificate pointing to localhost for testing purposes.
Run:
yarn buildyarn webserver
Open one of the entrypoint you need to test such as:
Note: you can override default hardcoded serviceInfoUrl with the query parameter pryvServiceInfoUrl as shown.
Once you have started yarn webserver also start yarn webserver-test and open https://l.rec.la:5443/.
You might want to edit the page ./tests/webpage-auth/index.html.
- unit: Doc for Vue.js testing
- e2e: Doc for Testcafe
If it is the first time you publish app-web-auth3, be sure to run yarn setup once.
Create a distribution with your changes by running yarn build.
Then, publish your changes by running yarn upload ${commit-message}
If you encounter conflicts while publishing, run yarn clear to reset the dist/ folder,
then build and publish again.
During the installation of Open Pryv.io, the app-web-auth3 files have been published in the ../public_html/access/ folder of your open-pryv.io repo. If you customize the application, you should copy the content from the app-web-auth3/dist/ folder to open-pryv.io/public_html and reboot Open Pryv.io .
This application is based on the Vue history router design.
It exposes one single index.html file but the application has several entry points:
- access.html - To handle the Pryv.io app authentication process.
- register.html - To create a new account. See reference.
- reset-password.html - To request a password reset. See reference
- siginhub.html - To sign in users and redirect them to the default dashboard app. (it depends on Pryv.io deployment)
In order to expose these entrypoints, you can either :
Reference the entry points to dist/index.html.
The build process automatically creates the necessary links in dist/ and this folder can be directly exposed by a web sever.
The pages are accessible by https://your-app-domain.com/access/register.html
Redirect requests to these endpoint to index.html with a reverse proxy. You can find an example for NGINX below.
We present here an example of NGINX configuration for using app-web-auth3 within a Pryv.io installation.
# Static Web: /static/nginx/conf/site.conf
server {
  listen               443;
  server_name          sw.pryv.me;
  access_log           /app/log/sw.access.log;
  ssl                  on;
  client_max_body_size 5M;

  # This allows to support old endpoints of app-web-auth2 (access.html, register.html, reset.html)
  # making them still reach app-web-auth3 index while not redirecting calls for static assets.
  if ($request_uri !~* "^/access/static/.*$") {
    rewrite ^.*$ /access/index.html;
  }

  location /access/ {
      proxy_pass        https://api.pryv.com/app-web-auth3/;
      proxy_set_header  Host 'api.pryv.com';
  }
}
To customize assets and visual, you can refer to: https://github.com/pryv/assets-pryv.me.