- On the web: https://nodeschool.io/
- On Gitter: nodeschool/organizers
Please fork it and send us improvements! Read our CONTRIBUTING.md guide for more details on how to send a great PR.
If you are an owner on the nodeschool/Owners team please do not edit this repo directly but instead send your contributions as pull requests.
We ask that you make pull requests because changes to this repository will get deployed onto the live production site immediately and it's best if you get feedback on your pull request first before it goes live.
This is a static site with a build step. The build step uses a GitHub Personnal Access Token that you need to generate and put in a .env file. Actually you don't need to configure any authorization on this access token, it just serves the purpose of unleashing the GitHub API Rate Limit.
cp .env.example .env
// then put your GitHub Personnal Access Token in the .env file
After that, simply run npm start:
npm install
npm start
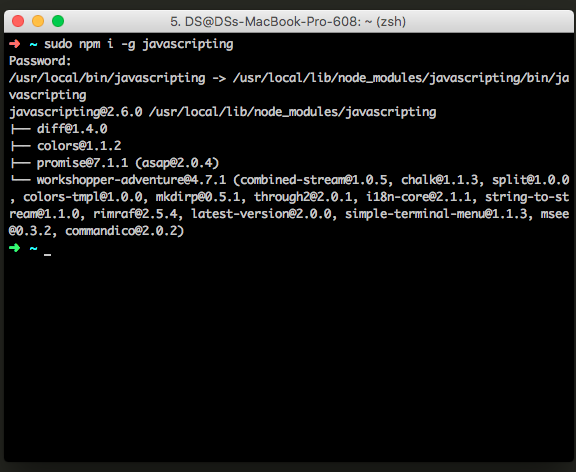
Please refer to the nodeschool site for detailed instructions. In short, there are two ways to install the workshop modules :
-
Globally (easiest)
Depending on the npm version,
npm packagesget installed in different routes. To have access to them globally. Donpm install -global package_nameornpm install -g package_nameIf you get a
permission deniederror. Run the previous command withsudo.sudo npm install -g package_nameNow just run it by simply calling it. For example :
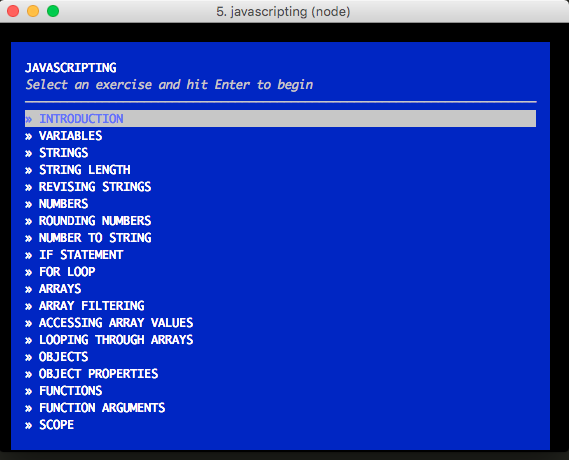
npm install -g javascripting(installs it)javascripting(runs it) -
Custom directory (a bit more configuration)
If you would like to keep all the node_school workshop packages inside a custom directory while you work through them. Using our previous example :
~ mkdir -p node_school
cd node_school
npm install javascripting
From within the node_school directory now run node_modules/learnyounode/bin/javascripting to start it.
This is because you need to run the executable from within the directory itself since it's not available globally in your $PATH
Please refer to this discussion for more info.
These are in the /images directory, feel free to use for your events. In images/make-a-sticker there is a template for making a sticker too. Woop.
If you would like to translate the NodeSchool site into another language please make a pull request adding languages/<language code>.json.
To generate a new language file template automatically, run the following commands inside a clone of this repository:
npm install
npm run generate-language
This will prompt you to enter a language code and will generate your language file in the languages/ folder with English placeholder text. Now just translate each line. You should also add your language to the languages/languages.json list.
When picking your language code, please use the correct code from the first column of this spreadsheet: https://en.wikiversity.org/wiki/ISO_639-1_language_matrix
The way translations are implemented is building static pages using Codeship (see ./scripts for details).
Translation files are a mapping of translations IDs to the translated strings. There is a separate file called languages/selectors.json which maps CSS selectors in markup to the translation IDs.
The good things about this approach:
- Every language is indexed by search engines.
- The site remains a static site. This means that contributing to the site is really easy as the entire site is just flat HTML, CSS, JS and JSON files
- When PRs get merged they are almost immediately deployed live to GitHub pages. This makes maintenance really nice as there is no manual deploy step.
The drawbacks of this approach:
- Default branch is
sourceas we can't usemasteranymore.
Are you not sure what translations is missing? Don't worry! :) Just run this command:
npm install
npm run generate-untranslated-lang
You will find untranslated IDs in languages/xx.untranslated.json.

