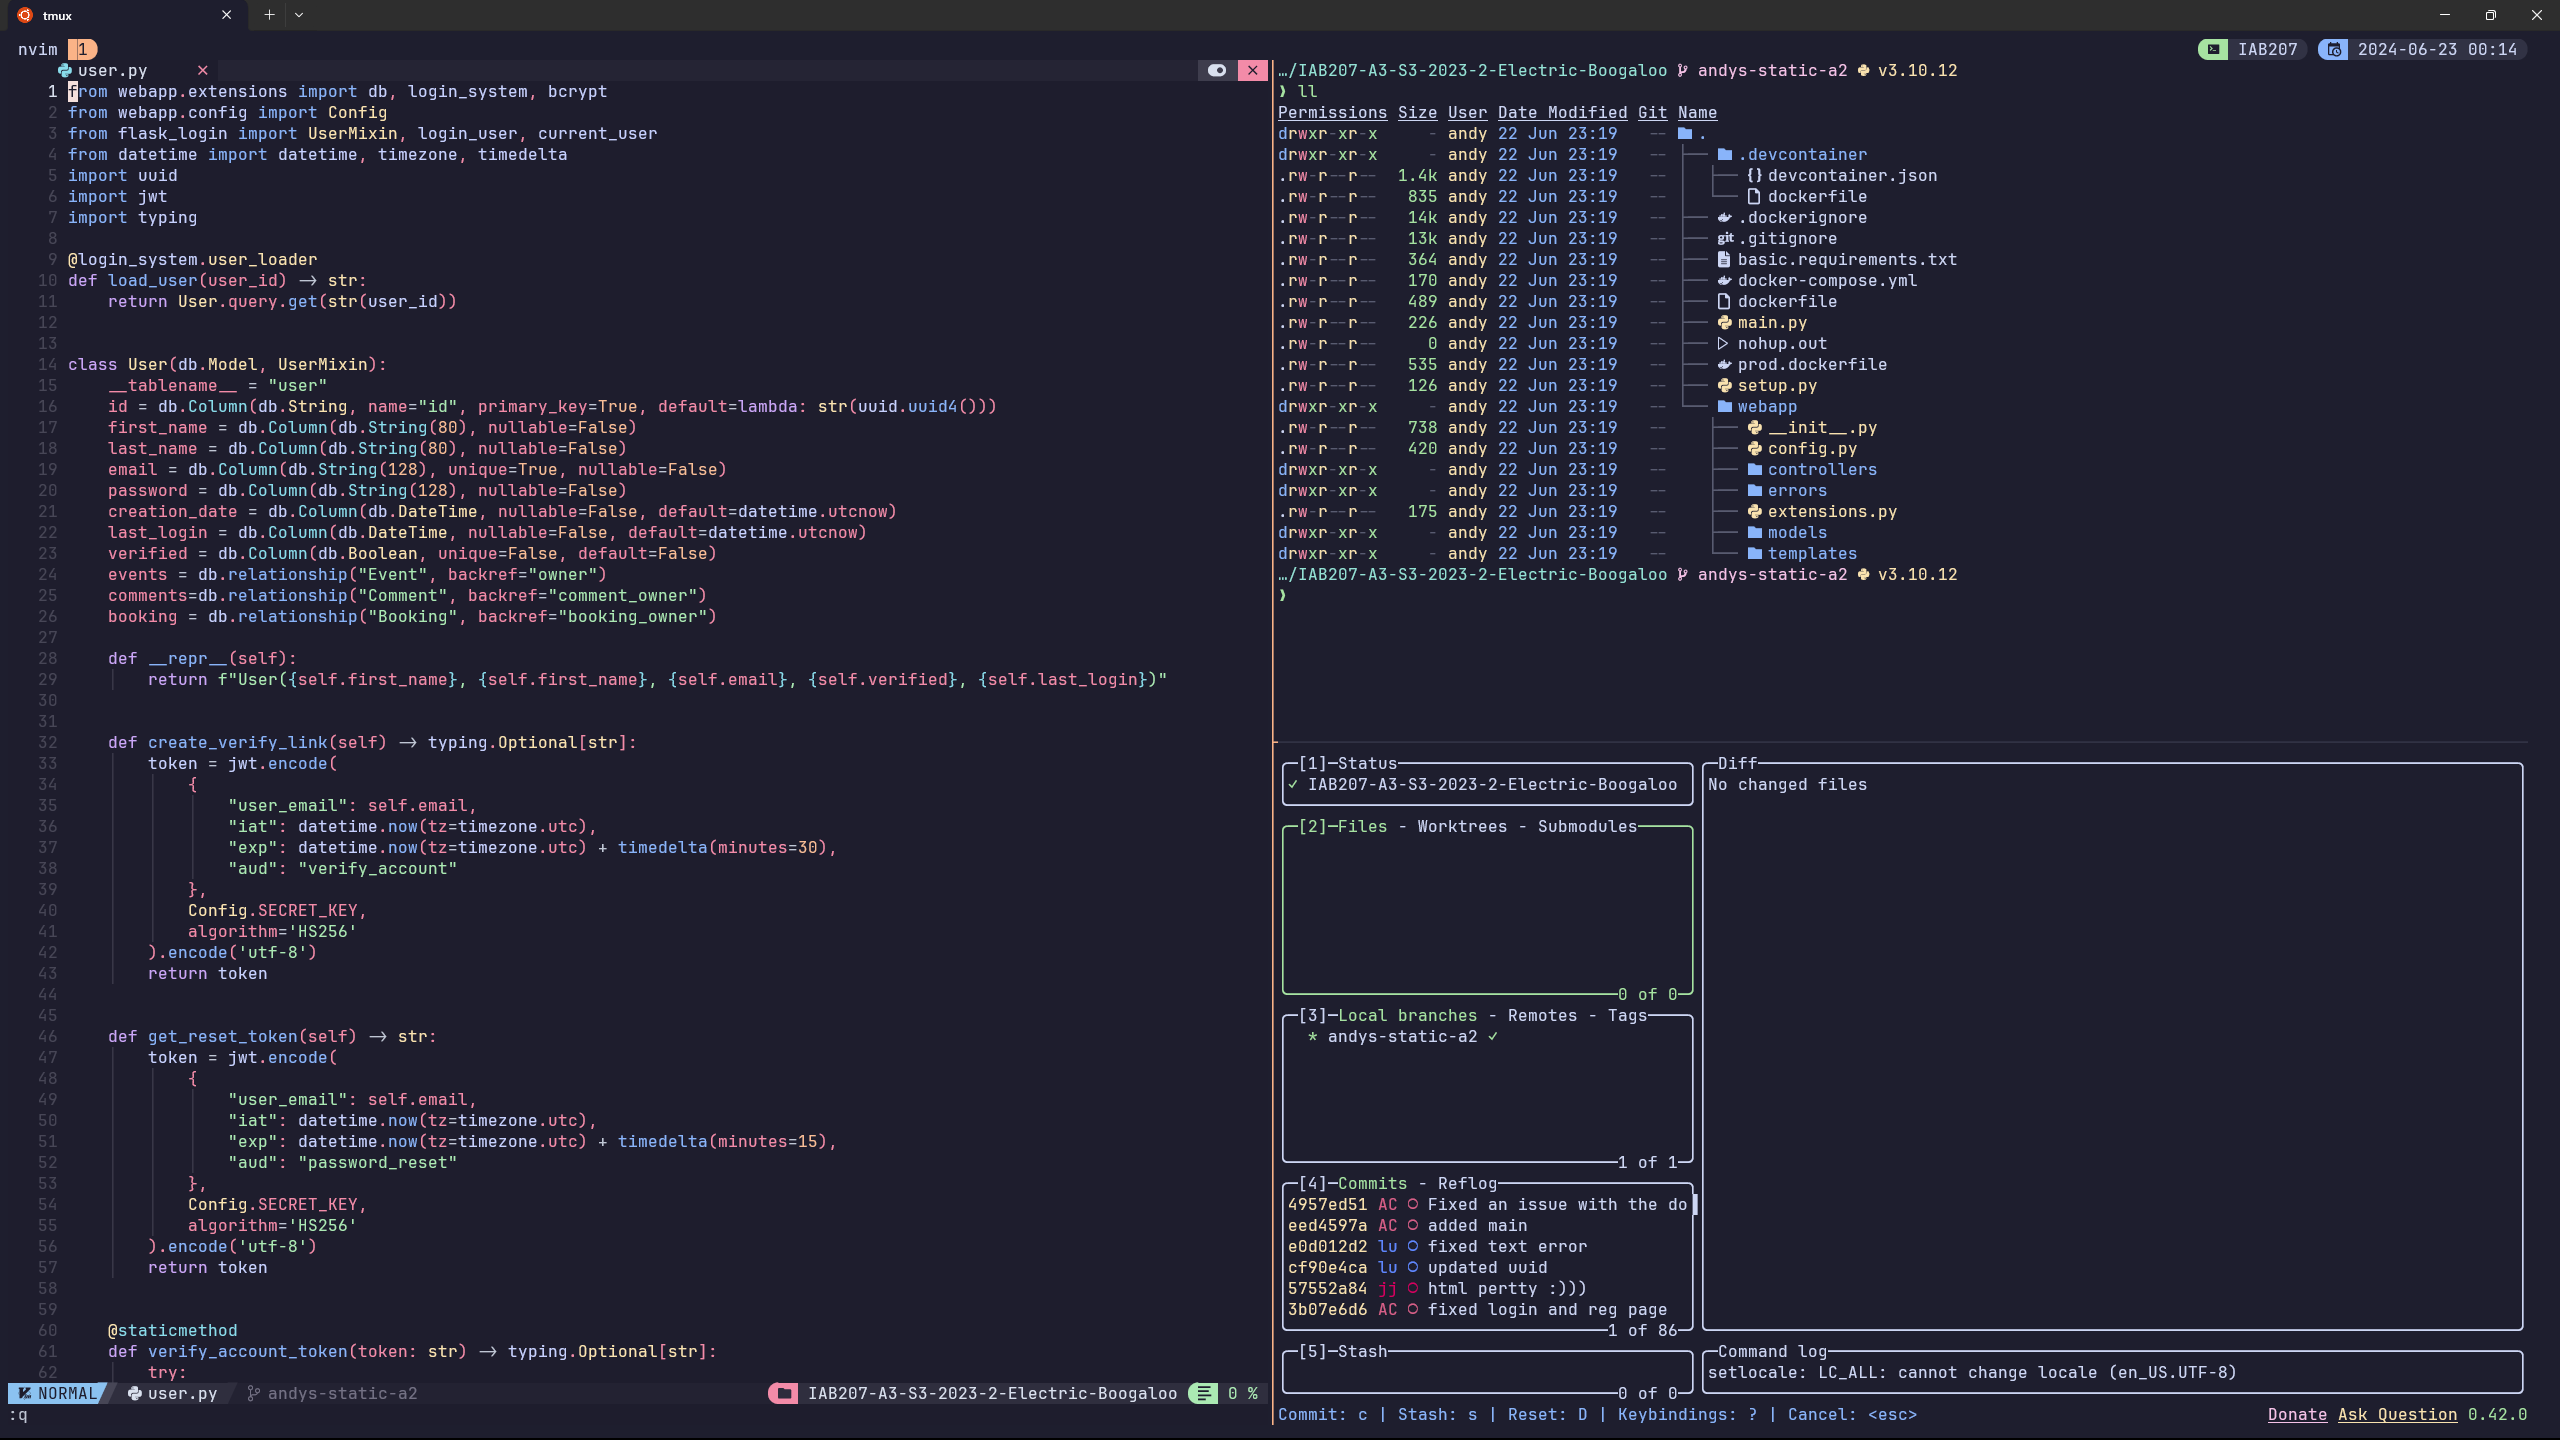
If you are an expert with the terminal and dot files, this is just a gnu stow setup. Simply install the software listed below in your favourite package manager.
eza bat git fzf gnumake lazydocker lazygit gh neovim tmux stow fastfetch zoxide jq ripgrep cloudflared libgccOnce the software is installed, run stow on the package you want (you know the drill).
since windows terminal is only for well.. windows, for other operating systems I recommend kitty, which can be installed with.
curl -L https://sw.kovidgoyal.net/kitty/installer.sh | sh /dev/stdincommand can be found here.
I still recommend installing jet brains mono nerd font in steps 1.1. When you get to step 6.2.2 run
stow kittyto apply the theme, font and settings.
This step is for windows terminal users. If you have not installed windows terminal click here, you will need wsl2 set up so you will need that completely set up and running Ubuntu click here.
Once the windows terminal is installed and wsl2 is set up, we need to install jet brains mono nerd font from here.
I have a link here on how to install fonts.
I recommend after downloading and extracting, press ctrl + a then right click install.
For this step I recommend having vscode installed and ready to go. I am personally using Catppuccin Mocha as its a nice dark pastel theme, but you can choose any theme you like. Catppuccin have in incredible README on how to install a theme (including their theme) to the windows terminal which can be found here.
When setting up wsl2 Ubuntu, I would recommend running the following command to update and upgrade the packages:
sudo apt update -y && sudo apt upgrade -yand run to get build tools for neovim, mason and tree-sitter.
sudo apt-get install build-essential After you have updated the system, install zsh from the apt package manager with the following command:
sudo apt install zshNext, install oh-my-zsh which provides a framework for zsh to install plugins. This can be done through running:
sh -c "$(curl -fsSL https://raw.githubusercontent.com/ohmyzsh/ohmyzsh/master/tools/install.sh)"Oh-my-zsh will run a prompt. I recommend going though the prompt and pressing 'Y' when it asks you if you would like to make it the default shell. You can also find the install command here from oh-my-zsh's website.
- zsh-syntax-highlighting
git clone https://github.com/zsh-users/zsh-syntax-highlighting.git ${ZSH_CUSTOM:-~/.oh-my-zsh/custom}/plugins/zsh-syntax-highlightingThe command can be found here.
- zsh-autosuggestions
git clone https://github.com/zsh-users/zsh-autosuggestions ${ZSH_CUSTOM:-~/.oh-my-zsh/custom}/plugins/zsh-autosuggestionsThe command can be found here.
To make the terminal prompt aesthetically pleasing and performant install starship. Run this commend to install it:
curl -sS https://starship.rs/install.sh | shThe command can be found here.
sh <(curl -L https://nixos.org/nix/install) --daemonGo through the prompt answering all the prompts, and when it says it will only work after a restart just close the terminal and reopen it. No restart necessary. Command can be found here
nix-env -iA nixpkgs.eza nixpkgs.bat nixpkgs.git nixpkgs.fzf nixpkgs.gnumake nixpkgs.lazydocker nixpkgs.lazygit nixpkgs.gh nixpkgs.neovim nixpkgs.tmux nixpkgs.stow nixpkgs.fastfetch nixpkgs.zoxide nixpkgs.jq nixpkgs.ripgrep nixpkgs.cloudflared nixpkgs.libgccgit clone https://github.com/tmux-plugins/tpm ~/.tmux/plugins/tpmThe command can be found here.
git clone https://github.com/apscandy/dotfiles.git .dotfilesNow we need to cd in the repository we just cloned with the command:
cd .dotfilesWithin this repository, we need to run a couple of commands.
- Remove the .zshrc file that was generated by oh-my-zsh with the following command:
rm ~/.zshrc- Use stow to link the dotfiles by running the following commands:
stow zsh
stow starship
stow git
stow bat
stow nvim
stow tmux- Once all the commands are executed, we need to source our zshrc files with the following command:
source ~/.zshrcbat cache --buildStart a tmux session and press crtl + space then capital I to install tmux configs,
Then, open up nvim and let lazy install all plugins and packages.
First we need to make our ssh key with the following.
ssh-keygen -t ed25519 -f /home/$USER/.ssh/git_signing_key
ssh-keygen -t ed25519 -f /home/$USER/.ssh/git_authorization_key
ssh-keygen -t ed25519 -f /home/$USER/.ssh/network_key
After that we need to tell the global git config to use the key.
git config --global user.signingkey ~/.ssh/git_signing_key.pubFinally setting up the working directory
mkdir -p ~/Notes/01-Projects
mkdir -p ~/Notes/02-Area
mkdir -p ~/Notes/03-Resources
mkdir -p ~/Notes/04-Archive
mkdir -p ~/Projects/Forks
mkdir -p ~/Projects/Work
mkdir -p ~/Projects/Playground
mkdir -p ~/Projects/Repos
