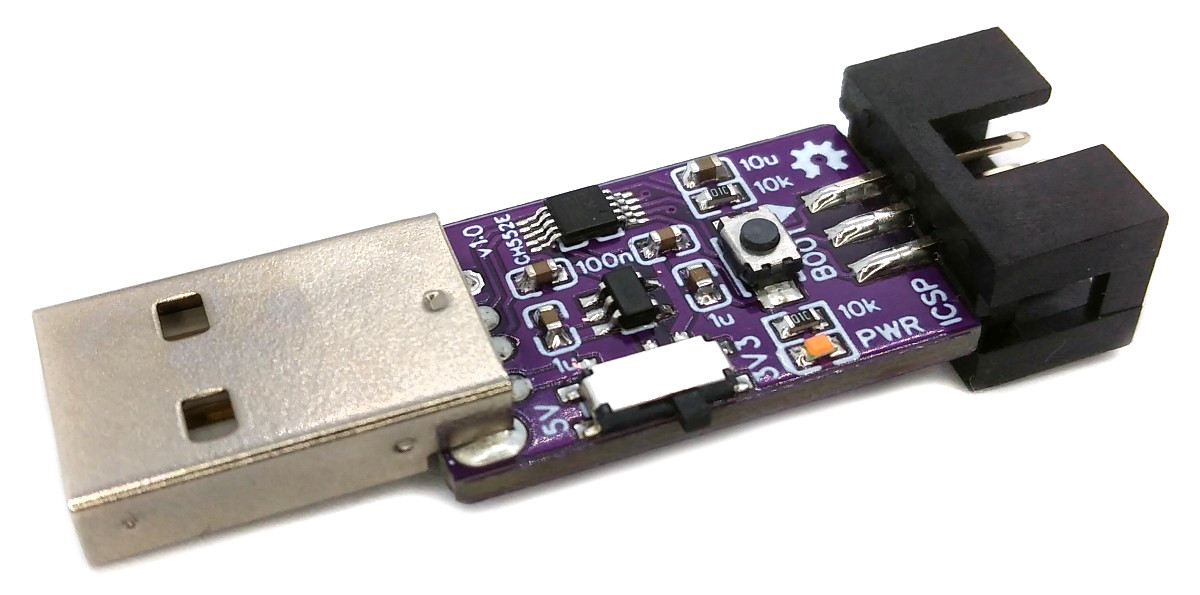
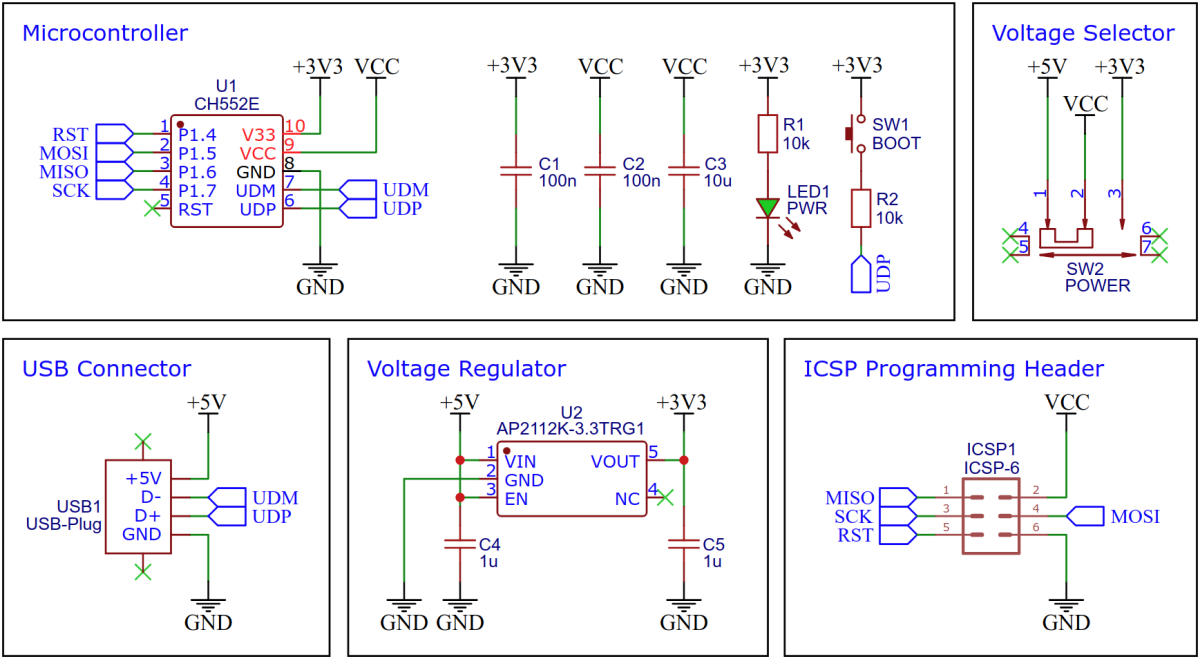
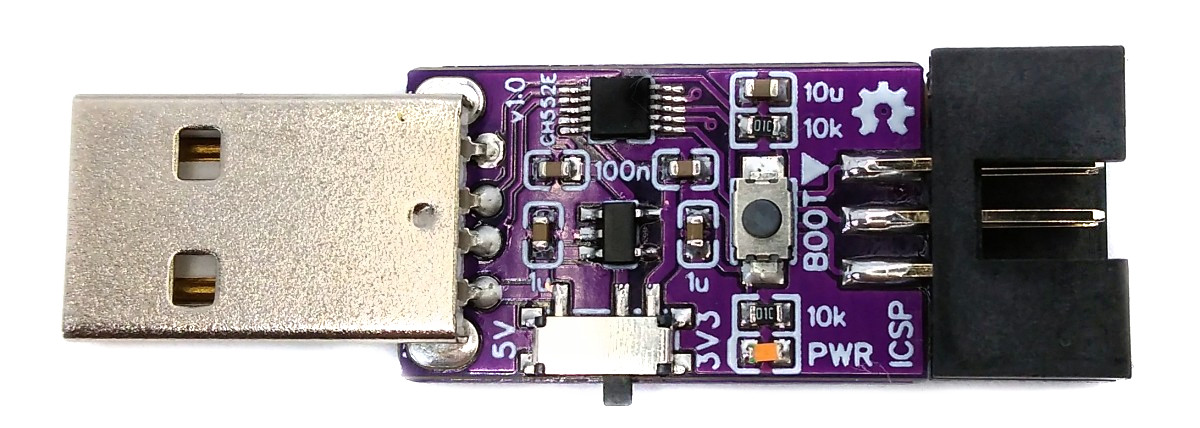
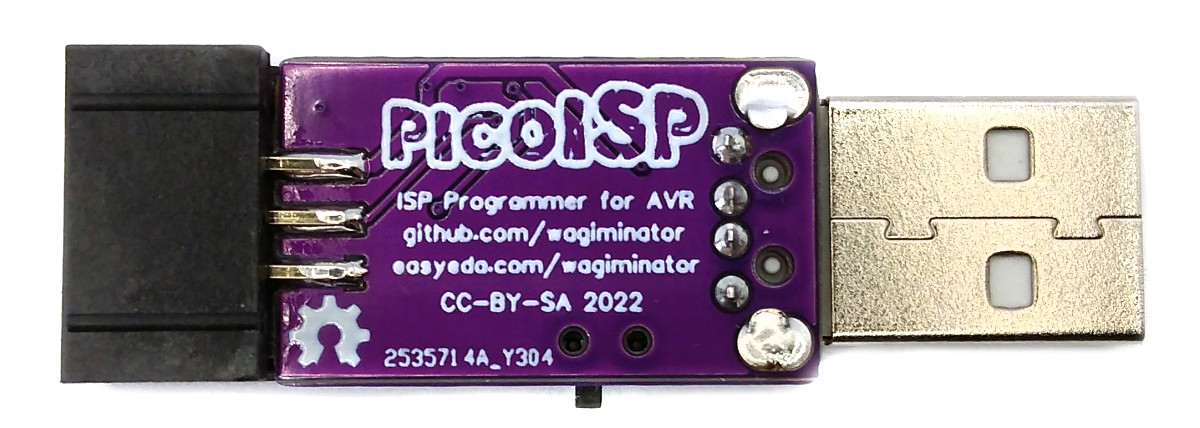
The CH55x-based picoISP is a simple and cheap USB-based in-system programmer (ISP) for AVR microcontrollers with voltage selection switch (5V and 3.3V) and compatible with the USBtinyISP, the USBasp, or the STK500 depending on the firmware. The picoISP supports a wide range of AVR microcontrollers, including the ATtiny and ATmega series, and can be used with a variety of software development tools such as the Arduino IDE, Atmel Studio, and AVRdude.
The CH552E is a low-cost, enhanced E8051 core microcontroller compatible with the MCS51 instruction set. It has an integrated USB 2.0 controller with full-speed data transfer (12 Mbit/s) and supports up to 64 byte data packets with integrated FIFO and direct memory access (DMA). The CH552E has a factory built-in bootloader so firmware can be uploaded directly via USB without the need for an additional programming device.
The picoisp firmware is an enhanced port of the USBtinyISP firmware originally developed by Dick Streefland and Ladyada for ATtiny microcontrollers. This port is based on the conversion for CH55x microcontroller by DeqingSun. It includes the auto-clock extension by Ralph Doncaster, which automatically selects the maximum programming speed, and a Windows Compatible ID (WCID) for automated driver installation on Windows. Since it is compatible with the original USBtinyISP, it works fine with AVRdude (avrdude -c usbtiny) and the Arduino IDE (Tools -> Programmer -> USBtinyISP).
The picoasp firmware is an enhanced port of the USBasp firmware originally developed by Thomas Fischl for ATmega8 microcontrollers. It includes the auto-clock extension by Ralph Doncaster, which automatically selects the maximum programming speed, and a Windows Compatible ID (WCID) for automated driver installation on Windows. It also supports the TPI protocol, enabling the programming of devices such as the ATtiny10. Since it is compatible with the original USBasp, it works fine with AVRdude (avrdude -c usbasp) and the Arduino IDE (Tools -> Programmer -> USBasp).
The picostk firmware is an improved port of the ArduinoISP (or Arduino as ISP) firmware originally developed by Randall Bohn for the Arduino Uno. It is compatible with the STK500v1 programmer. In addition, Ralph Doncaster's auto-clock extension is included, which automatically selects the maximum programming speed. It works fine with AVRdude (avrdude -c stk500v1 or avrdude -c arduino) and the Arduino IDE (Tools -> Programmer -> Arduino as ISP). Don't forget to choose the right serial port.
On Linux you do not need to install a driver. However, by default Linux will not expose enough permission to upload your code with the USB bootloader. In order to fix this, open a terminal and run the following commands:
echo 'SUBSYSTEM=="usb", ATTR{idVendor}=="4348", ATTR{idProduct}=="55e0", MODE="666"' | sudo tee /etc/udev/rules.d/99-ch55x.rules
sudo service udev restart
For Windows, you need the CH372 driver. Alternatively, you can also use the Zadig Tool to install the correct driver. Here, click "Options" -> "List All Devices" and select the USB module. Then install the libusb-win32 driver. To do this, the board must be connected and the CH55x must be in bootloader mode.
A brand new chip starts automatically in bootloader mode as soon as it is connected to the PC via USB. Once firmware has been uploaded, the bootloader must be started manually for new uploads. To do this, the board must first be disconnected from the USB port and all voltage sources. Now press the BOOT button and keep it pressed while reconnecting the board to the USB port of your PC. The chip now starts again in bootloader mode, the BOOT button can be released and new firmware can be uploaded within the next couple of seconds.
Install the SDCC Compiler. In order for the programming tool to work, Python3 must be installed on your system. To do this, follow these instructions. In addition pyusb must be installed. On Linux (Debian-based), all of this can be done with the following commands:
sudo apt install build-essential sdcc python3 python3-pip
sudo pip install pyusb
- Adjust the firmware parameters in src/config.h if necessary.
- Open a terminal.
- Navigate to the folder with the makefile.
- Connect the board and make sure the CH55x is in bootloader mode.
- Run
make flashto compile and upload the firmware. - If you don't want to compile the firmware yourself, you can also upload the precompiled binary. To do this, just run
python3 ./tools/chprog.py picoisp.bin.
Install the Arduino IDE if you haven't already. Install the CH55xduino package by following the instructions on the website.
- Open the .ino file in the Arduino IDE.
- Go to Tools -> Board -> CH55x Boards and select CH552 Board.
- Go to Tools and choose the following board options:
- Clock Source: 16 MHz (internal)
- Upload Method: USB
- USB Settings: USER CODE /w 0B USB RAM
- Connect the board and make sure the CH55x is in bootloader mode.
- Click Upload.
On Linux, you don't need to install a driver.
The USBtinyISP and the USBasp version include a Windows Compatible ID (WCID) for automated driver installation on Windows. If this doesn't work, you have to install a driver manually using the Zadig tool (https://zadig.akeo.ie/). Click on "Options" -> "List all devices" and select the "USBtinyISP" or "USBasp". Then install the libusb-win32 driver. To do this, the device must be connected to your PC. You can also install the usbtiny driver for the USBtinyISP version. However, functionality, especially with newer Windows versions, is not guaranteed.
The STK500 version may require a CDC driver for Windows. This can be easily installed using the Zadig tool.
- Select the programming voltage (3.3V or 5V) with the voltage selection switch.
- Plug the picoISP into a USB port on your PC, it should be identified as a USBtinyISP, USBasp, or CDC device (depending on the firmware).
- Connect the picoISP to the target board via the 6-pin ICSP connector.
- The picoISP should work with any IDE or programming software that supports the USBtinyISP, USBasp, or STK500 programmer.
- EasyEDA Design Files
- WCH: CH552 Datasheet
- SDCC Compiler
- Blinkinlabs: CH55x SDK for SDCC
- Deqing Sun: CH55xduino
- Dick Streefland: USBtiny
- Ladyada: USBtinyISP
- Thomas Fischl: USBasp
- Ralph Doncaster: USBasp
- Randall Bohn: ArduinoISP
This work is licensed under Creative Commons Attribution-ShareAlike 3.0 Unported License. (http:https://creativecommons.org/licenses/by-sa/3.0/)


