

The APIL Pectoralis and Chest Tube Phantom created with a combination of 3D printed structural elements and a series of replacable echogenic gel inserts for each procedure.
The PECS inserts are ultrasoundable and a bolus of liquid can be deposited between the layers to simulate the delivery of an anesthetic agent. Additionally, the chest tube insert is made with a synthetic gel which simulates the tactile feel of human muscle with an additional fabric layer to simulate the pleural membrane.
This model was developed at the Lynn & Arnold Irwin Advanced Perioperative Imaging Lab, Toronto General Hospital, University Health Network.
To purchase this phantom, please email [email protected] and a represtative will be in touch with you with more details.
A purchased phantom contains the following:
- Fully assembled APIL PECS/Chest Tube Phantom
- 5 x fully assembled echogenic PECS inserts
- 5 x fully assembled chest tube inserts
Coming soon
- M5x14 Pins
- M5x80 Pins
- Various M4 Screws
- Quick-turn Lock
- 8 mm ID Silicone Tubing (any durometer)
- Tube Fittings
- Various sized clamps
- Glue gun
- Heat gun
- Nylon mesh fabric (or equivalent)
- Polylactic Acid (PLA)
- Fused Deposition Modelling 3D printer
- Ballistics Gel
- Gelatin #3 from Humimic Medical
- Graphite Powder
- used to replicate echogenic scatter of muscle
- Slowcooker
- Two-part Platinum Cure Silicone Rubber (or equivalent)
- Available from Smooth-On
- Degas Chamber (Optional)
Note: This is a very complex phantom to manufacture involving a large investment of printer time, filament, silicone, and synthetic gel.
This repo includes stl files for each printed part. Several of the more complicated parts also have a 3mf with support enforcers/blockers in place. Please ntoe that the 3mf files replicate the exact printing settings we use for production in the lab using the Prusa MK3S as the printer and PLA as the filament and may be incompatible other your 3D printers and materials.
In general, we use the following settings for all parts of this phantom:
| Material | Colour | Nozzle Temp (C) | Bed Temp (C) | Infill (%) | Perimiters (#) |
| PLA | White | 210.0 | 60.0 | 10.0 | 2 |

NOTE: We are in the process of updating this mold assembly to make this process much easier. Currently, this process is extremely difficult.
- Print all components in the directory /shell_mold_parts/shell_mold_parts/ using the printing settings outlined above.
- Mix 750 g of silicone according to manufacturers instructions.
- Degassing the silicone is encoraged, but optional.
- Adding colourant to silicone is optional.
- Pour 3/4 of silicone into the assembled outer mold.
- Insert the assembled inner mold.
- Insert necessary M4 bolts around the top rim of mold.
- Carefully pour remaining 1/4 silicone into the empty spaces of the mold.
- Allow silicone to cure according to manufacturer's instructions.
- Carefully disassmble the mold and release the silicone.
- NOTE: This step can be very difficult. Procede with caution and patience to avoid damaging the silicone shell.

- Print all components in the directory /pecs_chest_tube_inserts_molds/ using the printing settings outlined above.
- Mix 4000 g of silicone according to manufacturers instructions.
- Cast 1000 g of mixed silicone into serratus_mold_1 and serratus_mold_2.
- Cast 1800 g of mixed silicone into pecs_minor_mold_1 and pecs_minor_mold_2.
- Cast 1200 g of mixed silicone into pecs_major_mold_1 and pecs_major_mold_2.
- Assemble chest_tube_intermediate_mold_1a and chest_tube_intermediate_mold_1b using M4 bolts.
- Mix 1200 g of silicone according to manufacturers instructions and cast into assembled chest_tube_intermediate_mold_1 and chest_tube_intermediate_mold_2.
- Allow silicone to cure according to manufacturer's instructions and de-mold silicone molds.
- Print all components in the directory /pecs_chest_tube_inserts_molds/pecs_fusion_jig_molds/ using the printing settings outlined above.
- Assemble pecs_inserts_fusion_jig_intermediate_mold_1a and pecs_inserts_fusion_jig_intermediate_mold_1b using 2 * M5x14 pins.
- Assemble pecs_inserts_fusion_jig_intermediate_mold_2a and pecs_inserts_fusion_jig_intermediate_mold_2b using 2 * M5x14 pins.
- Mix 1000 g of silicone according to manufacturers instructions and cast into assembled pecs_inserts_fusion_jig_intermediate_mold_1 and pecs_inserts_fusion_jig_intermediate_mold_2.
- Allow silicone to cure according to manufacturer's instructions and de-mold silicone molds.
- Insert 4 * M5x80 pins into silicone PECS Fusion Jig Molds.
- CAUTION: Use appropriate heat-proof gloves when working with liquefied ballistic gel and/or heat gun.
- CAUTION: work only in a very well ventilated area. A fumehood is highly recommended.
- Melt at least 100 g gel in crockpot @ 105C - 115C (approx. 225F - 240F).
- If the gel does not contain graphite powder, slowly add graphite powder into fully liquefied mixture until saturated.
- Pour approximately 30 g gel into each of serratus, pecs minor, and pecs major silicone molds from the previous step.
- Allow gel to fully cool before removal from silicone molds.
- Demold gel from serratus, pecs minor, and pecs major molds.
- Stack each gel layer.
- Insert stacked gel layers into Fusion Chamber and sandwich between both chamber parts.
- Set heat gun to 350C and work your way around the perimiter of stacked gel layers until no gaps are visible.
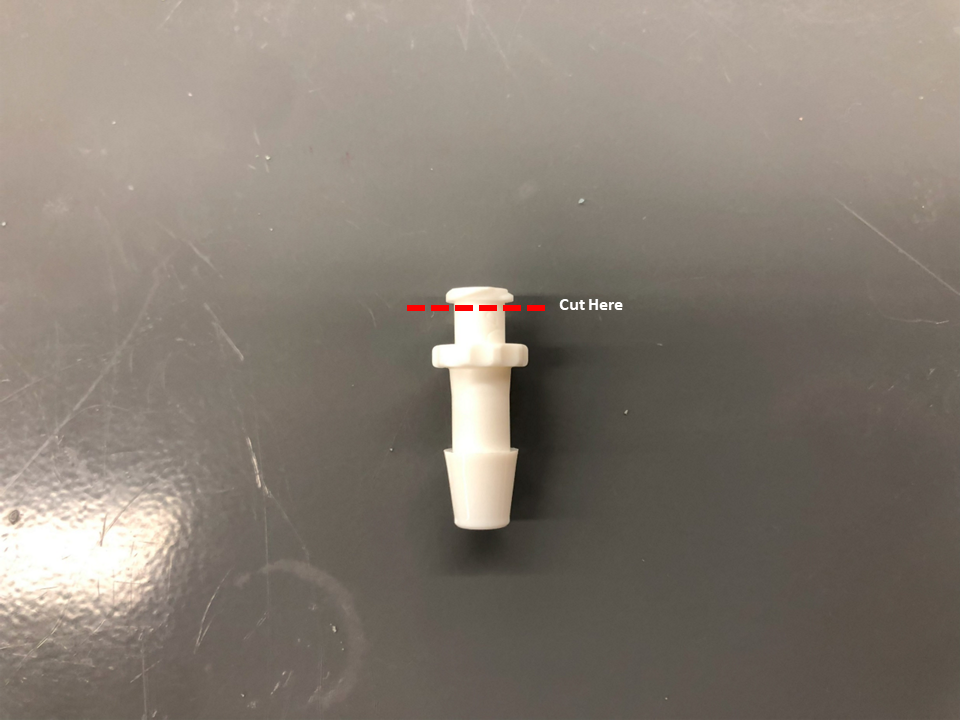
- Remove fused insert from jig. Cut the top-left corner from the insert. This will create a drain for injected fluids.
- Melt at least 80 g gel in crockpot @ 105C - 115C (approx. 225F - 240F).
- If the gel does not contain graphite powder, slowly add graphite powder into fully liquefied mixture until saturated.
- Cut-out a rhomboid of nylon mesh approximately the size of the bottom of chest-tube mold.
- Insert the nylon mesh into the bottom of the silicone chest-tube mold
- Pour approximately 70 g gel into silicone chest-tube mold from the previous step.
- Allow gel to fully cool before removal from silicone molds.

-
Print all components in the directory /bones/ and /structural_parts/ directories using the printing settings outlined above.
-
Remove all support from printed pieces
-
. Attach scapula_partial and clavicle to back_plate with M4x8 bolts.
-
Cut one end of tube fitting and insert into ribs_1 hole (underneath the PECS insert frame). Attach with hot glue.
-
Attach 125 mm long silicone tubing to tube fitting.
-
Attach a second tube fitting through hole of back_plate and secure with retaining_plate and hot_glue. Attach the silicone tubing from step #3 to this tube fitting.

 7. Attach ribs_1 and ribs_2 to back_plate with M4x8 bolts
8. Pull silicone shell over assembled structural elements.
9. Attach all shell_outer_clamp parts around silicone shell and secure with M4 bolts.
7. Attach ribs_1 and ribs_2 to back_plate with M4x8 bolts
8. Pull silicone shell over assembled structural elements.
9. Attach all shell_outer_clamp parts around silicone shell and secure with M4 bolts.