Skip to content

rossmann-engineering/Collibellex-Thingsboard-Widgets

Repository files navigation

"Thingsboard Widget Library" Documentation

Table of Contents

  1. General
    1.1 Requirements
    1.2 Installation
  2. Control Widgets
    2.1 Switch 1
    2.2 Toggle Button 1
    2.3 Slider
    2.4 Thermostat 1
    2.5 Thermostat 2
    2.6 Round Slider 1
    2.7 Multi Slider 1
    2.8 Switch 2
    2.9 Switch 3
  3. Latest Value Widgets
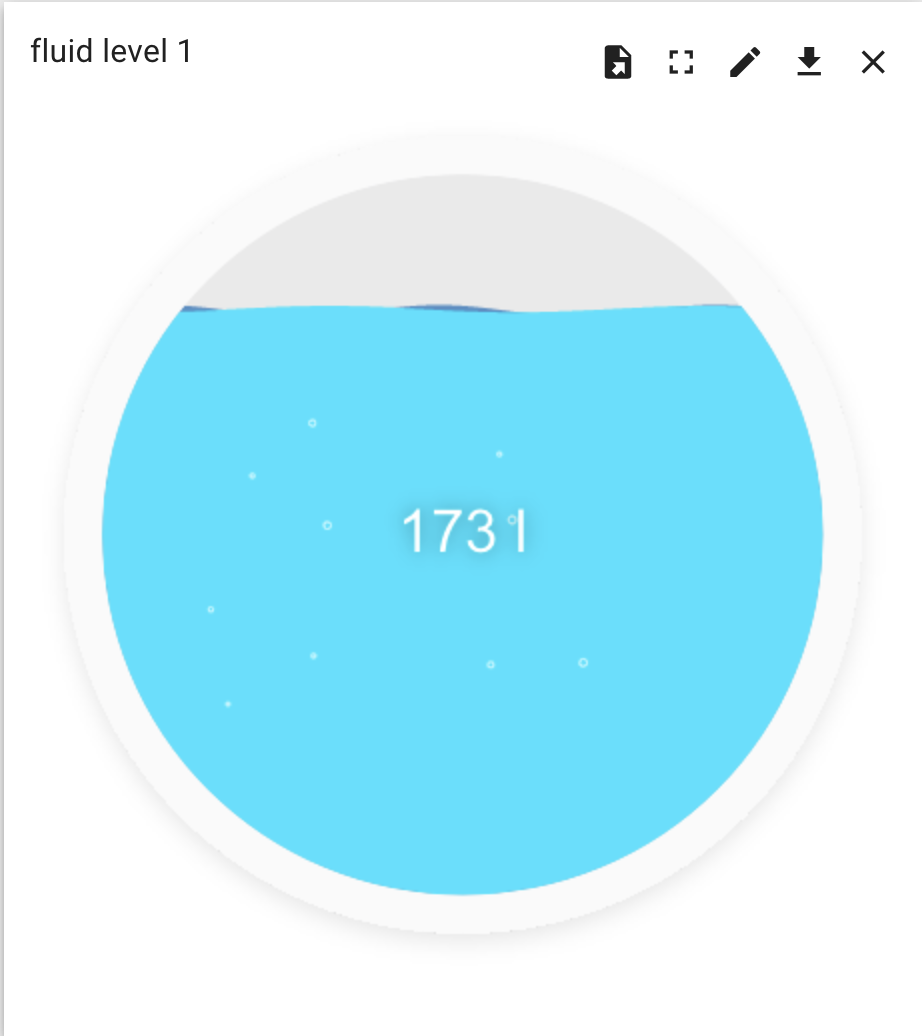
    3.1 Fluid Level 1
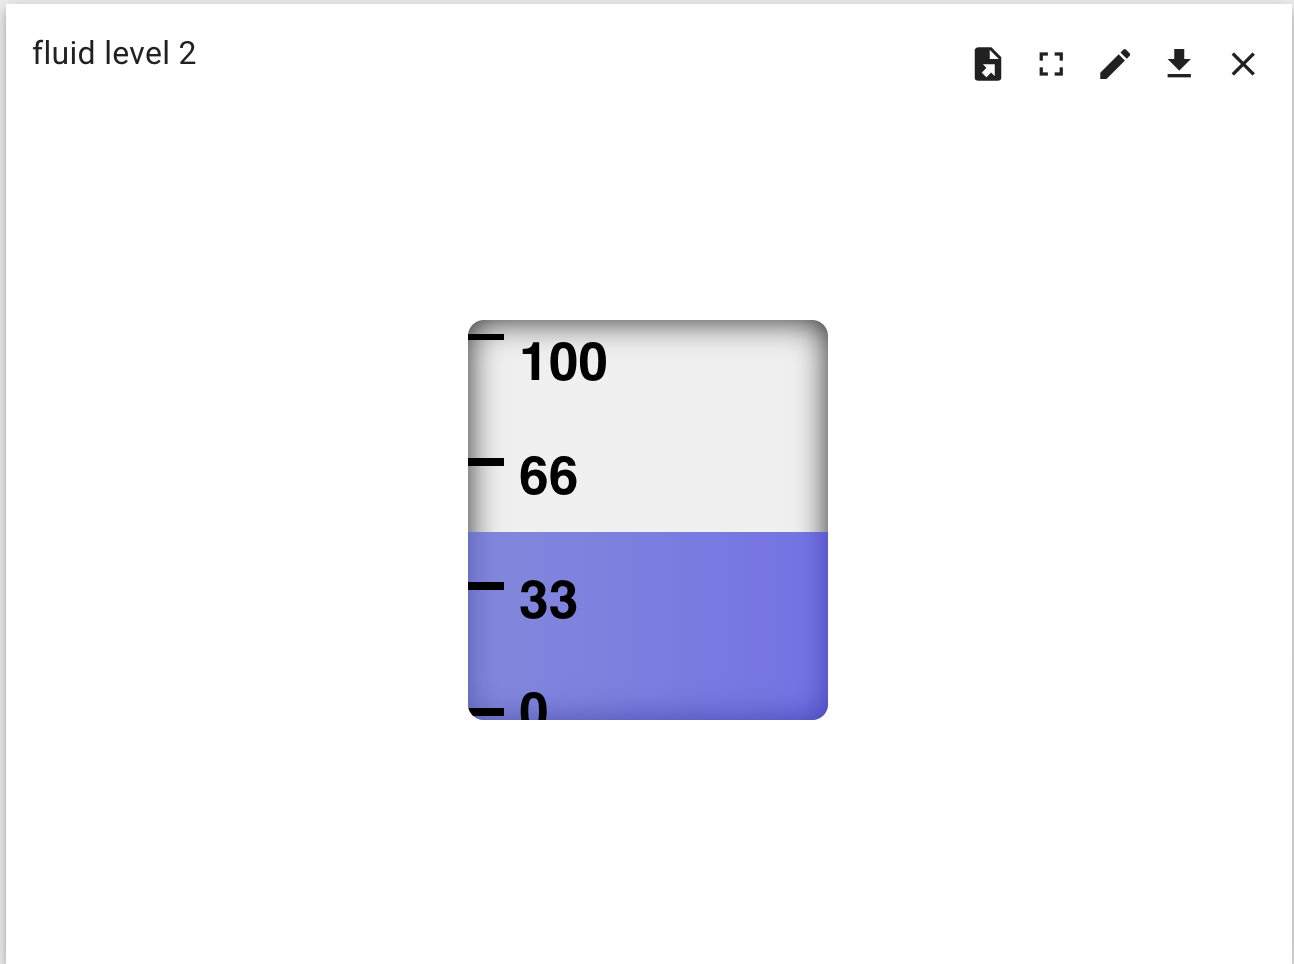
    3.2 Fluid Level 2
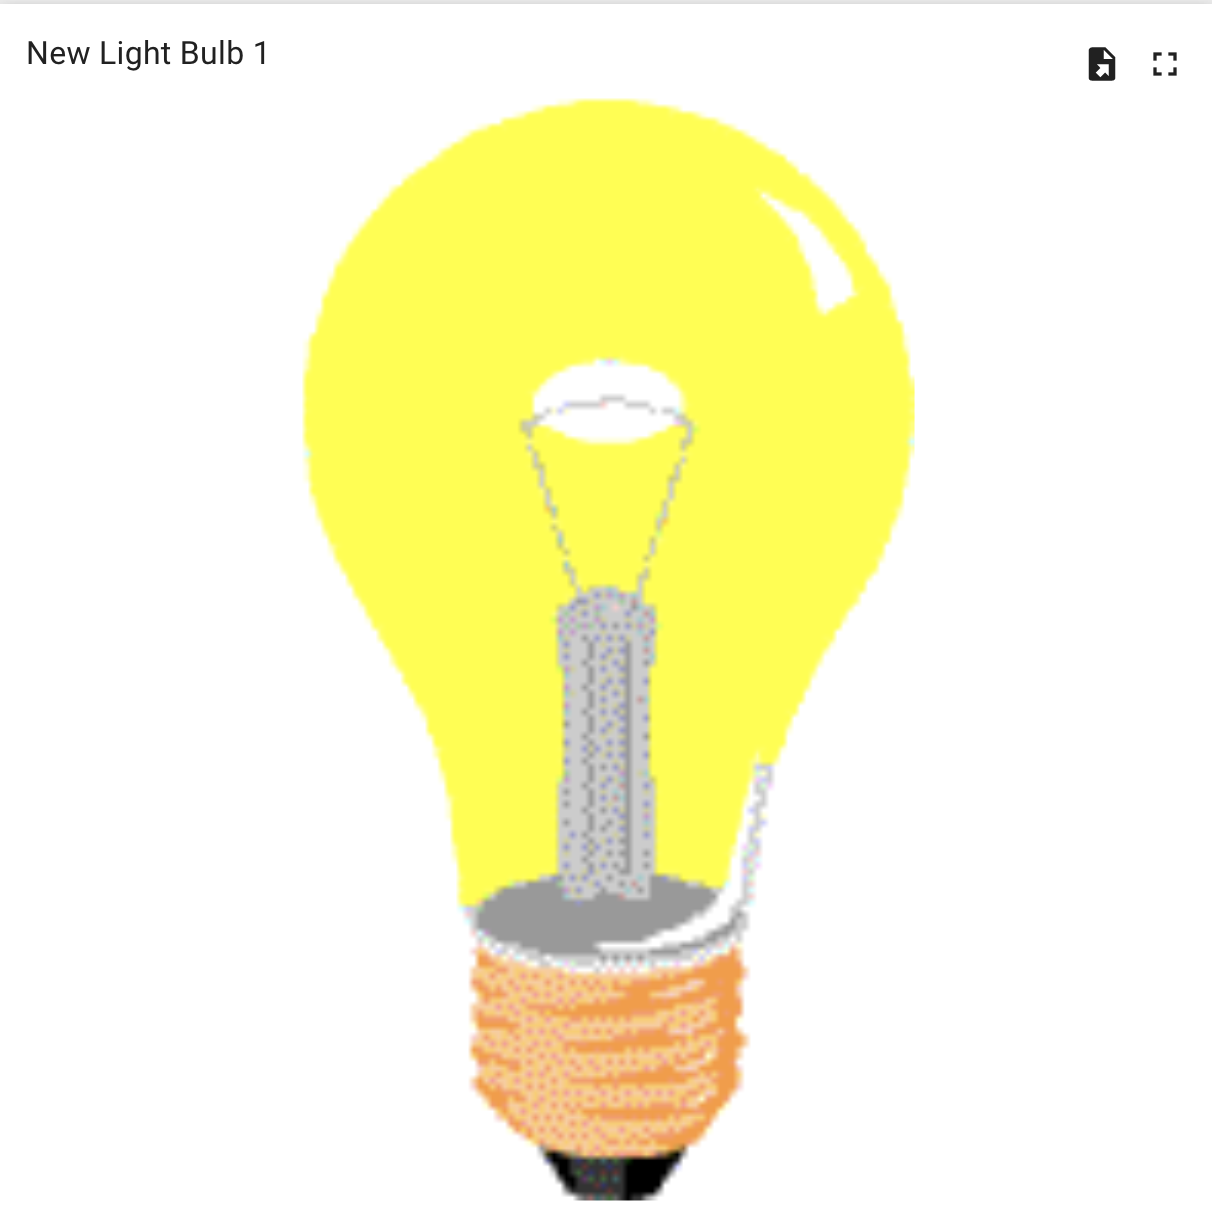
    3.3 Light Bulb 1
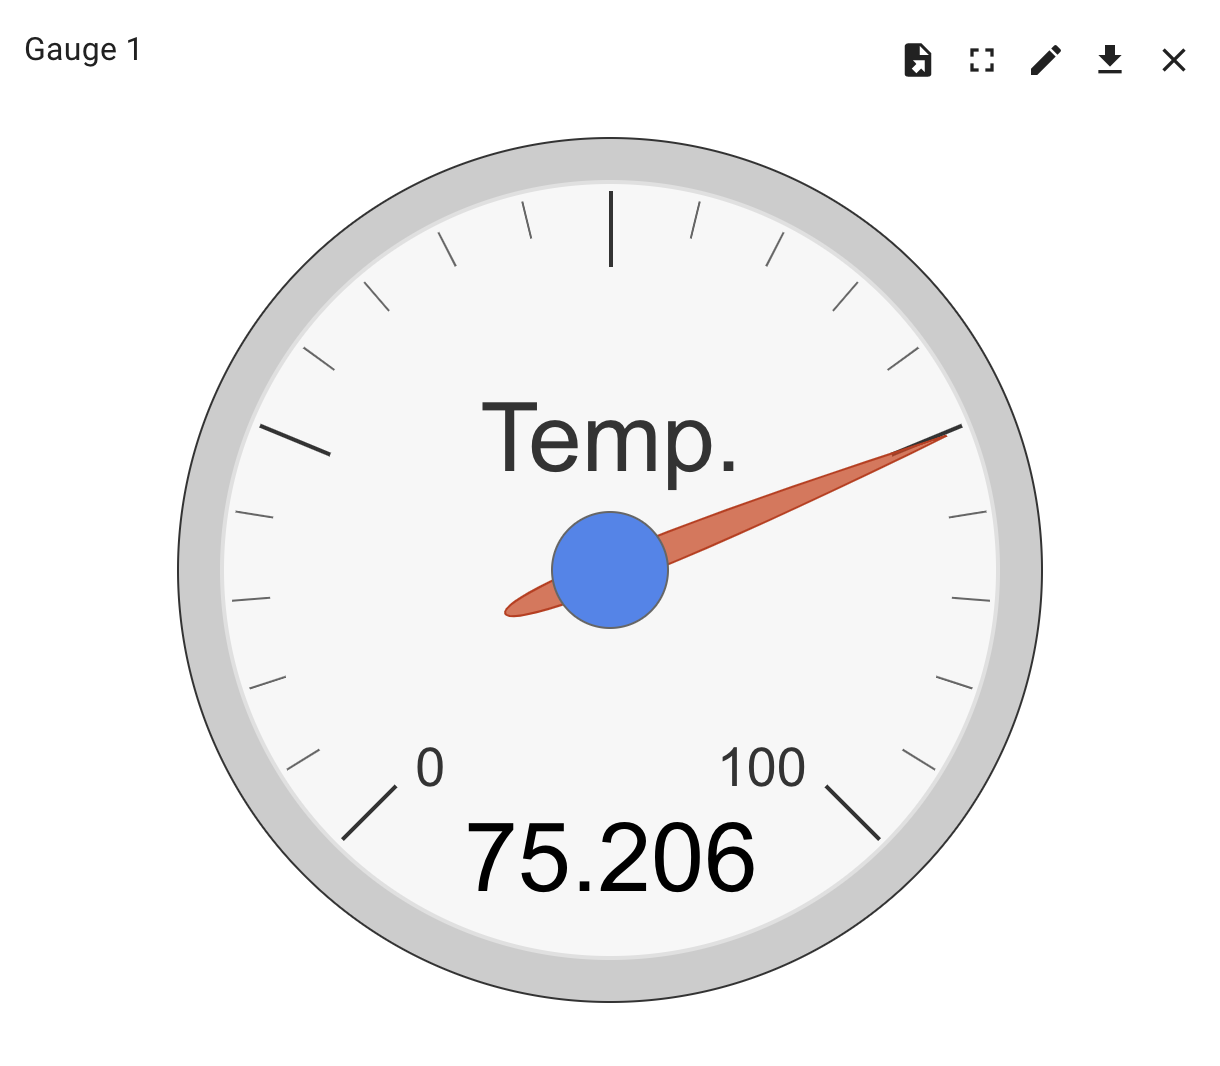
    3.4 Gauge 1
    3.5 Gauge 2
    3.6 Gauge 3
  4. Static Widgets
    4.1 Change Dashboard State 1
  5. Timeseries
    5.1 Chart 1

1. General

1.1 Requirements

The widget library requires Thingsboard version greater than 3.0. This can be used for Thingsboard CE, Thinsgsboard PE or Thingsboard.cloud.

1.2 Installation

To install a widget from the Widget library, please login to your Thingsboard installation, or your Thingsboard.cloud account. Then open the Widget Library and add a new widget Bundle.

image info

Select "Import Widget Type" and choose the JSON File from the Git Repository and select "Import"
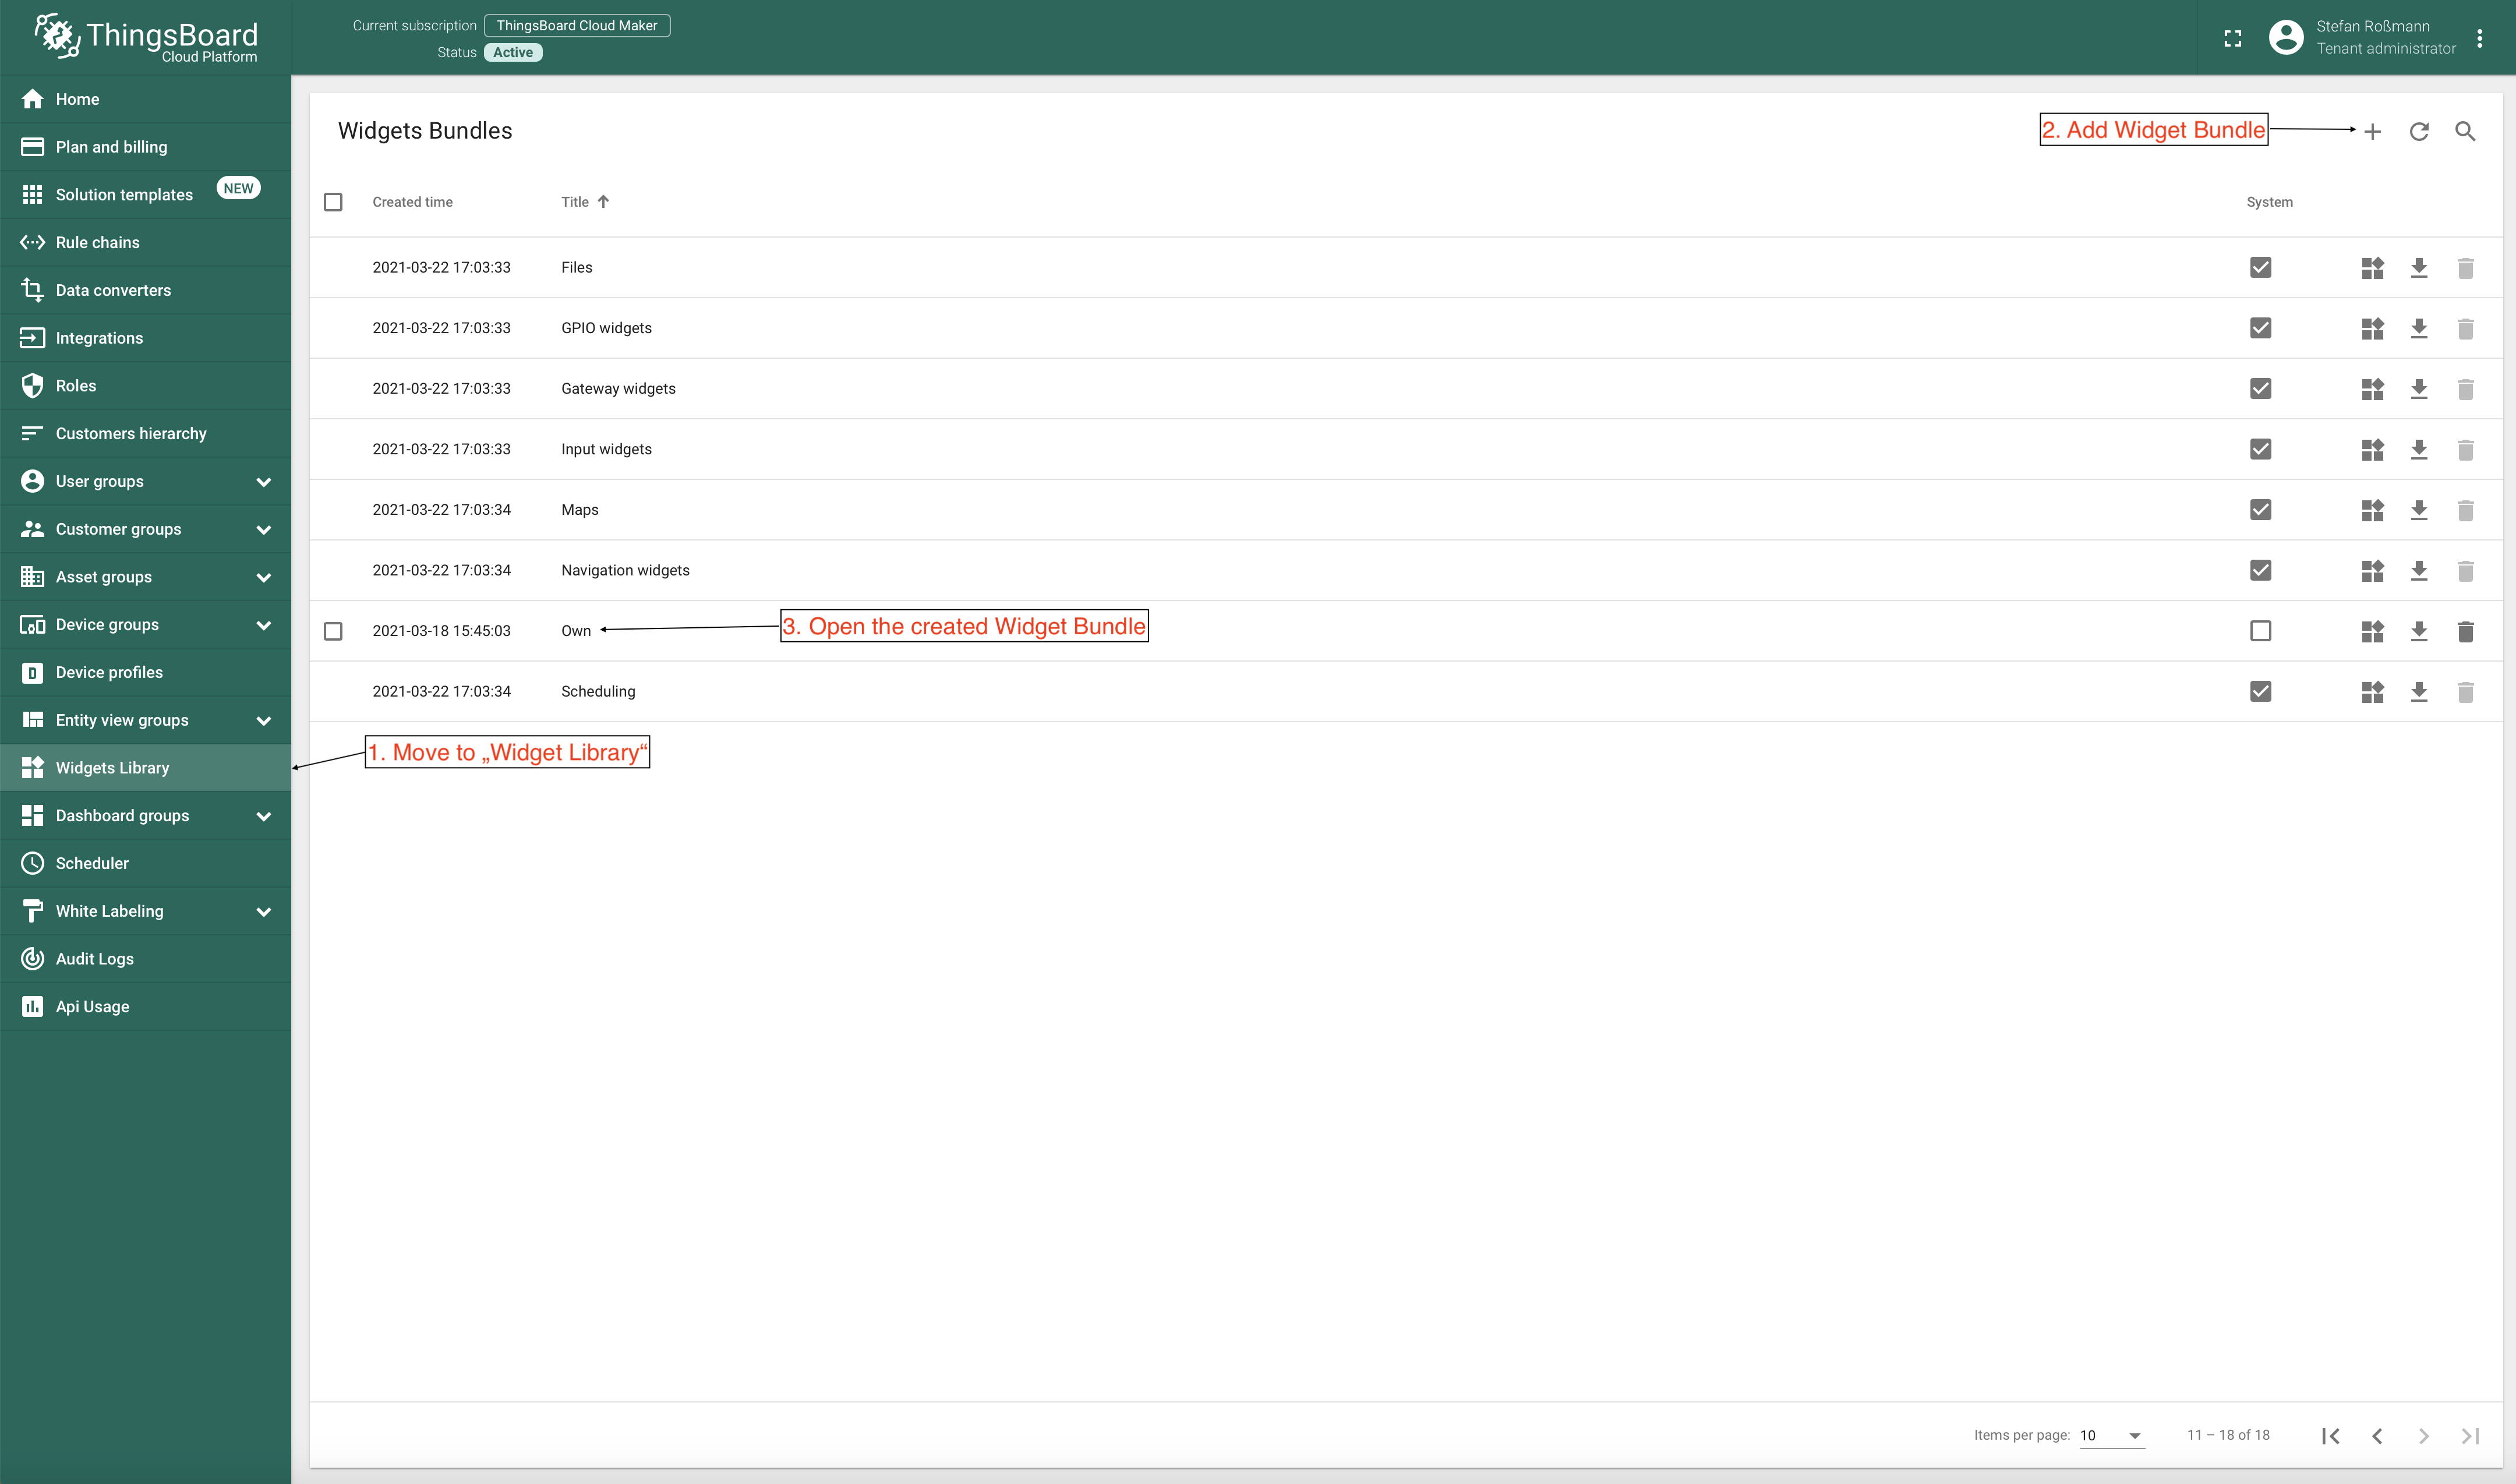
image info image info

2. Control Widgets

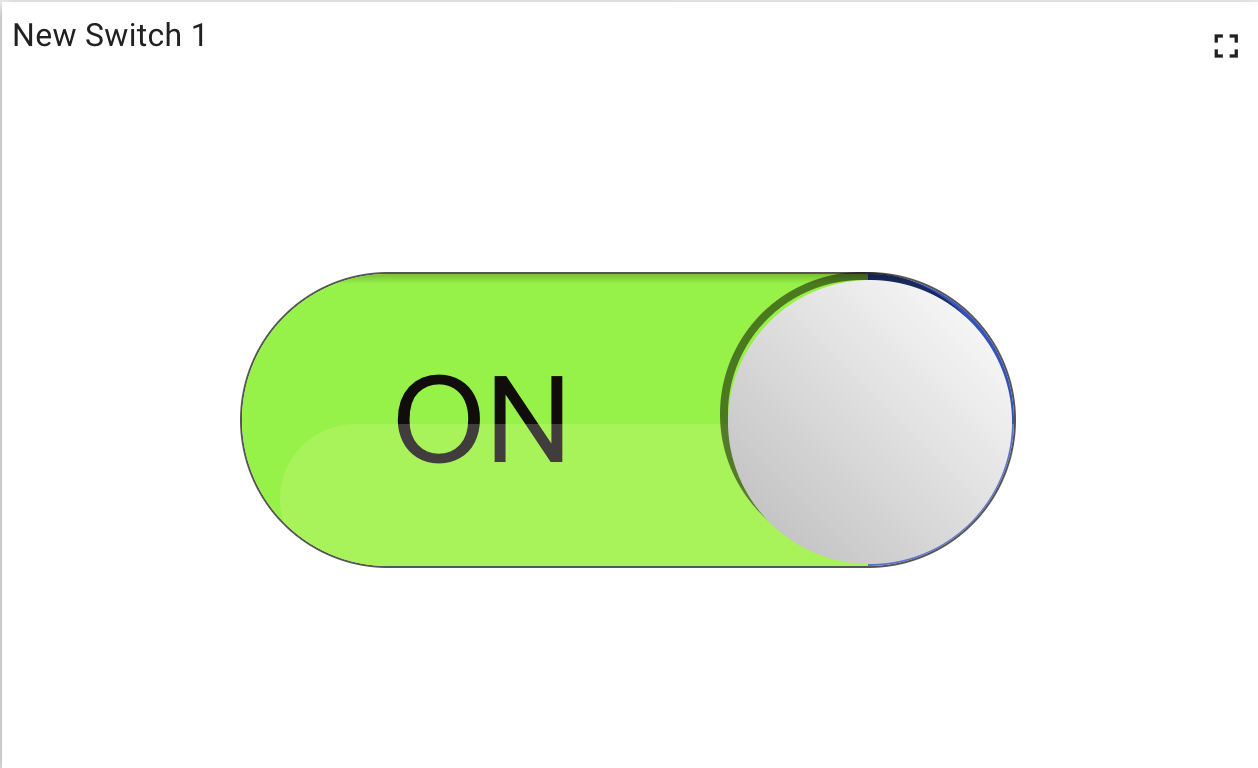
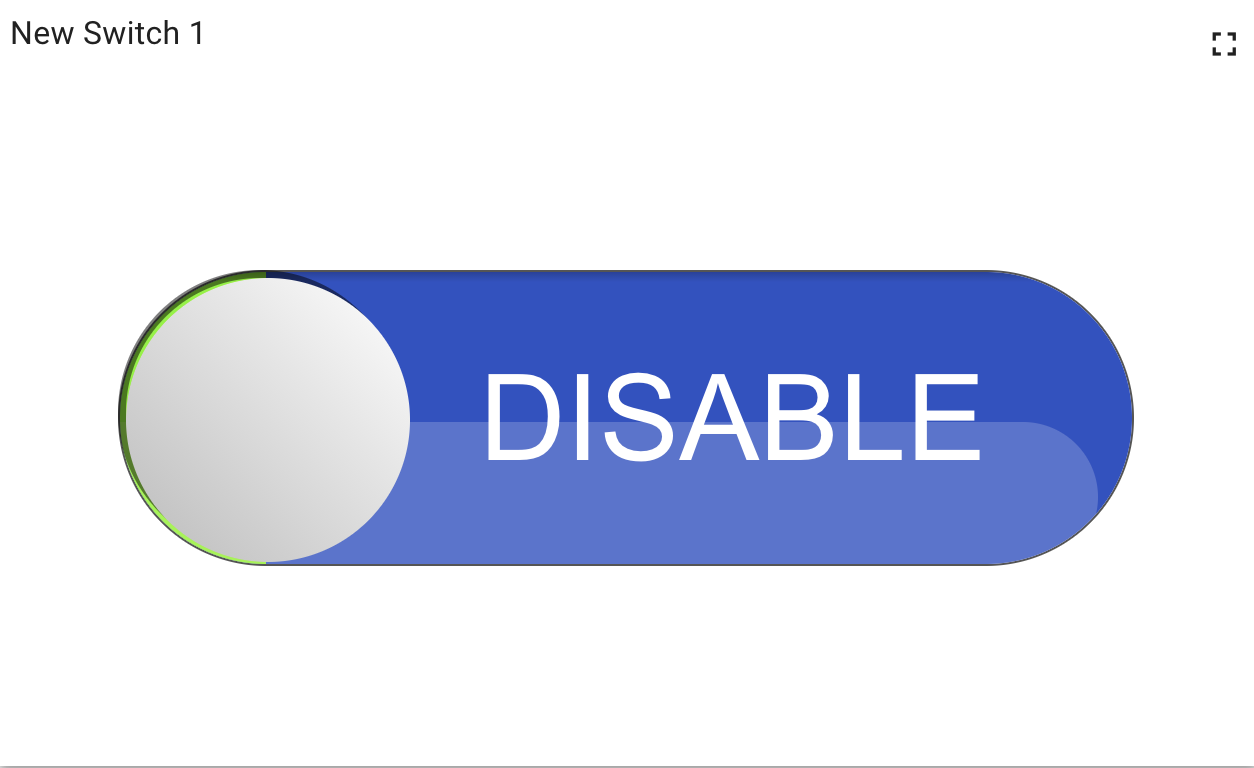
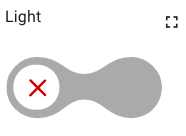
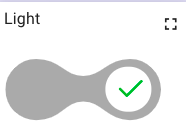
2.1 Switch 1

image info image info
image info

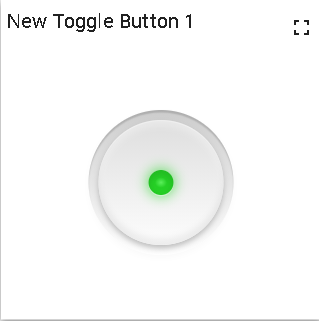
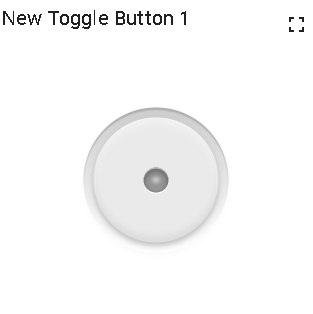
2.2 Toggle Button 1

image info image info

2.3 Slider

image info image info

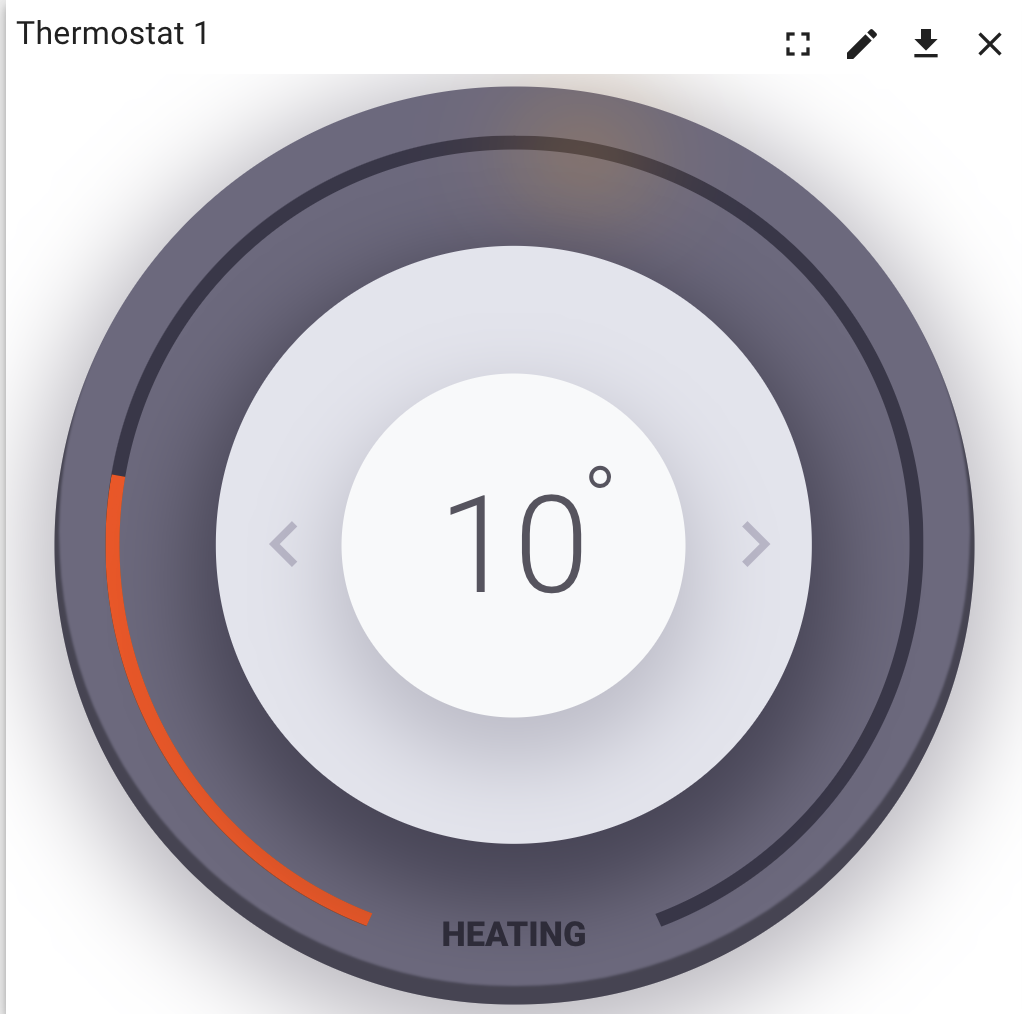
2.4 Thermostat 1

Widget type: Control Widget

The Thermostat Wiget allows the graphical adjustment of a value using the two arrow keys. The values will be syncronized with the device at startup and sends the current values on change. The min and max as well as the Step-width can be adjusted.

Parameters:

Change request Method

SetValue RPC Method - Default: setValue

RPC request timeout

Max. Response time for a RPC request. - Default: 500ms

Status request Method

Get Value RPC Method - Default: getValue

Minimum Value

Min. Value - Default: 0

Maximum Value

Max. Value - Default: 100

Step Width

Step Width, can be 0.1 or 1 - Default: 1

image info

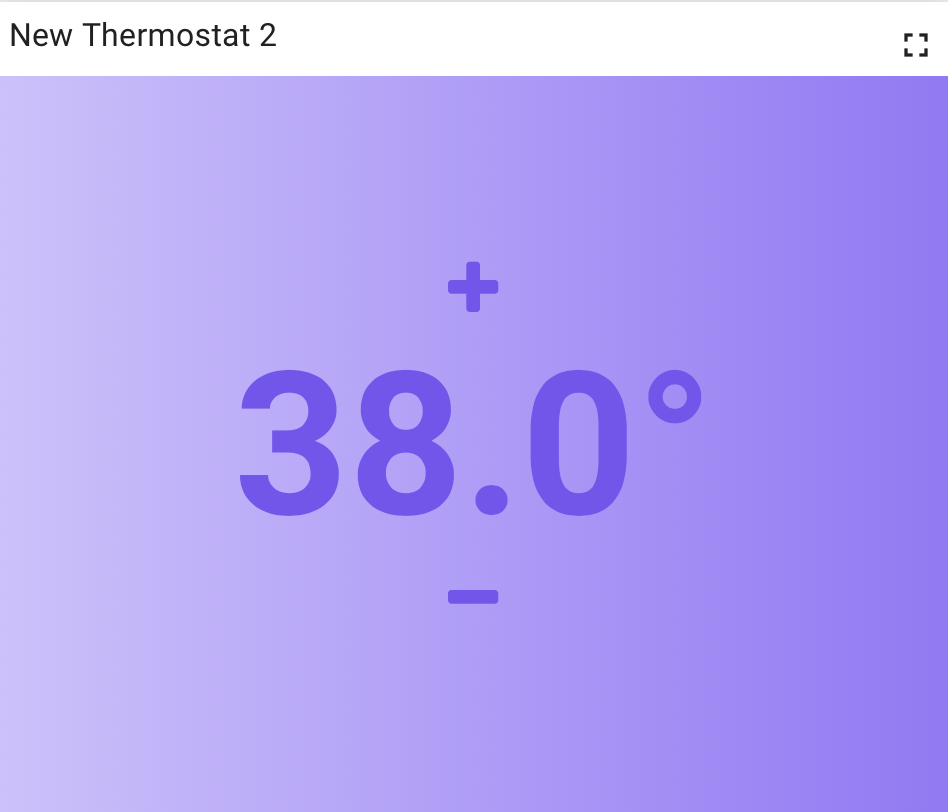
2.5 Thermostat 2

Widget type: Control Widget

The Thermostat Wiget allows the graphical adjustment of a value using the two arrow keys. The values will be syncronized with the device at startup and sends the current values on change. The min and max as well as the Step-width can be adjusted.

Parameters:

Change request Method

SetValue RPC Method - Default: setValue

RPC request timeout

Max. Response time for a RPC request. - Default: 500ms

Status request Method

Get Value RPC Method - Default: getValue

Minimum Value

Min. Value - Default: 0

Maximum Value

Max. Value - Default: 100

Step Width

Step Width, can be 0.1 or 1 - Default: 1

image info

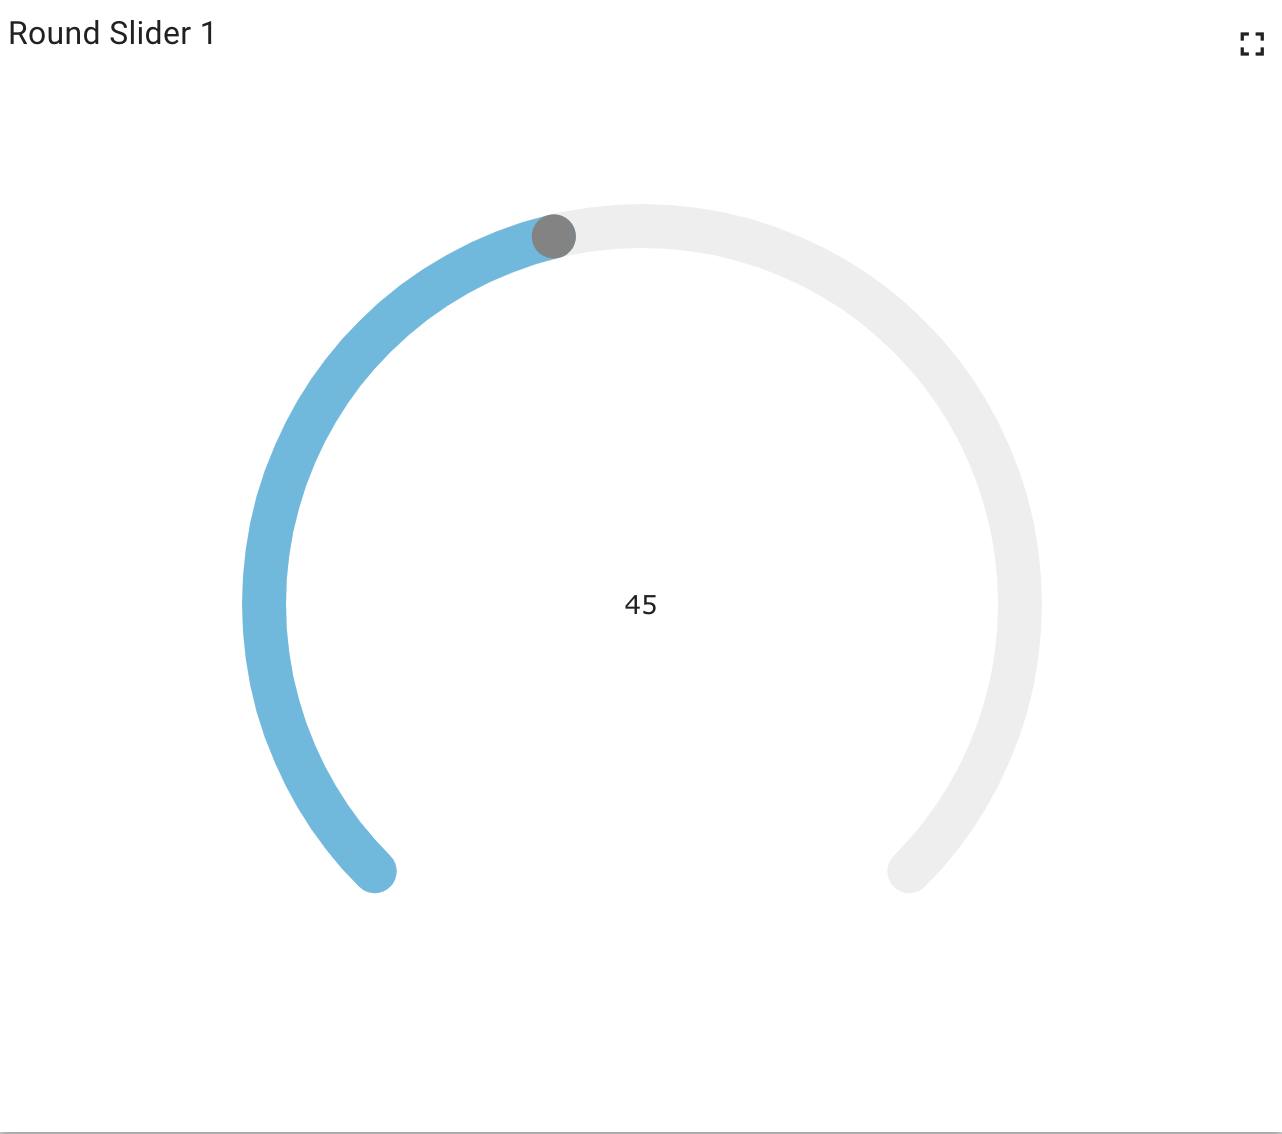
2.6 Round Slider

image info

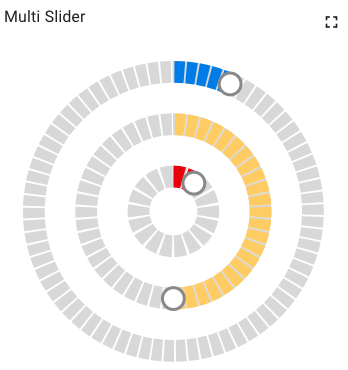
2.7 Multi Slider

image info

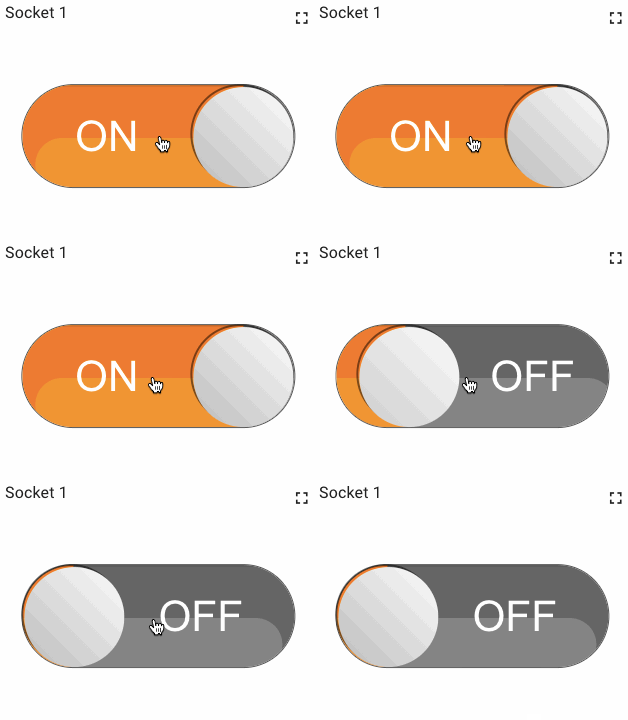
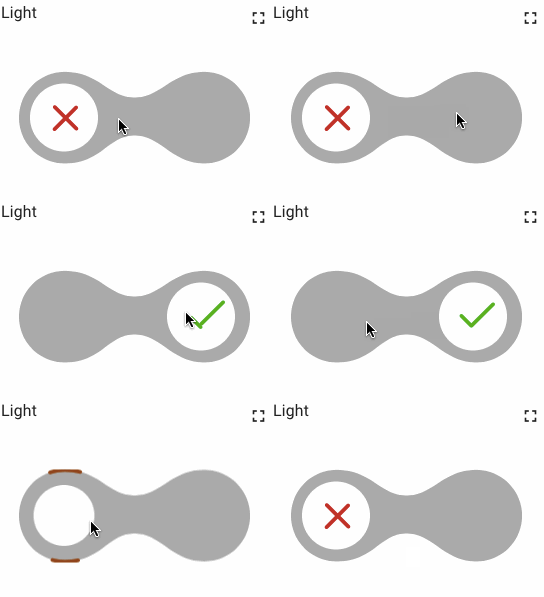
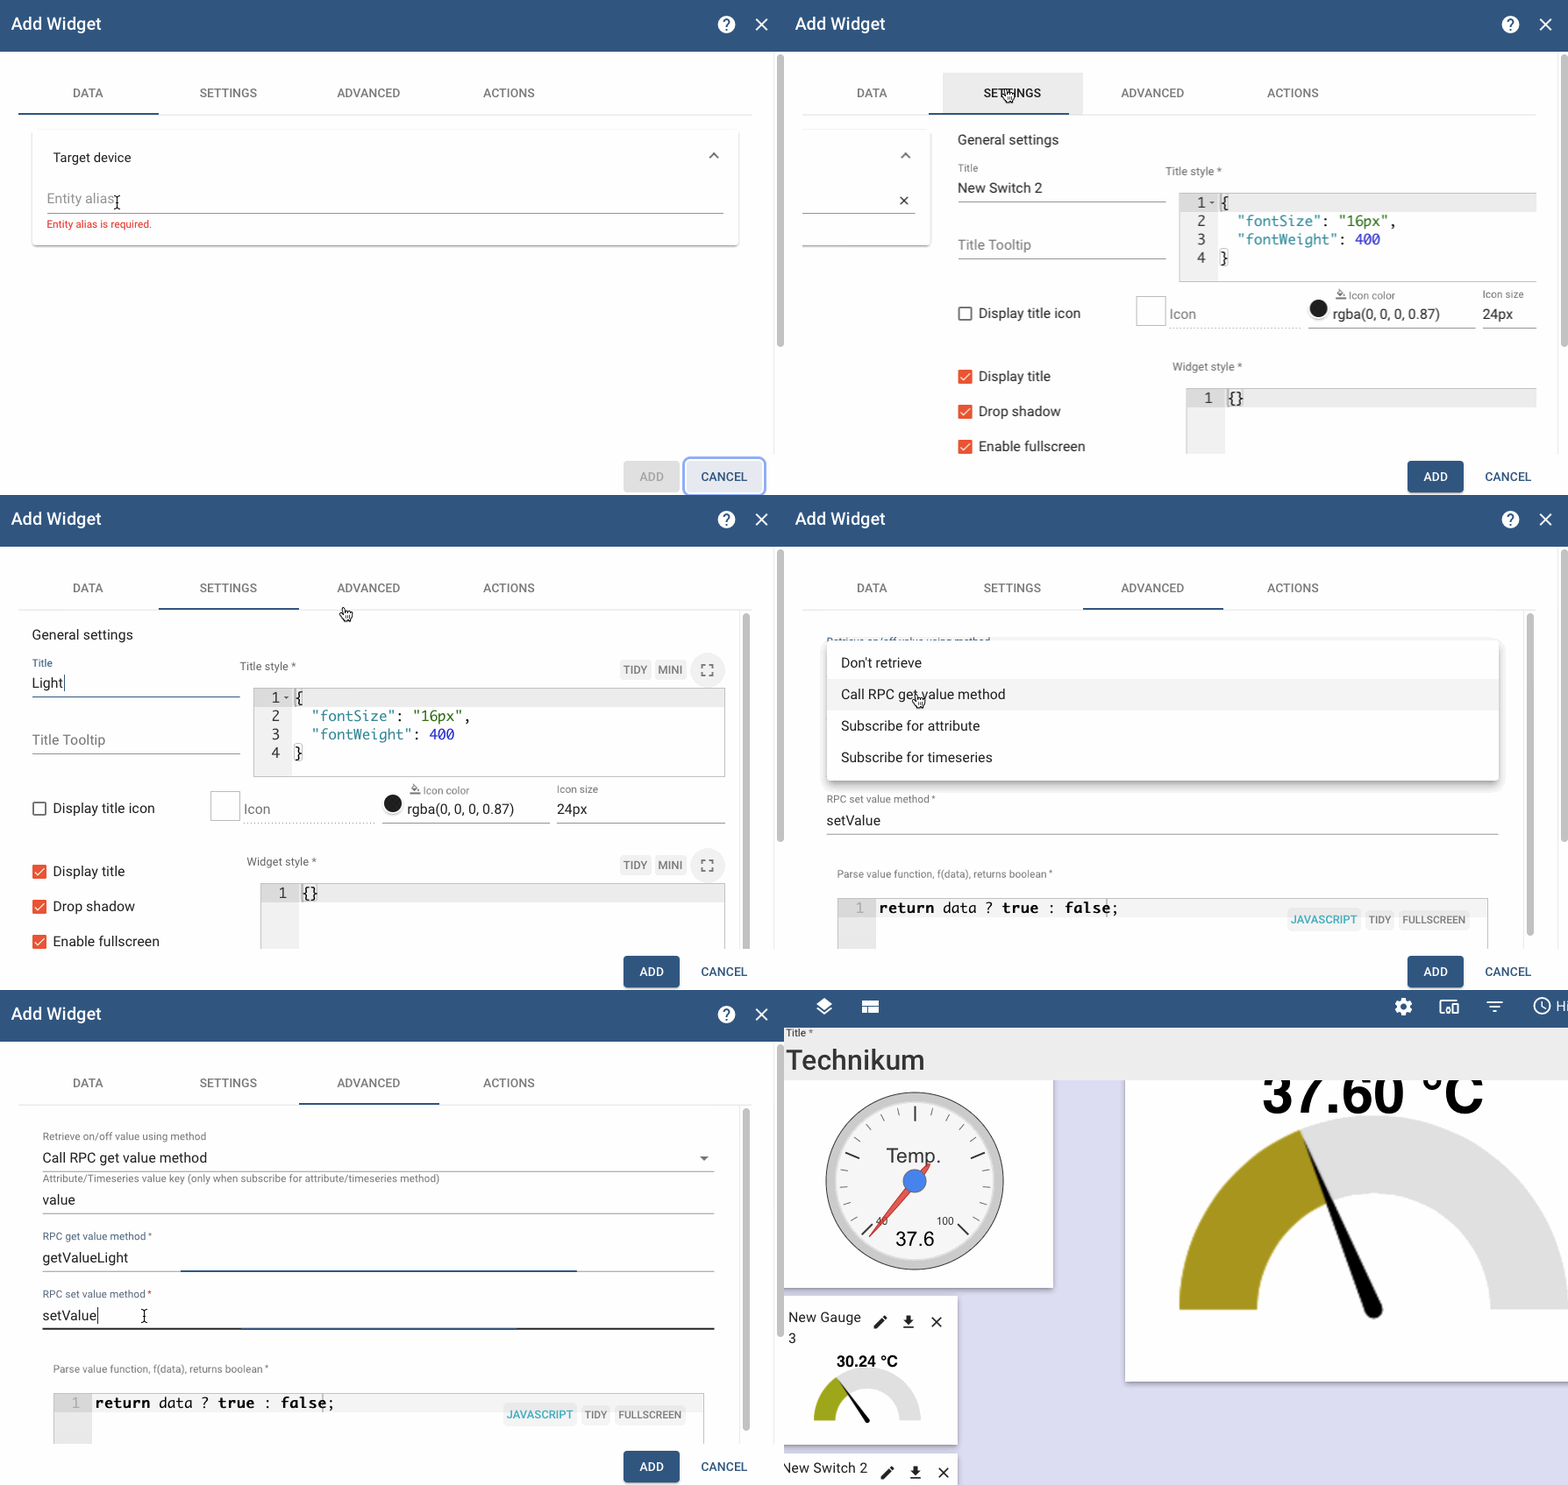
2.8 Switch 2

image info image info
image info
image info

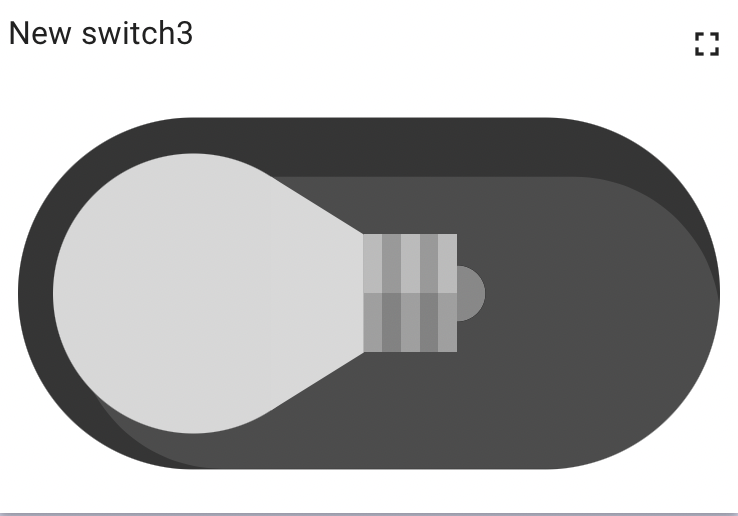
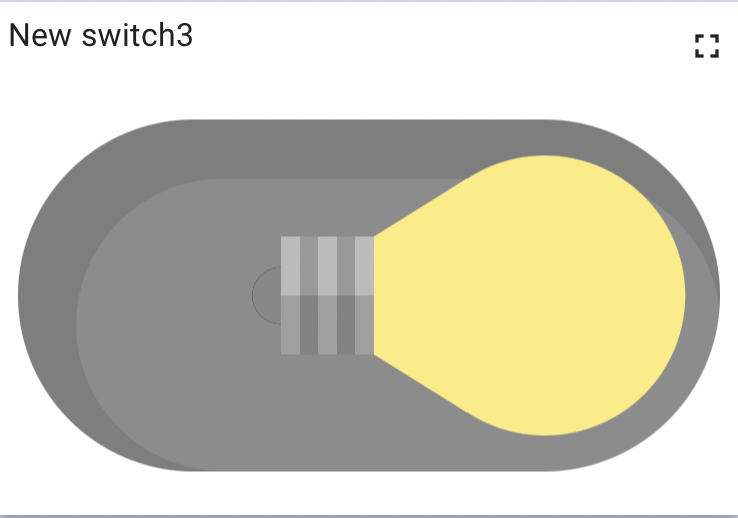
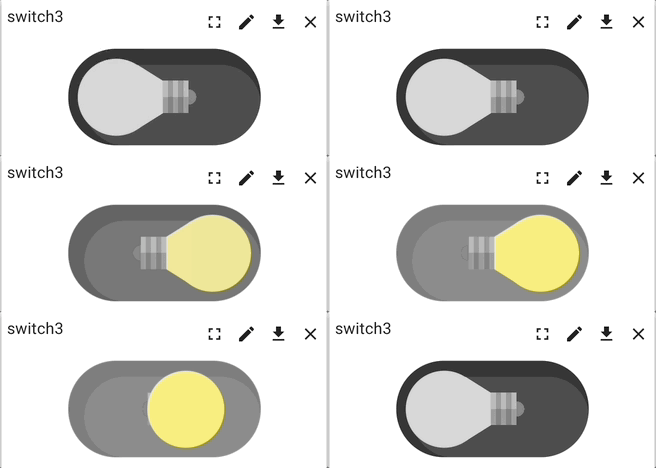
2.9 Switch 3

image info image info
image info

3. Latest Value Widgets

3.1 Fluid Level 1

image info

3.2 Fluid Level 2

image info

3.3 Light Bulb 1

image info

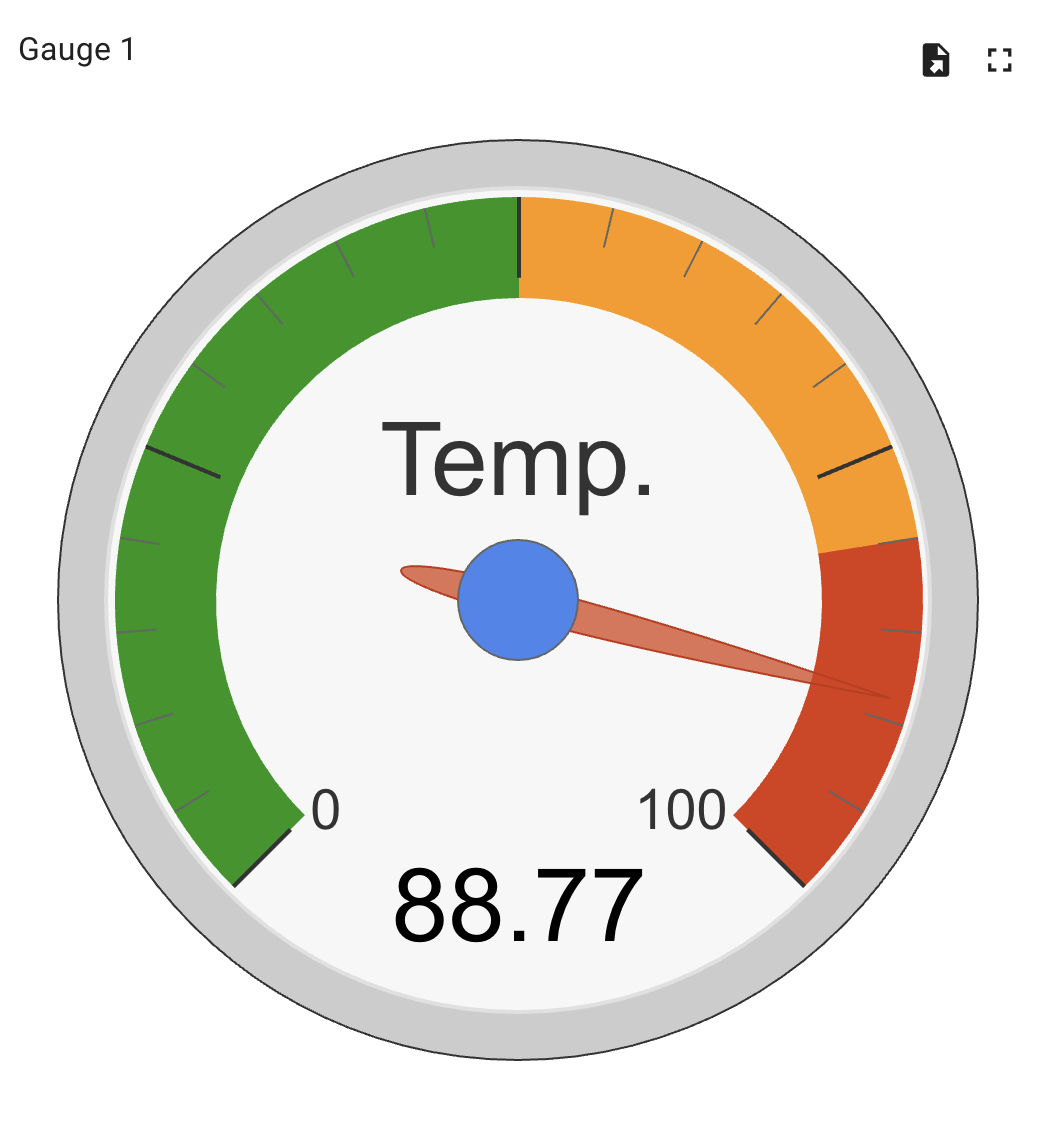
3.4 Gauge 1

image info
image info

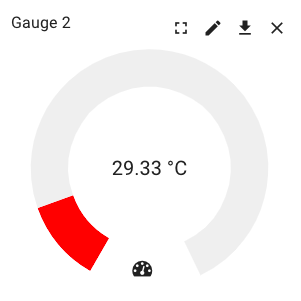
3.5 Gauge 2

image info

3.6 Gauge 3

image info

Gauge based on Gauge.js

Parameters:

Maximum Value

Maximum Gauge value - Default: 100

Minimum Value

Minimum Gauge value - Default: 0

Unit

Unit added to the value - Default: °C

Width

Line thickness - Default: 0.4

Min. Color

Color for Min. Value

Max. Color

Color for Max. Value

Angle

The span of the gauge arc

4. Static Widgets

4.1 Change Dashboard State 1

image info

5. Timeseries

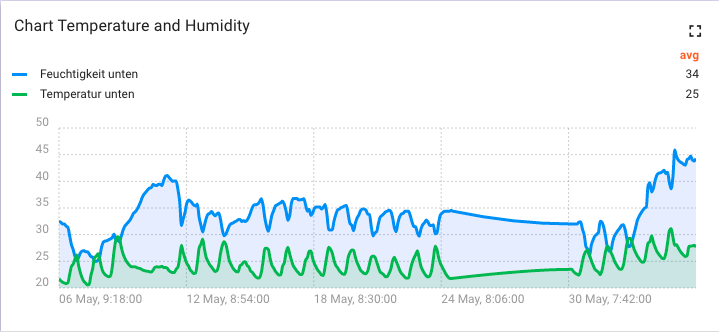
5.1 Chart 1

Clean Chart with nice XY-zoom. The zoom can be selected by holding and dragging the left mouse button and reset with the right mouse button.

image info