Code for this lab found, however it is recommended you clone the whole repository.
- Compute the normals of your mesh
- Add the normals to the vertex buffer
- Using new shaders for lighting
- Define the light and camera positions
Source code found and adapted from Karia Rodriguez
I started by extracting out the functions to display different types of shape/shaded/lighting.
This was to aid readability inside the main() function. In hindsight I should have just removed the
other functions instead of keeping them. From here I had a good base to get started calculating the normal vectors.
Normals are used by lighting shaders and give the shaders the direction a particular point is looking at in relation to the light
source. To calculate the normals a few calculations had to be made. A base vertex had to be picked on each triangle - p0.
Then two vectors were calculated for that triangle based on the remaining two vertices - i.e. p1 - p0. It is important
that the vertices are in the correct order otherwise the normal will be generated for the wrong direction.
The next step in the process is to find the cross-product of the vectors, this process returns a final vector that
is perpendicular to the previous vectors. Finally this vector is normalised.
Resulting in the code:
    //--------------------------------------------------
    // Base Triangle
    //--------------------------------------------------
    glm::vec3 base_p0(z, z, z);
    glm::vec3 base_p1(s / 2, h, z);
    glm::vec3 base_p2(s, z, z);
    glm::vec3 base_norm = glm::normalize(glm::cross(glm::vec3(base_p1 - base_p0),
                                                    glm::vec3(base_p2 - base_p0)));
This process was then repeated for the next three triangles I ended up with a normal buffer array, normals,
    static const GLfloat normals[] = {
            //Base Triangle
            base_norm.x, base_norm.y, base_norm.z,
            base_norm.x, base_norm.y, base_norm.z,
            base_norm.x, base_norm.y, base_norm.z,
            ...
    };
which were then drawn by the shaders - LightFragmentShader and LightVertexShader. The normal buffer may look
strange; it is using the same value for each three vector points. This is due to the fact
the normal will be the same across the face, as the face is flat.
I created the lightingCamera() function to house the code dealing with the drawing of the pyramids
with the new lighting shaders. Use the tutorial as the guide I was easily able to set up the lightingCamera() function
to display a light source against the pyramids. As the lighting wasn't exactly correct I moved the light source
by changing the value in the code.
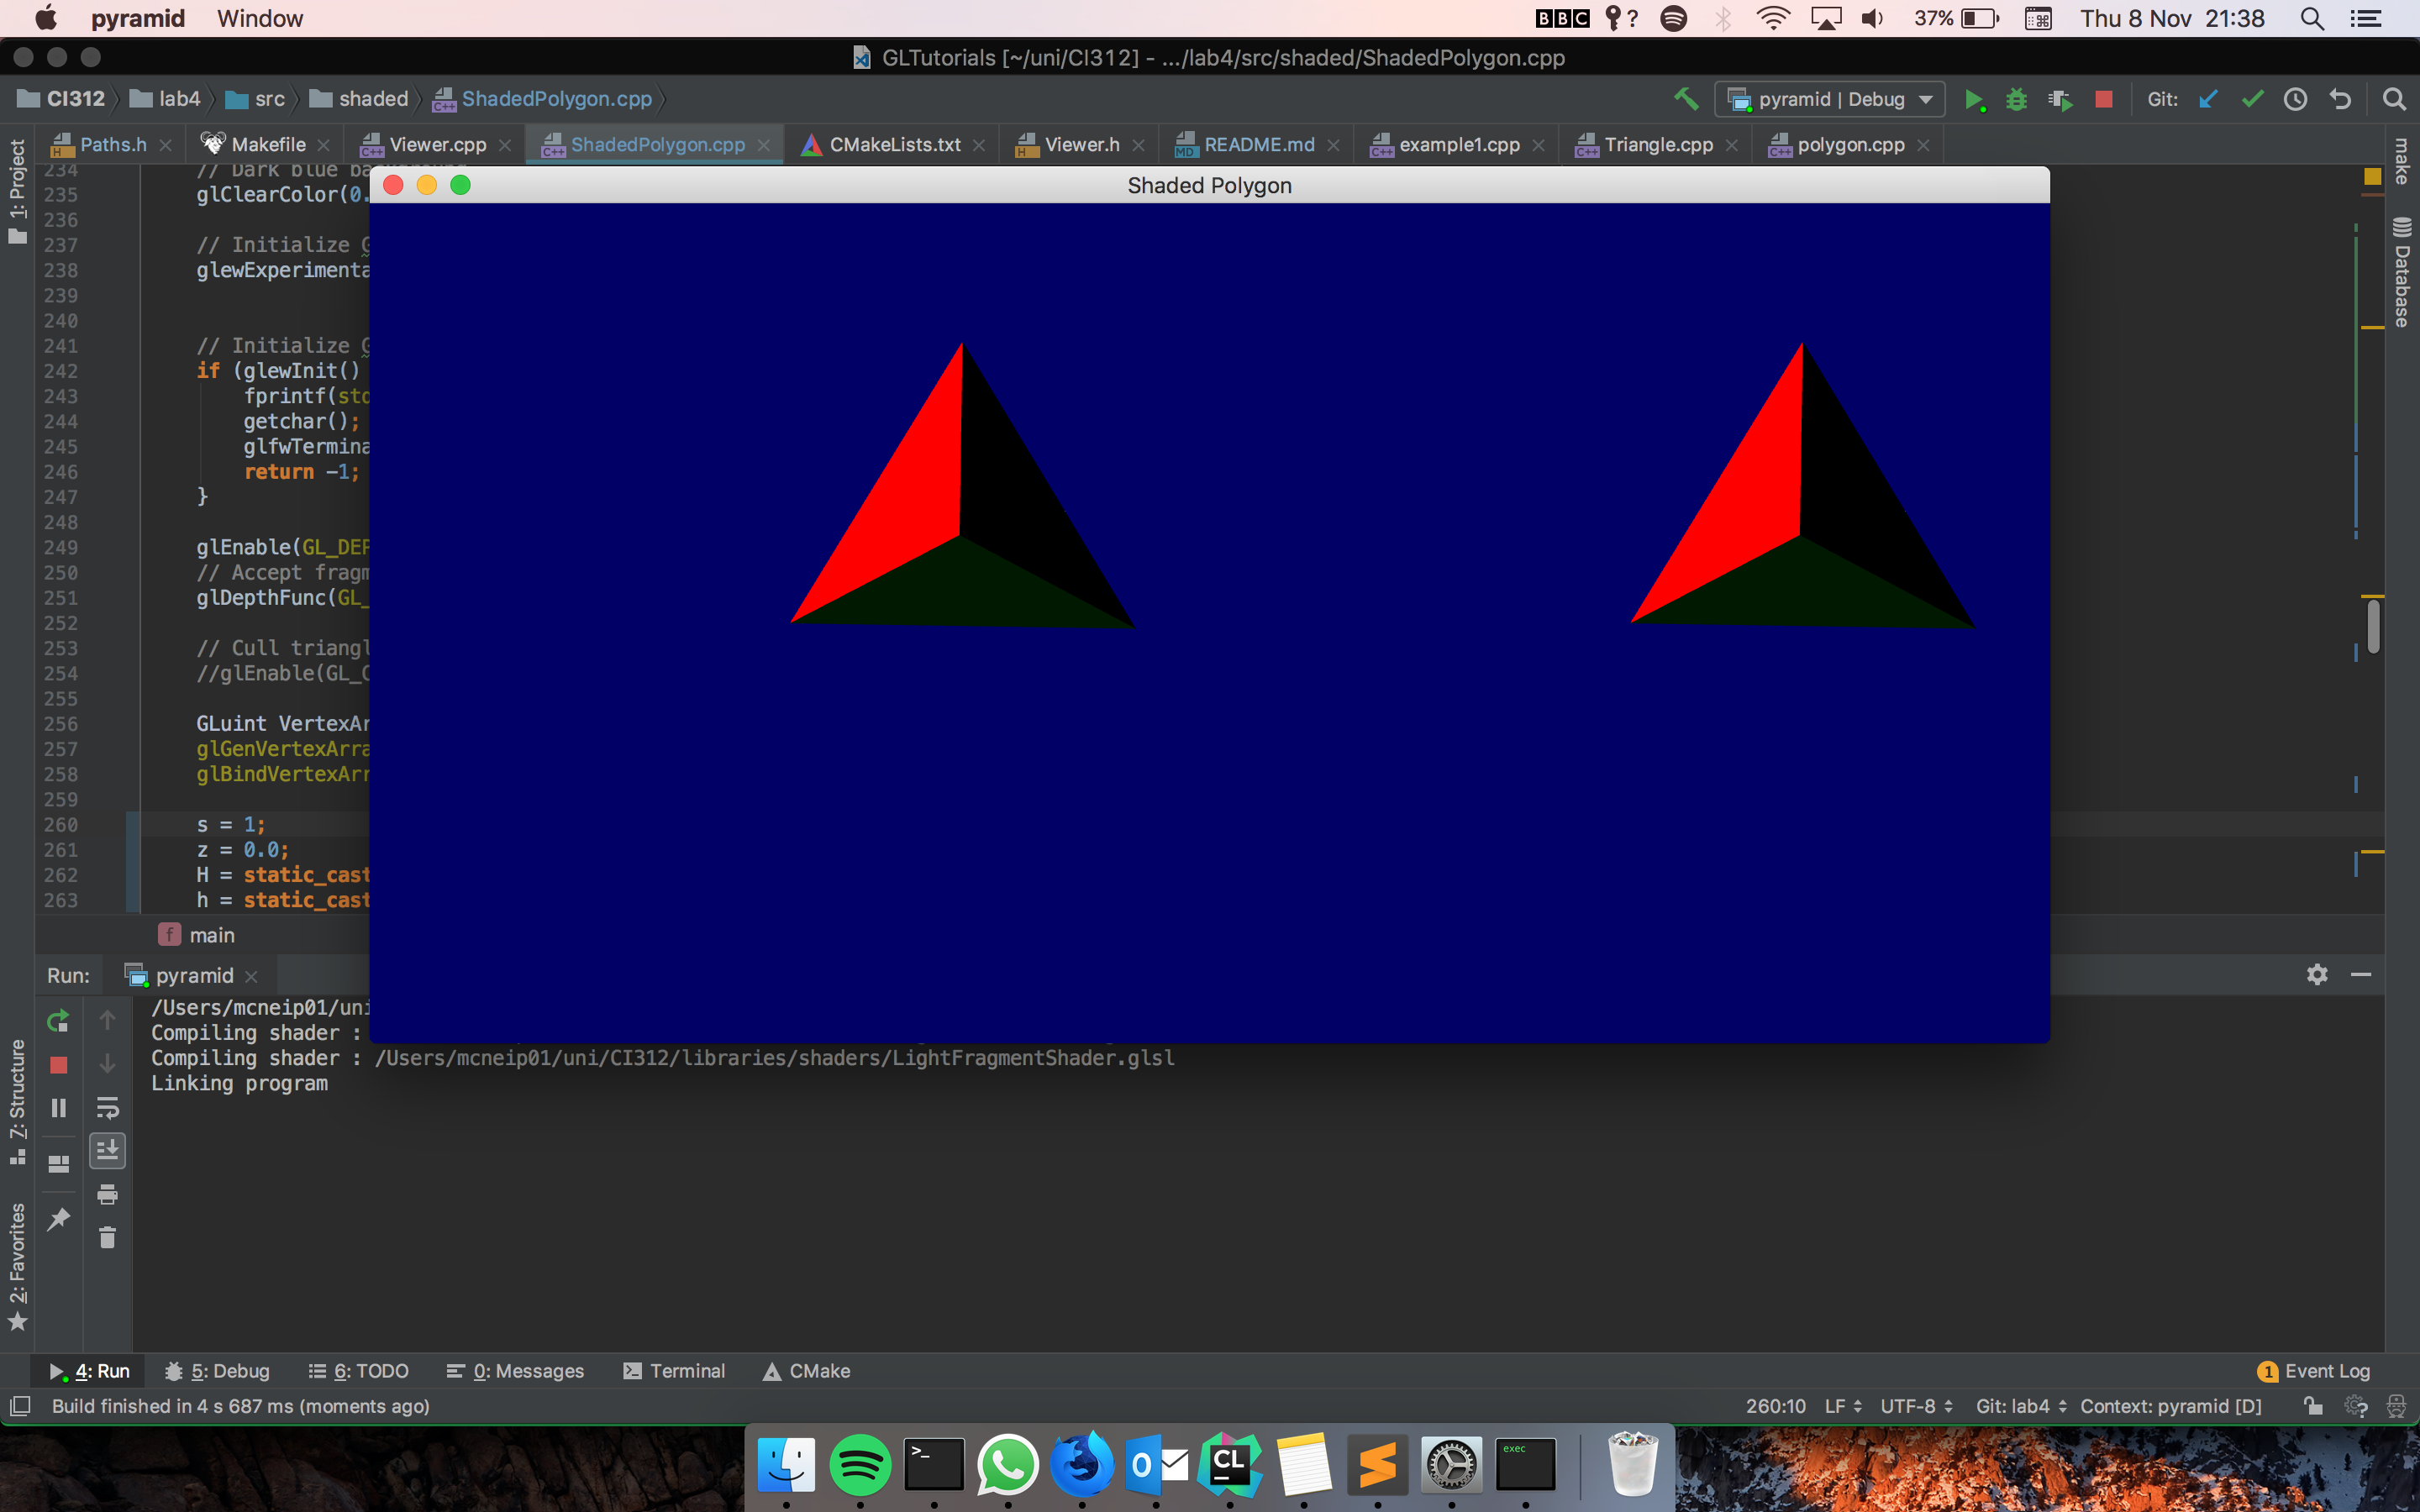
glm::vec3 lightPosition(-1, -1, -1);This finally resulted in:
Input:
make lab4I found this tutorial useful in giving me an overview on how lighting works in OpenGL and more generally with graphics algorithms. I learnt how vectors and normals can be used in conjunction with shaders to produce realistic lighting scenes.
University of Brighton intranet/lectures
